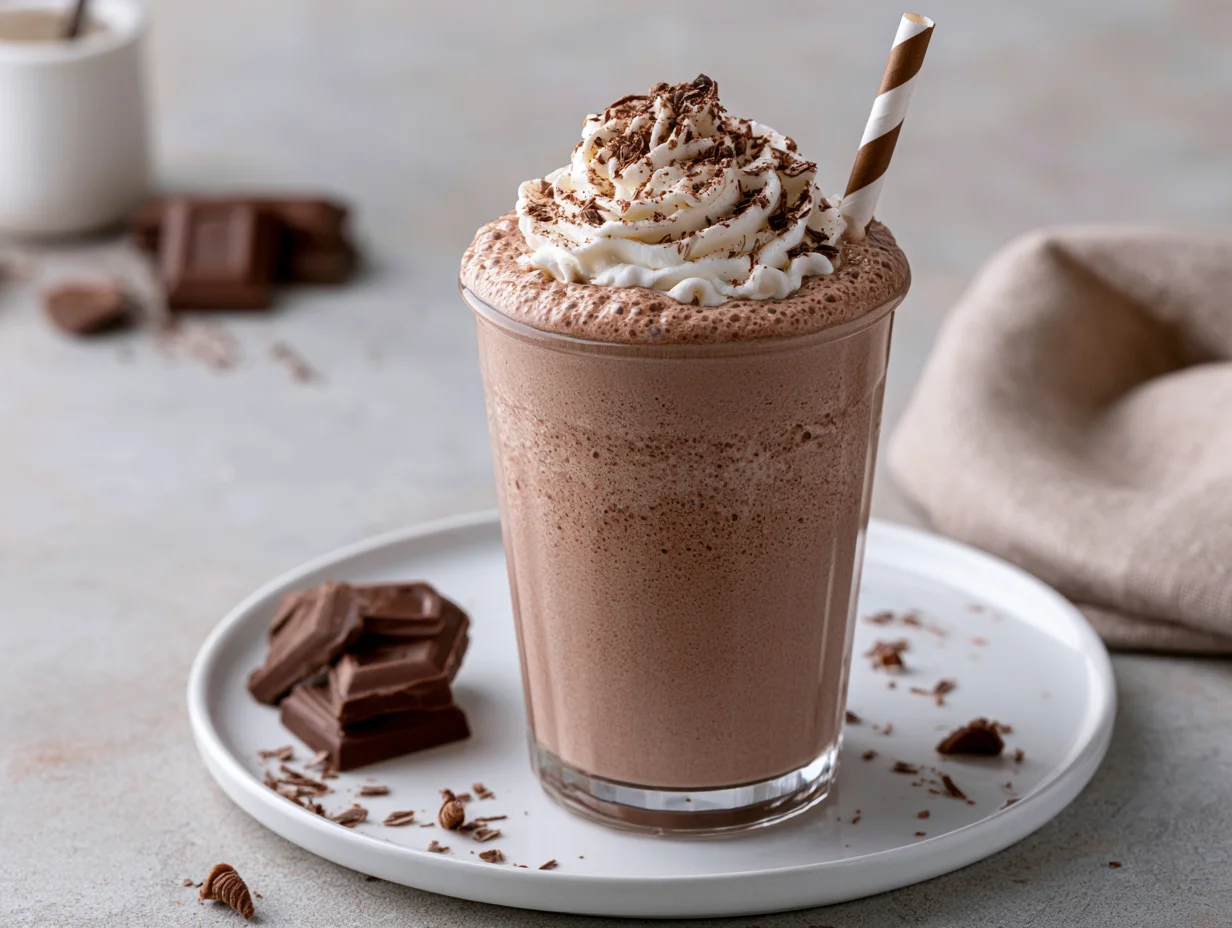
Thick Chocolate Milkshake Recipe
There’s a particular kind of joy that only a properly thick chocolate milkshake can deliver. Not the thin, watery version that slips through a straw in seconds, but the spoon-worthy, glass-clinging kind that demands a little patience and a lot of chocolate. This recipe is built for exactly that experience.
I’ve spent years tweaking ratios in my own kitchen, chasing that perfect balance between creamy ice cream, cold milk, and deep cocoa flavor. What I landed on is a formula that’s foolproof, fast, and endlessly customizable depending on your mood.
This isn’t a milkshake that relies on artificial syrups or shortcuts. It leans on real chocolate, quality ice cream, and a technique that locks in thickness without turning the blend into soup. Every step matters here, even the small ones.
Whether you’re making this for a weekend treat, a kid’s birthday, or a late-night craving you can’t ignore, this recipe delivers consistent, restaurant-quality results every single time. Let’s get into exactly what you’ll need and how to build it right.
Ingredients You’ll Need
Great milkshakes aren’t about fancy techniques, they’re about ratio, temperature, and a few smart ingredient choices that most people overlook.
Base Ingredients
- 2 cups vanilla ice cream
- 3/4 cup whole milk, very cold
- 3 tablespoons unsweetened cocoa powder
- 2 tablespoons granulated sugar
- 1/2 teaspoon pure vanilla extract
- 1 cup ice cubes
- 1 pinch salt
Optional Add-ins
- 2 tablespoons chocolate syrup, for extra richness
- 1/4 cup chocolate chips, semi-sweet
- 1 tablespoon peanut butter, for a nutty depth
- 1/4 teaspoon espresso powder, to intensify the chocolate flavor
- 2 tablespoons whipped cream, for topping
- 1 tablespoon chocolate shavings, for garnish
Step-by-Step Instructions
Step 1: Chill Your Blender Jar
Place your blender jar in the freezer for about ten minutes before starting. This small step keeps the milkshake colder for longer and prevents it from thinning out too quickly once blended. A warm jar transfers heat into the mixture almost instantly, which works against the thick texture you’re aiming for. Skipping this step is one of the most common reasons milkshakes turn watery within minutes of being poured into a glass.
Step 2: Combine the Base Ingredients
Add the vanilla ice cream, cold whole milk, cocoa powder, sugar, vanilla extract, and salt into the chilled blender jar. Layer the ice cream first so the blades catch it properly without stalling. Keep the milk measurement exact here, since too much liquid is the fastest way to lose thickness. This combination forms the foundation of the flavor, so make sure your cocoa powder is fresh and lump-free before blending.
Step 3: Blend in Short Pulses
Pulse the mixture in short bursts rather than running the blender continuously. This prevents excess air from being whipped into the shake, which can make it feel airy instead of dense. Blend just until the mixture turns smooth and creamy, checking the consistency every few pulses. Overblending melts the ice cream too fast, so stop as soon as you see a thick, glossy texture forming around the blades.
Step 4: Add Ice for Extra Thickness
Drop in the ice cubes and blend again in short pulses until fully incorporated. The ice tightens the texture without diluting the chocolate flavor, since it’s blended rather than melted separately. If you want it even thicker, add a few extra cubes one at a time. Always taste-test after each addition, since too much ice can mute the sweetness and richness you’ve built so far.
Step 5: Mix In Your Add-ins
If you’re using chocolate syrup, chips, peanut butter, or espresso powder, fold them in now with a final short blend. These extras should be added last so they don’t get overprocessed or lose their texture. Blend just enough to distribute them evenly throughout the shake. This is the stage where you can personalize the recipe to match your exact craving, whether that’s extra sweetness or a deeper coffee note.
Step 6: Serve Immediately
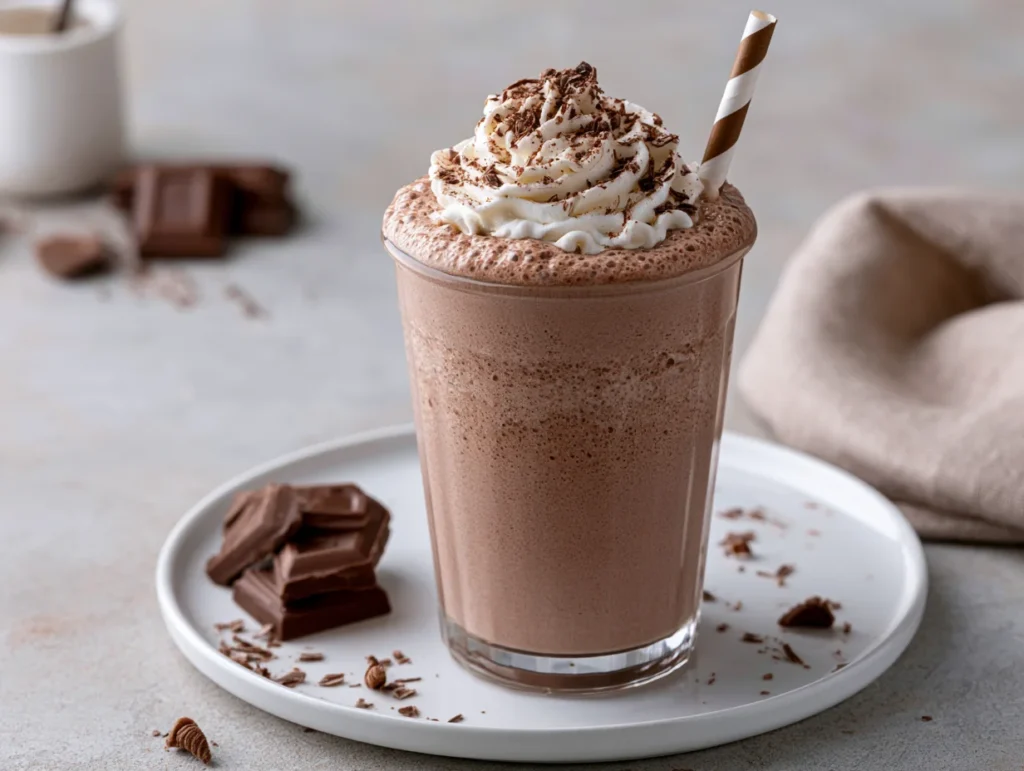
Pour the milkshake into a chilled glass right away, since it will only get thicker as it sits but can also start separating if left too long. Top with whipped cream and chocolate shavings if desired. Serve with a wide straw or a long spoon so every sip captures the full texture. This is the moment the entire process has been building toward, so don’t wait too long to enjoy it.
Cook Time
Total
10 minutes
Prep
8 minutes
Bake
Not applicable
Servings
This recipe makes approximately 2 generous servings, perfect for sharing or enjoying solo across two sittings. The yield depends slightly on how much ice you add, since a thicker shake naturally fills less volume per glass.
If you’re serving a group, this recipe scales easily. Doubling or tripling the ingredients works well as long as you blend in batches, since most home blenders struggle with large volumes of frozen ingredients at once.
For single servings, simply halve the recipe and adjust ice slightly to maintain the same creamy consistency. This flexibility makes it a reliable go-to for both quiet nights in and casual get-togethers.
Common Mistakes in This Recipe
The most frequent mistake is using milk that isn’t cold enough, which immediately works against the thickness you’re trying to build. Room temperature milk melts the ice cream faster than it should, leaving you with a shake that loses its body within minutes of blending. Always pull your milk straight from the fridge.
Another common issue is overblending. Many people assume longer blending equals smoother texture, but in reality, it just melts everything faster and introduces unwanted air. The goal is a quick, controlled blend, not a prolonged one.
Using soft-serve or partially melted ice cream is another pitfall. It throws off the ratio entirely and results in a shake that’s closer to chocolate milk than a milkshake.
Finally, skipping the cocoa powder sift or using stale cocoa leads to lumps and a flat, dull flavor that undercuts the entire recipe.
Solutions to Common Mistakes
To fix the milk temperature issue, always store your milk in the coldest part of the fridge and pour it in last, right before blending. This keeps the overall mixture temperature low throughout the process.
For overblending, set a mental timer and pulse in short bursts instead of holding the blend button down. Check texture every few seconds rather than relying on a continuous run.
If your ice cream has started to soften, place it back in the freezer for ten minutes before using it. Firm ice cream blends far more reliably than soft-serve consistency.
Lastly, sift your cocoa powder before adding it, and store it in a sealed container away from moisture. Fresh, lump-free cocoa blends smoothly and delivers a richer, more consistent chocolate flavor.
Nutritional Information (approx. per serving)
- Calories: 320 kcal
- Protein: 6g
- Carbohydrates: 42g
- Sugar: 30g
- Fat: 14g
- Calcium: 18% DV
- Iron: 8% DV
Beyond being a treat, this milkshake offers a reasonable dose of calcium from the milk and ice cream, supporting bone health in a way that feels far more enjoyable than a plain glass of milk.
Cocoa powder, especially unsweetened varieties, contains naturally occurring antioxidants known as flavonoids, which have been linked to improved circulation and heart health when consumed in moderation.
The protein content, while modest, contributes to satiety, making this shake more filling than many other desserts of similar size and sweetness.
Because it’s homemade, you control the sugar and quality of ingredients entirely, making it a noticeably better option than most pre-packaged or fast-food milkshake alternatives.
Storage Instructions
This milkshake is best enjoyed immediately after blending, since its thick texture begins to shift the moment it’s poured. However, if you have leftovers, transfer them into an airtight container and store in the freezer rather than the fridge.
When ready to enjoy again, let the frozen shake sit at room temperature for five to ten minutes, then re-blend briefly to restore its creamy consistency. Avoid microwaving it, as this melts the texture unevenly and ruins the mouthfeel.
Refrigerator storage isn’t recommended beyond a couple of hours, since the milk and ice cream separate quickly at fridge temperature, leaving a grainy, unpleasant texture.
For best results, only make the amount you plan to drink that day, and treat this as a fresh-serve recipe rather than a make-ahead one.
Suggestions
For an extra indulgent version, drizzle chocolate syrup along the inside of the glass before pouring the shake in, creating a layered visual effect that also adds bursts of flavor with every sip.
If you prefer a slightly lighter texture without sacrificing thickness, swap half the whole milk for a splash of heavy cream instead, which boosts richness without watering things down.
This recipe also pairs beautifully with a slice of warm brownie or a few cookies served on the side, turning it into a complete dessert experience rather than just a drink.
For an adult twist, a small splash of coffee liqueur blended in transforms this into a sophisticated dessert cocktail perfect for dinner parties or quiet evenings.
Seasonal Relevance
While chocolate milkshakes are often associated with summer heat, this recipe genuinely works year-round, especially as a comforting treat during colder months when paired with something warm on the side.
In summer, it functions as a refreshing, cooling dessert that satisfies chocolate cravings without requiring an oven or stovetop, making it ideal for hot afternoons when you want something quick and indulgent.
During the colder seasons, it becomes more of an indulgent contrast, often enjoyed after a warm meal as a rich, cold finish that balances heavier comfort foods.
Holiday gatherings also benefit from this recipe, since it can be easily dressed up with peppermint, espresso, or extra chocolate for festive variations.
Final Words
This thick chocolate milkshake recipe proves that simplicity, when executed with the right technique, consistently outperforms complicated alternatives. Every ingredient here earns its place, and every step exists for a clear reason rooted in texture and flavor balance.
What makes this recipe worth returning to isn’t just the taste, but how reliably it turns out the same way every time, regardless of who’s making it or what kitchen they’re standing in.
It’s a recipe built for real life, quick enough for a weekday craving but impressive enough to serve guests without any extra effort or last-minute adjustments.
Make it once with the base method, then start experimenting with the add-ins listed above. You’ll likely find your own signature version within just a few tries.
Frequently Asked Questions
Can I make this milkshake without an ice cream maker or fancy blender?
Yes, a standard household blender works perfectly fine for this recipe. The key is using firm ice cream and pulsing in short bursts rather than continuous blending, which keeps the texture thick without requiring any specialized equipment at all.
Is it possible to make a dairy-free version of this milkshake?
Absolutely. Substitute the whole milk with oat or almond milk, and use a dairy-free vanilla ice cream alternative. The texture remains thick and creamy, though the flavor profile will shift slightly depending on the base you choose.
Why does my milkshake separate shortly after blending?
Separation usually happens when the milk-to-ice-cream ratio is off or when the ice cream wasn’t firm enough before blending. Using cold ingredients throughout and serving immediately after blending helps maintain a stable, well-combined texture for longer.
Thick Chocolate Milkshake Recipe
2
servings8
minutes320
kcal8
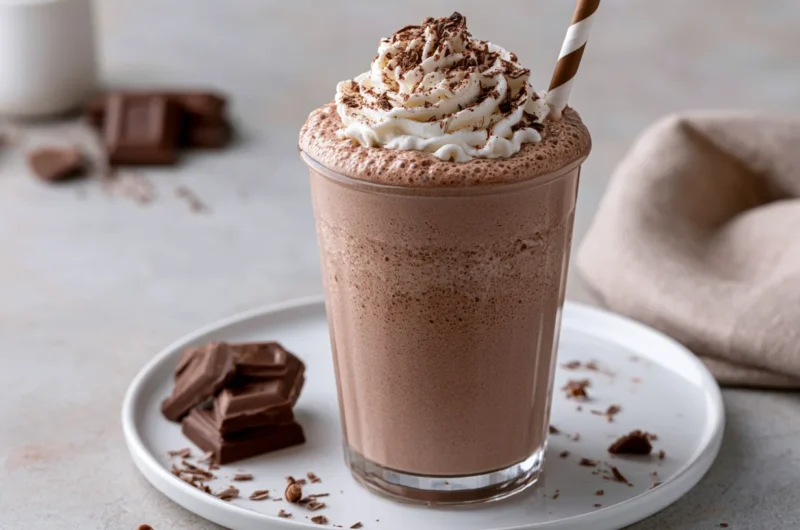
minutesA rich, spoon-thick chocolate milkshake made with real cocoa, creamy vanilla ice cream, and cold milk. Ready in under 10 minutes, it’s the perfect indulgent treat for any season, any craving, any day.
Ingredients
Base Ingredients
2 cups vanilla ice cream
3/4 cup whole milk, very cold
3 tablespoons unsweetened cocoa powder
2 tablespoons granulated sugar
1/2 teaspoon pure vanilla extract
1 cup ice cubes
1 pinch salt
Optional Add-ins
2 tablespoons chocolate syrup, for extra richness
1/4 cup chocolate chips, semi-sweet
1 tablespoon peanut butter, for a nutty depth
1/4 teaspoon espresso powder, to intensify the chocolate flavor
2 tablespoons whipped cream, for topping
1 tablespoon chocolate shavings, for garnish
Directions
- Chill the blender jar in the freezer for 10 minutes before starting.
- Add vanilla ice cream, cold whole milk, cocoa powder, sugar, vanilla extract, and salt to the jar.
- Pulse in short bursts until smooth and creamy; avoid continuous blending.
- Add ice cubes and pulse again until fully incorporated and thickened.
- Fold in any optional add-ins with a final short blend.
- Pour into a chilled glass and serve immediately, topped with whipped cream and chocolate shavings if desired.
Recipe Video
Notes
- Always use very cold milk to preserve thickness.
- Use firm, not soft-serve, ice cream for best texture.
- Sift cocoa powder beforehand to avoid lumps.
- Best enjoyed immediately; not ideal for make-ahead storage.
- For a dairy-free version, substitute oat or almond milk and a dairy-free ice cream alternative.
- Store leftovers in the freezer, not the fridge, and re-blend briefly before serving again.