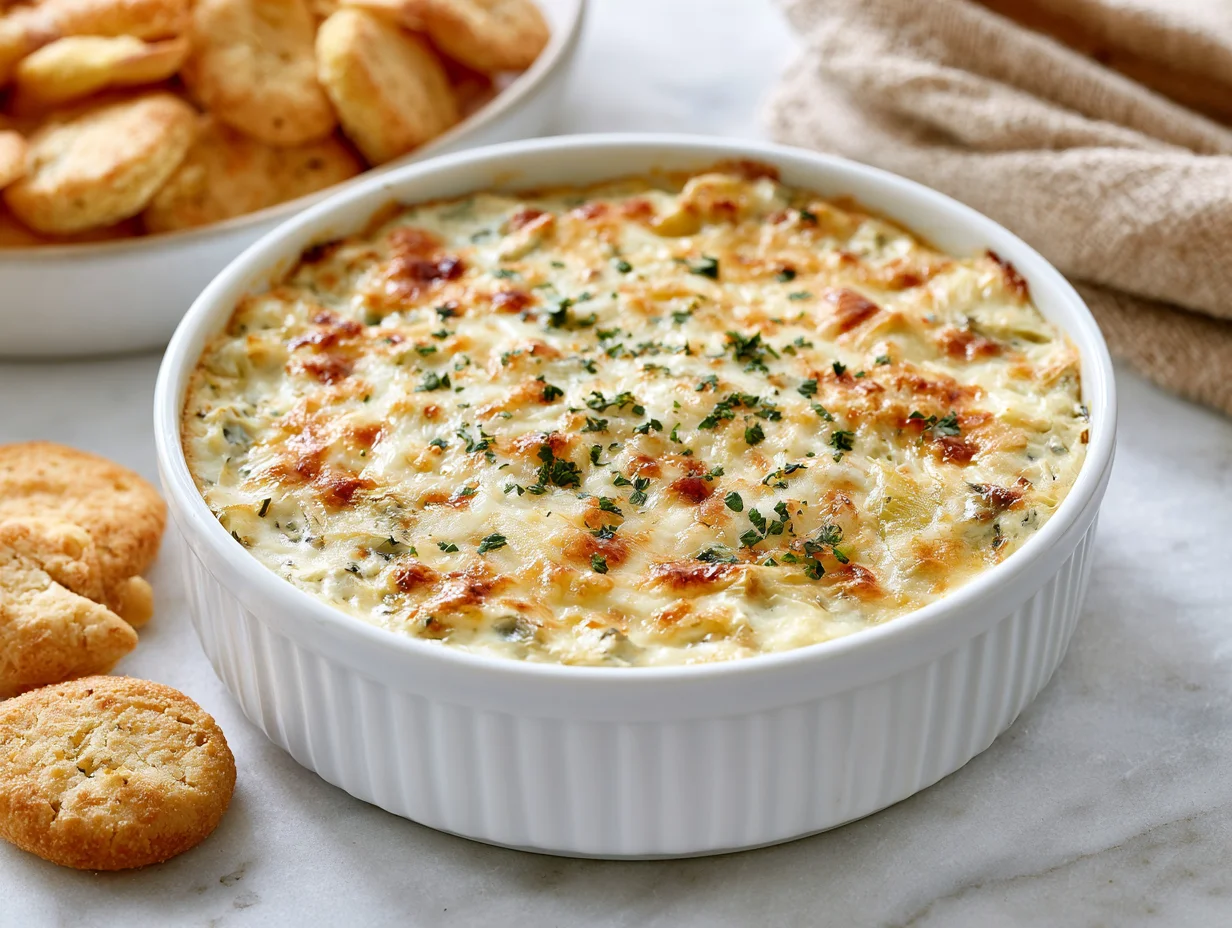
Hummus is one of those recipes that separates home cooks who season with intention from those who simply follow a can-opener routine. This version is silky, deeply savory, and built on a technique that most recipes skip entirely: patience with the chickpeas. The result is a texture closer to what you’d find in a Beirut hole-in-the-wall than a plastic tub from the supermarket shelf.
What makes this recipe worth bookmarking is its versatility. It works as a five-minute snack with warm pita, a protein-packed lunch base, or a make-ahead component that survives a full week in the fridge without breaking down or separating.
I’ve tested this formula across dozens of batches, adjusting ratios of tahini to lemon to garlic until the balance stopped needing correction. What you’re getting here isn’t a rough estimate — it’s a ratio that consistently produces restaurant-level results.
Whether you’re meal prepping for the week or hosting a last-minute gathering, this hummus delivers every time, with minimal cleanup and maximum payoff.
Ingredients You’ll Need
Great hummus isn’t about a long ingredient list — it’s about a short one, used correctly. This is a recipe where quality control matters more than quantity, and every component earns its place in the bowl.
One of the things I love about this recipe is that it uses simple pantry ingredients. You probably already have most of them in your kitchen.
Base Ingredients
- 2 cups cooked chickpeas (or 1 can, drained)
- 1/2 cup tahini
- 1/4 cup fresh lemon juice
- 2 cloves garlic
- 3 tablespoons olive oil
- 1/2 teaspoon ground cumin
- 1/2 teaspoon salt
- 2 to 4 tablespoons ice water
- 1/2 teaspoon baking soda (for boiling chickpeas)
Optional Add-ins
- 1 tablespoon roasted red pepper puree
- 1/4 cup fresh parsley, chopped
- 1/2 teaspoon smoked paprika
- 1 tablespoon caramelized onions
- 1 teaspoon za’atar seasoning
- 2 tablespoons pine nuts, toasted
Step-by-Step Instructions
Step 1: Soften the Chickpeas
Drain your chickpeas and add them to a small saucepan with the baking soda and enough water to cover. Bring to a gentle boil for 8 to 10 minutes. This step softens the skins and breaks down the starches that usually cause graininess. Drain thoroughly once the chickpeas look slightly swollen and feel tender when pressed between two fingers. Skip this step and you’ll notice the difference immediately in texture.
Step 2: Blend the Tahini Base
In a food processor, combine the tahini and lemon juice first, before adding anything else. Blend for a full minute until the mixture turns pale and creamy, almost like a thick paste. This whipped tahini base is the secret to silky hummus, and rushing it leads to a heavier, denser dip later on.
Step 3: Add Garlic and Seasoning
Add the garlic, cumin, and salt to the whipped tahini mixture. Blend again until fully incorporated and the garlic is broken down with no large chunks remaining. Scrape down the sides of the bowl with a spatula to make sure nothing is hiding at the bottom, unblended and raw-tasting.
Step 4: Incorporate the Chickpeas
Add the drained, warm chickpeas to the processor in two batches. Blend continuously, drizzling in olive oil as you go. The warmth of the chickpeas helps everything emulsify faster and smoother, giving you that glossy, restaurant-style finish without extra effort.
Step 5: Adjust Consistency and Serve
With the processor running, stream in ice water one tablespoon at a time until the hummus reaches a light, whipped consistency. Taste and adjust salt or lemon as needed. Transfer to a serving bowl, swirl the top with a spoon, and finish with olive oil and any optional toppings you like.
Cook Time
Total:
30 minutes
Prep:
20 minutes
Bake:
10 minutes (chickpea simmer only, no oven required)
Servings
This recipe makes approximately 2 cups of hummus, which comfortably serves 6 people as a snack or appetizer portion, or 4 people if you’re using it as a heartier lunch base alongside pita, vegetables, or a grain bowl.
For meal prep purposes, this batch divides neatly into four individual containers, each holding around half a cup — a satisfying portion that pairs well with raw vegetables or crackers without leaving you hungry an hour later.
If you’re serving a crowd, this recipe doubles easily. Just be sure to work in batches in the food processor so the texture stays consistent and nothing gets left under-blended at the bottom of the bowl.
Common Mistakes in This Recipe
The most common mistake is skipping the chickpea-softening step entirely. Straight-from-the-can chickpeas still have tough outer skins that never fully break down in a food processor, leaving your hummus grainy no matter how long you blend it.
Another frequent error is adding all the ingredients into the processor at once. This might feel efficient, but it prevents the tahini and lemon from properly whipping together first, which is what creates that airy, light texture people associate with high-end hummus.
Over-blending garlic directly with chickpeas is also a mistake. Raw garlic needs to be broken down early and evenly, or you’ll end up with sharp, uneven bites of garlic instead of a smooth, balanced flavor throughout the dip.
Finally, many home cooks add all the water upfront instead of gradually. This makes it difficult to control consistency and often results in hummus that’s either too thick or too runny to fix easily afterward.
Solutions to Common Mistakes
To fix graininess, always boil your chickpeas with a pinch of baking soda for at least 8 minutes before blending. This single step softens the skins enough that they disappear completely into the final texture.
For proper emulsification, always blend tahini and lemon juice together first, before adding garlic, chickpeas, or oil. This whipped base becomes the foundation everything else folds into smoothly.
To avoid harsh garlic flavor, blend it directly into the tahini-lemon mixture early in the process, rather than adding it alongside the chickpeas. This distributes the flavor evenly rather than leaving concentrated pockets.
Lastly, always add ice water gradually, one tablespoon at a time, while the processor runs. This gives you full control over consistency and lets you stop the moment the texture feels right.
Nutritional Information (approx. per serving)
- Calories: 165
- Protein: 6g
- Carbohydrates: 14g
- Fat: 10g
- Fiber: 4g
- Sodium: 190mg
Beyond being simply delicious, this hummus recipe offers real nutritional value. Chickpeas are a strong plant-based protein and fiber source, which helps support steady digestion and longer-lasting fullness compared to many other snack options.
Tahini contributes healthy fats along with calcium and iron, nutrients that are often harder to get enough of in a typical diet, especially for those eating plant-forward meals throughout the week.
Olive oil adds heart-healthy monounsaturated fats, while also helping the body absorb fat-soluble vitamins from any vegetables you pair with this dip, making it a smart addition to a balanced meal.
Because this recipe skips unnecessary preservatives and additives found in store-bought versions, you get a cleaner ingredient profile with sodium and fat levels you can control directly.
Storage Instructions
Store your hummus in an airtight container in the refrigerator, where it will stay fresh for up to five days. Press a thin layer of plastic wrap directly onto the surface before sealing to prevent it from drying out or forming a skin on top.
If you notice a small amount of oil separation after a day or two in the fridge, this is completely normal. Simply stir it back in gently with a spoon before serving, and the texture will return to normal.
For longer storage, hummus freezes surprisingly well for up to three months. Portion it into small containers or freezer bags, leaving a little room for expansion, and thaw overnight in the refrigerator before using.
Avoid leaving hummus at room temperature for more than two hours, especially in warmer weather, since dairy-free dips like this can still spoil faster than expected once exposed to heat.
Suggestions
Serve this hummus with warm, slightly charred pita bread for a classic pairing that never disappoints, especially when the pita is brushed lightly with olive oil and toasted just before serving.
For a fresher option, pair it with raw vegetables like cucumber spears, bell pepper strips, and carrots. The natural crunch contrasts nicely with the smooth, whipped texture of the hummus itself.
This recipe also works beautifully as a spread rather than a dip. Try it inside wraps, sandwiches, or grain bowls in place of mayonnaise or other heavier condiments for a lighter, more flavorful base.
For entertaining, spoon the hummus onto a platter, swirl the surface, and top with toasted pine nuts, a drizzle of good olive oil, and a sprinkle of paprika for an easy, elegant presentation.
Seasonal Relevance
Hummus works well year-round, but it truly shines during warmer months when people are looking for lighter, no-cook options that still feel satisfying and substantial enough to count as a real snack or meal.
During summer gatherings, this recipe doubles easily as a crowd-pleasing appetizer that requires no oven time, making it a practical choice when kitchens are already warm and stovetop use feels excessive.
In cooler months, hummus pairs naturally with warm pita, roasted vegetables, or as a spread inside heartier sandwiches, proving it isn’t just a seasonal summer dip but a year-round pantry staple.
Around holidays and gatherings, this recipe also holds up well on grazing boards and appetizer spreads, sitting comfortably alongside other dips without needing last-minute adjustments or reheating.
Final Words
This hummus recipe strikes a rare balance between simplicity and precision, delivering a texture and flavor that feels far more elevated than the short ingredient list might suggest at first glance.
Once you understand the technique behind whipping the tahini first and softening the chickpeas properly, you’ll notice a real difference compared to rushed, all-at-once blending methods used in most quick recipes.
This is a formula worth repeating regularly, whether you’re prepping lunches for the week ahead or putting together a last-minute appetizer for guests who show up sooner than expected.
Keep this recipe in your regular rotation, adjust the toppings to match your mood, and you’ll always have a reliable, crowd-approved dip ready whenever you need it.
Frequently Asked Questions
Can I make this hummus without a food processor?
Yes, though the texture won’t be as smooth. A high-powered blender works as a substitute, but you may need to stop frequently to scrape down the sides and add extra water to keep things moving.
Why is my hummus bitter?
Bitterness usually comes from using too much raw garlic or old, rancid tahini. Always taste your tahini before using it, and start with less garlic than you think you need, adjusting gradually to taste.
Can I use dried chickpeas instead of canned?
Absolutely, and many chefs prefer it. Soak dried chickpeas overnight, then simmer until very tender, about 45 to 60 minutes. This method often produces an even creamier final texture than canned chickpeas.