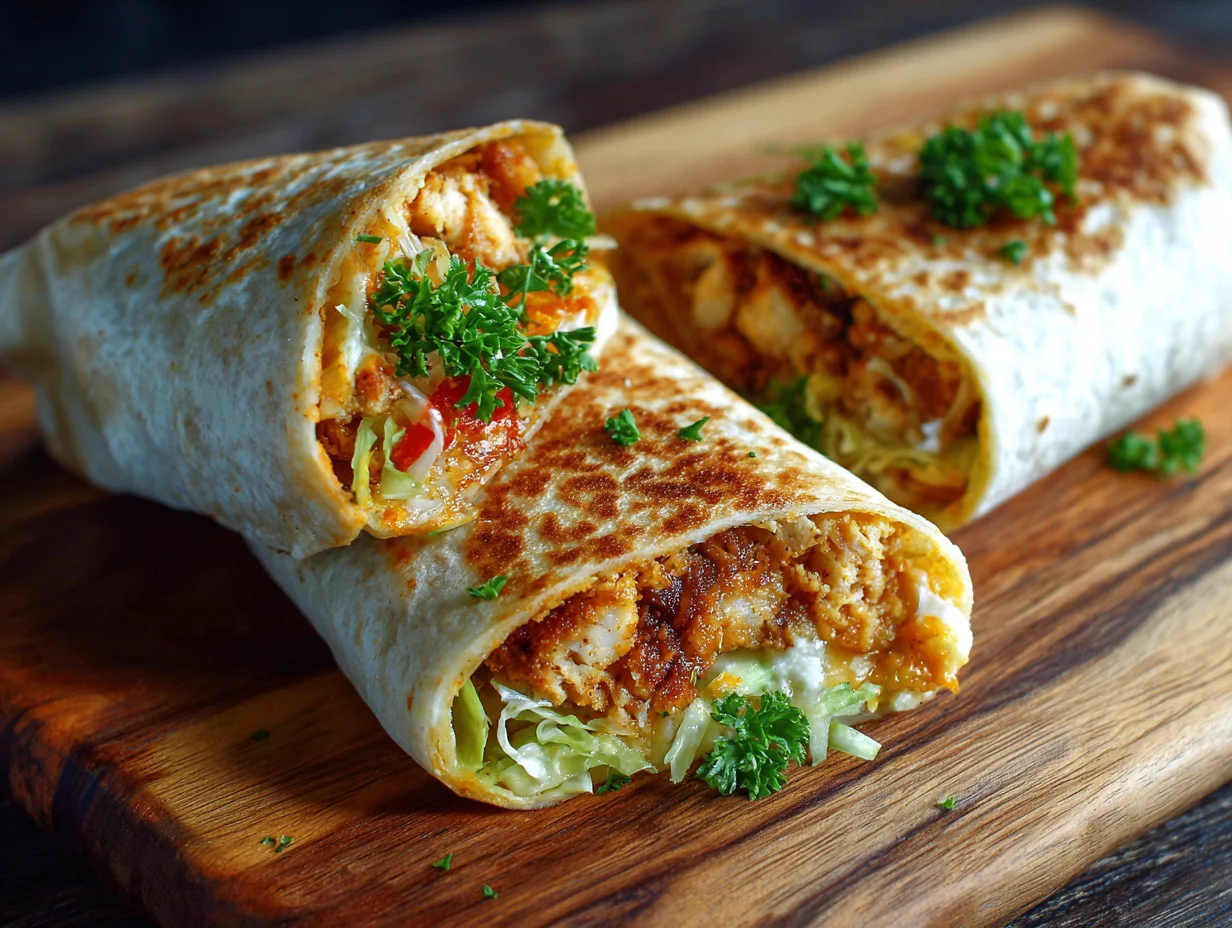
There’s something deeply satisfying about biting into a perfectly crisp, golden wrap bursting with creamy, garlicky, cheesy goodness. These Crispy Cheesy Garlic Chicken Wraps deliver everything you crave ,juicy, seasoned chicken, melted cheese, and a buttery garlic layer all enclosed in a lightly toasted tortilla. It’s comfort food redefined: quick, flavorful, and elegant enough to impress. Whether for lunch, dinner, or a gourmet grab-and-go meal, this wrap is the definition of delicious simplicity.

Ingredients List
- 2 large chicken breasts, cooked and shredded (or use grilled chicken strips)
- 2 tablespoons olive oil
- 3 cloves garlic, finely minced
- ½ teaspoon smoked paprika
- ½ teaspoon Italian seasoning
- Salt and black pepper, to taste
- 3 tablespoons mayonnaise or Greek yogurt
- 1 cup shredded mozzarella cheese
- ½ cup grated cheddar cheese
- 1 tablespoon butter (for brushing)
- 4 large flour tortillas
- 1 tablespoon chopped parsley (optional, for garnish)
Step-by-Step Instructions
Step 1: Prepare the Chicken Filling
Heat olive oil in a skillet over medium heat. Add minced garlic and sauté until fragrant, about 30 seconds. Stir in shredded chicken, smoked paprika, Italian seasoning, salt, and pepper. Mix well until coated and heated through. Remove from heat and let it cool slightly.
Step 2: Create the Cheesy Mixture
In a mixing bowl, combine mozzarella, cheddar, and mayonnaise (or Greek yogurt). Add the seasoned chicken and mix thoroughly until the ingredients are evenly distributed and creamy.
Step 3: Assemble the Wraps
Lay out the tortillas on a flat surface. Spoon the cheesy garlic chicken mixture evenly across the center of each wrap. Fold the sides inward, then roll tightly to enclose the filling. Brush the outside lightly with melted butter for a golden, crispy finish.
Step 4: Cook to Perfection
Heat a nonstick skillet or grill pan over medium heat. Place the wraps seam-side down and toast for 2–3 minutes per side until crisp and golden brown. Ensure the cheese melts inside and the wraps hold their shape beautifully.
Step 5: Garnish and Serve
Slice diagonally and sprinkle with chopped parsley. Serve warm with garlic mayo, ranch dressing, or a tangy tomato dip.
Cook Time
- Preparation: 10 minutes
- Cooking: 15 minutes
- Total Time: 25 minutes
Servings
Makes 4 wraps.
Nutritional Information (approx. per serving)
- Calories: 420 kcal
- Protein: 32g
- Fat: 22g
- Carbohydrates: 28g
- Fiber: 2g
- Sodium: 480mg
Storage Instructions
Store any leftover wraps in an airtight container in the refrigerator for up to 2 days. Reheat in a skillet or air fryer to restore crispiness,avoid microwaving as it may soften the tortilla. If preparing ahead, store the filling separately and assemble just before toasting for the best texture.
Suggestions
- Add a handful of spinach, caramelized onions, or roasted bell peppers for extra layers of flavor.
- Swap chicken for turkey or tofu for a creative twist.
- For spice lovers, mix a touch of sriracha or chili flakes into the filling.
- Serve with a crisp salad or potato wedges for a balanced meal.
- Make it brunch-ready by adding scrambled eggs to the mix.
Seasonal Relevance
These wraps shine all year long, light enough for spring lunches, perfect for summer picnics, cozy in autumn, and comforting in winter. The balance of cheesy warmth and garlicky richness makes it a versatile favorite no matter the season.
Conclusion
The Crispy Cheesy Garlic Chicken Wrap is proof that great flavor doesn’t require complexity. It’s a masterclass in balance,creamy and crispy, rich yet refreshing. Whether you’re cooking for one or feeding a family, this recipe delivers satisfaction in every bite. Simple ingredients, thoughtfully combined, create something truly crave-worthy, a dish that deserves a permanent place in your kitchen rotation.
FAQs
Q1: Can I bake these wraps instead of pan-toasting them?
Yes, place the assembled wraps on a lined baking sheet and bake at 375°F (190°C) for 10–12 minutes, flipping halfway through for even crispiness.
Q2: What type of cheese melts best for this recipe?
A combination of mozzarella for stretch and cheddar for sharpness works beautifully, but you can also try provolone or Monterey Jack for variation.
Q3: Can I make these wraps ahead for meal prep?
Absolutely. Prepare and refrigerate the filling up to 2 days in advance. When ready to serve, assemble and cook the wraps fresh to preserve their crispy texture.