
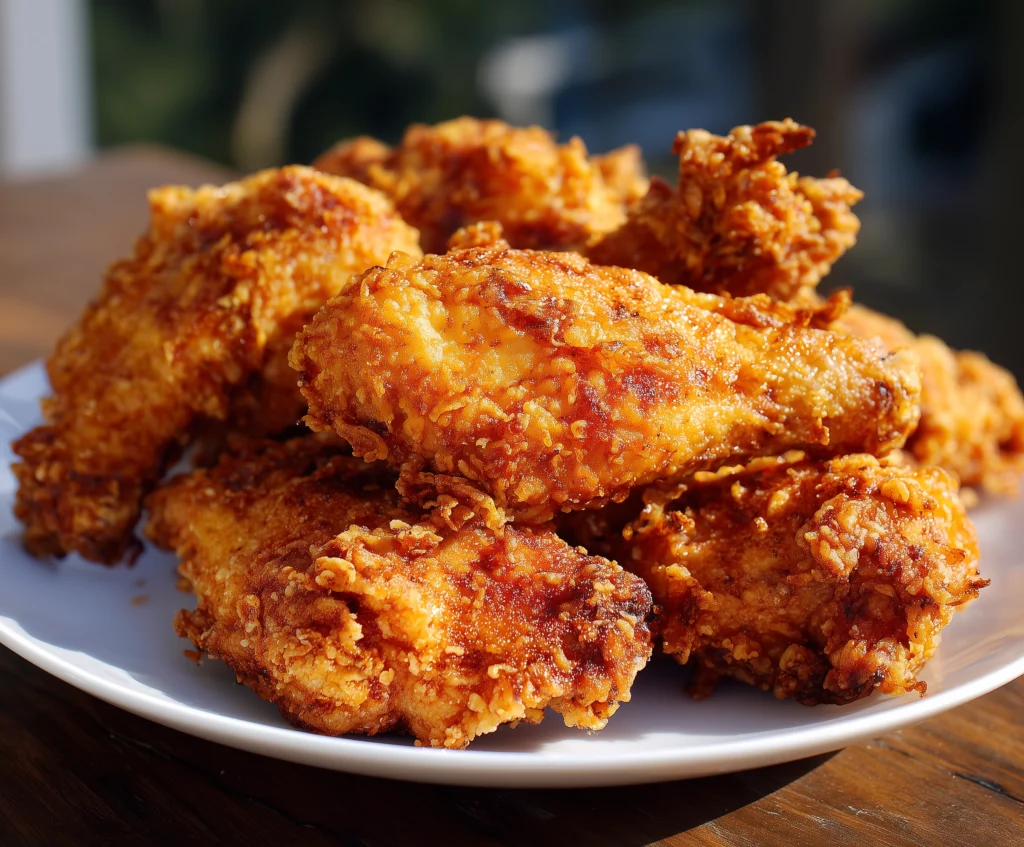
A perfectly crispy fried chicken is one of life’s greatest pleasures. Golden on the outside, juicy on the inside, and bursting with flavor, it’s the kind of meal that satisfies every craving. This recipe combines a flavorful buttermilk marinade, seasoned flour coating, and the ideal frying technique to achieve that irresistible crunch. Whether for a family dinner or weekend gathering, this fried chicken promises restaurant-quality results every time.
Ingredients List
- 8 pieces of chicken (drumsticks, thighs, or breasts)
- 2 cups buttermilk
- 2 teaspoons salt
- 1 teaspoon black pepper
- 1 teaspoon garlic powder
- 1 teaspoon paprika
- 1 teaspoon onion powder
- 1 teaspoon cayenne pepper (optional for heat)
- 2 cups all purpose flour
- 1 tablespoon cornstarch
- 1 teaspoon baking powder
- Vegetable oil for frying
Step by Step Instructions
Step 1: Marinate the chicken
Place the chicken pieces in a large bowl. Add buttermilk, salt, black pepper, garlic powder, paprika, and cayenne if using. Stir well to coat each piece. Cover and refrigerate for at least 4 hours or overnight for maximum flavor and tenderness.
Step 2: Prepare the coating
In another bowl, mix flour, cornstarch, baking powder, salt, and a touch of paprika. This combination helps achieve that signature crispy crust.
Step 3: Coat the chicken
Remove the chicken from the buttermilk, letting any excess drip off. Dredge each piece in the flour mixture, pressing firmly so the coating adheres. Set aside on a tray for 10 minutes to help the crust set.
Step 4: Heat the oil
Pour vegetable oil into a large, deep skillet or Dutch oven, enough to submerge the chicken halfway. Heat to 350°F (175°C). Maintain the temperature to avoid soggy or burnt chicken.
Step 5: Fry to perfection
Fry the chicken in batches to prevent overcrowding. Cook each piece for about 12 to 15 minutes, turning halfway, until golden brown and the internal temperature reaches 165°F (74°C).
Step 6: Drain and rest
Remove the chicken and place it on a wire rack or paper towels to drain excess oil. Allow it to rest for a few minutes before serving to let the juices settle.
Cook Time
Prep Time: 15 minutes
Marinating Time: 4 hours
Cooking Time: 30 minutes
Total Time: 4 hours 45 minutes
Servings
Serves 4 to 6
Nutritional Information (approx. per serving)
Calories: 480
Fat: 25g
Carbohydrates: 22g
Protein: 40g
Sodium: 620mg
Storage Instructions
Refrigerate leftover fried chicken in an airtight container for up to 3 days. Reheat in an oven at 375°F (190°C) for 10 to 12 minutes to restore crispiness. Avoid microwaving as it softens the crust. For longer storage, freeze for up to a month and reheat directly in the oven when ready.
Suggestions
For extra crunch, double-dip the chicken by returning it to the buttermilk and coating it again with flour before frying. If you prefer a lighter version, air fry at 375°F for 25 minutes, turning halfway. Serve with creamy coleslaw, mashed potatoes, or warm biscuits for the perfect Southern-style meal.
Seasonal Relevance
Fried chicken fits every season. It’s ideal for summer picnics, cozy autumn dinners, or festive gatherings in spring and winter. Its universal appeal and comforting flavor make it a timeless favorite across all occasions.
Conclusion
This Crispy Fried Chicken Recipe delivers everything you love about classic comfort food—crunchy, juicy, and seasoned to perfection. With simple ingredients and expert technique, it transforms an everyday dish into something unforgettable. Once you try it, you’ll never settle for store-bought again.
FAQs
Q1: Can I use boneless chicken for this recipe?
Yes, boneless chicken breasts or thighs work well. Just reduce frying time to about 6 to 8 minutes per side to avoid overcooking.
Q2: Why is my fried chicken not crispy?
Make sure your oil is hot enough before frying. Also, avoid overcrowding the pan, as it lowers the oil temperature and causes soggy results.
Q3: Can I make this recipe gluten free?
Absolutely. Substitute the all purpose flour with a gluten free blend or rice flour. It still produces a light, crispy coating.
