Thick Homemade Milkshakes Recipe Creamy Sweet Drink Everyone Loves
Crafting the perfect thick homemade milkshake is more than just blending ice cream and milk, it is about achieving that luxurious, creamy texture that feels indulgent yet perfectly balanced. As a chef, I have refined this recipe to deliver a rich, café-style milkshake right from your kitchen.
This recipe is designed for those who appreciate quality, consistency, and flavor depth. Whether you are preparing a quick treat or impressing guests, this method ensures a velvety finish every time.
With carefully selected ingredients and precise technique, you will create a milkshake that is thick, smooth, and irresistibly satisfying. If you have ever struggled with watery or overly sweet shakes, this guide will elevate your results to a professional level instantly.
? If you love creamy frozen drinks, check out our Frozen Banana Pops for another refreshing treat.
Texture Ruining Mistakes Most People Ignore
One of the most common mistakes I see is improper ingredient balance, especially using too much milk. While milk helps blend the shake, excess liquid thins the texture, turning a rich milkshake into a runny drink.
Another frequent issue is using low-quality or partially melted ice cream, which compromises both structure and flavor. Over-blending is equally problematic, as it introduces excess air and melts the mixture quickly, resulting in a foamy consistency instead of a dense, creamy one.
Many also skip chilling their glasses, which causes the shake to melt faster upon serving. Lastly, neglecting ingredient temperature consistency leads to uneven blending. These small but critical mistakes collectively prevent achieving that thick, spoonable milkshake texture that defines a truly premium homemade drink.
Professional Fix for Ultra Thick Creamy Consistency
To achieve the perfect thick milkshake, I always recommend starting with high-quality, full-fat ice cream that is slightly softened but still firm. Limit the milk to just enough to help the blender move, typically a few tablespoons rather than a full cup.
Blend in short pulses instead of continuous mixing to maintain structure and prevent overheating. Pre-chill your serving glass in the freezer for at least 10 minutes to preserve thickness longer.
Another professional tip is to layer ingredients properly, placing milk at the bottom and ice cream on top for smoother blending. If needed, use a high-powered blender but avoid over-processing. These adjustments ensure a dense, creamy, and luxurious milkshake that holds its texture beautifully from the first sip to the last.
Ingredients List
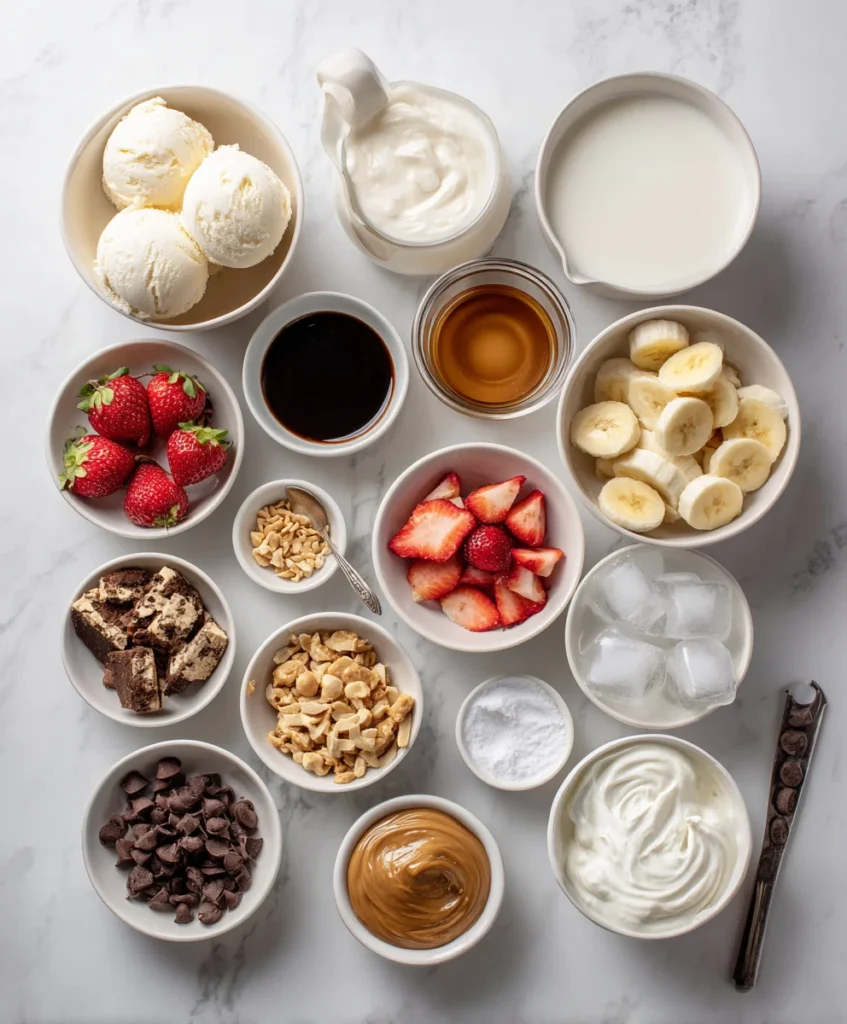
Base Ingredients:
- 2 cups high-quality vanilla ice cream
- ¼ to ½ cup cold whole milk
- 1 teaspoon vanilla extract
Optional Add-ins:
- Chocolate syrup or cocoa powder
- Fresh strawberries or banana
- Crushed cookies or brownies
- Peanut butter
- Whipped cream for topping
- Ice cubes (only if needed for thickness adjustment)
Step-by-Step Instructions
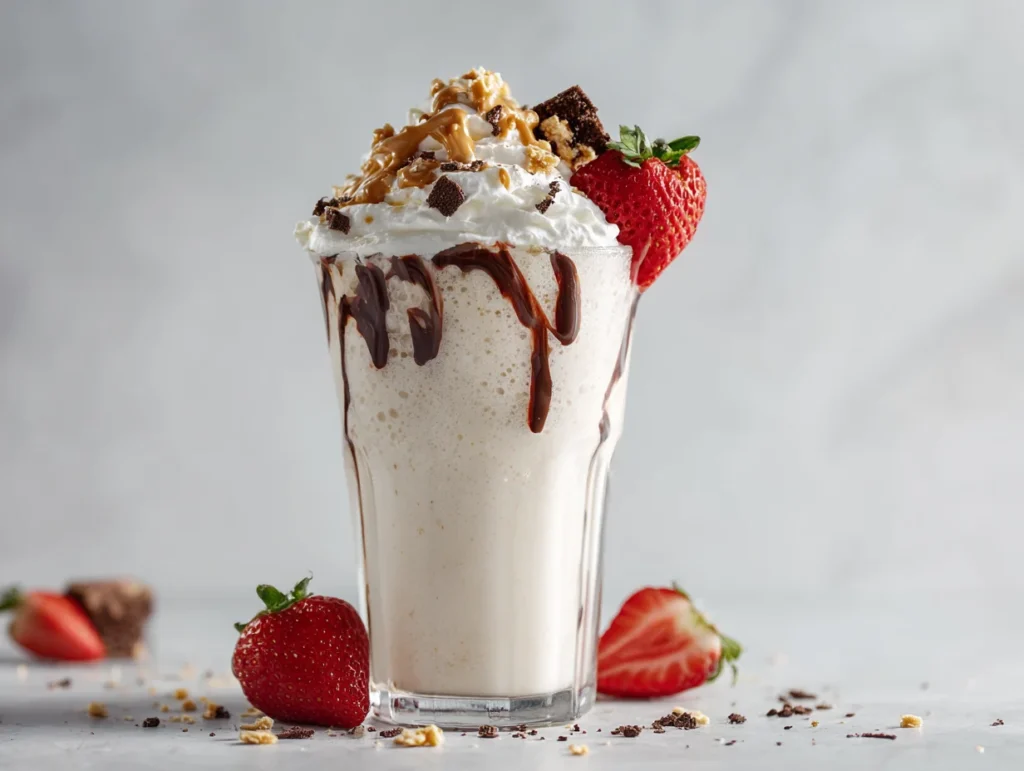
Prepare Ingredients Properly
Start by gathering all your ingredients and ensuring they are at the right temperature. The ice cream should be slightly softened, not melted, to allow easy blending while maintaining thickness. Measure your milk carefully, as this directly impacts the final texture.
If you are adding flavors like chocolate or fruit, prepare them in advance by chopping or measuring. Pre-chill your serving glass in the freezer for at least 10 minutes to help maintain the milkshake’s consistency once poured. This preparation step is often overlooked but plays a crucial role in achieving professional-quality results.
Proper ingredient handling ensures smooth blending, consistent flavor distribution, and a creamy texture that does not separate or melt too quickly during serving.
? Pair your milkshake with a sweet dessert using our Easy Homemade Lemon Curd for a zesty twist.
Blend with Precision
Add milk to the blender first, followed by ice cream and any optional add-ins. This layering helps the blades move efficiently without overworking the mixture. Use short pulses instead of continuous blending to maintain thickness and prevent excessive melting. Blend just until smooth and creamy, avoiding over-processing.
If the mixture seems too thick, add a small amount of milk gradually rather than all at once. The goal is to achieve a dense, spoonable consistency rather than a drinkable one. Professional milkshakes rely on controlled blending to preserve texture. Over-blending introduces air and heat, which can ruin the creamy structure. Precision at this stage ensures a rich, velvety milkshake with a luxurious mouthfeel.
Serve Like a Professional
Once blended, immediately pour the milkshake into your pre-chilled glass to maintain its thick consistency. Use a spatula if needed to transfer every bit of the creamy mixture. Top with whipped cream, chocolate drizzle, or crushed toppings for added texture and visual appeal. Serve with a wide straw or even a spoon for an authentic experience. Timing is essential here, as milkshakes begin to melt quickly if left sitting.
Presentation also enhances the overall experience, making the drink feel indulgent and premium. A well-served milkshake not only tastes better but also creates a memorable impression. This final step transforms a simple homemade drink into a café-style treat that feels both luxurious and satisfying.
Cook Time
Total: 10 minutes
Prep: 10 minutes
Bake: 0 minutes
Servings
This recipe yields approximately two generous servings, making it perfect for sharing or enjoying as a satisfying individual treat. The portion size is designed to provide a rich and indulgent experience without overwhelming the palate. Each serving delivers a thick, creamy consistency that feels substantial and fulfilling. If you are serving guests, you can easily double or triple the recipe without compromising quality. Adjusting portion sizes is simple, but maintaining the correct ingredient ratio is essential for consistency. Whether served in tall glasses for a classic presentation or smaller portions for a tasting experience, this recipe adapts beautifully. The balanced serving size ensures that each glass remains fresh, cold, and perfectly textured from start to finish.
Makes approximately 2 servings
Nutritional Information (approx. per serving)
- Calories: 320–400 kcal
- Protein: 6–8g
- Carbohydrates: 35–45g
- Fat: 15–20g
- Sugar: 28–35g
This milkshake provides a quick source of energy due to its balanced combination of carbohydrates and fats. The protein content supports muscle maintenance, while the fats contribute to satiety and a rich mouthfeel. When made with quality ingredients, it can be a satisfying occasional treat that boosts mood and energy levels. Adding fruits or nuts can enhance nutritional value by increasing fiber, vitamins, and minerals. While indulgent, this milkshake can be customized for healthier variations by adjusting sugar levels or using alternative milk options. Enjoyed in moderation, it offers both comfort and nourishment in a deliciously creamy form.
? For fruit-flavored indulgence, see our Easy Strawberry Cheesecake Cupcakes to complement your milkshake.
Storage Instructions
Milkshakes are best enjoyed immediately after preparation to preserve their thick and creamy texture. However, if you need to store leftovers, transfer the milkshake into an airtight container and place it in the freezer. When ready to consume, allow it to sit at room temperature for a few minutes before re-blending to restore its smooth consistency. Avoid refrigerating for extended periods, as this will cause separation and a watery texture.
If freezing, ensure the container is tightly sealed to prevent ice crystals from forming, which can affect taste and texture. For best results, consume within 24 hours. Proper storage helps maintain flavor integrity, but freshly blended milkshakes will always deliver the most satisfying and premium experience.
Suggestions
For a gourmet twist, experiment with flavor combinations such as chocolate and peanut butter, strawberry and cream, or cookies and cream. You can also enhance presentation by drizzling syrup inside the glass before pouring the milkshake. For a healthier option, substitute part of the ice cream with frozen bananas to maintain thickness while reducing sugar content.
Adding a pinch of salt can elevate sweetness and balance flavors. If you prefer a richer texture, use heavy cream instead of milk in small amounts. Always taste and adjust sweetness based on your preference. These small enhancements allow you to customize the milkshake to suit different occasions, making it versatile, indulgent, and tailored to your personal taste.
Seasonal Relevance
Milkshakes are especially Popular during warmer months when refreshing, cold beverages are in high demand. In summer, they provide a cooling escape while delivering a satisfying treat. Seasonal fruits like mangoes, strawberries, and peaches can be incorporated to enhance freshness and flavor.
During colder months, milkshakes can still be enjoyed as a comforting dessert by using rich flavors like chocolate, caramel, or coffee. Their adaptability makes them suitable year-round. By adjusting ingredients based on seasonal availability, you can keep the recipe exciting and relevant. This flexibility ensures that milkshakes remain a favorite regardless of weather, offering both refreshment and indulgence in every season.
A truly great milkshake is defined by its texture, flavor balance, and presentation. This recipe focuses on precision and quality, ensuring that every glass delivers a thick, creamy, and satisfying experience. By avoiding common mistakes and applying professional techniques, you can consistently achieve café-quality results at home. Whether you enjoy it as a quick treat, a dessert, or a refreshing drink, this milkshake recipe offers versatility and indulgence in every sip. The beauty of this recipe lies in its simplicity combined with expert execution. Once mastered, it becomes a reliable favorite that you can customize endlessly. With the right approach, your homemade milkshake will not just taste good, it will feel exceptional.
? Explore more frozen summer drinks with our How To Make Homemade Watermelon Sorbet recipe.
Frequently Asked Questions
1. Can I make a milkshake without ice cream?
Yes, you can use frozen bananas or thick yogurt as a substitute for ice cream. These alternatives help maintain a creamy texture while reducing sugar and fat content. The result will still be thick and satisfying, though slightly different in flavor profile compared to traditional milkshakes.
2. How can I make my milkshake thicker without adding more ice cream?
Reduce the amount of milk and add ingredients like frozen fruit or a few ice cubes. Blending in short pulses also helps maintain thickness. Another option is adding a small amount of heavy cream for richness without significantly increasing volume or sweetness.
3. What blender works best for milkshakes?
A high-powered blender is ideal for achieving a smooth and consistent texture. However, even a standard blender can work well if you control blending time and ingredient ratios. Avoid over-blending, as it can thin the mixture and reduce the desired creamy consistency.
4. Can I prepare milkshakes in advance for a party?
It is best to prepare milkshakes fresh, but you can pre-measure ingredients and store them chilled. Blend just before serving for optimal texture. If needed, freeze the mixture and re-blend briefly before serving to restore creaminess and consistency.
5. How do I reduce sweetness without affecting flavor?
Use unsweetened milk, reduce added sugar, and incorporate natural ingredients like cocoa or nuts for balance. A small pinch of salt can also enhance flavor while cutting perceived sweetness. This helps create a more refined and less sugary milkshake experience.
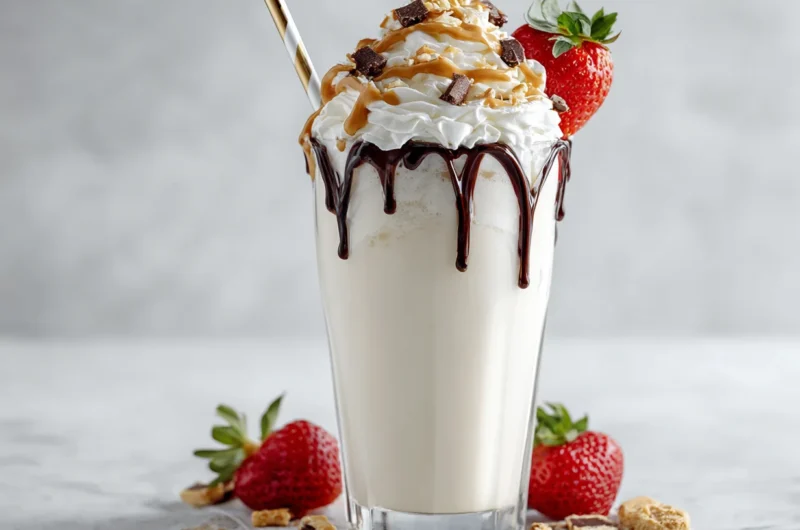
Thick Homemade Milkshakes Recipe Creamy Sweet Drink Everyone Loves
2
servings10
minutes400
kcal10
minutesThis thick homemade milkshake recipe delivers a rich, creamy, and indulgent drink that rivals any café-style treat. Made with high-quality ice cream and perfectly balanced ingredients, it creates a smooth, velvety texture that is both satisfying and refreshing. Ideal for quick desserts, summer drinks, or special treats, this recipe is simple yet expertly crafted for consistent, premium results every time.
? Craving something chocolaty? Try our Creamy Cookies and Cream Ice Cream to enjoy alongside your milkshake.
Ingredients
2 cups high-quality vanilla ice cream
¼ to ½ cup cold whole milk
1 teaspoon vanilla extract
Chocolate syrup or cocoa powder (optional)
Fresh strawberries or banana (optional)
Crushed cookies or brownies (optional)
Peanut butter (optional)
Whipped cream (for topping)
Ice cubes (optional)
Directions
- Slightly soften the ice cream at room temperature for easy blending.
- Add milk to the blender first, followed by ice cream and vanilla extract.
- Include any optional add-ins based on your preferred flavor.
- Blend in short pulses until smooth and creamy, avoiding over-blending.
- Adjust thickness by adding small amounts of milk if needed.
- Pour into a chilled glass and serve immediately.
- Garnish with whipped cream or toppings as desired.
Notes
- Use full-fat ice cream for best texture and flavor.
- Avoid adding too much milk to maintain thickness.
- Pre-chill serving glasses for a longer-lasting cold texture.
- Customize flavors with fruits, syrups, or nut butters.
- Best enjoyed fresh for optimal consistency and taste.