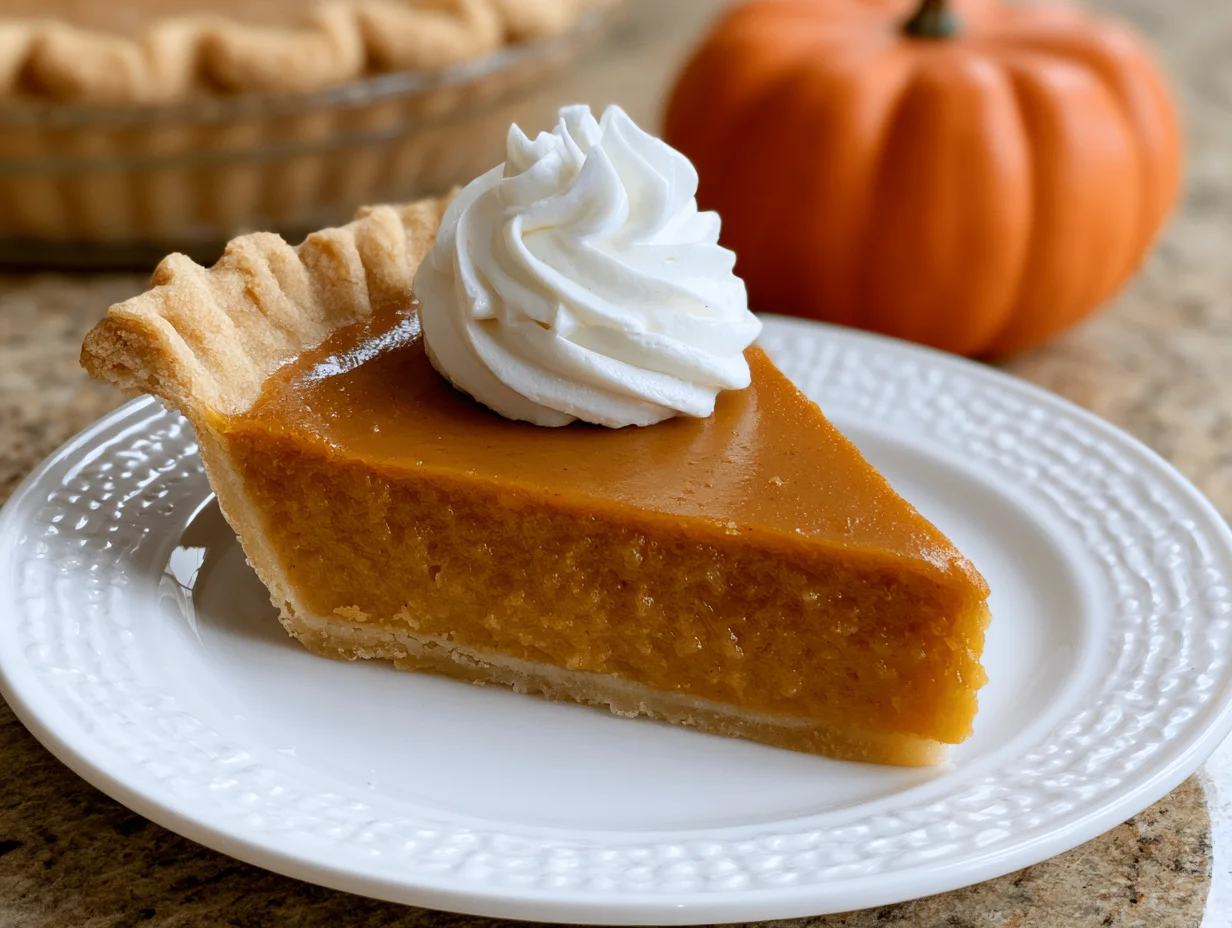
Perfect Pumpkin Pie Recipe
There are pies, and then there is pumpkin pie — the kind that fills a kitchen with the scent of cinnamon and cloves and makes people slow down just to breathe it in. It is one of those rare recipes that carries emotional weight. The moment it comes out of the oven, golden-edged and perfectly set, something shifts in the room. Time feels a little slower. Tables feel a little warmer.
What separates a truly great pumpkin pie from an average one is not a secret spice blend or a complicated technique. It is understanding how each ingredient behaves, how heat sets custard, and why the crust matters as much as the filling. Small decisions made with intention create an outcome that is far from ordinary.
This recipe was developed after years of testing, tweaking, and learning from both beautiful successes and quiet failures. Every element here has been considered — the ratio of eggs to cream, the bloom of the spices, the texture of the crust at the moment the fork breaks through. Nothing is accidental.
Whether you are making this for the first time or refining a recipe you have used for decades, this guide will walk you through everything with clarity and precision. You will not just follow steps — you will understand why each one matters. That understanding is what turns a good cook into a confident one.
Ingredients You’ll Need
Every great pie starts long before the oven is even turned on — it starts with what you place on the counter.
Base Ingredients:
- 1 can (15 oz) pure pumpkin puree (not pumpkin pie filling)
- 3/4 cup granulated white sugar
- 2 large eggs
- 1 large egg yolk
- 1 cup heavy whipping cream
- 1/2 cup whole milk
- 1 teaspoon pure vanilla extract
- 1 teaspoon ground cinnamon
- 1/2 teaspoon ground ginger
- 1/4 teaspoon ground nutmeg
- 1/4 teaspoon ground cloves
- 1/2 teaspoon fine sea salt
- 1 unbaked 9-inch pie crust (homemade or store-bought)
Optional Add-ins:
- 1 tablespoon dark molasses (for deeper color and flavor)
- 1/4 teaspoon ground cardamom (adds floral warmth)
- 1/4 teaspoon allspice (for a more complex spice profile)
- 1 tablespoon bourbon or dark rum (subtle, sophisticated depth)
- 1/2 teaspoon orange zest (brightens the entire filling)
- Whipped cream for serving
- Candied pecans for garnish
Step-by-Step Instructions
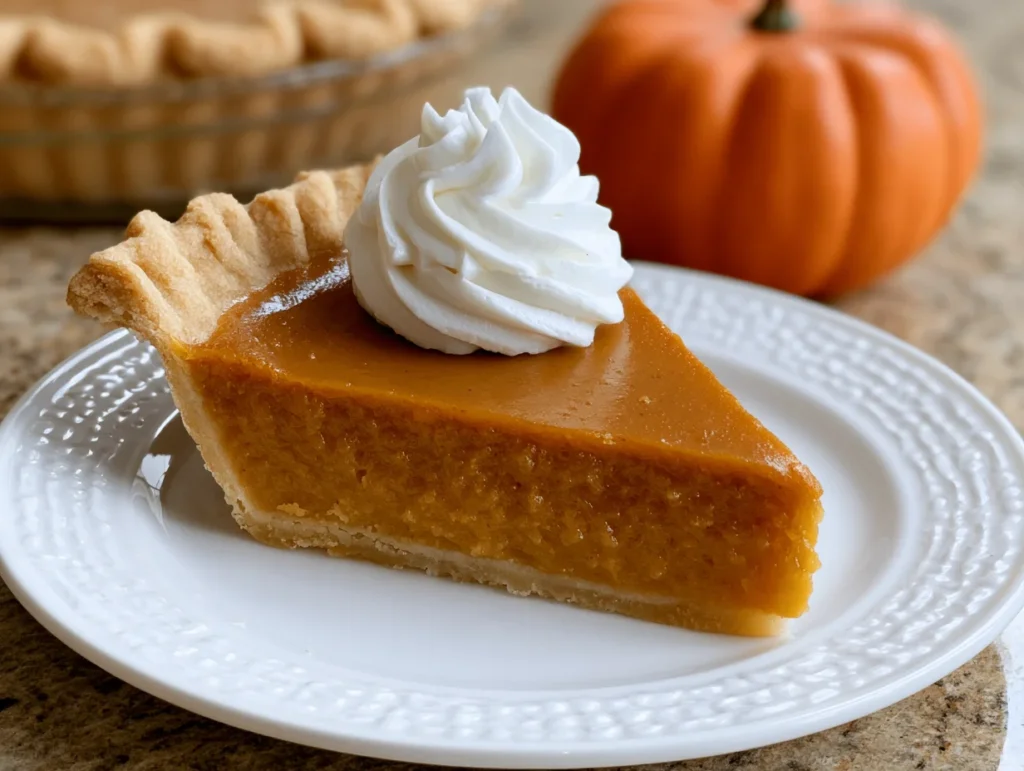
Step 1: Prepare and Blind Bake the Crust
Start by rolling out your pie dough and fitting it into a 9-inch pie dish. Crimp the edges, then refrigerate the crust for at least 30 minutes. This relaxes the gluten and prevents shrinkage. Line the chilled crust with parchment paper and fill with pie weights or dried beans. Bake at 375°F for 15 minutes. Remove the weights and parchment, then bake for another 5 minutes. A partially baked crust ensures the bottom does not turn soggy once the filling goes in.
Step 2: Bloom the Spices
Combine cinnamon, ginger, nutmeg, cloves, and salt directly in a cold saucepan. Heat the pan over medium-low heat for about 60 to 90 seconds, stirring constantly. You will notice the spices releasing their fragrance — that is the essential oils activating. This step takes less than two minutes but dramatically deepens the flavor of the finished pie. Remove from heat and allow the spiced mixture to cool slightly before adding it to the filling.
Step 3: Mix the Filling
In a large mixing bowl, whisk together the pumpkin puree, sugar, eggs, and egg yolk until fully combined and smooth. Add the heavy cream, whole milk, and vanilla extract. Stir in the bloomed spices. Whisk until the filling is uniform and silky with no streaks of egg visible. If you are using any optional add-ins, fold them in at this stage. Do not over-whisk — you want to avoid incorporating too much air, which can cause surface cracking during baking.
Step 4: Fill and Bake
Pour the filling into your partially baked crust, filling it to about a quarter inch from the top edge. Place the pie on the center rack of a preheated oven at 375°F. After 15 minutes, reduce the heat to 350°F. Continue baking until the edges of the filling are set but the center still has a slight jiggle — similar to a barely set gelatin. This jiggle is your signal. Overbaking will result in a cracked, dry filling that has lost its velvety texture.
Step 5: Cool and Set Completely
Remove the pie from the oven and transfer it to a wire cooling rack. Allow it to cool at room temperature for at least two hours without disturbing it. The residual heat continues to gently set the custard from the inside out. Cutting into a warm pie will give you runny slices, no matter how good the recipe is. Once cooled to room temperature, refrigerate for at least two more hours, or overnight, for the cleanest, most elegant slices.
Cook Time
Total:
Approximately 3 hours 20 minutes (including cooling time)
Prep:
25 to 30 minutes
Bake:
50 to 55 minutes
Servings
This recipe is portioned to serve eight people generously from a standard 9-inch pie dish. Each slice is substantial — rich, custardy, and fully satisfying — without needing a second piece to feel complete. The filling-to-crust ratio has been balanced so that every single forkful captures both layers in one bite.
If you are serving a larger group or want to have leftovers to enjoy the next morning alongside a cup of coffee, this recipe doubles beautifully. Two pies can be baked in the same oven simultaneously, placed side by side on the center rack.
Makes approximately 8 slices per pie.
Common Mistakes in This Recipe
One of the most frequent problems home bakers encounter is using pumpkin pie filling instead of pure pumpkin puree. These are not the same product. Pumpkin pie filling is pre-seasoned and pre-sweetened, and adding it to a recipe that already includes sugar and spices creates an overloaded, muddled filling that lacks balance and clarity of flavor.
Another common error is skipping the blind bake step for the crust. Without it, the bottom of the pie absorbs moisture from the filling and bakes up soft and undercooked — commonly referred to as a soggy bottom. No amount of extra baking time can fully recover a crust that was never pre-baked.
Many people also overbake the pie out of uncertainty. Because pumpkin pie is a custard, it should not look fully solid when it comes out of the oven. Waiting until the center is firm before pulling it from the heat means the custard has already gone too far, resulting in a cracked surface and a dense, dry texture that is far from the silky result this recipe aims for.
Finally, rushing the cooling process is a mistake that ruins presentation and texture alike. Pumpkin pie needs time to finish setting after it leaves the oven. Slicing too early breaks the custard structure before it has bonded properly, resulting in slices that collapse or fall apart on the plate.
Solutions to Common Mistakes
Always read the label on your pumpkin can before purchasing. Look specifically for the words “100% pure pumpkin” with no added sugars, spices, or flavoring agents. Libby’s and Farmer’s Market Organic are both reliable, consistent options that perform well in this recipe.
For the crust, blind baking is non-negotiable. If you do not have pie weights, dried beans or raw rice work equally well. The goal is simply to prevent the crust from puffing up during that initial bake. Once the weights come out, the brief additional five minutes in the oven sets a light golden barrier.
To avoid overbaking, use the jiggle test rather than relying on a timer alone. Gently nudge the oven rack — the outer two inches of the filling should be set while the center responds with a soft, slow wobble. Pull the pie at that exact moment and trust the residual heat to finish the job.
For cooling, patience is the only tool required. Set a timer for two hours and walk away. Resist every temptation to check or cut. The pie will reward you with clean edges, a glossy surface, and a custard texture that holds its shape beautifully on the plate.
Nutritional Information (approx. per serving)
- Calories: 320 kcal
- Total Fat: 18g
- Saturated Fat: 9g
- Cholesterol: 95mg
- Sodium: 210mg
- Total Carbohydrates: 35g
- Dietary Fiber: 2g
- Total Sugars: 22g
- Protein: 5g
- Vitamin A: 180% DV
- Vitamin C: 4% DV
- Calcium: 8% DV
- Iron: 10% DV
Pumpkin is one of the most nutrient-dense ingredients in any dessert recipe. A single serving of this pie delivers a substantial portion of your daily Vitamin A requirement, which plays a central role in immune function, skin health, and vision.
The eggs and cream in this filling contribute high-quality protein and fat-soluble vitamins, including Vitamin D and Vitamin K2. These nutrients support bone density, cardiovascular health, and cellular repair — benefits rarely associated with a slice of pie.
The warming spices used in this recipe, particularly cinnamon and ginger, carry well-documented anti-inflammatory properties. Cinnamon has also been studied for its potential role in supporting healthy blood sugar levels, making this a dessert with meaningful nutritional substance.
When enjoyed as part of a balanced diet, a slice of homemade pumpkin pie made with real, whole ingredients offers far more nutritional value than processed alternatives. The difference between a homemade custard and a store-bought one is not just flavor — it is integrity of ingredients.
Storage Instructions
Once the pie has fully cooled and set, cover it loosely with plastic wrap or foil and refrigerate it promptly. Pumpkin pie contains eggs and dairy, which means it should never be left at room temperature for more than two hours. Proper refrigeration is essential for both food safety and maintaining the texture of the custard.
Stored correctly in the refrigerator, the pie will keep well for up to four days. The flavor actually continues to develop overnight as the spices settle into the custard. Many who have made this recipe agree that the pie tastes even better on day two than it does fresh from the oven.
For longer storage, pumpkin pie freezes exceptionally well. Allow the pie to cool completely, then wrap it tightly in plastic wrap followed by a layer of aluminum foil. Freeze for up to one month. When ready to serve, thaw overnight in the refrigerator — never at room temperature — and allow it to come to a cool room temperature for about 20 minutes before slicing.
Avoid storing the pie with any whipped cream already on top, as whipped cream does not freeze or store well. Add garnishes fresh at the time of serving to ensure the presentation looks as good as the pie tastes.
Suggestions
This pie is designed to stand on its own, but a few thoughtful additions can transform it into something truly memorable. A dollop of freshly whipped heavy cream — lightly sweetened and flavored with a touch of vanilla — is the classic companion for good reason. It provides a cool, airy contrast to the dense, spiced warmth of the custard.
For a more elevated dessert experience, consider serving thin slices alongside a scoop of brown butter ice cream or a small pour of salted caramel sauce over the top. The bitterness of the caramel cuts through the richness of the pie in a way that makes the whole thing feel more refined and sophisticated.
If you are serving this at a gathering, consider pre-slicing the pie and plating individual portions rather than bringing the whole pie to the table. Dust each plate lightly with cinnamon and add a sprig of fresh rosemary or thyme for a visual touch that signals thoughtful presentation without overwhelming the dessert itself.
Pumpkin pie also pairs beautifully with hot beverages. A well-brewed cup of chai, a dark roast pour-over, or a spiced apple cider alongside a slice creates a complete sensory experience that guests will remember long after the table has been cleared.
Seasonal Relevance
Pumpkin pie belongs to autumn the way strawberry belongs to summer — instinctively, without argument. It is a recipe deeply embedded in the rhythm of the fall harvest season, when pumpkins are at their peak and the air carries that first real chill that makes comfort food feel essential rather than indulgent.
From late September through November, this recipe fits naturally into everything from casual Sunday dinners to formal holiday tables. It is one of the few desserts that carries enough cultural familiarity to feel traditional while still allowing for personal expression through the choice of spices, crust style, or garnish.
That said, pumpkin pie is by no means limited to the fall months. Canned pumpkin puree is available year-round, and the flavor profile of cinnamon and cloves translates comfortably into winter menus as well. There is something about a slice of pumpkin pie in January, served with thick whipped cream and a hot drink, that feels quietly defiant and wonderfully satisfying.
Baking seasonally — even when you have the ingredients available all year — is a mindset that adds intention to the kitchen. Making this pie in October feels connected to something larger than the recipe itself. That sense of occasion, of marking a season with a specific flavor, is part of what makes this dessert endure across generations and across tables.
Final Words
This recipe represents everything a great pie should be — honest, well-constructed, and deeply satisfying. It does not rely on complexity or novelty to impress. It relies on good technique, quality ingredients, and a genuine respect for the process of baking something from scratch.
If this is your first time making pumpkin pie, allow yourself the full experience. Take your time with the crust. Bloom your spices. Watch the custard as it bakes and pay attention to how it moves. These are the small moments of learning that accumulate into real culinary confidence over time.
If you are an experienced baker returning to this recipe, approach it with fresh eyes. There is always something to refine — a slightly different spice ratio, a new crust technique, a pairing you have not tried before. The best recipes are not static; they grow with the cook who makes them.
Whatever brings you to this recipe, I hope the result is something you are genuinely proud of. A pie made with care and attention has a quality that cannot be manufactured. It shows in the texture, in the aroma, and in the way people at your table reach for a second slice without hesitation.
Frequently Asked Questions
Can I use fresh pumpkin instead of canned pumpkin puree?
Yes, but it requires extra effort. Roast a sugar pumpkin, scoop the flesh, and blend until smooth. Strain the puree through a cheesecloth to remove excess moisture. Fresh puree tends to be more watery than canned, which can affect the custard’s texture and baking time.
Why did my pumpkin pie crack on top?
Cracking is almost always caused by overbaking. The custard expands during baking and contracts as it cools. When baked past the point of that gentle center jiggle, the rapid contraction creates surface fractures. A cracked pie still tastes excellent — but pulling it out earlier will give you that smooth, unbroken surface.
Can I make the pie crust ahead of time?
Absolutely. Pie dough can be prepared up to three days in advance and stored tightly wrapped in the refrigerator. It can also be frozen for up to three months. Simply thaw overnight in the refrigerator before rolling. Making the crust ahead reduces day-of stress and allows the dough to rest properly for a more tender, flaky result.
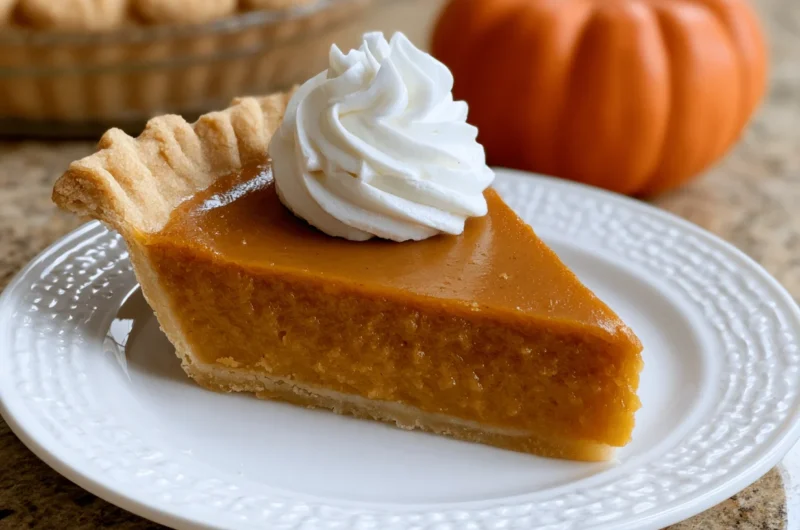
Perfect Pumpkin Pie Recipe
8
servings30
minutes55
minutes320
kcal1
hour25
minutesThis Perfect Pumpkin Pie delivers a silky, spiced custard in a golden, flaky crust. Made with pure pumpkin, warm spices, and real cream, it is the kind of timeless homemade dessert that belongs on every holiday table.
Ingredients
Base Ingredients:
1 can (15 oz) pure pumpkin puree
3/4 cup granulated white sugar
2 large eggs
1 large egg yolk
1 cup heavy whipping cream
1/2 cup whole milk
1 teaspoon pure vanilla extract
1 teaspoon ground cinnamon
1/2 teaspoon ground ginger
1/4 teaspoon ground nutmeg
1/4 teaspoon ground cloves
1/2 teaspoon fine sea salt
1 unbaked 9-inch pie crust
Optional Add-ins:
1 tablespoon dark molasses
1/4 teaspoon ground cardamom
1/4 teaspoon allspice
1 tablespoon bourbon or dark rum
1/2 teaspoon orange zest
Whipped cream for serving
Candied pecans for garnish
Directions
- Roll out pie dough, fit into a 9-inch pie dish, crimp the edges, and refrigerate for 30 minutes. Line with parchment, fill with pie weights, and blind bake at 375°F for 15 minutes. Remove weights and bake 5 more minutes. Set aside.
- Heat cinnamon, ginger, nutmeg, cloves, and salt in a dry saucepan over medium-low heat for 60 to 90 seconds, stirring constantly, until fragrant. Remove from heat and let cool slightly.
- In a large bowl, whisk together pumpkin puree, sugar, eggs, and egg yolk until smooth. Add heavy cream, whole milk, and vanilla extract. Stir in the bloomed spices and any optional add-ins. Mix until fully combined without over-whisking.
- Pour the filling into the partially baked crust, filling to about 1/4 inch from the top edge. Bake at 375°F for 15 minutes, then reduce to 350°F and bake for 35 to 40 more minutes, until edges are set and center has a slight jiggle.
- Remove from oven and cool on a wire rack for at least 2 hours. Refrigerate for a minimum of 2 additional hours or overnight before slicing and serving.
Recipe Video
Notes
- Always use pure pumpkin puree, not pumpkin pie filling. The labels look similar — read carefully before purchasing.
- Blind baking the crust is essential. Skipping this step will result in a soggy, undercooked bottom crust.
- Do not overbake. The center of the pie should still jiggle gently when removed from the oven — it will finish setting as it cools.
- Allow the pie to cool fully before slicing. Cutting too early breaks the custard structure and results in messy, unclean slices.
- The pie tastes even better on day two once the spices have had time to fully settle into the custard.
- Store covered in the refrigerator for up to 4 days, or freeze tightly wrapped for up to 1 month.
- Add whipped cream or garnishes only at the time of serving — never store the pie with toppings already applied.