Crispy Baked Chicken Wings Recipe
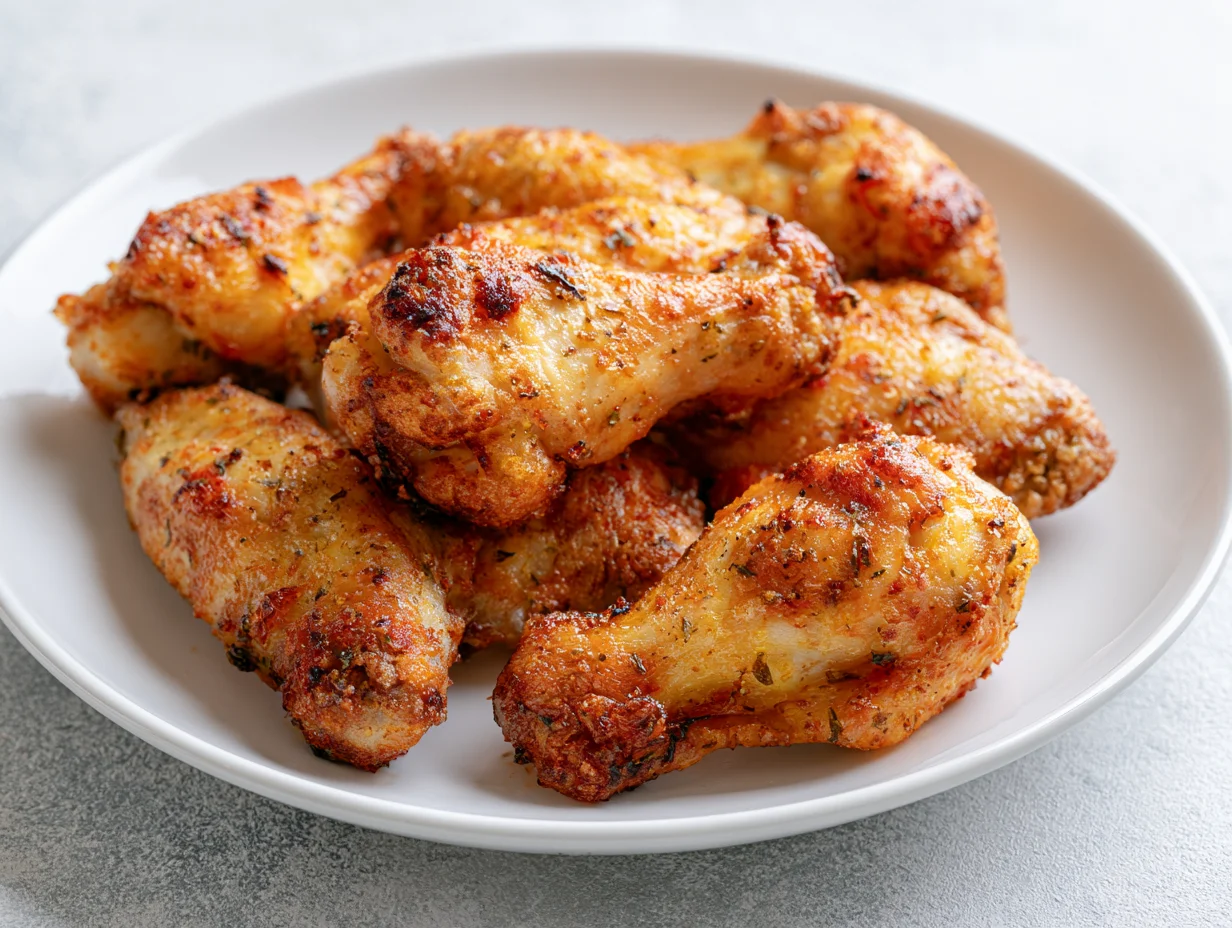
There is a specific kind of satisfaction that comes from biting into a chicken wing with skin so crispy it actually shatters — and knowing you made it in your oven, not a deep fryer. That combination of crunch, juicy meat, and bold seasoning is what this recipe is built around, and it delivers every single time.
Most people assume that kind of crispiness is exclusive to frying. It is not. The right technique, the right temperature, and one key ingredient in the preparation process change everything. What you get is a wing with a genuinely crackling exterior and tender, flavorful meat that pulls cleanly from the bone.
This recipe works for game day, a casual weeknight dinner, a party spread, or honestly just a Tuesday when you want something that hits hard. It is crowd-pleasing without being fussy, and it scales easily whether you are feeding two or twenty.
Once you understand what actually makes a baked wing crispy — and this recipe shows you exactly that — you will never feel the need to deep fry again.
Ingredients You’ll Need
What you season these wings with matters just as much as how you cook them — and this lineup was built to create a crust that is bold, layered, and impossible to stop eating.
One of the things I love about this recipe is that it uses simple pantry ingredients. You probably already have most of them in your kitchen.
Base Ingredients:
- 2.5 lbs chicken wings (split into flats and drumettes)
- 1 tbsp baking powder (aluminum-free — this is the crispiness secret)
- 1 tsp fine sea salt
- 1 tsp black pepper, freshly ground
- 1 tsp garlic powder
- 1 tsp onion powder
- 1 tsp smoked paprika
- 1 tbsp olive oil
- 1 tbsp cornstarch
Optional Add-ins:
- 1 tsp cayenne pepper (for heat)
- 1 tsp dried oregano (for an herby note)
- 1 tsp brown sugar (adds caramelized depth to the crust)
- 1 tbsp hot sauce, tossed after baking (Buffalo-style finish)
- 2 tbsp melted butter, combined with hot sauce (classic Buffalo glaze)
- 1 tsp lemon zest (brightens the seasoning blend beautifully)
Step-by-Step Instructions
Step 1: Dry the Wings Thoroughly
This step is the foundation of everything. Pat each wing completely dry using paper towels — both sides, the skin, the underside, all of it. Any surface moisture will steam inside the oven and soften the skin rather than crisp it. For the best results, after patting dry, place the wings uncovered on a wire rack in the refrigerator for at least one hour or up to overnight. This air-drying step pulls additional moisture from the skin and sets you up for a crunch that no amount of seasoning alone can achieve.
Step 2: Season with the Crispiness Blend
In a large mixing bowl, combine the baking powder, salt, black pepper, garlic powder, onion powder, smoked paprika, and cornstarch. Add the dried wings to the bowl and drizzle with olive oil. Toss until every wing is evenly coated — no bare patches, no clumps of seasoning. The baking powder raises the pH of the skin during baking, which accelerates browning and creates a dry, crackly exterior. The cornstarch reinforces that crust. Together they do what a deep fryer would, without the oil.
Step 3: Set Up the Rack and Preheat
Line a large rimmed baking sheet with aluminum foil for easy cleanup, then place a wire rack on top. Lightly spray or brush the rack with oil to prevent sticking. Arrange the wings in a single layer, skin-side up, with space between each piece. Crowding the pan is one of the most common mistakes — it traps steam and kills the crispiness before it starts. Preheat your oven to 250°F first. This low initial temperature is intentional and part of the two-stage baking method that makes this recipe work.
Step 4: Bake Low, Then High
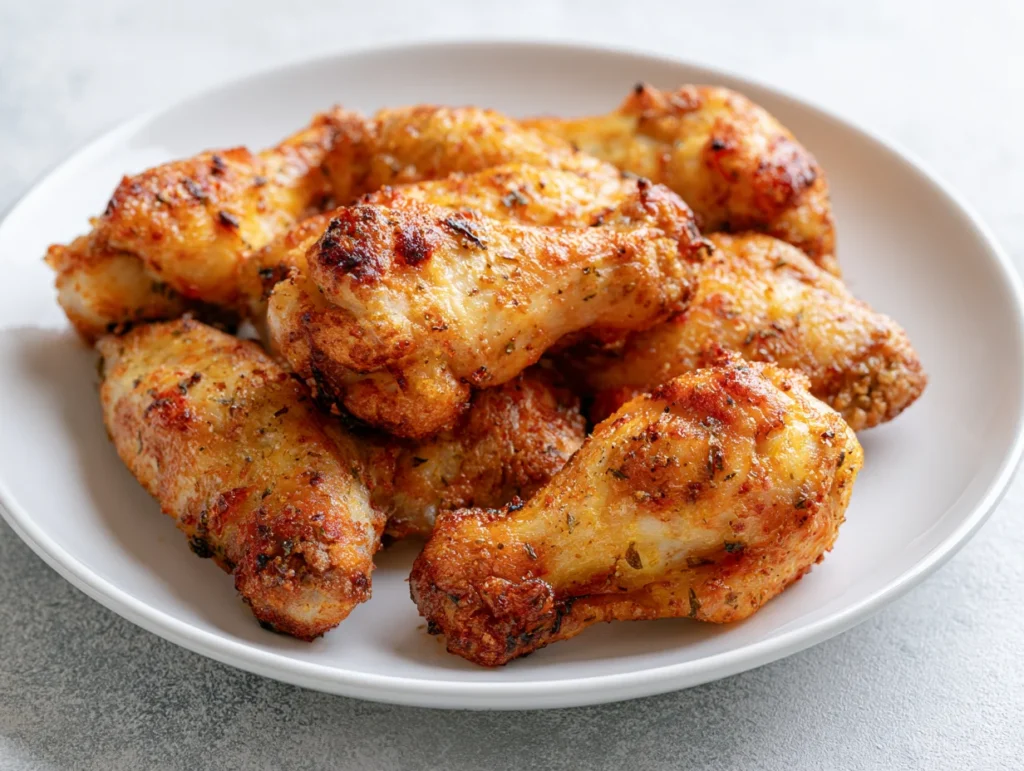
Place the wings in the oven at 250°F for 30 minutes. This low-heat stage slowly renders the fat from under the skin, which is what creates that papery, thin layer that crisps so dramatically in the next phase. After 30 minutes, increase the oven temperature to 425°F without opening the door. Bake for an additional 40 to 45 minutes, flipping the wings once at the halfway point. By the end, the skin should be deep golden, visibly blistered in places, and audibly crisp when you tap it lightly.
Step 5: Glaze, Rest, and Serve
Remove wings from the oven and let them rest on the rack for 3 to 5 minutes. If you are going with a glaze — Buffalo, honey garlic, teriyaki, or anything else — toss the wings in the sauce immediately after resting while they are still hot so the glaze clings and absorbs. Serve them on a platter with celery sticks, carrot batons, and your dipping sauce of choice. Blue cheese dressing and ranch are the classics. Do not stack the wings if you want to preserve the crunch — keep them in a single layer until they hit the table.
Cook Time
Total:
Approximately 1 hour 20 minutes (plus optional 1-hour air-dry)
Prep:
10 minutes active prep + 1 hour air-dry (recommended)
Bake:
30 minutes at 250°F + 40 to 45 minutes at 425°F
Servings
This recipe uses 2.5 pounds of chicken wings, which typically yields around 20 to 24 individual pieces depending on how they are split. As a main course, this serves two to three hungry adults. As part of a spread with other dishes, dips, and sides, it comfortably feeds four to six people.
The recipe scales very well. Simply multiply the seasoning blend proportionally and use two baking sheets if needed — just be sure not to crowd the rack regardless of how large your batch is. Both sheets can go in the oven simultaneously if you rotate them halfway through baking.
Makes approximately 4 servings as an appetizer or 2 servings as a main.
Common Mistakes in This Recipe
The single most damaging mistake is skipping the drying step. Wet skin cannot crisp in an oven — it steams. Many home cooks go straight from the package to the seasoning bowl, and then wonder why their baked wings come out soft and rubbery. Taking the extra time to pat dry and air-dry in the refrigerator is not optional if crispiness is the goal.
Using regular baking soda instead of baking powder is another error that catches people off guard. Baking soda is far more alkaline and will leave a metallic, soapy aftertaste on the skin. Baking powder — specifically aluminum-free — is what you need. It is gentler and produces the right chemical reaction without affecting flavor.
Overcrowding the baking rack is a mistake that seems harmless but completely undermines the cooking environment. Wings packed tightly together trap moisture between them, creating steam that softens rather than crisps the skin.
Finally, skipping the two-stage temperature method and baking everything at a single high temperature often leads to burnt seasoning on the outside and undercooked meat near the bone. The low-then-high approach is what separates genuinely crispy baked wings from mediocre ones.
Solutions to Common Mistakes
Make drying a deliberate part of your process. As soon as you bring the wings home, pat them dry, place them on a rack, and leave them uncovered in the refrigerator. Even a one-hour dry makes a significant difference. An overnight dry is even better and requires no additional active effort on your part.
Double-check your leavening agent before you season. Look for baking powder labeled aluminum-free — most quality grocery store brands carry it. If you are ever unsure, check the ingredient list on the can and confirm there is no sodium aluminum sulfate listed.
Always use a wire rack on top of your baking sheet rather than placing wings directly on foil or parchment. The rack elevates the wings, allowing hot air to circulate underneath and crisp the bottom side while the top does the same. Without the rack, the underside simply sits in its own rendered fat and never crisps properly.
Trust the two-stage bake. The 30 minutes at 250°F feels slow, but it is doing critical work — gently rendering subcutaneous fat so that the high-heat phase crisps clean skin rather than skin still full of moisture and fat.
Nutritional Information (approx. per serving)
- Calories: 380 kcal
- Protein: 34g
- Total Fat: 24g
- Saturated Fat: 6g
- Carbohydrates: 5g
- Sugar: 0.5g
- Fiber: 0.3g
- Sodium: 620mg
- Cholesterol: 105mg
- Vitamin B6: 22% DV
- Phosphorus: 18% DV
- Zinc: 15% DV
Chicken wings, despite their reputation as party food, are genuinely protein-dense. Each serving in this recipe delivers over 34 grams of protein, making them a meaningful source of muscle-supporting nutrition — particularly when baked rather than fried in heavy oil.
Because this recipe uses baking rather than deep frying, the total fat content is significantly lower than a restaurant or takeout equivalent. You are getting the full flavor and texture payoff without the excess oil absorption that frying adds, which can easily double the caloric load of the same amount of chicken.
The spice blend in this recipe — smoked paprika, garlic powder, black pepper — is not just flavor. These ingredients carry real antioxidant value. Paprika is rich in carotenoids, garlic has well-established cardiovascular benefits, and black pepper contains piperine, a compound that enhances the bioavailability of other nutrients consumed in the same meal.
Chicken is one of the best dietary sources of B vitamins, particularly B6 and niacin. These are essential for energy metabolism and neurological function. A serving of these wings contributes meaningfully to daily B6 intake, supporting both sustained energy and cognitive clarity throughout the day.
Storage Instructions
Leftover baked chicken wings store well and reheat better than most fried alternatives, largely because baking renders the fat more completely, leaving the skin less greasy and more stable over time. Allow the wings to cool completely before storing — placing hot wings in a sealed container creates condensation that will soften the skin.
Store cooled wings in an airtight container in the refrigerator for up to four days. For best results, line the container with a paper towel to absorb any residual moisture that develops during storage. Single layers are ideal if your container allows it.
To reheat and restore crispiness, the oven or air fryer is far superior to the microwave. Place leftover wings on a wire rack over a baking sheet and heat at 400°F for 10 to 12 minutes. An air fryer at 380°F for 6 to 8 minutes is even faster and does an excellent job of reviving the crunch.
For longer storage, wings freeze well. Lay them flat on a parchment-lined sheet to freeze individually before transferring to a freezer bag. They will keep for up to two months. Reheat directly from frozen in a 400°F oven for 18 to 20 minutes, flipping once halfway through.
Suggestions
These wings are endlessly adaptable once you have the base recipe down. The plain seasoned version is excellent on its own, but the real fun begins when you start experimenting with sauces and glazes. Classic Buffalo is the obvious starting point — equal parts hot sauce and melted butter, tossed immediately after baking. But honey garlic, lemon pepper, Korean gochujang glaze, or a dry Parmesan herb rub are all equally compelling directions.
For a complete game day spread, serve these alongside loaded nachos, a creamy blue cheese dip, and cold drinks. The wings hold their crunch well for 15 to 20 minutes after coming out of the oven, which gives you enough time to plate everything without rushing.
If you are serving guests with different heat tolerances, season and bake all the wings identically, then divide them into batches after baking and toss each in a different sauce. One batch goes Buffalo, one goes honey garlic, one stays dry-rubbed. Everyone gets what they want from a single base recipe.
For a lighter meal, pair the wings with a crisp cucumber and red onion salad dressed with rice vinegar, sesame oil, and a pinch of chili flakes. The acidity and freshness cut through the richness of the wings and make the whole plate feel more balanced and intentional.
Seasonal Relevance
Crispy baked chicken wings are most naturally at home during fall and winter — football season, game day gatherings, and holiday parties are practically built around them. The oven-baked method is especially practical during cold months when outdoor grilling is less appealing, and the warm, spiced aroma filling the kitchen is its own reward.
In summer, these wings translate seamlessly to outdoor entertaining when you want something crowd-pleasing but do not want to stand over a hot grill. Bake them inside and carry them out — they hold their heat and crunch well enough to be served at a picnic table or backyard gathering without any loss of quality.
Spring occasions — Super Bowl watch parties aside — tend to favor lighter fare, but wings always find a welcome place at the table. A lemon herb variation with bright citrus notes and fresh herbs suits the season particularly well and feels less heavy than a classic Buffalo preparation.
The beauty of this recipe is that it requires no seasonal produce and no specialty ingredients that are hard to source at any time of year. That makes it a reliable go-to regardless of what month it is or what occasion you are cooking for. Some recipes are seasonal treats. This one is a year-round staple.
Final Words
Crispy baked chicken wings represent exactly what good home cooking should be — a technique-driven recipe that produces genuinely impressive results without requiring professional equipment or advanced skill. The learning curve here is practically flat. Once you understand why each step matters, the whole recipe clicks into place.
The baking powder, the air-dry, the two-stage temperature, the wire rack — none of these are arbitrary. Each one exists to solve a specific problem that stands between you and a perfectly crispy wing. Follow the process once and you will understand it intuitively by the second batch.
What makes this recipe particularly satisfying is that it outperforms expectations. People who try these wings often cannot believe they came out of a home oven. That moment — when someone reaches for a second wing before they have finished the first — is the best feedback a recipe can receive.
Keep this one in your regular rotation. Adjust the seasoning, play with the sauces, and make it your own over time. A foundational recipe like this is not a destination — it is a starting point for something you will keep refining and returning to for years.
Frequently Asked Questions
Do I need to flip the wings during baking, and does it actually make a difference?
Yes, flipping once at the midpoint of the high-heat stage makes a real difference. It ensures both sides develop an even crust and prevents the underside from sitting in rendered fat for too long. Flip them at around the 20-minute mark of the 425°F phase for the best results on both sides.
Can I use frozen chicken wings directly, or do they need to be fully thawed first?
Always thaw completely before using. Frozen wings release a significant amount of water as they cook, which steams the skin from the inside and prevents crisping entirely. Thaw overnight in the refrigerator, pat thoroughly dry, and then proceed with the air-dry step before seasoning for the best possible result.
Why does my oven produce wings that are crispy right out of the oven but soft within minutes of resting?
This usually means the fat under the skin was not fully rendered during the low-heat phase. Extend the 250°F stage by 10 extra minutes next time. Also ensure the wings are elevated on a wire rack so steam escapes freely. Glazing too early — before the wings have rested — can also trap moisture and soften the crust quickly.
Crispy Baked Chicken Wings Recipe
4
servings10
minutes1
hour10
minutes380
kcal1
hour20
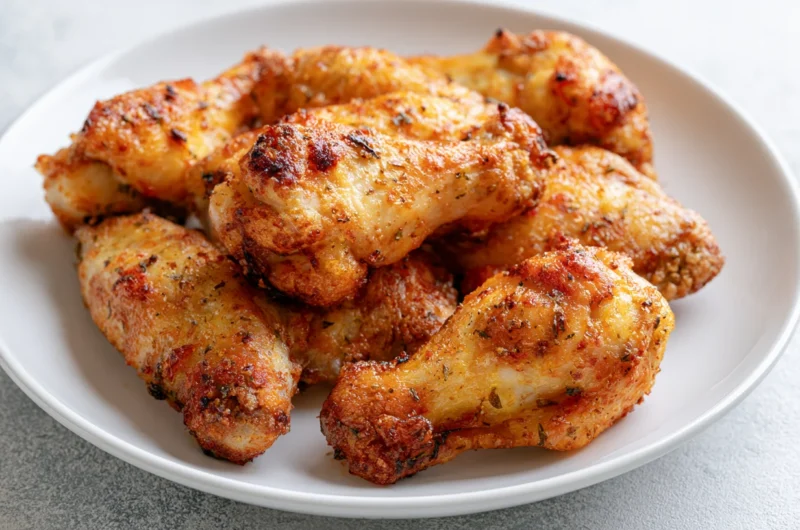
minutesPerfectly crispy baked chicken wings with a shattering golden crust — no deep fryer needed. A simple two-stage baking method and pantry seasonings deliver bold flavor and real crunch every single time.
Ingredients
Base Ingredients:
2.5 lbs chicken wings (split into flats and drumettes)
1 tbsp baking powder (aluminum-free)
1 tsp fine sea salt
1 tsp black pepper, freshly ground
1 tsp garlic powder
1 tsp onion powder
1 tsp smoked paprika
1 tbsp olive oil
1 tbsp cornstarch
Optional Add-ins:
1 tsp cayenne pepper
1 tsp dried oregano
1 tsp brown sugar
1 tbsp hot sauce (tossed after baking)
2 tbsp melted butter combined with hot sauce (Buffalo glaze)
1 tsp lemon zest
Directions
- Pat each wing completely dry with paper towels. For best results, place wings uncovered on a wire rack in the refrigerator for 1 hour or overnight to air-dry and remove excess surface moisture.
- In a large bowl, combine baking powder, salt, black pepper, garlic powder, onion powder, smoked paprika, and cornstarch. Add wings and drizzle with olive oil. Toss until every wing is evenly and fully coated.
- Line a rimmed baking sheet with foil and place a lightly oiled wire rack on top. Arrange wings skin-side up in a single layer with space between each piece. Do not crowd the rack.
- Preheat oven to 250°F. Bake wings for 30 minutes to slowly render the fat beneath the skin.
- Without opening the oven door, increase temperature to 425°F. Bake for an additional 40 to 45 minutes, flipping wings once at the halfway point, until skin is deep golden and visibly crisp.
- Remove from oven and rest on the rack for 3 to 5 minutes. Toss in your preferred glaze or sauce immediately after resting if desired. Serve with celery, carrots, and dipping sauce.
Recipe Video
Notes
- Use aluminum-free baking powder only — regular baking soda will leave a metallic aftertaste on the skin.
- The air-dry step in the refrigerator is highly recommended and makes a noticeable difference in crispiness.
- Never skip the wire rack — it allows hot air to circulate underneath the wings and crisps both sides evenly.
- Do not crowd the baking sheet; wings need space between them so moisture escapes and skin crisps properly.
- The two-stage baking method (low heat first, then high heat) is what separates genuinely crispy baked wings from soft ones — do not skip or combine the stages.
- For Buffalo-style wings, toss immediately after resting in equal parts melted butter and hot sauce while wings are still hot.
- Reheat leftovers in a 400°F oven for 10 to 12 minutes or in an air fryer at 380°F for 6 to 8 minutes to restore crunch.
- Wings freeze well for up to 2 months. Reheat directly from frozen at 400°F for 18 to 20 minutes, flipping once.