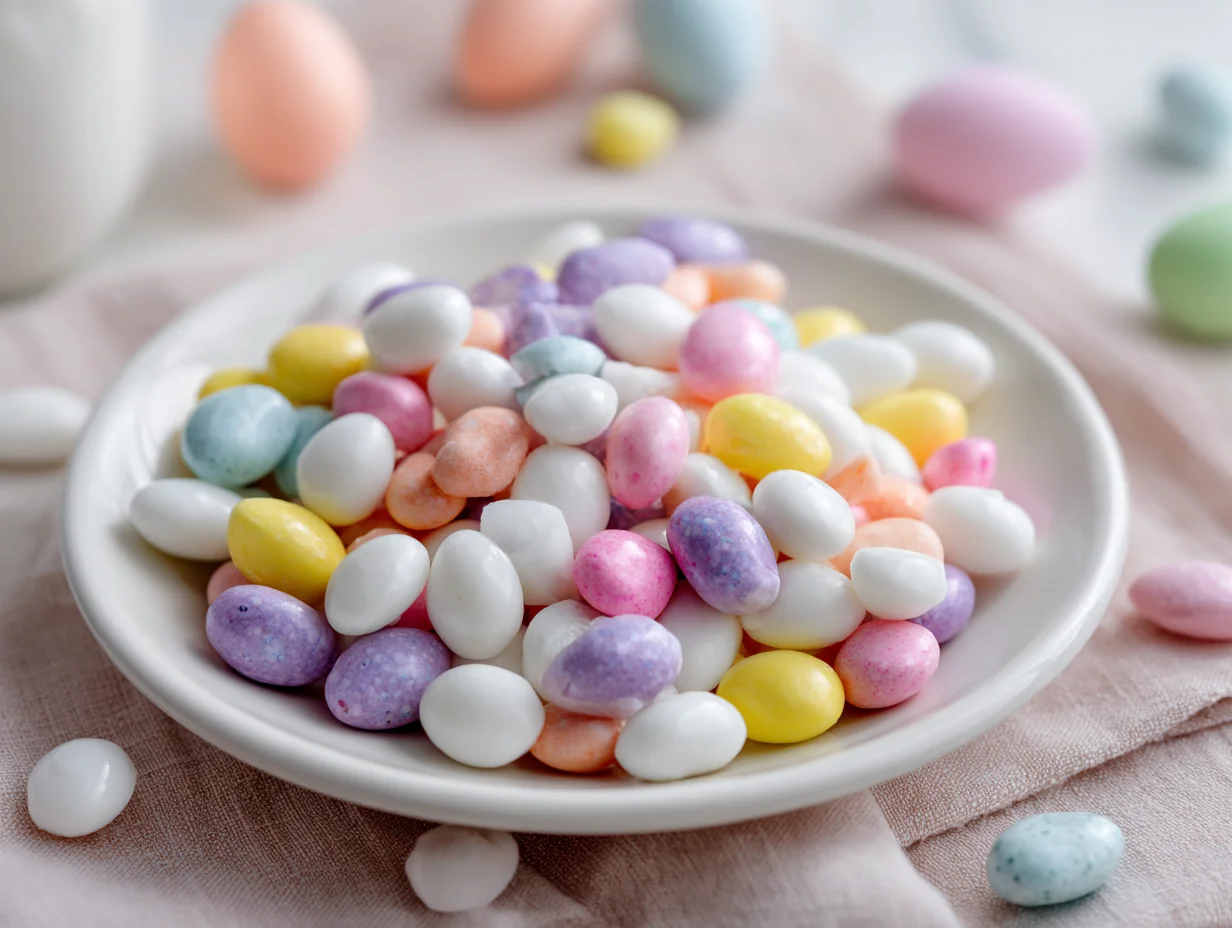
Every Easter season, I find myself returning to simple homemade desserts that create warmth around the table and bring genuine excitement to family gatherings. This Easy Easter Candy Recipe for Home has become one of my favorite holiday treats because it combines rich chocolate flavor, creamy texture, and festive presentation without requiring professional baking equipment.
I created this recipe for home cooks who want elegant Easter candy that looks impressive yet feels approachable and stress free to make. Over the years, I have tested different chocolate combinations, fillings, and decorating techniques, and this version consistently delivers the best balance of flavor and texture.
Whether I am preparing dessert trays for Easter brunch or packaging homemade sweets as gifts, these candies always disappear quickly. They are colorful, comforting, and perfect for anyone who wants a reliable homemade Easter dessert with bakery style results at home.
? If you love creamy layered desserts, you’ll also enjoy our No Bake Cheesecake Recipe.
The Easter Candy Mistake I Learned the Hard Way
When I first started making homemade Easter candy, I believed melting chocolate quickly would save time and still produce perfect results. That assumption completely changed after several disappointing batches with thick, grainy chocolate coatings that looked dull instead of smooth and glossy.
One of the biggest mistakes I see home bakers make is overheating chocolate or mixing ingredients that are too cold directly into warm melted chocolate. I also learned that skipping proper chilling time creates soft candy centers that lose shape during dipping.
Another issue comes from rushing decorations before the coating begins setting properly. Moisture exposure is another hidden problem because even a few drops of water can ruin melted chocolate instantly. Through experience, I realized that patience, careful temperature control, and preparation matter far more than complicated ingredients when creating beautiful Easter candy at home.
How I Finally Perfected My Homemade Easter Candy
After testing this recipe many times, I discovered that the secret to professional looking Easter candy is controlling every small detail during preparation. I now melt chocolate slowly using short microwave intervals or a double boiler because gentle heat keeps the texture smooth and glossy.
Before mixing fillings, I always allow butter and peanut butter to reach room temperature for a creamier consistency. I also chill the candy centers before coating them, which helps maintain clean shapes and prevents melting while dipping.
Another technique that improved my results was decorating candies while the chocolate remained slightly soft so toppings stick evenly without sliding off later. Proper storage also makes a noticeable difference because airtight containers preserve texture and freshness longer.
These simple adjustments completely transformed my homemade Easter candy from average holiday treats into desserts that consistently look polished, festive, and professionally prepared every Easter season.
Ingredients List
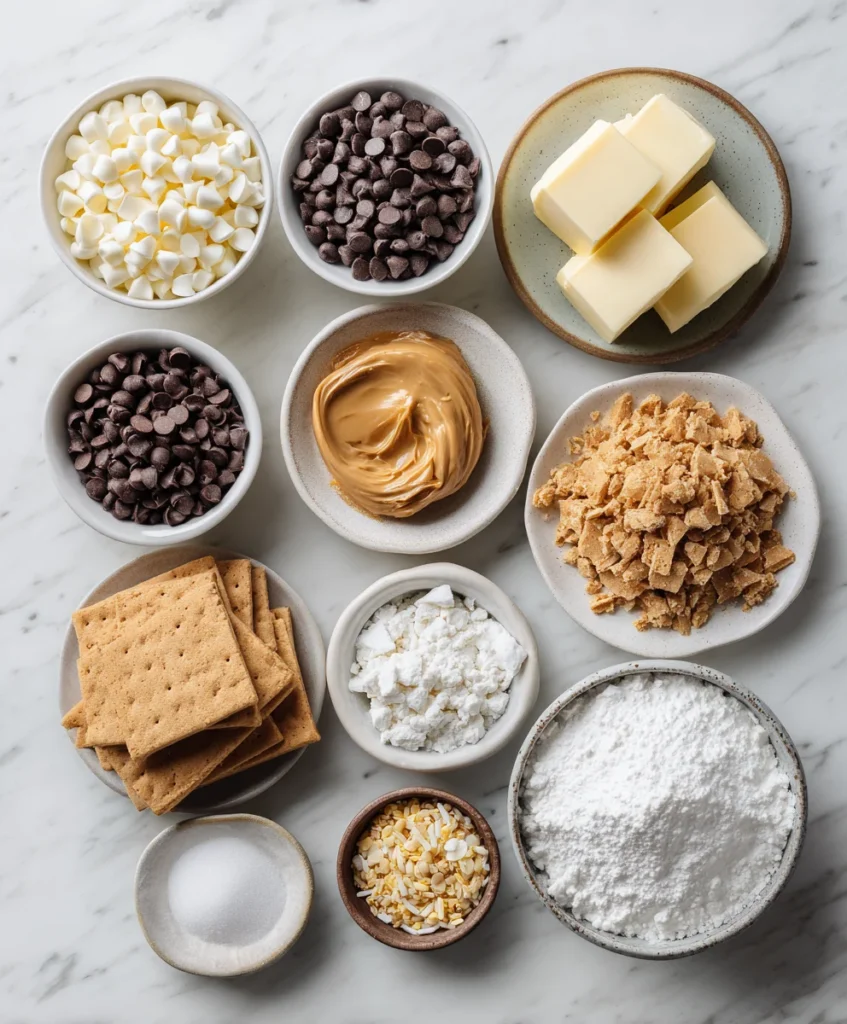
Base Ingredients:
- 2 cups milk chocolate chips
- 1 cup white chocolate chips
- 4 tablespoons unsalted butter
- 1 cup peanut butter
- 2 cups powdered sugar
- 1 teaspoon vanilla extract
- 1 cup crushed graham crackers
- 1 pinch salt
- Parchment paper for lining trays
Optional Add-ins:
- Mini marshmallows
- Crushed Easter candies
- Colorful sprinkles
- Coconut flakes
- Chopped almonds or walnuts
- Pastel food coloring
- Caramel drizzle
- Crushed cookies for topping
Step-by-Step Instructions
How I Prepare the Candy Filling
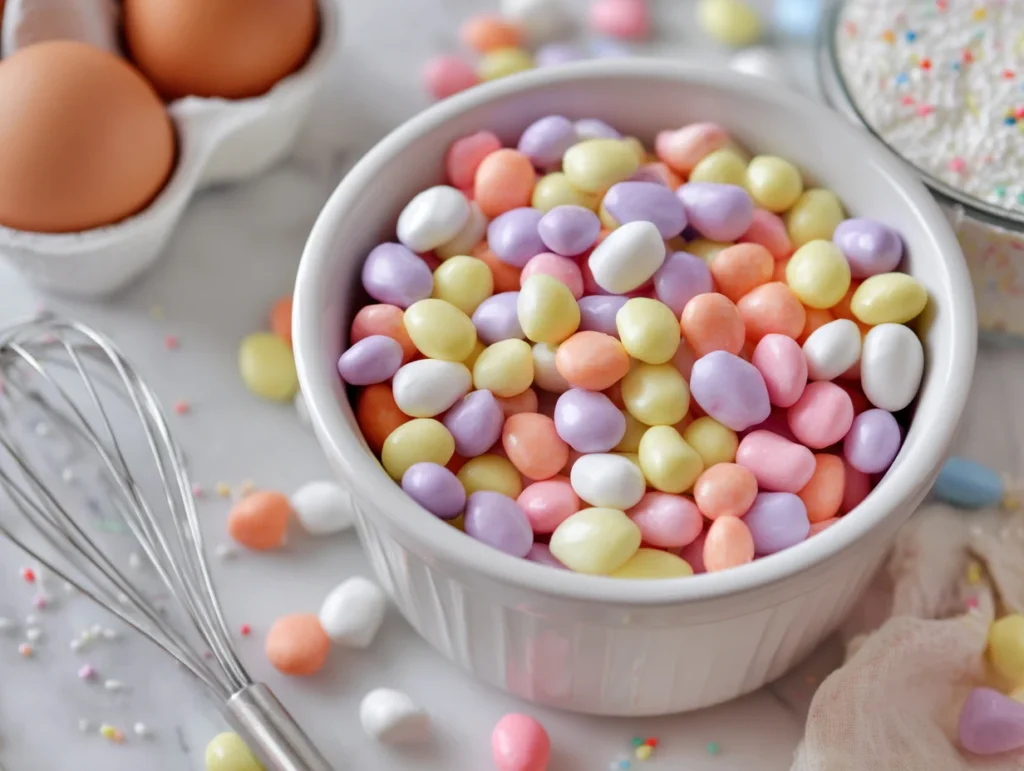
I always begin by lining a tray with parchment paper because it keeps the candies from sticking and makes cleanup much easier later. In a saucepan over low heat, I melt the butter slowly before stirring in peanut butter until the mixture becomes smooth and creamy. After removing it from heat, I mix in powdered sugar, vanilla extract, crushed graham crackers, and a small pinch of salt.
I continue stirring until the filling feels thick but still soft enough to shape comfortably by hand. Once the mixture cools slightly, I form small egg shapes or candy balls and place them evenly on the prepared tray. I then refrigerate the tray for about twenty minutes because chilled centers hold their shape much better during the chocolate coating process and create cleaner, more professional looking Easter candies.
My Favorite Chocolate Coating Method
For the smoothest coating, I melt chocolate slowly instead of rushing the process. I place chocolate chips in a microwave safe bowl and heat them in short intervals while stirring after each round. This prevents overheating and keeps the chocolate glossy rather than thick or grainy. Once melted, I remove the chilled candy centers from the refrigerator and coat each piece carefully using a fork or dipping tool.
I allow excess chocolate to drip away before transferring the coated candies onto parchment paper. To create a festive Easter appearance, I melt white chocolate separately and drizzle it across the tops in thin decorative lines. I work fairly quickly because warmer room temperatures can soften the candy centers. After coating everything evenly, I leave the candies undisturbed briefly so the chocolate begins setting before I add final decorative toppings.
? If you like simple sweet recipes for gifting, you’ll also enjoy our Easy Cake Pops Recipe.
The Way I Decorate Easter Candy for a Bakery Style Finish
Decorating is always my favorite part because it transforms simple homemade candy into festive Easter desserts that immediately stand out on dessert tables. While the chocolate coating remains slightly soft, I add colorful sprinkles, crushed Easter chocolates, coconut flakes, or chopped nuts so the toppings stick properly.
I sometimes drizzle contrasting chocolate over the candies to create a cleaner bakery style appearance that photographs beautifully for seasonal gatherings. After decorating, I place the tray back into the refrigerator for around thirty minutes until the coating hardens completely. Once chilled, the candies develop a smooth finish with creamy centers that stay soft without becoming messy. I usually arrange them inside decorative serving platters or Easter gift boxes for family celebrations. Every time I prepare this recipe, the candies look festive, taste rich, and create the kind of homemade presentation guests remember long after Easter ends.
Cook Time
Total: 55 Minutes
Prep: 25 Minutes
Bake: 0 Minutes
Servings
Whenever I prepare this recipe for Easter gatherings, it usually makes around 18 to 22 candies depending on the size I shape them. I personally prefer medium sized pieces because they feel rich and satisfying without becoming overly sweet. This quantity works perfectly for family dessert tables, holiday parties, edible Easter baskets, or homemade gift boxes.
If I am hosting a larger gathering, I simply double the ingredients because the recipe scales very easily without affecting texture or flavor. One thing I appreciate about these candies is that guests rarely stop at just one because the creamy center and smooth chocolate coating create such a balanced bite. I also enjoy serving them with coffee or hot chocolate during spring evenings. Their colorful appearance and homemade quality always make them one of the first desserts people reach for during Easter celebrations and seasonal family events.
Nutritional Information (approx. per serving)
- Calories: 210
- Carbohydrates: 24g
- Protein: 4g
- Fat: 11g
- Saturated Fat: 5g
- Sugar: 18g
- Fiber: 1g
- Sodium: 85mg
What I personally enjoy about homemade Easter candy is the ability to control ingredients and create desserts that feel fresher than many store bought options. Peanut butter adds a creamy texture along with a bit of protein and richness that balances the sweetness nicely. I also like using quality chocolate because it improves both flavor and overall presentation significantly.
Since these candies are rich and satisfying, smaller servings usually feel enough, which naturally helps with portion control during holiday celebrations. Another advantage of homemade preparation is flexibility because I can reduce sweetness, add nuts, or use darker chocolate depending on personal preference. Compared to packaged seasonal candy filled with preservatives, these treats feel more comforting and thoughtfully prepared. For me, the greatest benefit is creating a dessert that tastes indulgent while still feeling homemade, festive, and genuinely enjoyable to share with family and friends.
? If you want another chocolate holiday dessert idea, try our Chocolate Easter Eggs Recipe
Storage Instructions
I always store these Easter candies in airtight containers because proper storage keeps the texture smooth and prevents the chocolate from absorbing unwanted moisture or odors. To avoid sticking, I place parchment paper between layers whenever I stack the candies inside containers. In my experience, refrigeration works best, especially during warmer spring weather when chocolate softens quickly at room temperature. The candies usually stay fresh for up to one week when chilled properly.
Before serving, I let them rest at room temperature for a few minutes because the filling becomes softer and the flavor tastes richer that way. When I prepare large holiday batches ahead of time, I freeze them in sealed containers for longer storage. I recommend thawing them slowly inside the refrigerator rather than on the kitchen counter because gradual thawing helps preserve texture and prevents moisture from forming on the chocolate coating.
Suggestions
One reason I continue making this recipe every Easter is because it allows endless creativity without becoming complicated. Sometimes I use dark chocolate for a deeper flavor, while other times I add crushed cookies or caramel pieces for extra texture. If I want a more elegant presentation, I decorate the candies with fine white chocolate drizzles and pastel toppings that complement spring dessert tables beautifully.
For children, I occasionally shape the filling into small bunny or egg forms before coating them with chocolate. I also enjoy packaging these candies in decorative Easter boxes because they make thoughtful homemade gifts for friends and relatives. When serving them during brunch, I pair them with coffee, strawberries, or lighter desserts to balance the richness. From my experience, recipes like this perform especially well for food blogs because readers appreciate desserts that are visually appealing, simple to follow, and genuinely enjoyable to recreate at home.
Seasonal Relevance
Every spring, I notice how strongly people connect Easter desserts with comfort, celebration, and family traditions. Homemade Easter candy fits perfectly into that atmosphere because it combines festive colors, rich flavor, and creative decoration in one simple dessert. I often prepare these candies before Easter brunches or seasonal gatherings because they immediately add warmth and personality to dessert tables.
Children especially enjoy helping with decorations, which turns the recipe into a fun family activity rather than just another holiday dessert. From a recipe creator’s perspective, Easter candy also remains highly relevant because readers actively search for easy seasonal treats, homemade edible gifts, and colorful desserts throughout spring. The visual appeal alone makes these candies ideal for social sharing and festive presentations. I believe recipes like this continue performing well because they feel nostalgic, approachable, and memorable while still offering enough creativity to keep every Easter celebration feeling special.
This Easy Easter Candy Recipe for Home is one of those desserts I continue returning to every spring because it consistently delivers beautiful presentation, rich flavor, and reliable results without unnecessary complexity. I love how the creamy filling, smooth chocolate coating, and festive decorations come together to create candies that feel both comforting and elegant at the same time.
Over the years, this recipe has become part of many Easter gatherings in my kitchen because it is simple enough for beginners yet polished enough to impress guests. What makes it truly special for me is the balance between homemade warmth and bakery style appearance. Whether you prepare these candies for brunch tables, edible gifts, or family celebrations, they bring a sense of creativity and joy to the holiday season. I genuinely believe homemade Easter desserts like this create memorable moments that store bought sweets simply cannot replace.
? If you enjoy no-bake sweet treats, you’ll also love our No Bake Peanut Butter Cookies Recipe.
Frequently asked questions
1. Can I freeze homemade Easter candy after decorating?
Yes, I often freeze extra batches when preparing ahead for Easter gatherings. I store the candies in airtight containers with parchment paper between layers to protect decorations. They usually maintain good texture for up to two months. I recommend thawing them gradually in the refrigerator to prevent moisture from affecting the chocolate coating.
2. Which chocolate works best for smooth candy coating?
From my experience, high quality melting chocolate or premium chocolate chips produce the smoothest and glossiest coating. I avoid overheating because it causes thick or grainy texture. Milk chocolate creates a classic sweet flavor, while dark chocolate gives the candies a richer and more elegant taste for Easter dessert platters.
3. How can I make the candy filling firmer?
Whenever my filling feels too soft, I refrigerate it longer before shaping the candies. Accurate ingredient measurements also make a major difference. Adding slightly more crushed graham crackers can improve structure without affecting flavor too much. Proper chilling before dipping helps the candies maintain cleaner shapes during chocolate coating.
4. Can children help decorate these Easter candies?
Absolutely, and honestly, decorating is usually the most enjoyable part for children. I prepare the candy centers and melted chocolate first, then let kids add sprinkles, crushed candies, or coconut flakes. It turns the recipe into a fun Easter activity while still creating festive homemade desserts that look colorful and creative.
5. What is the best way to package Easter candy as gifts?
I like using decorative boxes, clear treat bags, or pastel containers lined with parchment paper for presentation. Proper packaging keeps the candies protected while making them look elegant and festive. Adding ribbons or Easter themed tags creates a more personalized touch, especially when sharing homemade treats with friends, relatives, or holiday guests.