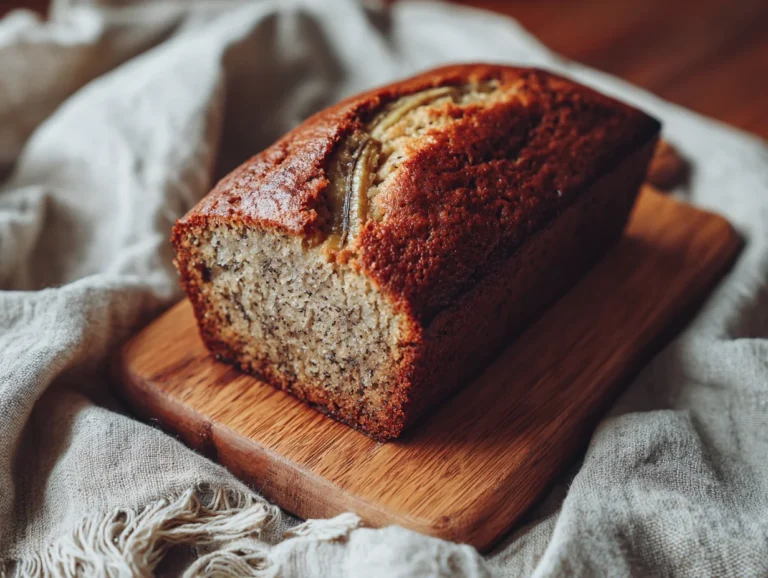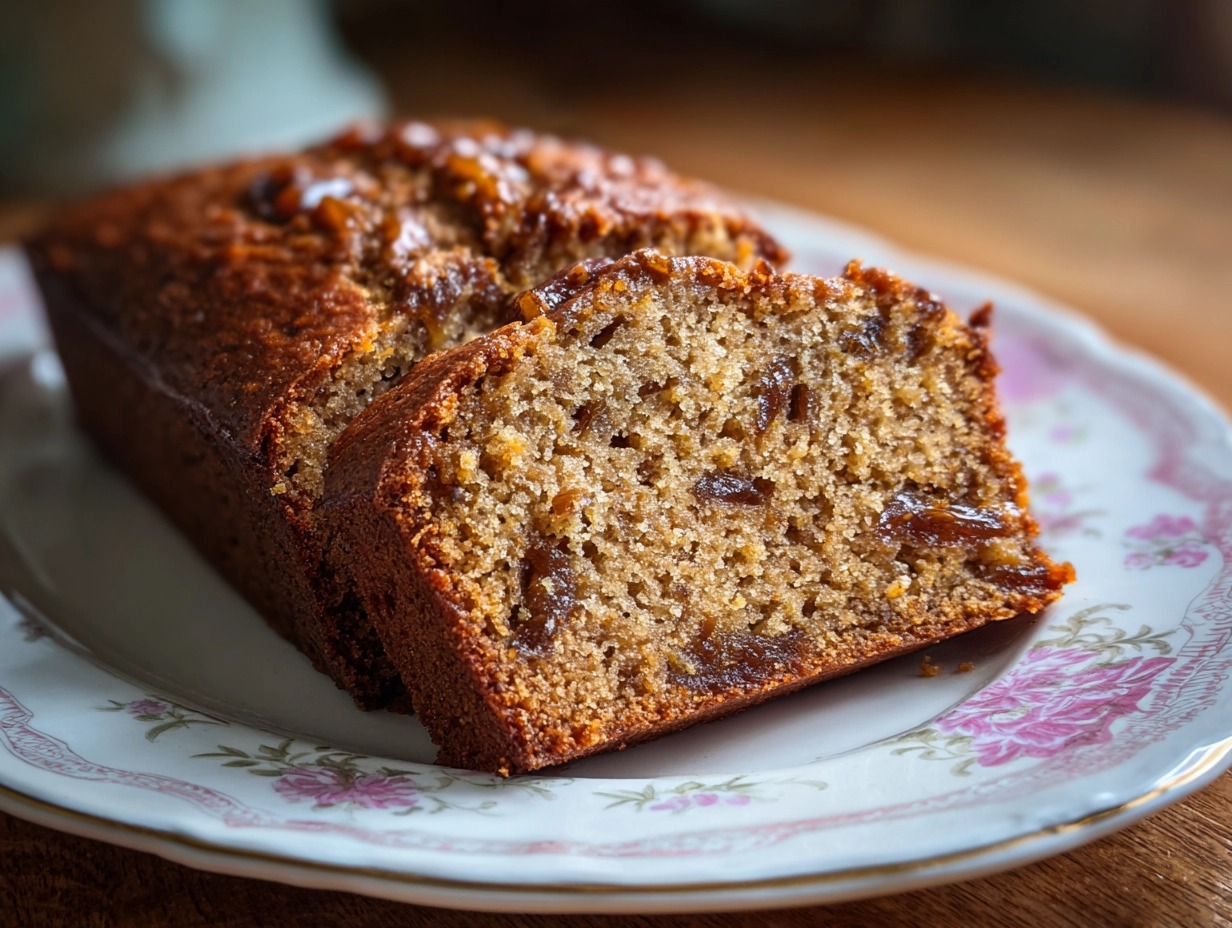
Moist Date Cake Recipe – Soft, Naturally Sweet Tea Time Cake
Introduction
I still remember the first time I baked this moist date cake it filled my kitchen with a deep, caramel-like aroma that instantly felt comforting and nostalgic. Over the years, I’ve refined this recipe to achieve the perfect balance of natural sweetness, softness, and richness without making it overly heavy. What I love most about this cake is how dates do most of the work, bringing both flavor and moisture in the most natural way. Whether I’m serving it with evening tea or presenting it to guests, it never fails to impress. In this article, I’m sharing my expert approach so you can recreate the same bakery-quality results at home, with a cake that turns out consistently soft, flavorful, and beautifully textured every single time.
The One Mistake I See Most Often in Date Cakes
From my experience, the biggest mistake people make with date cake is underestimating the importance of properly preparing the dates. I’ve seen many home bakers skip soaking altogether or rush the process, which leads to uneven texture and dry bits in the final cake. Another issue I often notice is overmixing the batter once the flour is added. This develops too much gluten and results in a dense, heavy cake instead of a soft one. I’ve also observed that incorrect oven temperatures can ruin the outcome baking too hot causes the outer layer to cook too quickly while the inside remains underdone. These small missteps might seem minor, but together they can significantly affect the moisture, texture, and overall quality of the cake.
How I Ensure a Perfectly Moist Cake Every Time
To get that soft, moist texture every single time, I always start by soaking my chopped dates in hot milk or water for at least 15 to 20 minutes. This step is non-negotiable in my kitchen because it allows the dates to soften fully and blend smoothly into the batter. I also make sure to mix the batter gently once I add the dry ingredients overmixing is something I strictly avoid. Using room temperature ingredients is another technique I rely on, as it helps create a smooth and stable batter. I always preheat my oven and stick to a consistent baking temperature to ensure even cooking. These small but precise steps are what transform a simple date cake into something truly exceptional and bakery-worthy.
Ingredients List

Base Ingredients:
- 1 cup chopped dates
- 1 cup hot milk or water
- 1 ½ cups all-purpose flour
- 1 teaspoon baking soda
- ½ teaspoon baking powder
- ½ cup unsalted butter (softened)
- ¾ cup brown sugar
- 2 large eggs
- 1 teaspoon vanilla extract
- ¼ teaspoon salt
Optional Add-ins:
- ½ cup chopped walnuts or pecans
- 1 teaspoon cinnamon powder
- ¼ teaspoon nutmeg
- 2 tablespoons caramel sauce (for topping)
- 1 tablespoon honey for extra glaze
Step-by-Step Instructions
Step 1: Prepare the Dates
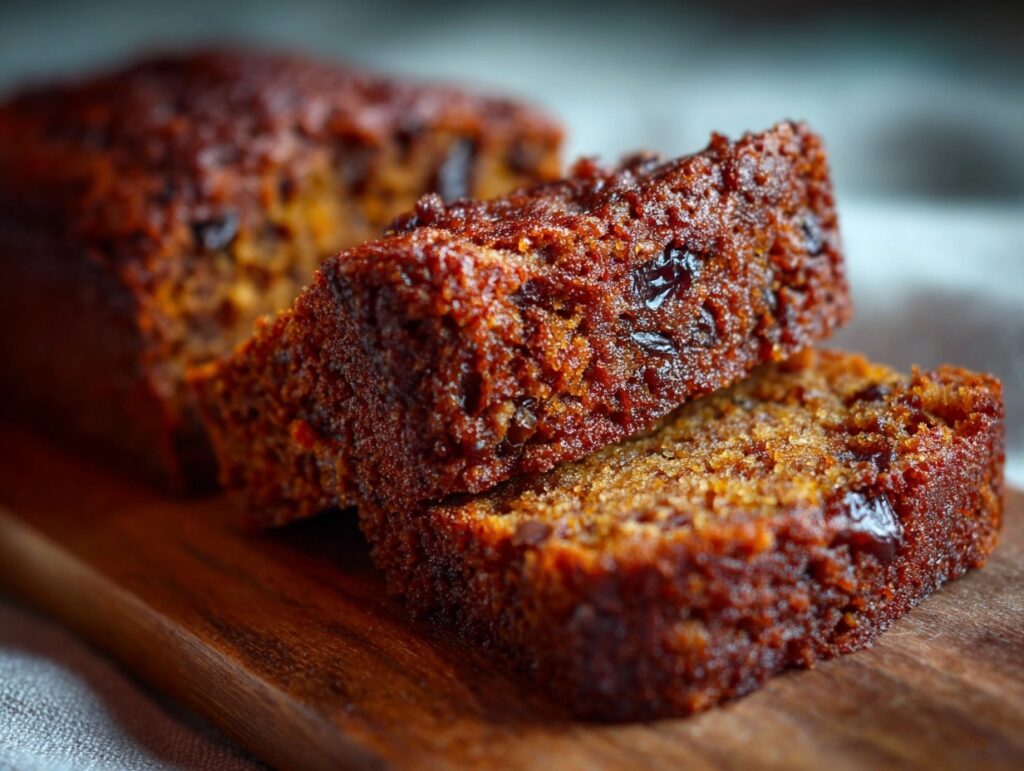
I always begin by placing the chopped dates in a bowl and pouring hot milk or water over them. Then I let them sit for about 15 to 20 minutes until they become soft and plump. Once they’re ready, I gently mash them with a fork to create a thick, slightly textured paste. I never discard the soaking liquid because it carries a lot of natural sweetness and flavor, which I later incorporate into the batter. In my experience, this step makes a noticeable difference in the final texture of the cake. When the dates are properly softened, they blend seamlessly, ensuring every bite is moist and rich without any hard or chewy pieces.
Step 2: Cream Butter and Sugar
In my mixing bowl, I cream together softened butter and brown sugar until the mixture becomes light, fluffy, and slightly pale. I usually spend about 3 to 5 minutes on this step because I know how important it is for creating a soft texture. Then I add the eggs one at a time, mixing well after each addition to maintain a smooth consistency. I also stir in vanilla extract at this stage to enhance the overall flavor. I never rush this process because proper creaming introduces air into the batter, which helps the cake rise beautifully. This step sets the foundation for a tender and well-structured cake.
Step 3: Combine Wet and Dry Ingredients
Next, I sift together the flour, baking soda, baking powder, and salt in a separate bowl. I always do this to ensure even distribution and to avoid lumps. Then I gradually fold the dry ingredients into the creamed mixture, alternating with the prepared date mixture. I make sure to mix gently using a spatula and stop as soon as everything is combined. Overmixing is something I consciously avoid because it can make the cake dense. If I’m using spices like cinnamon or nutmeg, I add them at this stage. This careful mixing process helps me maintain a soft, tender crumb every time I bake this cake.
Step 4: Bake to Perfection
Before baking, I preheat my oven to 180°C and prepare my baking pan by greasing it or lining it with parchment paper. I pour the batter evenly into the pan and gently smooth the surface. Then I bake it for about 30 to 35 minutes. I avoid opening the oven door too often because it can affect the cake’s rise. To check doneness, I insert a toothpick into the center if it comes out clean, I know the cake is ready. After baking, I let it cool in the pan for a few minutes before transferring it to a wire rack. This cooling step helps the cake set properly while retaining its moisture.
Cook Time
Total: 50 minutes
Prep: 15 minutes
Bake: 35 minutes
Servings
When I bake this cake, it usually yields around 8 to 10 servings, depending on how generously I slice it. I often adjust the portion size based on the occasion thinner slices for larger gatherings or slightly bigger ones when serving family. What I appreciate is how satisfying each slice feels without being overly heavy. It’s a cake that works equally well as a light tea-time snack or a simple dessert after dinner. Because of its natural sweetness, I find it appealing to both adults and children. Its versatility in serving makes it one of my go-to recipes whenever I want something reliable, comforting, and universally enjoyed.
Makes approximately 1 standard 8-inch cake
Nutritional Information (approx. per serving)
- Calories: 220–250 kcal
- Carbohydrates: 35g
- Protein: 4g
- Fat: 8g
- Fiber: 3g
- Sugar: 18g
From my perspective, this cake strikes a nice balance between indulgence and nutrition. Dates provide natural sugars along with fiber, which supports digestion and gives a steady source of energy. I also like that it doesn’t rely entirely on refined sugar, making it a slightly better option compared to typical desserts. When I add nuts, it increases the healthy fat and protein content, making each slice more satisfying. While it’s still a treat, I feel more comfortable serving it regularly because it offers a bit more nutritional value along with great taste.
Storage Instructions
Whenever I store this cake, I make sure to keep it in an airtight container to preserve its moisture. At room temperature, it stays fresh for up to two days, especially in cooler environments. If the weather is warm, I prefer refrigerating it, where it can last up to five days without losing quality. Before serving, I usually bring it back to room temperature or warm it slightly to restore its soft texture. For longer storage, I often freeze individual slices by wrapping them properly and placing them in a sealed container. This way, I can enjoy the cake anytime by simply thawing it overnight in the refrigerator. Proper storage always helps me maintain its flavor and softness.
Suggestions
Over time, I’ve experimented with different ways to serve this cake, and one of my favorites is adding a light drizzle of caramel sauce on top. Sometimes I dust it with powdered sugar for a simple presentation, or serve it with whipped cream when I want something a bit more indulgent. I also enjoy adding chopped nuts for extra texture, which complements the softness of the cake beautifully. On some occasions, I include a hint of orange zest to brighten the flavor. If I want a slightly healthier version, I replace part of the flour with whole wheat flour. These small variations allow me to adapt the recipe while keeping its core character intact.
Seasonal Relevance
I find this date cake especially comforting during the colder months when I crave something warm and rich with my tea or coffee. Its deep, caramel-like flavor fits perfectly with autumn and winter vibes. However, I also bake it throughout the year because it’s not overly heavy or sweet. During festive seasons, I often serve it as a more wholesome dessert option compared to sugar-heavy sweets. In places where dates are easily available, it becomes even more practical to make regularly. What I appreciate most is its versatility it adapts well to different occasions and seasons, making it a reliable recipe I return to again and again.
Conclusion
For me, this moist date cake is more than just a recipe it’s a dependable classic that never disappoints. With the right techniques and attention to detail, I’ve been able to achieve consistent results that feel both professional and comforting. I love how it combines natural sweetness with a soft, rich texture, making it suitable for almost any occasion. Whether I’m baking it for guests or simply for myself, it always delivers the same satisfying experience. If you follow the steps carefully and avoid common mistakes, I’m confident you’ll achieve a cake that’s just as moist, flavorful, and enjoyable as the one I make in my own kitchen.

Moist Date Cake Recipe – Soft, Naturally Sweet Tea Time Cake
10
servings15
minutes35
minutes250
kcal50
minutesA soft, rich, and naturally sweet moist date cake made with simple pantry ingredients. This tea-time favorite delivers a tender crumb and deep caramel flavor from soaked dates, making it a wholesome yet indulgent treat perfect for everyday baking or special gatherings.
Ingredients
1 cup chopped dates
1 cup hot milk or water
1 ½ cups all-purpose flour
1 teaspoon baking soda
½ teaspoon baking powder
½ cup unsalted butter (softened)
¾ cup brown sugar
2 large eggs
1 teaspoon vanilla extract
¼ teaspoon salt
Optional: chopped nuts, cinnamon, nutmeg, caramel sauce
Directions
- Soak chopped dates in hot milk or water for 15–20 minutes, then mash lightly.
- Cream butter and brown sugar until light and fluffy. Add eggs one at a time, then mix in vanilla.
- Sift dry ingredients separately, then fold into the wet mixture along with soaked dates. Mix gently.
- Pour batter into a greased baking pan.
- Bake at 180°C (350°F) for 30–35 minutes or until a toothpick comes out clean.
- Cool before slicing and serving.
Recipe Video
Notes
- Always soak dates properly for best texture and moisture.
- Avoid overmixing to keep the cake soft and light.
- You can substitute half of the flour with whole wheat flour for a healthier version.
- Store in an airtight container to maintain freshness.
FAQs
1. Can I replace butter with oil in this recipe?
Yes, you can substitute butter with neutral oil like vegetable or canola oil. It will make the cake even more moist, but slightly less rich in flavor. I recommend using the same quantity and ensuring other ingredients are well balanced for best results.
2. How do I know when my cake is perfectly baked?
I usually check by inserting a toothpick into the center of the cake. If it comes out clean or with a few moist crumbs, it’s ready. Also, the top should feel firm and slightly springy when gently pressed.
3. Can I add chocolate to this date cake?
Yes, adding chocolate chips works beautifully with dates. I recommend folding in about ½ cup of dark or semi-sweet chocolate chips into the batter. It enhances the richness while still allowing the natural sweetness of dates to shine through.