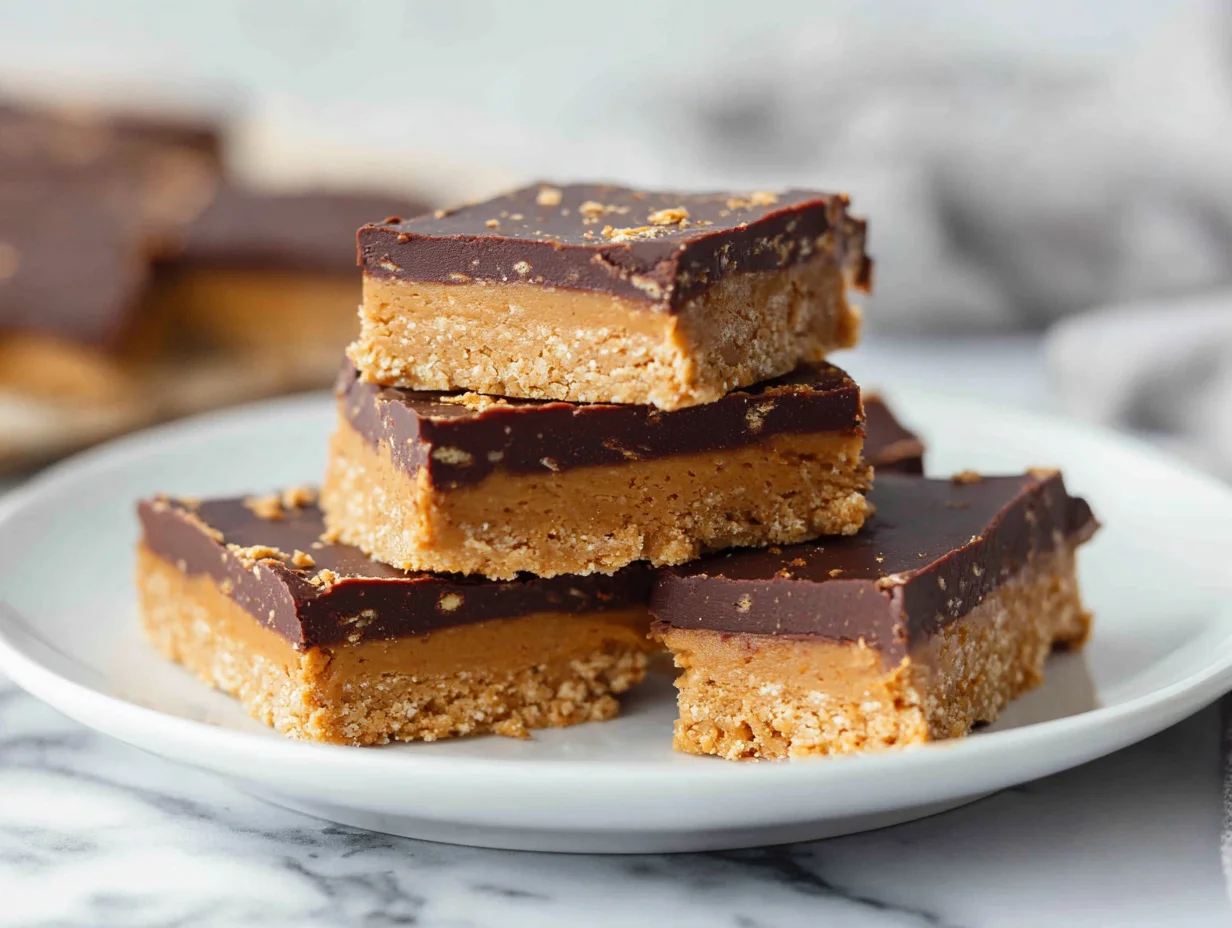
No Bake Peanut Butter Bars Recipe with Rich Chocolate Topping
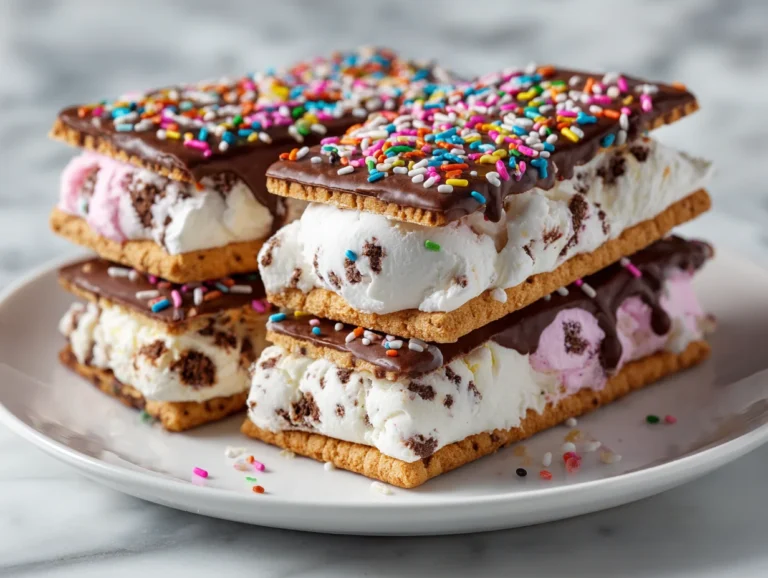
No-bake desserts are a lifesaver when you want indulgence without turning on the oven, and these peanut butter bars deliver just that. Creamy peanut butter layers topped with decadent chocolate create a dessert that feels luxurious but is surprisingly easy to prepare. Every bite offers a satisfying balance of sweet, salty, and chocolatey richness, making this recipe perfect for both busy weekdays and special occasions.
This recipe is designed for simplicity and precision. With step-by-step guidance, even novice bakers can create a dessert that looks and tastes professional. The combination of textures—from the dense peanut butter base to the smooth chocolate topping—ensures every bar is a delight to bite into.
Whether you’re preparing a treat for family gatherings, potlucks, or just an indulgent snack, these bars are versatile and crowd-pleasing. Once made, they store beautifully, making them a reliable go-to dessert anytime you need a quick yet decadent chocolate-peanut butter fix.
Common Errors That Ruin Peanut Butter Bars
One major mistake is not properly melting and combining the chocolate topping, which can result in a grainy or uneven layer. This affects both taste and presentation, leaving the bars looking amateur.
Another frequent error is using the wrong peanut butter consistency. Too runny, and the base will be too soft to cut cleanly; too thick, and the mixture can become crumbly, compromising texture and flavor.
Skipping the proper chilling time is also problematic. Rushing the process prevents the bars from setting correctly, causing the chocolate layer to crack or the base to crumble when sliced.
Finally, uneven spreading of chocolate or peanut butter layers creates an unbalanced dessert. Some bites may be overly sweet while others lack flavor, reducing overall enjoyment and visual appeal.
How to Fix Common Peanut Butter Bar Mistakes
To prevent grainy chocolate, melt it gently using a double boiler or microwave in short intervals, stirring frequently. This ensures a smooth, glossy topping that spreads evenly.
Choose a peanut butter with the right texture—creamy and slightly thick—for a base that holds its shape. Avoid natural peanut butter with excess oil unless you stir it well before use.
Always allow sufficient chilling time. Refrigerate the assembled bars for at least 2–3 hours or until fully set. This stabilizes both the base and chocolate layer, ensuring clean cuts.
When spreading layers, use a spatula and smooth motions. Working carefully guarantees uniform thickness and professional-looking bars that taste great in every bite.
Ingredients You’ll Need

Base Ingredients:
- 1 cup creamy peanut butter
- 1/2 cup unsalted butter, melted
- 1 1/2 cups powdered sugar
- 1 1/2 cups graham cracker crumbs
Optional Add-ins:
- 1 tsp vanilla extract
- 1/4 cup chopped peanuts
- 200g chocolate chips or bar for topping
- 1 tbsp coconut oil (for smooth chocolate)
Step-by-Step Instrusions
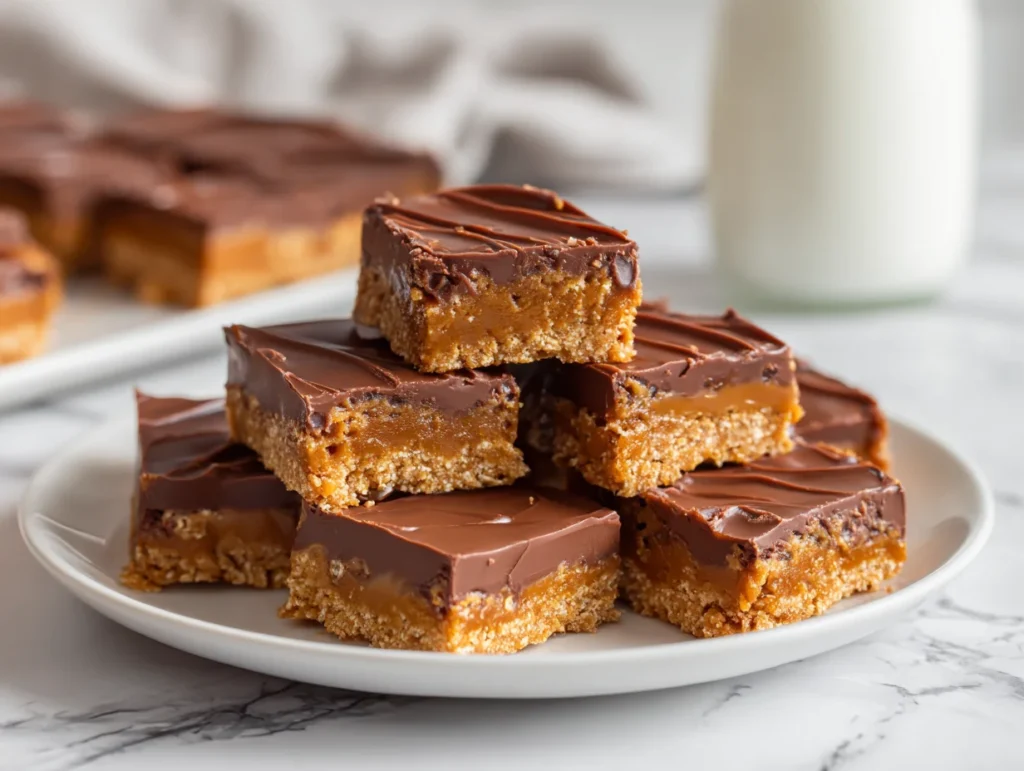
Prepare the Peanut Butter Base
Mix peanut butter, melted butter, powdered sugar, and graham cracker crumbs until fully combined. Press the mixture evenly into a lined pan. Ensure the surface is compact and smooth. This dense base will support the chocolate topping and allow for clean slices after chilling.
Melt and Prepare Chocolate Topping
Combine chocolate and coconut oil in a microwave-safe bowl. Heat in 20-second intervals, stirring frequently until smooth. Avoid overheating to prevent graininess. This glossy chocolate layer provides the decadent finish that complements the peanut butter base.
Spread Chocolate Over Base
Pour the melted chocolate over the chilled peanut butter base. Use a spatula to smooth it evenly. Ensure the chocolate completely covers the peanut butter layer. Work gently to prevent disturbing the base while achieving a uniform, professional appearance.
Chill and Set
Refrigerate the assembled bars for at least 2–3 hours or until fully set. Once firm, cut into uniform squares or rectangles using a sharp knife. Serve chilled for maximum flavor and clean slices. Optional: garnish with chopped peanuts or drizzle additional chocolate for presentation.
Cook Time
Total: 3 hours 15 minutes
Prep: 15 minutes
Bake: 0 minutes
Servings
This recipe yields approximately 12–16 bars, depending on portion size. Each bar delivers a rich balance of peanut butter and chocolate, perfect for snacking or serving at gatherings.
Bars can be served individually for parties or boxed as gifts. Their firm texture ensures they hold together well, making them easy to transport.
Adjust portions by cutting bars smaller or larger based on event size. Maintaining even layers ensures every piece is flavorful and visually appealing.
Makes approximately 12–16 bars
Nutritional Information (approx. per serving)
- Calories: 320 kcal
- Fat: 22g
- Carbohydrates: 28g
- Sugar: 20g
- Protein: 7g
These bars provide a quick energy boost, making them ideal for an occasional indulgent snack. Peanut butter adds protein and healthy fats to enhance satiety.
The chocolate topping contributes antioxidants from cocoa, which may support cardiovascular health when consumed in moderation.
Optional toppings like chopped peanuts or coconut can add fiber, micronutrients, and additional texture, boosting both nutrition and flavor.
Storage Instructions
Store the peanut butter bars in an airtight container in the refrigerator. This prevents the chocolate from softening and maintains firm, clean layers.
For longer storage, wrap individual bars in parchment or plastic wrap to prevent sticking. This is especially useful for sharing or gifting.
Avoid leaving the bars at room temperature for extended periods; peanut butter and chocolate can soften, reducing texture quality.
Before serving, allow bars to sit for 5–10 minutes at room temperature. This enhances flavor and makes cutting easier without crumbling.
Suggestions
Experiment with different chocolate types for the topping, such as dark, milk, or white chocolate. This allows you to customize the flavor intensity.
Add texture by sprinkling chopped peanuts, crushed cookies, or coconut flakes over the chocolate layer. These provide visual appeal and extra crunch.
Use a sharp knife when cutting to maintain clean edges. Wiping the blade between cuts ensures professional-looking squares or rectangles.
Serve bars chilled with a scoop of ice cream or a drizzle of caramel for an elevated dessert experience.
Seasonal Relevance
These peanut butter bars are versatile year-round. They are perfect for summer when chilled and refreshing.
During winter or fall, their rich chocolate and peanut butter flavor provides a comforting, indulgent treat.
They work well for holiday gatherings, birthdays, and parties due to easy preparation and portability.
Seasonal toppings like chocolate shavings, nuts, or dried fruits can enhance the bars, making them festive and visually appealing for special occasions.
Finl Words
No-bake peanut butter bars combine simplicity with indulgence, making them a must-try dessert. Their easy preparation and rich flavors are perfect for any occasion.
Attention to layer balance, chocolate quality, and chilling time ensures professional results every time.
The recipe allows for creativity with toppings, textures, and flavor variations, letting you personalize the bars to taste.
Once mastered, these bars become a reliable, crowd-pleasing dessert that is both visually stunning and irresistibly delicious.
Frequently Asked Questions
Can I use natural peanut butter for this recipe?
Yes, natural peanut butter works, but stir thoroughly to incorporate oil. This ensures a smooth, cohesive base that sets properly when chilled.
How long can I store the bars?
Store in the refrigerator for up to one week. For longer storage, freeze individually wrapped bars for up to a month.
Can I make these bars gluten-free?
Yes, substitute graham cracker crumbs with gluten-free cookie crumbs. Ensure all other ingredients are gluten-free for safety.
Is it possible to use chocolate chips instead of a chocolate bar for topping?
Absolutely, chocolate chips melt well and can be combined with a small amount of coconut oil for smooth spreading.
Can I make smaller or larger portions?
Yes, adjust the pan size and cutting dimensions. Maintain even layers to ensure consistent flavor and presentation.
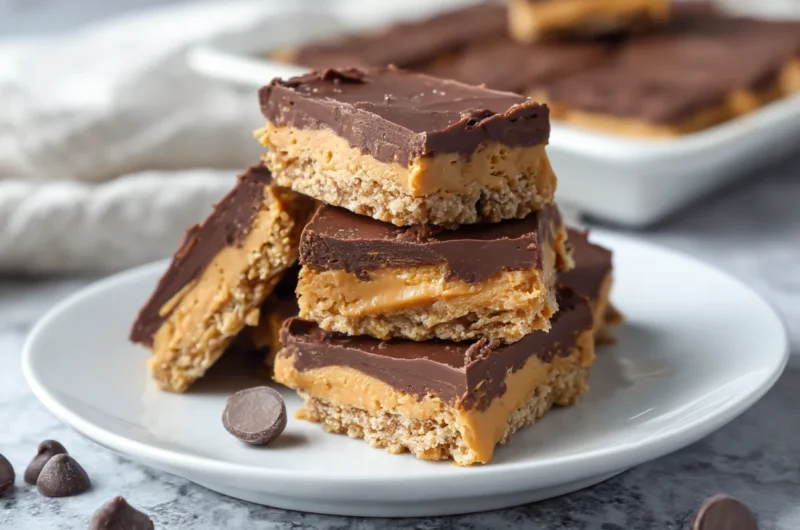
No bake peanut butter bars recipe with rich chocolate topping
12
servings15
minutes320
kcal3
hours15
minutesNo-bake peanut butter bars with a rich chocolate topping combine creamy peanut butter, crunchy graham crackers, and decadent chocolate. Quick, easy, and indulgent, these bars are perfect for parties, snacks, or a delightful homemade treat anytime.
Ingredients
1 cup creamy peanut butter
1/2 cup unsalted butter, melted
1 1/2 cups powdered sugar
1 1/2 cups graham cracker crumbs
1 tsp vanilla extract (optional)
1/4 cup chopped peanuts (optional)
200g chocolate (chips or bar) for topping
1 tbsp coconut oil (optional for smooth chocolate)
Directions
- Mix peanut butter, melted butter, powdered sugar, and graham cracker crumbs until fully combined. Press evenly into a lined pan.
- Melt chocolate with coconut oil in short intervals until smooth.
- Pour chocolate over the chilled peanut butter base and smooth evenly.
- Refrigerate for 2–3 hours or until fully set.
- Cut into squares or rectangles and serve chilled.
Recipe Video
Notes
- Use creamy peanut butter for a smooth base.
- Chill bars long enough for clean cuts.
- Optional toppings like nuts or coconut enhance flavor and texture.
- Use a sharp knife and wipe between cuts for professional edges.