Tender Beef Tips Recipe
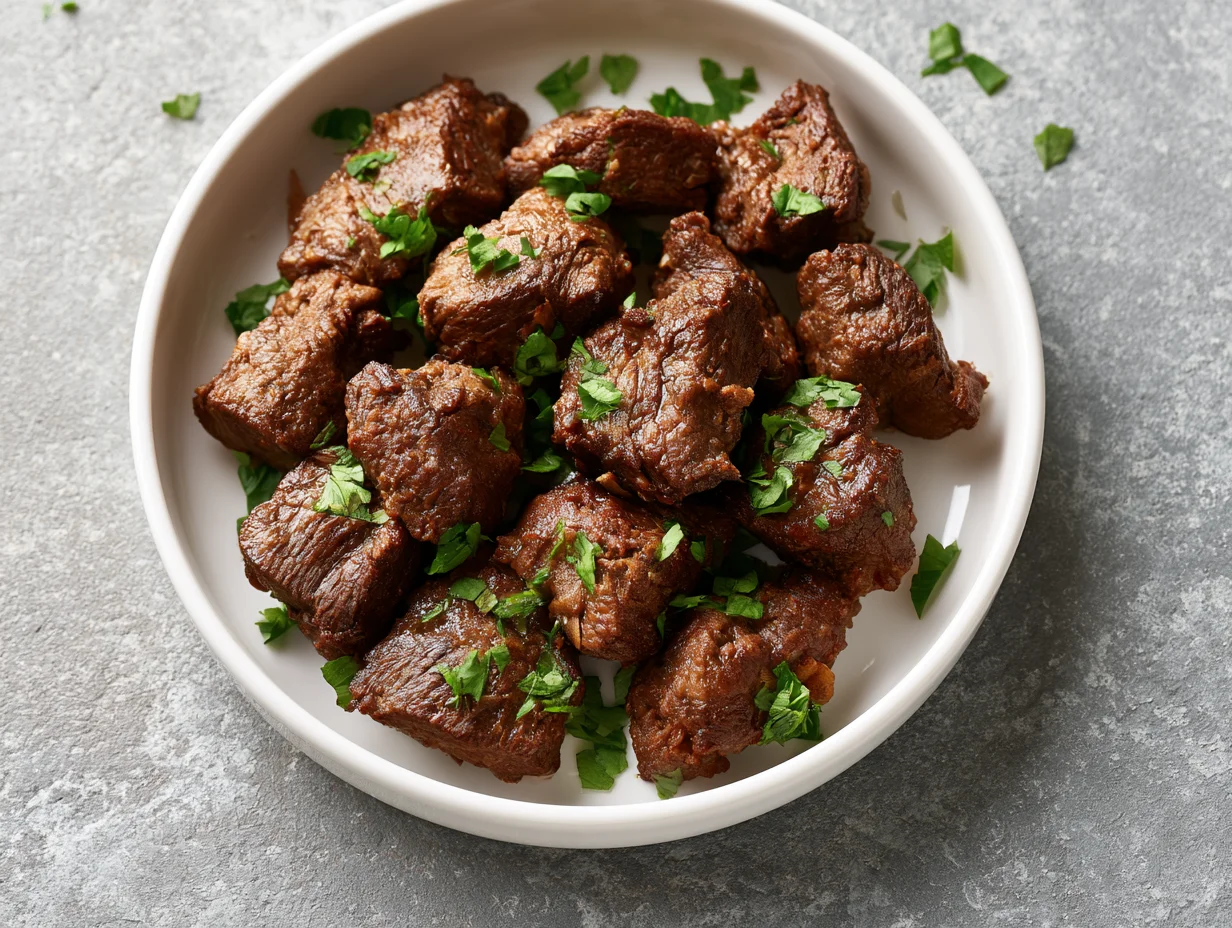
Few dishes deliver comfort quite like a plate of beef tips simmered low and slow until they practically fall apart at the touch of a fork. This is the kind of recipe that turns an ordinary weeknight into something that feels like a proper homemade meal, without demanding hours of hands-on effort or a long list of complicated techniques.
What makes this version stand out is the gravy. Rich, deeply savory, and built directly from the pan drippings, it transforms simple cubes of beef into something restaurant-worthy. There’s no shortcut sauce or canned soup base here — just real ingredients given enough time to develop genuine flavor.
This recipe was built around one goal: tenderness without guesswork. The right cut, the right sear, and the right braising time make all the difference between chewy, disappointing beef and the melt-in-your-mouth result this dish is known for.
Serve it over mashed potatoes, buttered noodles, or steamed rice, and you have a complete, satisfying dinner that works equally well for a busy Tuesday or a Sunday family table. Let’s walk through exactly how to get there.
Ingredients You’ll Need
Great beef tips don’t rely on a long shopping list — they rely on patience, a few foundational ingredients, and knowing how to coax flavor out of every single one. One of the things I love about this recipe is that it uses simple pantry ingredients. You probably already have most of them in your kitchen.
Base Ingredients
- 2 pounds beef sirloin or chuck roast, cut into cubes
- 2 tablespoons olive oil
- 1 medium onion, diced
- 3 cloves garlic, minced
- 2 cups beef broth
- 2 tablespoons Worcestershire sauce
- 2 tablespoons all-purpose flour
- 1 teaspoon salt
- 1/2 teaspoon black pepper
- 1 tablespoon butter
Optional Add-ins
- 1 cup sliced mushrooms
- 1/2 cup red wine
- 1 teaspoon smoked paprika
- 1 bay leaf
- 1/2 teaspoon dried thyme
- 1 tablespoon sour cream
Step-by-Step Instructions
Step 1: Prep and Season the Beef
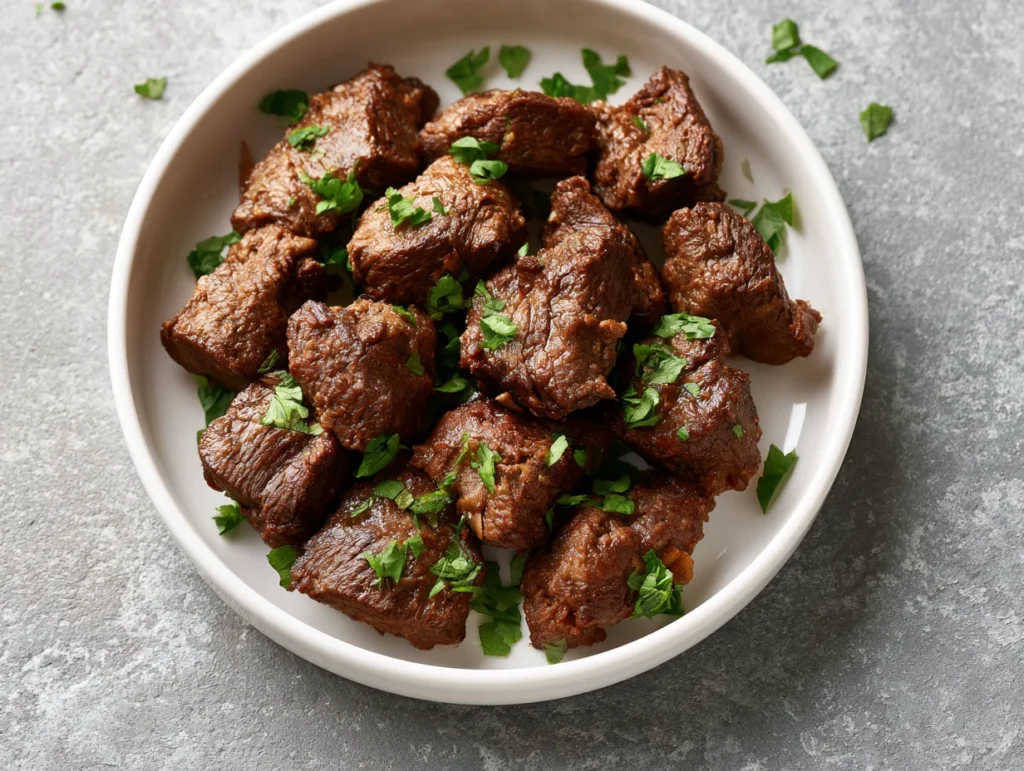
Pat the beef cubes completely dry with paper towels before seasoning — moisture on the surface prevents a proper sear. Season generously with salt and black pepper on all sides. Letting the beef sit at room temperature for about 15 minutes while you prep other ingredients helps it cook more evenly once it hits the pan. This small step makes a noticeable difference in both texture and color of the final sear.
Step 2: Sear the Beef
Heat olive oil in a heavy-bottomed pot or Dutch oven over medium-high heat until it shimmers. Working in batches to avoid crowding the pan, sear the beef cubes for two to three minutes per side until deeply browned. Crowding the pot causes steaming instead of searing, so resist the urge to rush this step. Remove the seared beef and set it aside on a plate while you build the base.
Step 3: Build the Flavor Base
In the same pot, add the diced onion and cook for three to four minutes until softened and lightly golden. Stir in the garlic and cook for thirty seconds, just until fragrant. If using mushrooms, add them now and cook until they release their moisture and begin to brown. Sprinkle the flour over the vegetables and stir constantly for one minute to cook out the raw taste before adding liquid.
Step 4: Simmer Until Tender
Pour in the beef broth, Worcestershire sauce, and wine if using, scraping up any browned bits from the bottom of the pot. Return the seared beef to the pot along with bay leaf and thyme. Bring to a gentle simmer, then reduce heat to low, cover, and cook for 1.5 to 2 hours, stirring occasionally, until the beef is fork-tender and the gravy has thickened naturally.
Step 5: Finish and Serve
Remove the bay leaf and stir in the butter for added richness and shine. Taste and adjust seasoning with additional salt or pepper as needed. For an extra-velvety gravy, stir in the sour cream just before serving, off the heat. Spoon the beef tips and gravy generously over mashed potatoes, rice, or egg noodles, and serve immediately while hot.
Cook Time
Total:
2 hours 15 minutes
Prep:
15 minutes
Bake:
2 hours (stovetop simmer)
Servings
This recipe makes approximately 6 servings, making it an ideal choice for family dinners or meal prepping across the week. Each serving offers a generous portion of beef and gravy, substantial enough to stand on its own when paired with a simple starch.
For smaller households, this dish reheats beautifully, so leftovers rarely go to waste. The flavor actually deepens overnight as the gravy continues to absorb into the beef.
If you’re cooking for a larger gathering, the recipe scales up easily — just be sure to sear the beef in additional batches to maintain that essential browning, which is where most of the dish’s deep flavor originates.
Common Mistakes in This Recipe
The single biggest mistake people make is rushing the sear. Tossing wet, crowded beef cubes into a pot leads to gray, steamed meat instead of the deep brown crust that builds real flavor throughout the dish. Skipping this step entirely results in a flat-tasting gravy no amount of seasoning can fully fix.
Another frequent error is choosing the wrong cut of beef. Lean cuts like sirloin tip or round steak can work, but tougher cuts benefit far more from long braising, and using an overly lean cut without enough cook time results in dry, chewy meat rather than the tender bite this dish is known for.
Many home cooks also rush the simmering stage, pulling the beef off heat too early. Tenderness here comes from time, not temperature, and undercooking the braise is one of the most common reasons people end up disappointed with the texture.
Finally, over-thickening the gravy with too much flour upfront creates a pasty, heavy sauce instead of a silky one.
Solutions to Common Mistakes
Always pat beef completely dry before searing, and sear in batches rather than all at once. A properly heated pan and uncrowded surface area are non-negotiable for achieving that flavorful brown crust.
Choose chuck roast or another well-marbled cut whenever possible. The connective tissue and fat break down during the long simmer, basting the meat from within and producing noticeably more tender results than leaner cuts.
Resist the temptation to shorten the braising time. Set a timer for at least 90 minutes and check tenderness with a fork before assuming it’s done — if it resists at all, it needs more time.
Measure flour carefully and add it gradually, stirring constantly. If the gravy still ends up too thick, simply whisk in additional warm broth until it reaches the right consistency.
Nutritional Information (approx. per serving)
- Calories: 320 kcal
- Protein: 28g
- Carbohydrates: 7g
- Fiber: 1g
- Sugar: 2g
- Fat: 19g
- Iron: 20% DV
- Sodium: 480mg
Beef is one of the richest natural sources of complete protein, supplying all nine essential amino acids needed for muscle repair and overall body maintenance, making this dish far more substantial than a typical comfort food indulgence.
It also delivers a significant amount of bioavailable iron, a nutrient that supports healthy blood circulation and energy levels, particularly valuable for anyone managing iron deficiency or simply looking to maintain steady energy throughout the day.
The slow-cooking process not only tenderizes the meat but also helps preserve B vitamins like B12, which play a key role in nerve function and red blood cell production.
With mushrooms added, you’re also introducing additional fiber, antioxidants, and a meaningful boost of immune-supporting nutrients, rounding out this dish nutritionally without altering its comforting, savory character.
Storage Instructions
Allow the beef tips to cool to room temperature before storing, ideally within two hours of cooking to maintain food safety and quality. Leftovers stored too warm can lead to condensation buildup, which affects both texture and shelf life.
Transfer the beef and gravy into an airtight container and refrigerate for up to four days. The flavor often improves by the second day, as the gravy has more time to fully penetrate the meat.
For longer storage, this dish freezes exceptionally well. Portion into freezer-safe containers or bags, leaving a little headspace for expansion, and freeze for up to three months without significant quality loss.
When reheating, do so gently on the stovetop over low heat, adding a splash of broth if the gravy has thickened too much. Avoid high heat, which can toughen the beef.
Suggestions
For a deeper, more complex gravy, deglaze the pot with red wine before adding broth. The acidity helps lift every bit of browned flavor from the bottom of the pan, adding noticeable depth to the final sauce.
If you prefer a hands-off approach, this recipe adapts beautifully to a slow cooker. Sear the beef as directed, then transfer everything to the slow cooker and cook on low for six to eight hours.
Pair this dish with something that can soak up the gravy — mashed potatoes, egg noodles, or even crusty bread all work wonderfully and turn this into a complete, satisfying meal.
For a lighter twist, swap traditional starches for cauliflower mash or roasted vegetables, which still capture the rich gravy without adding extra heaviness to the plate.
Seasonal Relevance
Beef tips shine brightest during the colder months, typically from late fall through winter, when slow-braised, hearty meals naturally become more appealing as temperatures drop and comfort food cravings increase.
This dish pairs especially well with autumn produce like mushrooms, root vegetables, and fresh thyme, all of which are widely available and at peak flavor during this season, enhancing the overall depth of the gravy.
While it’s traditionally considered a cold-weather dish, beef tips also work well during early spring evenings when the air still carries a chill, offering warmth without feeling overly heavy on milder days.
Regardless of season, the long braising method makes this a reliable, comforting choice anytime a hearty, slow-cooked meal feels right, even outside its peak months.
Final Words
This beef tips recipe proves that some of the most satisfying meals come from patience rather than complexity. There’s nothing flashy about the ingredient list, yet the result tastes like something that took far more effort than it actually did.
What makes this dish worth returning to is its reliability. It performs consistently whether you’re cooking for a weeknight family dinner or prepping ahead for a busier week, and the leftovers genuinely taste just as good, if not better.
Once you’ve made it a few times, you’ll likely find small ways to make it your own, whether through different vegetables, wine versus broth, or your preferred starch pairing.
At its core, though, this recipe will always come back to one simple truth: good beef, given enough time, becomes something truly special.
Frequently Asked Questions
Can I use stew meat instead of cutting my own beef cubes?
Yes, pre-cut stew meat works well and saves prep time. Just check the pieces are relatively uniform in size so they cook evenly, and trim any large pieces of excess fat before searing for the best texture.
What’s the best way to thicken the gravy if it’s too thin?
Mix one tablespoon of cornstarch with two tablespoons of cold water, then stir it into the simmering gravy. Let it cook for two to three minutes until thickened, avoiding any raw starch taste.
Can this recipe be made without searing the beef first?
Searing is highly recommended, as it builds the foundational flavor for the entire dish. Skipping it results in a noticeably blander gravy, though the beef will still become tender through the long braising process.
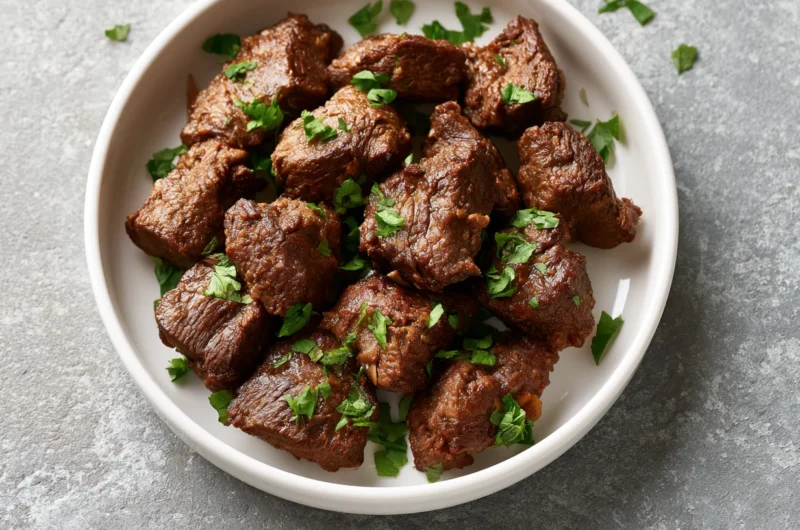
Tender Beef Tips Recipe
6
servings15
minutes2
hours320
kcal2
hours15
minutesTender beef cubes slow-simmered in a rich, savory gravy until fork-tender. A hearty, comforting dish built from real pan flavor, perfect over mashed potatoes, rice, or noodles for a satisfying family dinner.
Ingredients
Base Ingredients
2 pounds beef sirloin or chuck roast, cut into cubes
2 tablespoons olive oil
1 medium onion, diced
3 cloves garlic, minced
2 cups beef broth
2 tablespoons Worcestershire sauce
2 tablespoons all-purpose flour
1 teaspoon salt
1/2 teaspoon black pepper
1 tablespoon butter
Optional Add-ins
1 cup sliced mushrooms
1/2 cup red wine
1 teaspoon smoked paprika
1 bay leaf
1/2 teaspoon dried thyme
1 tablespoon sour cream
Directions
- Pat beef cubes dry and season generously with salt and pepper.
- Let beef rest at room temperature for 15 minutes.
- Heat olive oil in a Dutch oven over medium-high heat.
- Sear beef in batches, 2–3 minutes per side, until browned.
- Remove beef and set aside.
- Sauté onion until softened, then add garlic and mushrooms if using.
- Sprinkle in flour and stir for 1 minute to cook out raw taste.
- Pour in broth, Worcestershire sauce, and wine, scraping up browned bits.
- Return beef to the pot along with bay leaf and thyme.
- Cover and simmer on low for 1.5–2 hours until fork-tender.
- Remove bay leaf and stir in butter.
- Stir in sour cream off heat for extra richness, if using.
- Serve hot over mashed potatoes, rice, or noodles.
Recipe Video
Notes
- Use well-marbled chuck roast for the most tender results.
- Always pat beef dry and sear in batches to avoid steaming.
- Don’t rush the simmer — tenderness depends on time, not heat.
- Add flour gradually to prevent a pasty, over-thickened gravy.
- Stores in the fridge for up to 4 days; freezes well for 3 months.
- Reheat gently over low heat, adding broth if the gravy thickens too much.