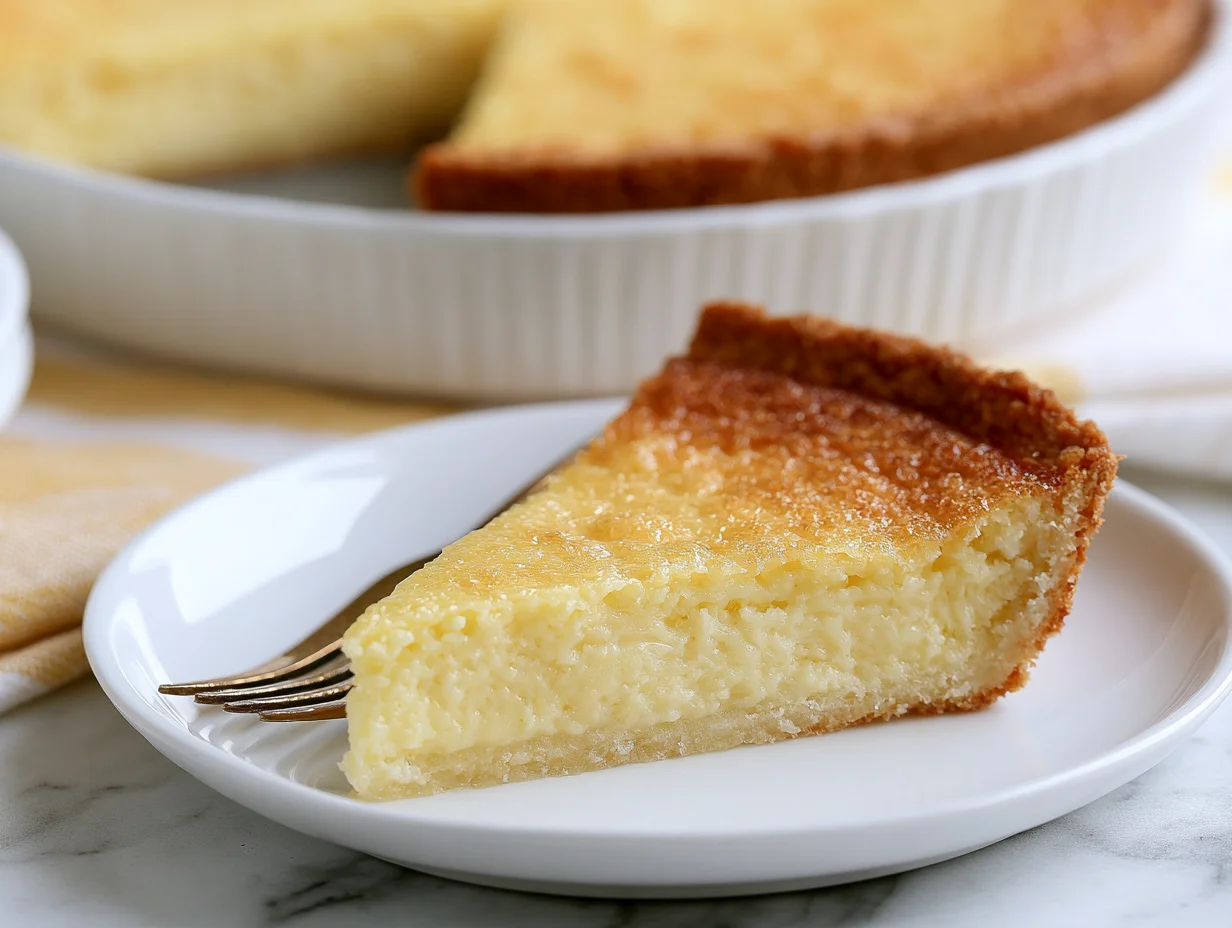
Southern Buttermilk Pie Recipe
There are pies that look impressive, and then there are pies that taste like someone’s grandmother made them with pure love and zero shortcuts. Southern Buttermilk Pie is unapologetically the second kind — and that is exactly why it has endured for generations across Southern kitchens.
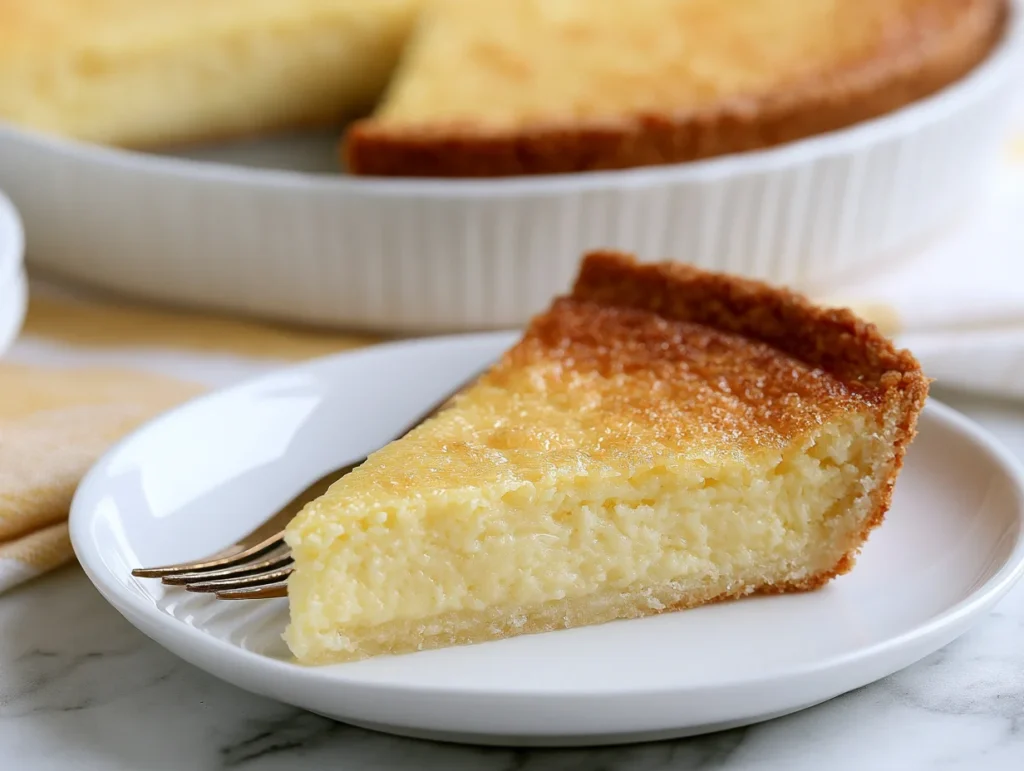
This is not a flashy dessert. It does not come dressed in layers of chocolate ganache or crowned with a torched meringue. What it offers instead is something far more satisfying: a silky, custardy filling with a gentle tang, a subtle vanilla warmth, and a caramelized top that catches just enough golden color to let you know it is done.
If you have ever sat at a diner in the American South and ordered a slice of pie without really knowing what it was, there is a good chance buttermilk pie was that perfect mystery. People return to it again and again not because it is trendy, but because it is deeply, quietly delicious.
This recipe walks you through every step with the kind of precision that guarantees a clean slice and a filling that sets properly every time. Whether you are making it for a holiday table or a quiet Sunday supper, this is a pie worth knowing well.
Ingredients You’ll Need
If there is one thing a good Southern cook will tell you, it is that the most honest food rarely needs a long grocery list — and buttermilk pie proves that beautifully.
One of the things I love about this recipe is that it uses simple pantry ingredients. You probably already have most of them in your kitchen.
Base Ingredients:
- 1 unbaked 9-inch pie crust (store-bought or homemade)
- 3 large eggs, room temperature
- 1½ cups granulated sugar
- 3 tablespoons all-purpose flour
- ½ cup unsalted butter, melted and slightly cooled
- 1 cup full-fat buttermilk, room temperature
- 1 tablespoon pure vanilla extract
- 2 tablespoons fresh lemon juice
- ¼ teaspoon fine sea salt
- ¼ teaspoon ground nutmeg
Optional Add-ins:
- 1 teaspoon lemon zest (for a brighter citrus note)
- ½ teaspoon ground cinnamon (adds gentle warmth)
- 1 tablespoon bourbon (a classic Southern twist)
- ¼ teaspoon almond extract (a delicate floral depth)
- 1 pinch cardamom (unexpected but lovely)
Step-by-Step Instructions
Step 1: Preheat Your Oven and Prepare the Crust
Set your oven to 350°F (175°C). If you are using a homemade crust, roll it out and fit it into a 9-inch pie dish, crimping the edges as desired. Chill the crust in the refrigerator for at least 15 minutes before filling — this prevents shrinkage during baking. Do not blind bake; the raw crust will go directly into the oven with the filling. A properly chilled crust holds its structure beautifully and creates that clean, buttery edge.
Step 2: Whisk the Dry Ingredients Together
In a large mixing bowl, whisk together the granulated sugar, flour, and salt until evenly combined. Breaking up any lumps at this stage is important — flour that is not fully incorporated can leave small starchy pockets in your finished filling. This quick step takes less than a minute but significantly improves the texture of the final custard. Think of it as setting yourself up for a smooth, lump-free batter before the wet ingredients even enter the picture.
Step 3: Add the Eggs and Butter
Add the three room-temperature eggs to your dry mixture and whisk gently until the yolks are fully broken and blended. Pour in the melted, slightly cooled butter and continue whisking until the mixture looks cohesive and slightly glossy. Do not rush this step by adding hot butter — it risks cooking the eggs prematurely. The butter should feel warm to the touch but not steaming. This creates the foundation of your custard without any curdling risk.
Step 4: Incorporate the Buttermilk and Flavorings
Pour in the buttermilk, vanilla extract, and lemon juice, then whisk everything together until the batter is smooth and uniform. If you are using any optional add-ins such as lemon zest, bourbon, or cinnamon, fold them in now. The mixture will look thin — almost like a pourable custard — and that is exactly right. It should have no visible streaks of egg or flour. Taste it at this point; it should be sweet, tangy, and fragrant with vanilla.
Step 5: Pour and Bake the Pie
Remove your chilled pie shell from the refrigerator and place it on a baking sheet lined with foil (this catches any drips and makes handling easier). Pour the filling slowly into the crust, stopping just below the crimped edge to leave room for slight expansion. Dust the top lightly with ground nutmeg. Carefully transfer to the center rack of your preheated oven and bake for 50 to 55 minutes, until the edges are set and the center jiggles only slightly when nudged.
Step 6: Cool Completely Before Slicing
This step requires patience, but it is non-negotiable. Remove the pie from the oven and allow it to cool on a wire rack at room temperature for at least 2 hours before slicing. The custard continues setting as it cools, and cutting into it too early will give you a runny, broken slice instead of that clean, elegant wedge you are after. For the cleanest cut, chill the cooled pie in the refrigerator for an additional 30 minutes before serving.
Cook Time
Total:
Approximately 3 hours (including cooling time)
Prep:
15 to 20 minutes
Bake:
50 to 55 minutes at 350°F (175°C)
Servings
This pie is rich and satisfying without being overwhelming, which means most guests will be content with a standard slice. Serve it simply — on its own, with a light dusting of powdered sugar, or alongside a small scoop of vanilla bean ice cream for contrast.
Makes approximately 8 standard servings from a single 9-inch pie. If you are serving a larger group or want to offer generous second helpings, consider making two pies side by side — they bake at the same temperature and the same time, so there is no extra effort involved.
For a dinner party presentation, slice the pie cleanly using a sharp knife wiped between each cut, and serve each piece on a warmed dessert plate. A sprig of fresh mint or a thin curl of lemon zest on top adds a polished finishing touch without overcomplicating a dish that is meant to feel honest and homespun.
Common Mistakes in This Recipe
One of the most common errors home bakers make with buttermilk pie is overbaking. Because the filling looks liquidy well into the bake, there is a strong temptation to leave it in the oven until it appears fully firm. This leads to a cracked surface, a rubbery texture, and a dry, eggy taste that overshadows the delicate tang.
Another frequent mistake is skipping the resting time. Buttermilk pie is a custard at heart, and custards need time to set after the oven’s heat has done its work. Slicing into a warm pie destroys the structure and turns what should be a clean, silky slice into a soupy, disappointing mess on the plate.
Using cold eggs or cold buttermilk straight from the refrigerator is a subtle but impactful error. Cold dairy and eggs do not emulsify as smoothly with the melted butter, which can leave the batter slightly greasy or uneven in texture. Room-temperature ingredients create a seamless, cohesive batter.
Finally, many people underestimate the importance of a quality pie crust. A thin, cheap crust can become soggy at the bottom because the filling is so liquid before baking. This results in a pastry that never fully crisps up, leaving the base of the pie pale, dense, and unpleasant.
Solutions to Common Mistakes
To avoid overbaking, rely on the jiggle test rather than visual appearance. When the center of the pie has a slight wobble — similar to a fully set Jell-O — but the edges are firm and golden, it is done. Pull it out confidently at that moment. The residual heat inside the dish will finish the job safely.
For clean slices and a properly set filling, commit to the two-hour cooling window. If time allows, refrigerate the cooled pie for 30 additional minutes before serving. This makes a dramatic difference in how the custard holds its shape when sliced.
Solve the cold-ingredient problem by setting your eggs and buttermilk on the counter 30 minutes before you begin. A quick trick for warming eggs fast is to place them in a bowl of warm (not hot) water for 10 minutes. This small step ensures a smooth, well-emulsified batter.
For a crispier bottom crust, place your pie dish directly on a preheated baking stone or the lowest oven rack. The direct bottom heat helps cook the pastry from below, reducing sogginess and delivering that golden, flaky base that makes every bite worth it.
Nutritional Information (approx. per serving)
- Calories: 370 kcal
- Total Fat: 18g
- Saturated Fat: 10g
- Cholesterol: 105mg
- Sodium: 180mg
- Total Carbohydrates: 48g
- Sugars: 36g
- Protein: 5g
- Calcium: 80mg
- Vitamin A: 420 IU
Buttermilk is a fermented dairy product that contains naturally occurring probiotics, which support a healthy gut microbiome and improve digestion. While baking reduces some of the live cultures, the lactic acid in buttermilk still contributes to better mineral absorption from other ingredients in the pie.
The eggs in this recipe are a meaningful source of complete protein and supply choline, a nutrient essential for brain function, liver health, and cell membrane integrity. Each egg also delivers fat-soluble vitamins A, D, E, and K, making this dessert more nutritionally rounded than many comparable sweets.
Butter, often mischaracterized as a purely indulgent ingredient, contains short-chain and medium-chain fatty acids that the body processes differently from long-chain fats. Consumed in moderation as part of a balanced diet, these fats are a useful energy source and contribute to the absorption of fat-soluble nutrients.
The lemon juice added to the filling delivers a small but meaningful dose of vitamin C, which aids iron absorption and acts as a natural antioxidant. Paired with the calcium from buttermilk, this pie offers a quiet nutritional profile that goes well beyond empty sugar calories.
Storage Instructions
Once your buttermilk pie has cooled completely to room temperature, cover it loosely with plastic wrap or aluminum foil and transfer it to the refrigerator. The cool environment preserves the custard structure and keeps the filling from developing any surface moisture that can make the top tacky or weep.
Stored properly in the refrigerator, buttermilk pie keeps well for up to 4 days. The flavor actually improves after the first 24 hours, as the vanilla and lemon meld into the custard during the rest period. Many Southern cooks insist that a day-old slice is better than a fresh one — and they are not wrong.
For longer storage, buttermilk pie can be frozen, though the texture changes slightly upon thawing. Wrap individual slices tightly in plastic wrap, then place them in a zip-top freezer bag with as much air removed as possible. Freeze for up to one month. Thaw slices overnight in the refrigerator — never at room temperature, as uneven thawing can compromise the custard.
To serve chilled pie at its best, remove it from the refrigerator 15 to 20 minutes before slicing to take the harsh chill off. This allows the flavors to bloom and the filling to relax slightly, giving you that smooth, clean bite that defines a well-made custard pie.
Suggestions
Buttermilk pie is wonderfully versatile when it comes to serving companions. A loose dollop of barely sweetened whipped cream brings lightness without competing with the custard’s delicate tang. Keep the cream just soft — stiff peaks feel too formal for a pie this relaxed and homespun in character.
Fresh fruit is another natural pairing. Sliced strawberries macerated briefly with a pinch of sugar, or a handful of fresh blueberries, sit beautifully alongside a wedge of buttermilk pie. The brightness of the fruit cuts through the richness of the custard and makes each bite feel refreshing rather than heavy.
For a more indulgent presentation, serve warm slices — gently reheated at 300°F for 8 to 10 minutes — alongside a small scoop of salted caramel or brown butter ice cream. The combination of warm custard and cold, creamy ice cream is a textural and temperature contrast that feels genuinely elevated without requiring any additional effort.
If you are serving buttermilk pie as part of a larger dessert spread, keep the surrounding items simple. It pairs beautifully with pecan cookies, a cheese board with sharp cheddar and honeycomb, or a lightly spiced peach compote. Let this pie lead the dessert table; it has the quiet confidence to do exactly that.
Seasonal Relevance
While buttermilk pie belongs to no single season, it holds a special place in Southern autumn and winter tables. The warming notes of vanilla and nutmeg make it feel at home alongside Thanksgiving classics — turkey, cranberry sauce, sweet potato casserole — where a custard pie provides gentle contrast to the richer, more heavily spiced desserts on the spread.
In spring and early summer, buttermilk pie transitions naturally to lighter occasions. Its lemon brightness makes it feel refreshing at garden parties, baby showers, and Easter lunches. Served at room temperature with fresh berries and a pitcher of sweet tea nearby, it fits effortlessly into warm-weather celebrations without feeling out of place.
Summer brings a particular advantage: the pie requires no garnish, no sauce, and no last-minute preparation. For cookouts and porch gatherings, a pre-made buttermilk pie sitting quietly on the counter is one of the most practical dessert choices a host can make. It does not melt, does not wilt, and does not require any last-minute attention.
During the holidays, buttermilk pie shines as the understated option beside more theatrical desserts. Where layered cakes and elaborate tarts demand attention, buttermilk pie offers comfort. It is the dessert that people come back for seconds of — not because it dazzles them, but because it satisfies them in a way that more complicated sweets simply cannot replicate.
Final Words
Southern Buttermilk Pie is one of those rare recipes that rewards you far beyond the effort it asks of you. A handful of pantry staples, one bowl, one whisk, and about an hour of active attention is all it takes to produce something genuinely beautiful — a pie with a glossy golden top, a silky custard interior, and a flavor that lingers long after the last bite.
What makes this recipe stand out is its honesty. There are no tricks, no complicated techniques, and no specialty equipment required. The result is a reflection of what Southern home cooking has always understood: that simplicity, done with care, produces food that feels meaningful. This is not a recipe you make to impress people. You make it because it is good, deeply good, in the way only classic things can be.
If you try this recipe, I encourage you to resist the temptation to rush any single step. The resting time matters. The room-temperature ingredients matter. The moment you pull it from the oven — just before it looks fully done — matters. These small acts of patience are what separate a good buttermilk pie from a great one.
Share this pie with people you care about. Bring it to someone who needs a meal. Leave it on the counter for a weeknight family dessert. However you serve it, Southern Buttermilk Pie will do what it has always done best — make whoever is eating it feel, just for a moment, genuinely at home.
Frequently Asked Questions
Can I make buttermilk pie without a store-bought crust?
Absolutely. A homemade butter crust made with cold butter and ice water produces a flakier, more flavorful base and takes less than 10 minutes to prepare. If using homemade pastry, chill it thoroughly before filling to maintain its structure during baking.
Why is the center of my buttermilk pie still jiggly after baking?
A slight jiggle in the center when you remove the pie from the oven is correct and intentional. Custard sets through residual heat during the cooling process. If you wait until the center looks completely firm in the oven, the pie will be overbaked, resulting in a cracked surface and rubbery texture.
Can I substitute regular milk if I do not have buttermilk?
You can create a reliable substitute by combining 1 cup of whole milk with 1 tablespoon of white vinegar or fresh lemon juice. Let the mixture sit for 5 minutes until it curdles slightly. This mimics the acidity and tang of real buttermilk well enough to produce a comparable result in this recipe.
Southern Buttermilk Pie Recipe
8
servings20
minutes55
minutes370
kcal1
hour15
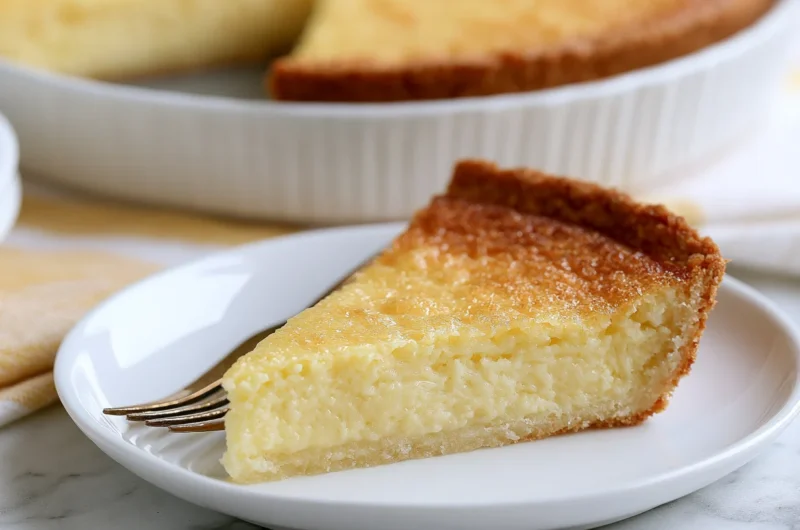
minutesA silky, golden-topped Southern classic made with simple pantry staples. This custard pie delivers a gentle tang, warm vanilla depth, and a perfectly set filling that slices clean — honest, timeless, and deeply satisfying in every single bite.
Ingredients
1 unbaked 9-inch pie crust (store-bought or homemade)
3 large eggs, room temperature
1.5 cups granulated sugar
3 tablespoons all-purpose flour
0.5 cups unsalted butter, melted and slightly cooled
1 cups full-fat buttermilk, room temperature
1 tablespoons pure vanilla extract
2 tablespoons fresh lemon juice
0.3 teaspoons fine sea salt
0.3 teaspoons ground nutmeg
1 teaspoons lemon zest (optional)
0.5 teaspoons ground cinnamon (optional)
1 tablespoons bourbon (optional)
0.3 teaspoons almond extract (optional)
1 pinch cardamom (optional)
Directions
- Preheat Oven & Prep Crust: Preheat your oven to 350°F (175°C). Fit your pie crust into a 9-inch pie dish and crimp the edges. Refrigerate the crust for at least 15 minutes before filling to prevent shrinkage. Do not blind bake.
- Mix Dry Ingredients: In a large mixing bowl, whisk together 1.5 cups granulated sugar, 3 tablespoons all-purpose flour, and 0.3 teaspoons fine sea salt until fully combined and lump-free. This step ensures a smooth, starch-free custard filling.
- Add Eggs & Butter: Add 3 large eggs, room temperature to the dry mixture and whisk until yolks are fully blended. Pour in the melted, slightly cooled 0.5 cups unsalted butter, melted and slightly cooled and whisk until the mixture looks cohesive and glossy. Do not use hot butter.
- Add Buttermilk & Flavorings: Pour in 1 cups full-fat buttermilk, room temperature, 1 tablespoons pure vanilla extract, and 2 tablespoons fresh lemon juice. Whisk until the batter is smooth and uniform with no visible streaks. Fold in any optional add-ins — 1 teaspoons lemon zest (optional), 0.5 teaspoons ground cinnamon (optional), 1 tablespoons bourbon (optional), or 0.3 teaspoons almond extract (optional) — at this stage if using.
- Fill & Bake: Place the chilled pie shell on a foil-lined baking sheet. Pour the filling slowly into the crust, stopping just below the crimped edge. Dust the top with 0.3 teaspoons ground nutmeg. Bake on the center rack for 50 to 52m 30s, until the edges are set and the center jiggles only slightly.
- Cool Completely Before Slicing: Remove the pie from the oven and cool on a wire rack for at least 120 minutes. For the cleanest slices, refrigerate the fully cooled pie for an additional 30 minutes before serving.
Recipe Video
Notes
- Always use room-temperature eggs and buttermilk — cold ingredients prevent smooth emulsification and can cause a greasy or uneven batter.
- Do not overbake. The center should have a slight jiggle when removed from the oven; it continues setting as it cools.
- A two-hour cooling window is non-negotiable for clean, firm slices. Cutting too early will give you a runny, broken filling.
- Place the pie dish on a preheated baking stone or the lowest oven rack for a crispier, golden bottom crust.
- For the cleanest cuts, wipe your knife clean between each slice and serve slightly chilled rather than straight from the refrigerator.
- Stored covered in the refrigerator, this pie keeps well for up to 4 days. Flavor peaks after the first 24 hours.
- To freeze, wrap individual slices tightly in plastic wrap, then in a zip-top freezer bag. Freeze up to one month and thaw overnight in the refrigerator.