Quick Apple Crisp Recipe
There are recipes that comfort you from the inside out — and apple crisp is one of them. It is the kind of dish that fills your kitchen with the warm scent of cinnamon and brown sugar before it even comes out of the oven. Something about that aroma alone makes the whole house feel like home.
What I love most about apple crisp is its complete lack of pretension. It does not ask you to roll dough, chill butter to the exact temperature, or spend an hour on prep. You slice, you toss, you mix, and you bake. That is it. The oven does the rest.
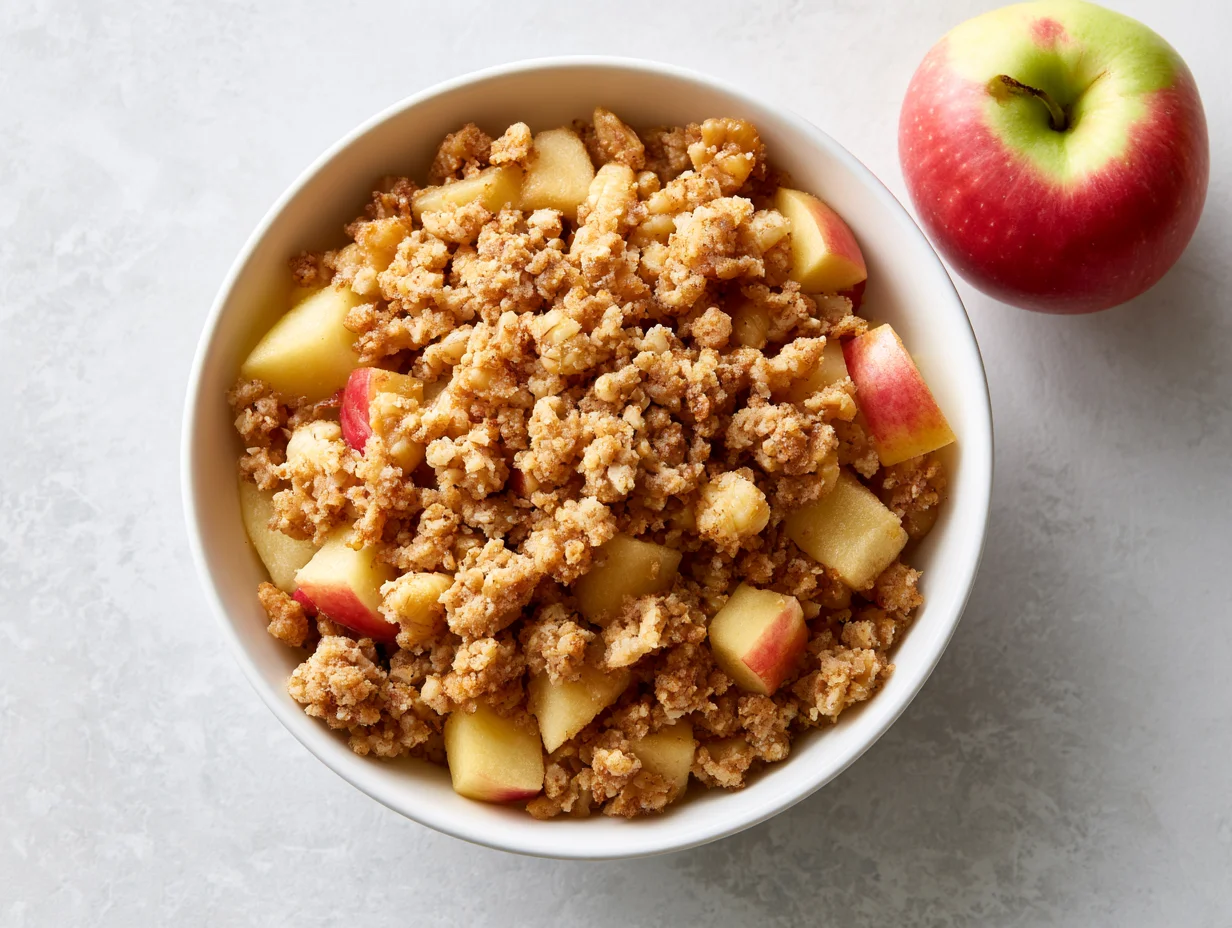
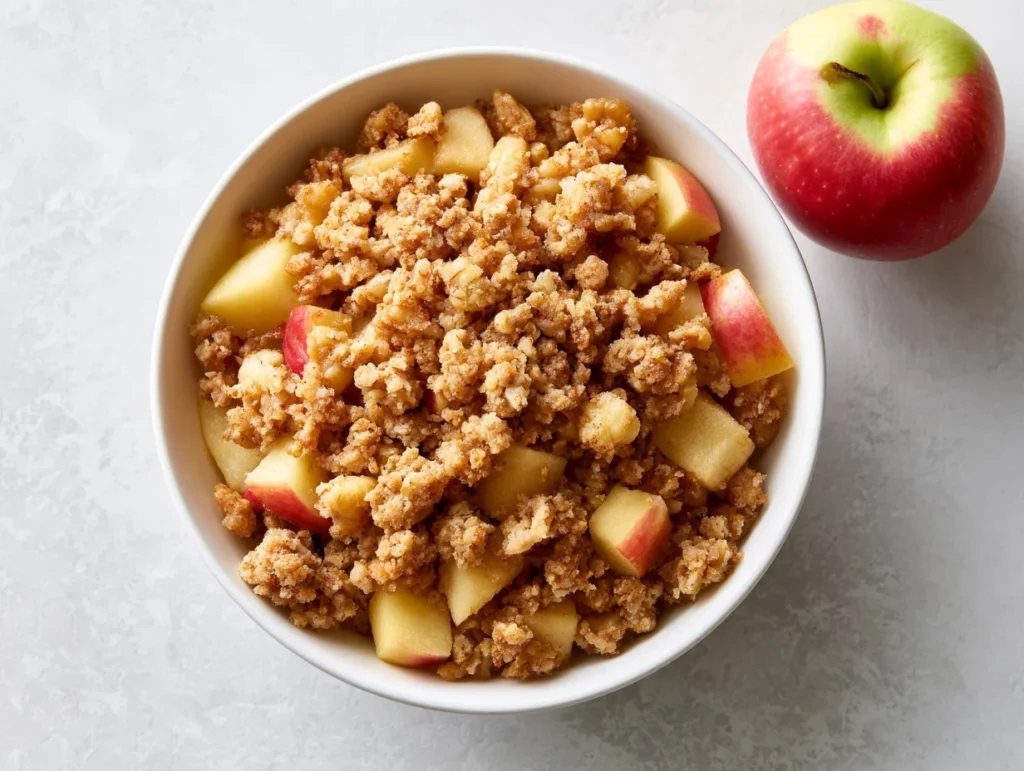
This quick apple crisp recipe comes together in under an hour, start to finish — and it delivers on every level. The apples turn tender and jammy, the topping goes gloriously golden and crisp, and every bite has that perfect balance of tart fruit and sweet, buttery crumble.
Whether you are feeding a weeknight family dinner or pulling something together last-minute for guests, this recipe will not let you down. It is the kind of dessert people ask for twice.
Ingredients You’ll Need
If you have ever found yourself staring into your pantry on a slow afternoon, wondering what you could make with the apples sitting in your fruit bowl — this recipe was written for exactly that moment.
One of the things I love about this recipe is that it uses simple pantry ingredients. You probably already have most of them in your kitchen.
Base Ingredients:
- 6 medium apples (Granny Smith or Honeycrisp), peeled, cored, and sliced
- 2 tablespoons granulated white sugar
- 1 teaspoon ground cinnamon (for the apple layer)
- 1 tablespoon lemon juice
- 1 cup old-fashioned rolled oats
- ¾ cup all-purpose flour
- ¾ cup packed light brown sugar
- ½ teaspoon ground cinnamon (for the topping)
- ¼ teaspoon salt
- ½ cup unsalted butter, cold and cut into small cubes
Optional Add-ins:
- ¼ teaspoon ground nutmeg
- ¼ teaspoon ground ginger
- ½ cup chopped walnuts or pecans
- ½ cup raisins or dried cranberries
- 1 teaspoon pure vanilla extract (added to the apple layer)
- 2 tablespoons maple syrup (drizzled over the apples before baking)
Step-by-Step Instructions
Step 1: Preheat Your Oven and Prepare the Baking Dish
Set your oven to 350°F (175°C). Lightly grease a 9×13-inch baking dish with butter or a quick spray of non-stick cooking spray. Getting the dish ready before you start prepping the apples keeps things moving smoothly. A well-greased dish also ensures the crisp lifts cleanly when you serve it — no sticky bottom, no lost topping.
Step 2: Season the Apples
Peel, core, and slice your apples into even pieces about ¼-inch thick. Consistent slices mean they cook evenly. In a large bowl, toss the apple slices with the granulated sugar, 1 teaspoon cinnamon, and lemon juice. The lemon juice brightens the flavor and keeps the apples from browning. Spread the seasoned apples in an even layer across the bottom of your prepared baking dish.
Step 3: Make the Crisp Topping
In a separate mixing bowl, combine the rolled oats, all-purpose flour, brown sugar, ½ teaspoon cinnamon, and salt. Stir everything together until evenly mixed. Add the cold butter cubes and use your fingertips to work the butter into the dry mixture. Pinch and press until it resembles coarse, clumpy crumbs with some larger pea-sized pieces. Those irregular chunks are exactly what give you that irresistible crunchy topping.
Step 4: Assemble and Bake
Scatter the oat topping evenly over the apple layer. Do not press it down — you want it loose so air can circulate and everything crisps up beautifully. Place the dish in the center rack of your preheated oven. Bake uncovered for 40 to 45 minutes, or until the topping is deep golden brown and the apple filling is bubbling around the edges. The bubbling is your visual cue that the apples are fully cooked through.
Step 5: Rest and Serve
Once out of the oven, let the apple crisp rest for at least 10 minutes before serving. This short rest allows the filling to thicken slightly as it cools, so it holds its shape a little better on the plate. Serve it warm, scooped into bowls with a generous spoonful of vanilla ice cream, a pour of cold heavy cream, or a cloud of freshly whipped cream on top.
Cook Time
Total:
55 to 60 minutes
Prep:
15 minutes
Bake:
40 to 45 minutes
Servings
This recipe is designed to serve a crowd without requiring double the effort. Made in a standard 9×13-inch baking dish, it yields generous, satisfying portions that feel indulgent without being excessive. It is the perfect size for a family dinner or a small gathering.
Makes approximately 8 servings, though that number can stretch to 10 if you are serving it alongside ice cream or other desserts. The portions are hearty enough to satisfy without being overwhelming — which is part of why this recipe works so well for casual entertaining.
If you are cooking for just two or three people, you can halve the recipe and bake it in an 8×8-inch square pan. Reduce the baking time by about five minutes and keep an eye on the topping to ensure it does not over-brown. Leftovers, if you have any, reheat beautifully.
Common Mistakes in This Recipe
One of the most common mistakes people make is using the wrong type of apple. Soft apples like Red Delicious or Fuji tend to turn mushy during baking, losing all their texture. Choosing a firmer variety is essential to getting that satisfying bite in the finished dish.
Another frequent error is skipping the cold butter step. Room-temperature butter blends too smoothly into the topping mixture and will not produce those desirable crumbly clusters. Cold butter, worked in quickly with your fingertips, is what creates the crunchy, uneven texture that makes a crisp a crisp.
Pressing the topping down onto the apples is another mistake that quietly ruins the dish. It compacts the oats and flour, preventing them from crisping up properly in the oven. The topping should always be scattered loosely so heat can circulate freely through every layer.
Finally, many home cooks pull the crisp out of the oven too early. If the top looks golden but the filling is not yet bubbling at the edges, give it another five minutes. Undercooked apples are dense and starchy rather than tender and jammy — and the difference is significant.
Solutions to Common Mistakes
Choose Granny Smith apples for reliably firm texture, or opt for Honeycrisp or Braeburn if you prefer a slightly sweeter flavor with the same structural integrity. A mix of two apple varieties often produces the most complex, balanced flavor in the finished dish.
Keep your butter refrigerator-cold right up until you use it. If you find the butter warming up as you work it in, put the whole bowl in the freezer for five minutes before continuing. Cold fat equals a crispier, crumblier topping — every single time.
When assembling the dish, scatter the topping gently with your fingers rather than spooning it in a single mass. Aim for even distribution with visible gaps and clusters rather than a solid, pressed-down layer. This loose application is the secret to a topping that bakes up light and crunchy.
Trust the bubbling. The moment you see the filling actively bubbling around the sides of the dish, you know the apples have cooked through and the sugars have caramelized properly. Set a visual reminder for yourself so you are not pulling the dish out by time alone.
Nutritional Information (approx. per serving)
- Calories: 320 kcal
- Total Fat: 12g
- Saturated Fat: 7g
- Carbohydrates: 52g
- Dietary Fiber: 4g
- Total Sugars: 30g
- Protein: 3g
- Sodium: 80mg
- Potassium: 210mg
- Calcium: 35mg
- Iron: 1.2mg
Apples are one of the most nutrient-dense fruits available year-round, and baking them does not strip them of their benefits. They remain a solid source of dietary fiber, particularly pectin, which supports healthy digestion and helps maintain steady blood sugar levels after meals.
The rolled oats in the topping contribute beta-glucan, a type of soluble fiber that has been shown to support heart health and help lower LDL cholesterol over time. Unlike refined flour-based toppings, oats bring substance and slow-digesting carbohydrates to this dessert.
Cinnamon, used generously in this recipe, is more than just a flavor agent. It contains antioxidants and has been studied for its potential to support insulin sensitivity and reduce inflammation in the body. Even a small daily amount adds up in meaningful ways.
Butter, used in moderation here, provides fat-soluble vitamins A, D, E, and K, which are essential for cellular function and immunity. When balanced within a varied diet, this dessert fits comfortably into mindful, wholesome eating.
Storage Instructions
Once your apple crisp has cooled to room temperature, cover the baking dish tightly with plastic wrap or transfer the leftovers into an airtight container. Store it in the refrigerator for up to four days. The flavors actually deepen overnight, making day-two servings arguably even better than the first.
To reheat individual portions, microwave them on medium power for 60 to 90 seconds, or until warmed through. For the best topping texture, however, reheat in the oven or a toaster oven at 325°F for about 10 minutes. This method revives the crunch that the refrigerator tends to soften.
Apple crisp can also be frozen after baking. Let it cool completely, then wrap it tightly in two layers of plastic wrap followed by a layer of aluminum foil. Freeze for up to three months. Thaw overnight in the refrigerator before reheating in the oven.
If you plan to freeze it, consider portioning it into individual servings before freezing. This way, you can pull out exactly what you need without thawing the entire batch. Label each portion with the date so nothing gets lost or forgotten in the back of the freezer.
Suggestions
Apple crisp is one of those rare desserts that pairs equally well with warming spices and creamy, cooling accompaniments. The most classic pairing is a scoop of good-quality vanilla ice cream served directly on top of the warm crisp. The contrast between hot and cold, soft and crunchy, is genuinely satisfying on every level.
If you want to elevate the dessert for a dinner party, consider adding a salted caramel drizzle over each bowl just before serving. The salt cuts through the sweetness and draws out the complexity of the caramelized apples underneath. A small pour goes a long way.
For a brunch or breakfast-adjacent serving, apple crisp pairs beautifully with thick Greek yogurt instead of ice cream. It transforms into something that feels lighter, tangier, and a little more wholesome — while still delivering all the flavor of a proper dessert.
You can also experiment with the fruit base itself. Swapping half the apples for ripe pears, fresh cranberries, or even sliced quince creates a completely different flavor profile while keeping the rest of the recipe identical. Apple-pear crisp, in particular, is worth making at least once.
Seasonal Relevance
Apple crisp is a recipe that belongs to autumn the way pumpkin pie belongs to November. Late September through early November is the ideal window, when apple orchards are at peak harvest and varieties like Honeycrisp, Cortland, and Braeburn are at their freshest and most flavorful. This is when the recipe truly sings.
That said, apple crisp is not exclusively a fall dessert. Granny Smith apples are available year-round and hold up beautifully in any season. In the winter months, the warm spiced filling and golden topping make it one of the most comforting desserts you can pull from the oven on a cold evening.
In spring and early summer, try pairing the apple base with rhubarb — roughly equal parts — for a bright, tangy variation that captures the freshness of the season without straying too far from the original. The natural tartness of rhubarb complements the sweetness of the apples in a way that feels intentional and refined.
By mid-summer, you can lean into stone fruits alongside or instead of apples. Peach crisp and blueberry crisp follow the exact same method and timing. The oat topping is a universal companion to almost any fruit, which is part of what makes this template so enduringly practical.
Final Words
Quick apple crisp is a recipe that earns its place in your permanent rotation — not because it is flashy or technically impressive, but because it is genuinely, reliably good. It delivers every time, with minimal effort and maximum return. That is a rare combination in any recipe.
What makes this dish particularly special is how it manages to feel both nostalgic and fresh. Whether you grew up eating something like this or you are making it for the first time, there is a familiarity to it that feels comforting from the very first bite. Good food has a way of doing that.
I encourage you to treat this recipe as a starting point rather than a strict formula. Swap the apple variety, add a handful of nuts, stir in some dried fruit, or hit the finished dish with a pinch of flaky salt just before serving. Make it yours. The bones of this recipe are strong enough to hold whatever creativity you bring to it.
If you try it, I would genuinely love to hear how it turned out. Leave a comment, share a photo, or simply make it again on a night when you need something warm and uncomplicated. That is what apple crisp is for.
Frequently Asked Questions
Can I make apple crisp ahead of time?
Yes. You can assemble the full dish — apples and topping — up to 24 hours in advance and refrigerate it unbaked. When ready, bake it straight from the refrigerator, adding about 5 extra minutes to the total bake time. The topping may need a few extra minutes to reach that deep golden color.
Do I need to peel the apples for this recipe?
Peeling is recommended for the smoothest texture, but it is not strictly required. Apple skin softens during baking and is perfectly safe to eat. If you choose to leave the skin on, slice the apples a little thinner so the skin does not create a tough or chewy texture in the finished dessert.
Can I make this recipe gluten-free?
Absolutely. Substitute the all-purpose flour with a certified gluten-free flour blend in a 1:1 ratio. Make sure your rolled oats are labeled gluten-free as well, since standard oats are often processed in facilities that handle wheat. Everything else in the recipe is naturally gluten-free and requires no modification.
Quick Apple Crisp Recipe
8
servings15
minutes40
minutes320
kcal55
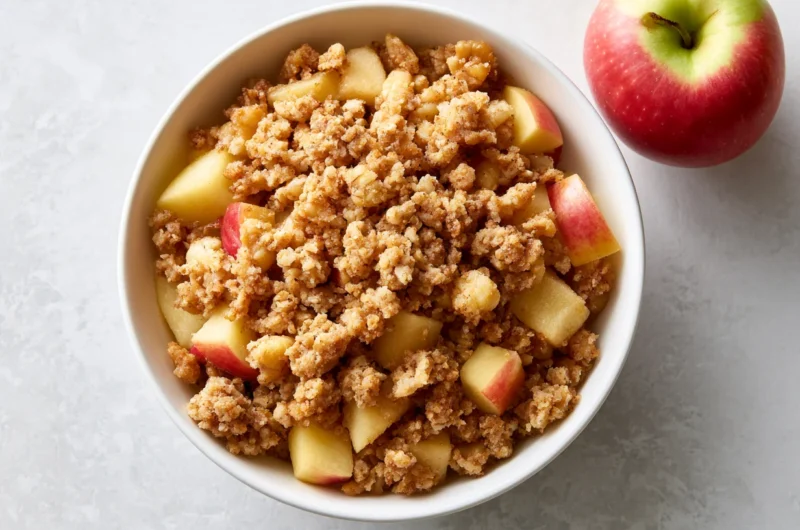
minutesA warm, golden apple crisp loaded with cinnamon-spiced apples and a buttery oat topping. Ready in under an hour, this effortless dessert delivers cozy, crowd-pleasing flavor with minimal prep and pantry-staple ingredients.
Ingredients
Base ingredients
6 medium apples (Granny Smith or Honeycrisp), peeled, cored, sliced
2 tbsp granulated white sugar
1 tsp ground cinnamon (apple layer)
1 tbsp lemon juice
1 cup old-fashioned rolled oats
¾ cup all-purpose flour
¾ cup packed light brown sugar
½ tsp ground cinnamon (topping)
¼ tsp salt
½ cup unsalted butter, cold, cubed
Optional add-ins
¼ tsp ground nutmeg
¼ tsp ground ginger
½ cup chopped walnuts or pecans
½ cup raisins or dried cranberries
1 tsp pure vanilla extract
2 tbsp maple syrup
Directions
- Preheat oven to 350°F (175°C). Lightly grease a 9×13-inch baking dish with butter or non-stick cooking spray and set aside.
- Peel, core, and slice apples into ¼-inch thick pieces. Toss in a large bowl with granulated sugar, 1 tsp cinnamon, and lemon juice until evenly coated.
- Spread the seasoned apple mixture in an even layer across the bottom of the prepared baking dish.
- In a separate bowl, combine rolled oats, flour, brown sugar, ½ tsp cinnamon, and salt. Stir until mixed.
- Add cold butter cubes to the oat mixture. Work in with fingertips until it resembles coarse, clumpy crumbs with pea-sized pieces throughout.
- Scatter the topping loosely and evenly over the apple layer. Do not press it down — keep it airy for a proper crisp.
- Bake uncovered on the center rack for 40 to 45 minutes until the topping is deep golden and the filling is bubbling at the edges.
- Remove from oven and rest for at least 10 minutes before serving. Serve warm with vanilla ice cream, heavy cream, or whipped cream.
Recipe Video
Notes
- Use firm apple varieties like Granny Smith, Honeycrisp, or Braeburn. Soft apples like Red Delicious will turn mushy during baking.
- Keep butter refrigerator-cold right until use. Cold butter is essential for a crumbly, crunchy topping — room-temperature butter blends in too smoothly.
- Do not press the topping down onto the apples. Scatter it loosely so heat circulates evenly and the oats crisp up properly.
- The crisp is done when the filling is actively bubbling around the edges — don’t pull it early based on time alone.
- To make ahead, assemble unbaked and refrigerate up to 24 hours. Bake straight from the fridge, adding 5 extra minutes to the bake time.
- Leftovers keep in the refrigerator for up to 4 days. Reheat in the oven at 325°F for 10 minutes to revive the topping’s crunch.
- Freeze fully baked portions (wrapped tightly) for up to 3 months. Thaw overnight in the refrigerator before reheating.
- For a gluten-free version, substitute all-purpose flour with a 1:1 gluten-free flour blend and use certified gluten-free rolled oats.