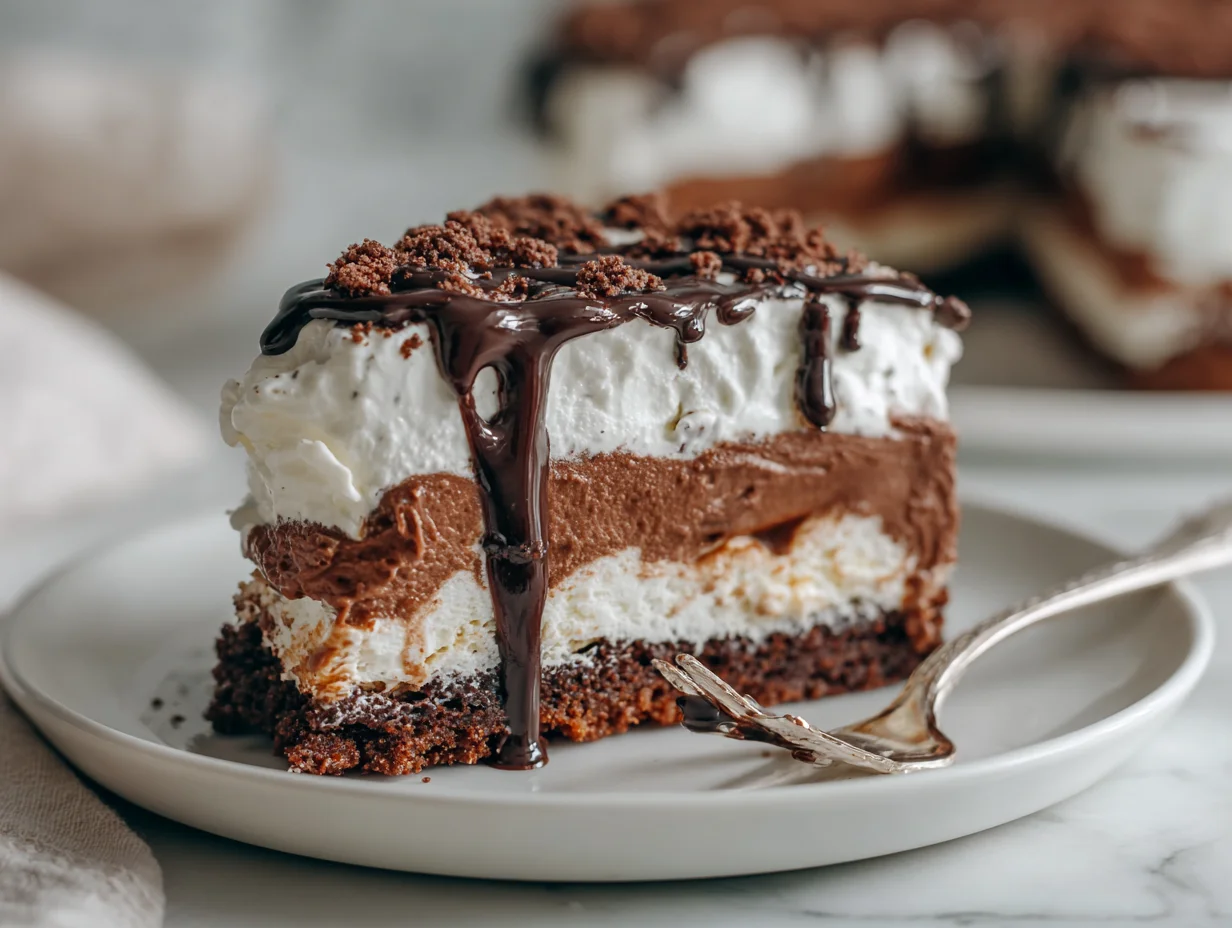
Creating a stunning dessert at home doesn’t always require hours of baking or advanced pastry skills. An ice cream cake brings together creamy indulgence, delightful textures, and visual appeal in a way that feels both luxurious and approachable. It’s the perfect centerpiece for birthdays, family gatherings, or festive occasions.
This recipe is designed for those who want professional results without complicated techniques. With carefully balanced layers and a smooth finish, you’ll achieve a dessert that rivals any bakery creation. Each bite delivers a harmonious blend of crunch, creaminess, and sweetness.
Whether you’re preparing for a celebration or simply treating yourself, this homemade ice cream cake offers reliability and elegance. Follow this expertly crafted guide, and you’ll master a dessert that impresses every time.
The Hidden Pitfalls That Ruin Ice Cream Cake Texture
One of the most common mistakes in making ice cream cake is working with ice cream that is either too melted or too firm. When it’s overly soft, layers become messy and lose structure. When too hard, spreading becomes uneven, leading to cracks and inconsistent texture.
Another frequent issue is skipping proper layering technique. Many home cooks rush the process, stacking layers without allowing them to set. This results in a cake that collapses or blends into a single dense mass rather than distinct layers.
Improper freezing time is also a major problem. Removing the cake too early prevents it from holding its shape, while excessive freezing can make it too hard to slice and serve properly. Timing is crucial for achieving that perfect balance.
Lastly, neglecting the base layer can compromise the entire dessert. A weak or crumbly base fails to support the ice cream layers, causing instability. This not only affects presentation but also the overall eating experience.
Expert Solutions for a Perfectly Layered Ice Cream Cake
To avoid texture issues, always let your ice cream soften slightly at room temperature for a few minutes. It should be spreadable but still firm enough to hold its shape. This ensures smooth, even layers without melting.
Focus on building your cake gradually. After adding each layer, place the cake back in the freezer for at least 20 to 30 minutes. This step stabilizes the structure and keeps the layers defined and professional-looking.
Monitor freezing time carefully. Ideally, allow the finished cake to set for several hours or overnight. Before serving, let it sit at room temperature for 5 to 10 minutes to make slicing effortless and clean.
Strengthen your base by pressing it firmly into the pan and chilling it before adding ice cream. A well-set base provides a solid foundation, ensuring your cake remains intact from slicing to serving.
Ingredients You’ll Need
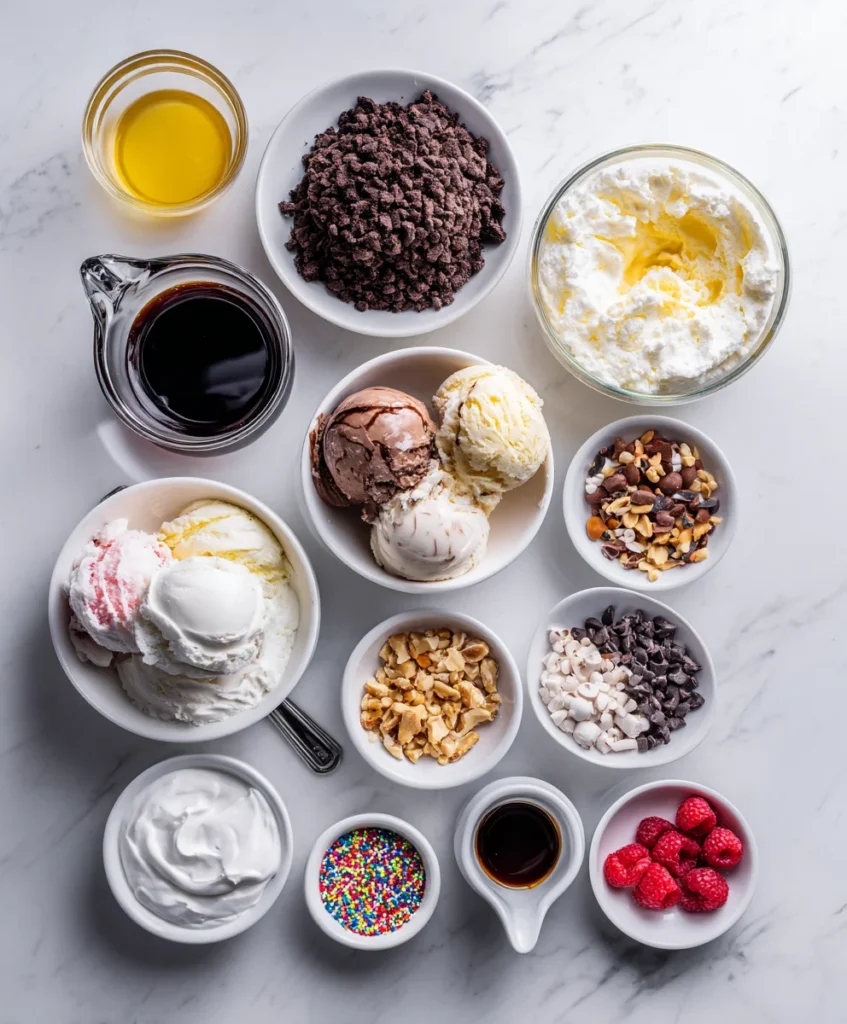
Base Ingredients:
- 2 cups crushed chocolate cookies or biscuits
- 100g melted butter
- 1 liter vanilla ice cream
- 1 liter chocolate ice cream
- 1 cup whipped cream
- 1/2 cup chocolate syrup
Optional Add-ins:
- Crushed nuts (almonds, walnuts)
- Chocolate chips or chunks
- Caramel sauce
- Fresh berries
- Sprinkles or crushed candies
Step-by-Step Instrusions
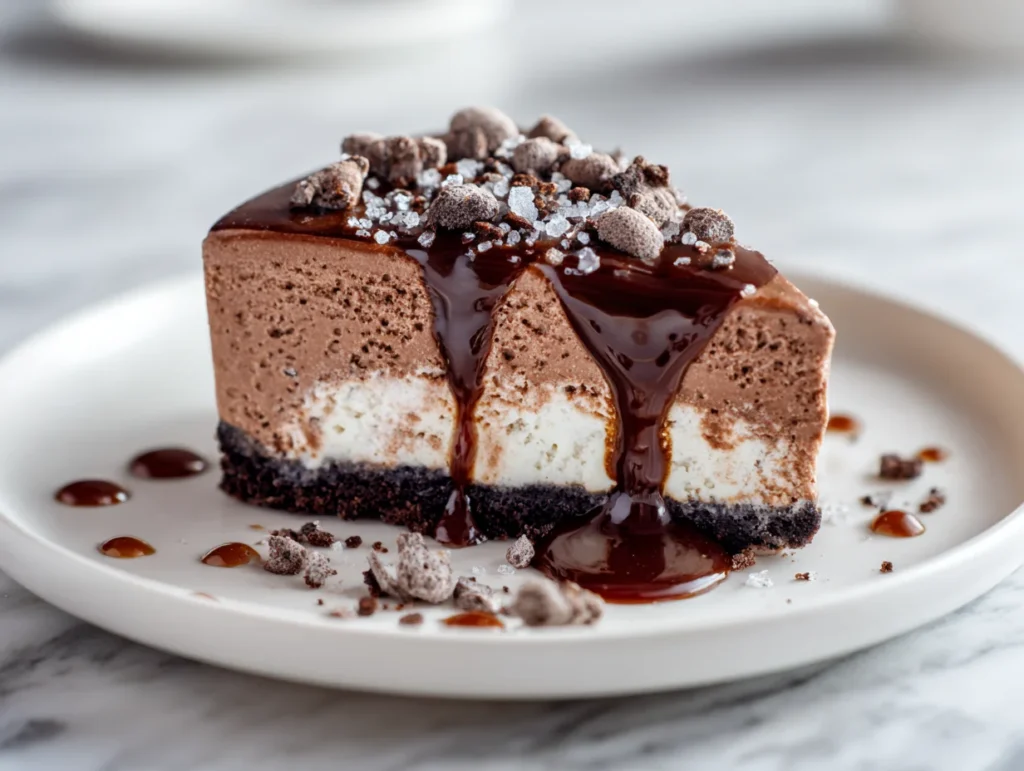
Prepare the Base
Combine crushed cookies with melted butter until the mixture resembles wet sand. Press it firmly into the bottom of a springform pan, ensuring an even layer. Chill in the freezer for at least 20 minutes. This creates a strong, compact base that holds the entire structure together and prevents crumbling during slicing.
Add the First Ice Cream Layer
Slightly soften the vanilla ice cream, then spread it evenly over the chilled base. Use a spatula to smooth the surface, ensuring there are no air gaps. Return the pan to the freezer for 25 to 30 minutes. This step ensures a clean separation between layers and maintains structure.
Add the Second Layer
Repeat the process with chocolate ice cream, spreading it gently over the set vanilla layer. Keep the layer even and smooth for a professional finish. Freeze again for another 30 minutes. Proper layering enhances both the visual appeal and flavor distribution in every bite.
Final Decoration and Setting
Top the cake with whipped cream, chocolate syrup, and your preferred add-ins. Smooth or pipe the cream for a decorative finish. Freeze the entire cake for at least 4 to 6 hours or overnight. This final setting stage ensures firmness and makes slicing clean and precise.
Cook Time
Total: 6 hours
Prep: 30 minutes
Bake: 0 minutes
Servings
This recipe serves approximately 10 to 12 people, making it ideal for celebrations and gatherings. Each slice offers a balanced portion of creamy and crunchy textures without being overly heavy.
Portion size can be adjusted depending on the occasion. For larger events, slice thinner pieces to serve more guests while maintaining presentation quality and consistency.
For smaller groups, you can cut larger slices and store the remaining cake. Its structure holds well when properly frozen, allowing you to enjoy it over multiple servings without compromising quality.
Makes approximately 10 to 12 slices
Nutritional Information (approx. per serving)
- Calories: 320 kcal
- Fat: 18g
- Carbohydrates: 35g
- Sugar: 25g
- Protein: 4g
This dessert provides quick energy due to its carbohydrate content, making it a satisfying treat for special occasions. The combination of fats and sugars delivers a rich, indulgent experience.
Dairy-based ingredients contribute calcium, supporting bone health when consumed in moderation. While it is a dessert, it can still be part of a balanced lifestyle when portioned correctly.
Adding nuts or berries enhances nutritional value by introducing healthy fats, fiber, and antioxidants. These additions elevate both flavor and health benefits.
Storage Instructions
Store the ice cream cake in an airtight container or wrap it tightly with plastic wrap to prevent freezer burn. Proper sealing preserves both texture and flavor.
Keep the cake in the coldest part of the freezer, away from the door. Frequent temperature changes can affect its consistency and lead to unwanted melting and refreezing.
If storing for longer periods, consider placing the cake in a cake box before wrapping. This adds an extra layer of protection and maintains its shape.
Before serving leftovers, allow the cake to sit at room temperature briefly. This restores its creamy texture and ensures easy slicing without damaging the layers.
Suggestions
For a gourmet touch, experiment with different ice cream flavors such as strawberry, coffee, or cookies and cream. This allows customization based on personal preference or event theme.
Incorporate a middle layer of fudge or caramel sauce for added richness. This creates a surprise element that enhances the overall taste experience.
Use a hot knife when slicing the cake. Dip it in warm water and wipe clean between cuts for smooth, professional slices.
Decorate with seasonal toppings or themed designs to match special occasions. Presentation plays a key role in making this dessert stand out.
Seasonal Relevance
Ice cream cake is especially popular during summer due to its refreshing and cooling nature. It serves as the perfect dessert to beat the heat while satisfying sweet cravings.
During festive seasons, it can be customized with themed decorations, making it suitable for birthdays, holidays, and celebrations.
In spring, incorporating fresh fruits like berries enhances both flavor and presentation, adding a light and vibrant touch.
Even in winter, it remains a favorite for indoor celebrations. Pairing it with warm beverages creates a delightful contrast that guests enjoy.
Finl Words
Crafting a homemade ice cream cake is both rewarding and surprisingly simple when done correctly. With the right techniques, you can achieve bakery-quality results at home.
Attention to detail, especially in layering and freezing, makes all the difference. These small steps elevate the dessert from ordinary to exceptional.
This recipe offers flexibility, allowing you to experiment with flavors and textures. It’s a versatile dessert that adapts to any occasion.
Once mastered, this ice cream cake will become a go-to favorite in your recipe collection, delivering consistent results and lasting impressions.
Frequently Asked Questions
How can I prevent my ice cream cake from melting too quickly while serving?
Serve the cake immediately after removing it from the freezer and keep it in a cool environment. Slice only what you need and return the rest quickly. Using a chilled serving plate also helps maintain its structure and prevents rapid melting.
Can I make an ice cream cake without a springform pan?
Yes, you can use a regular cake pan lined with parchment paper or plastic wrap. This allows easy removal by lifting the cake out. Ensure the lining covers all sides for a clean release and professional presentation.
What is the best way to achieve clean and sharp layers?
Freeze each layer thoroughly before adding the next. Use slightly softened ice cream for even spreading. This method ensures defined layers that remain intact when slicing, giving your cake a polished and professional look.
Can I use homemade ice cream for this recipe?
Absolutely, homemade ice cream works beautifully and enhances flavor quality. Ensure it is churned and slightly firm before layering. This helps maintain structure and prevents excessive melting during assembly.
How long can I store an ice cream cake in the freezer?
An ice cream cake can be stored for up to one week if properly wrapped. Beyond that, texture and flavor may begin to deteriorate. Always keep it airtight to preserve freshness and prevent freezer burn.
