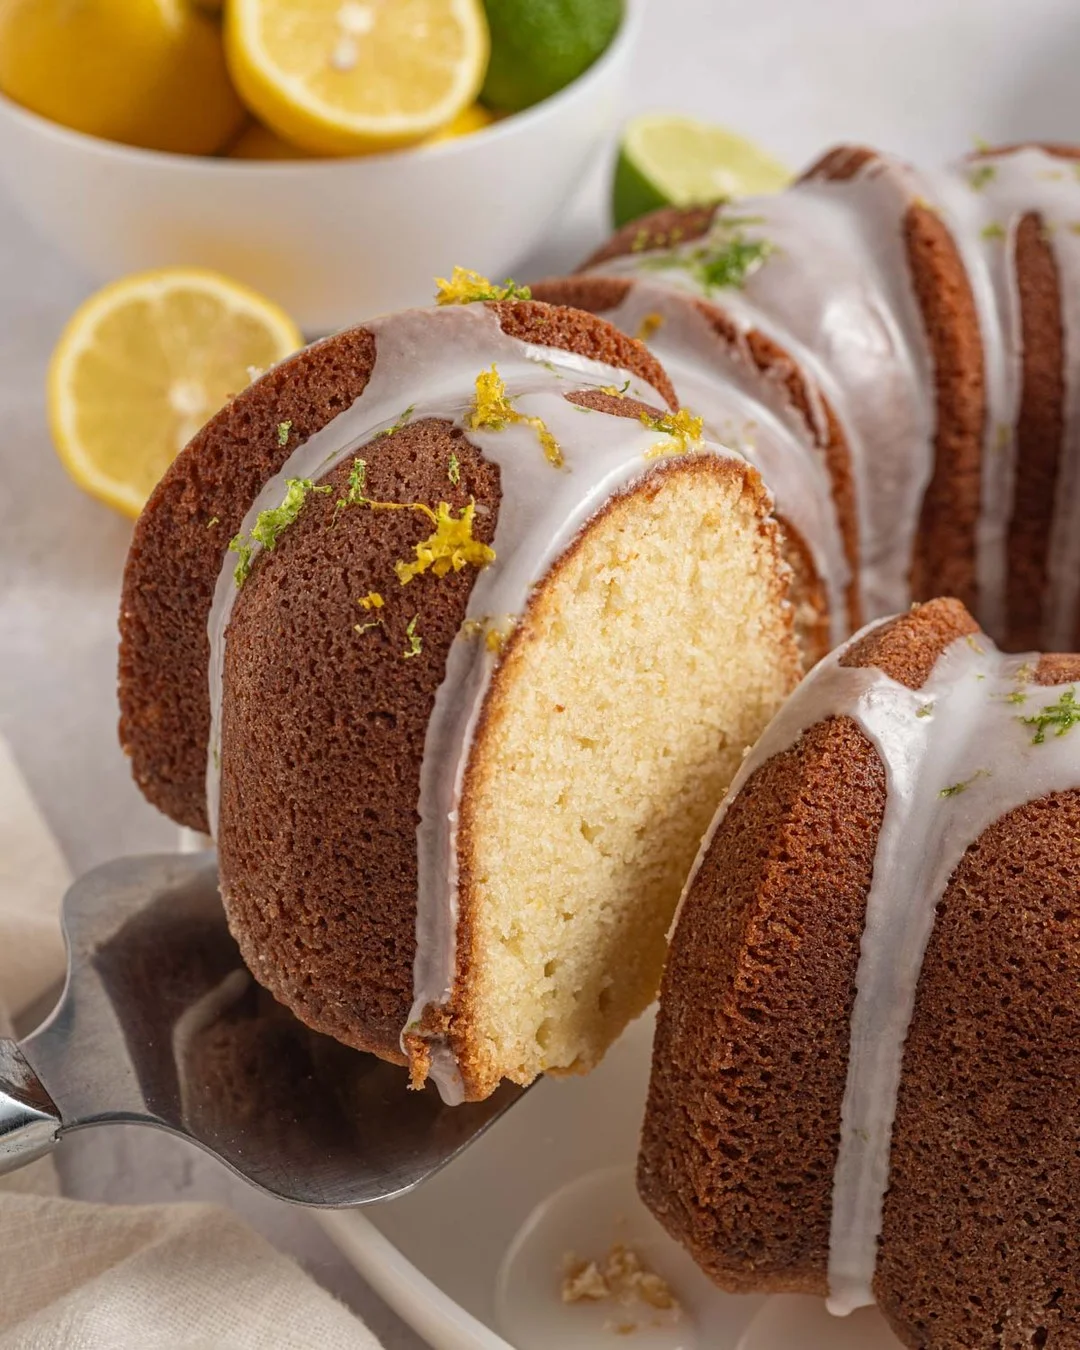
There is a reason vanilla cake has survived every baking trend of the last century. It does not chase attention with towering layers or complicated fillings. It simply delivers on flavor, texture, and comfort every single time, which is exactly why it remains one of the most searched dessert recipes in the world.
This recipe was built for real kitchens, not test kitchens. You will not need a stand mixer, specialty flour, or a trip to a baking supply store. Everything comes from the shelf you already have stocked, and the process is forgiving enough for a first attempt yet precise enough to satisfy an experienced baker.
What sets this version apart is the balance. Too many vanilla cakes lean either dry and crumbly or dense and gummy. This one is engineered, through ratio and technique, to land right in the middle: soft crumb, moist bite, and a vanilla flavor that actually tastes like vanilla instead of sugar alone.
By the end of this article, you will have a cake that works for birthdays, weeknight cravings, or a base for any frosting you love. Let’s get into exactly what you need and how to make it right the first time.
Ingredients You’ll Need
A great vanilla cake does not hide behind fancy ingredients, it earns its flavor through precision, and that is exactly what this list is built on.
One of the things I love about this recipe is that it uses simple pantry ingredients. You probably already have most of them in your kitchen.
Base Ingredients
- 2 ½ cups all-purpose flour
- 1 ¾ cups granulated sugar
- 1 tablespoon baking powder
- ½ teaspoon salt
- 1 cup unsalted butter, softened
- 4 large eggs
- 1 cup whole milk
- 2 teaspoons pure vanilla extract
- ½ cup sour cream or plain yogurt
Optional Add-ins
- 1 teaspoon almond extract
- 1 tablespoon lemon zest
- ½ cup white chocolate chips
- 2 tablespoons poppy seeds
- ¼ teaspoon ground nutmeg
Step-by-Step Instructions
Step 1: Prepare the Pans and Oven
Preheat your oven to 350°F and position the rack in the center. Grease two 9-inch round cake pans thoroughly, then line the bottoms with parchment paper for a clean release. Lightly flour the sides after greasing to prevent sticking. This small step protects your crumb structure later. Skipping it often leads to torn edges or a cake that clings stubbornly to the pan once baked, which frustrates even experienced home bakers on a tight schedule.
Step 2: Cream the Butter and Sugar
In a large bowl, beat the softened butter and sugar together for a full three to four minutes until pale and fluffy. This is not a step to rush. Proper creaming traps air pockets that give the cake its lift and tender texture. If the mixture still looks grainy or dense after a few minutes, keep beating rather than moving forward, since this stage largely determines your final crumb.
Step 3: Add Eggs and Wet Ingredients
Add the eggs one at a time, beating well after each addition so the batter stays smooth and emulsified. Mix in the vanilla extract and sour cream until fully combined. The batter should look glossy and slightly thickened at this point. Adding eggs too quickly can cause the batter to curdle temporarily, so patience here directly affects how evenly your cake rises in the oven.
Step 4: Combine Dry Ingredients
In a separate bowl, whisk together the flour, baking powder, and salt until evenly distributed. This prevents pockets of baking powder from creating uneven bubbles or a bitter aftertaste in certain bites. Whisking, rather than simply stirring, ensures the leavening agent is spread uniformly, which matters more than most bakers realize when it comes to a level, even rise across the entire cake.
Step 5: Fold and Alternate
Add the dry mixture to the batter in three parts, alternating with the milk, beginning and ending with the flour mixture. Mix on low speed or fold gently by hand until just combined. Overmixing at this stage develops gluten, which toughens the cake. Stop as soon as no streaks of flour remain, even if the batter looks slightly imperfect, since a slightly lumpy batter bakes better than an overworked one.
Step 6: Bake and Cool
Divide the batter evenly between the prepared pans and smooth the tops with a spatula. Bake for 28 to 32 minutes, or until a toothpick inserted in the center comes out clean. Let the cakes cool in their pans for ten minutes before transferring to a wire rack. Cooling fully before frosting is essential, as warm cake will melt any buttercream or glaze applied too soon.
Cook Time
Total:
55 minutes
Prep:
20 minutes
Bake:
30 minutes
Servings
This recipe makes approximately 12 generous servings, making it ideal for birthdays, potlucks, or a weekend family dessert without any need to double the batch.
Each slice is portioned to satisfy without overwhelming, striking a balance between a treat-worthy dessert and a portion size guests will actually finish. The two nine-inch layers provide enough height and structure to frost generously while still slicing cleanly.
If you are serving a smaller gathering, this cake also halves well into a single-layer version, or freezes beautifully in individual slices for later enjoyment without any loss in texture or flavor.
Common Mistakes in This Recipe
The most frequent error home bakers make is measuring flour by scooping directly with the measuring cup. This packs in extra flour, leading to a dry, dense cake instead of the light crumb this recipe is designed to produce. A second common mistake is using cold butter or eggs straight from the refrigerator, which prevents proper emulsification and can cause the batter to separate or curdle during mixing.
Overbaking is another frequent issue, often caused by relying solely on a timer instead of checking visual cues and doneness tests. Ovens vary significantly, and a few extra minutes can dry out an otherwise perfect cake. Finally, many bakers frost the cake while it is still slightly warm, which causes the frosting to slide, melt, or pool at the base instead of holding its shape and structure properly.
Solutions to Common Mistakes
To avoid dense cake, spoon flour into your measuring cup and level it off with a knife rather than scooping directly from the bag. This single change dramatically improves texture. Bring butter, eggs, and sour cream to true room temperature at least thirty minutes before baking to ensure smooth, even emulsification throughout the batter.
Start checking for doneness at the 26-minute mark using a toothpick, and remove the cakes as soon as it comes out clean with a few moist crumbs attached. Always allow the layers to cool completely on a wire rack, ideally for a full hour, before applying any frosting or glaze, which protects both texture and presentation.
Nutritional Information (approx. per serving)
- Calories: 320
- Total Fat: 14g
- Saturated Fat: 8g
- Carbohydrates: 44g
- Sugar: 27g
- Protein: 4g
- Sodium: 210mg
Beyond indulgence, this cake offers a few practical nutritional advantages worth noting. The use of whole milk and sour cream contributes calcium and a modest amount of protein, supporting bone health in a dessert context. Eggs add essential amino acids along with choline, which plays a role in brain and cell function.
Because the recipe relies on real butter rather than heavily processed shortening, it avoids trans fats commonly found in commercial cake mixes. Portion control is easy here, since a single slice delivers satisfying sweetness without requiring oversized servings to feel indulgent. This makes it a more mindful choice compared to store-bought alternatives loaded with preservatives and stabilizers.
Storage Instructions
Store leftover cake in an airtight container at room temperature for up to two days, ideally in a cool spot away from direct sunlight. If your kitchen runs warm or humid, refrigeration is a safer bet to prevent the frosting from softening or the crumb from drying out prematurely.
For refrigerated storage, the cake will stay fresh for up to five days when kept in a sealed container to prevent it from absorbing odors from other foods. Bring slices to room temperature before serving, as this restores the soft, tender texture that refrigeration can temporarily firm up.
This cake also freezes exceptionally well, whether frosted or unfrosted. Wrap individual layers or slices tightly in plastic wrap, then place them in a freezer-safe bag for up to three months. Thaw overnight in the refrigerator for the best texture retention.
Avoid storing the cake uncovered, even briefly, since exposed cake dries out within hours and loses the moist quality this recipe is specifically designed to deliver.
Suggestions
This vanilla cake pairs beautifully with a classic buttercream, but do not overlook simpler options like a light glaze made from powdered sugar and milk for a more casual presentation. Fresh berries on top add color and a pleasant tartness that balances the sweetness of the crumb.
For a coffee shop feel, serve slices alongside a hot espresso or a spiced chai, both of which complement vanilla’s warm undertones without competing with it. If you are hosting a larger event, consider turning this recipe into cupcakes for easier serving and portion control.
Toasted coconut, chopped nuts, or a dusting of cinnamon sugar on top can elevate presentation without adding significant preparation time. For a richer dessert table, pair a slice with a small scoop of vanilla or salted caramel ice cream.
Finally, leftover crumbs make an excellent base for a quick trifle when layered with pudding and fruit, ensuring nothing goes to waste.
Seasonal Relevance
Vanilla cake is genuinely a year-round recipe, but it shines particularly bright during spring celebrations, when its light color and soft crumb pair naturally with pastel decorations and fresh fruit toppings. Birthdays and baby showers frequently call for exactly this kind of neutral, crowd-pleasing base.
In summer, this cake works wonderfully as a base for berry shortcakes or topped with a light whipped cream and seasonal stone fruit. Its mild flavor profile allows bright, acidic fruits to shine without clashing with heavier spices or richness.
During the fall and winter months, the same base recipe adapts easily by folding in warm spices like cinnamon or nutmeg, or pairing it with a maple-based frosting. This flexibility is part of why vanilla cake remains a dependable choice regardless of the calendar.
Holiday gatherings also benefit from this recipe’s simplicity, since it can be prepared ahead of time and frosted the same day without last-minute stress.
Final Words
There is a quiet confidence that comes from mastering a recipe like this one. Once you understand the ratios and techniques behind a proper vanilla cake, you gain a foundation that extends into countless other desserts, from layer cakes to cupcakes to sheet cakes for a crowd.
This recipe was built to remove guesswork, relying on pantry staples and clear technique rather than trendy ingredients or complicated tools. That accessibility is precisely what makes it worth returning to again and again, whether for a special occasion or a quiet weekend baking session.
I encourage you to make this recipe your own over time. Adjust the vanilla intensity, experiment with add-ins, or pair it with a frosting that suits your taste. The base recipe will hold steady no matter how you choose to personalize it.
Baking, at its best, is equal parts precision and personal touch, and this recipe gives you plenty of room for both.
Frequently Asked Questions
Can I make this vanilla cake without a stand mixer?
Yes, a hand mixer or even a sturdy whisk works well, provided you cream the butter and sugar thoroughly. It takes slightly longer by hand, but the texture results remain nearly identical with proper technique and patience.
Why did my cake sink slightly in the middle?
This usually happens from underbaking, opening the oven door too early, or using expired baking powder. Always test doneness with a toothpick and avoid opening the oven during the first twenty minutes of baking.
Can I turn this recipe into cupcakes instead of a layered cake?
Absolutely. Divide the batter into a lined muffin tin and bake at the same temperature for 18 to 20 minutes. This yields approximately 24 standard cupcakes, perfect for parties or easier portion control.