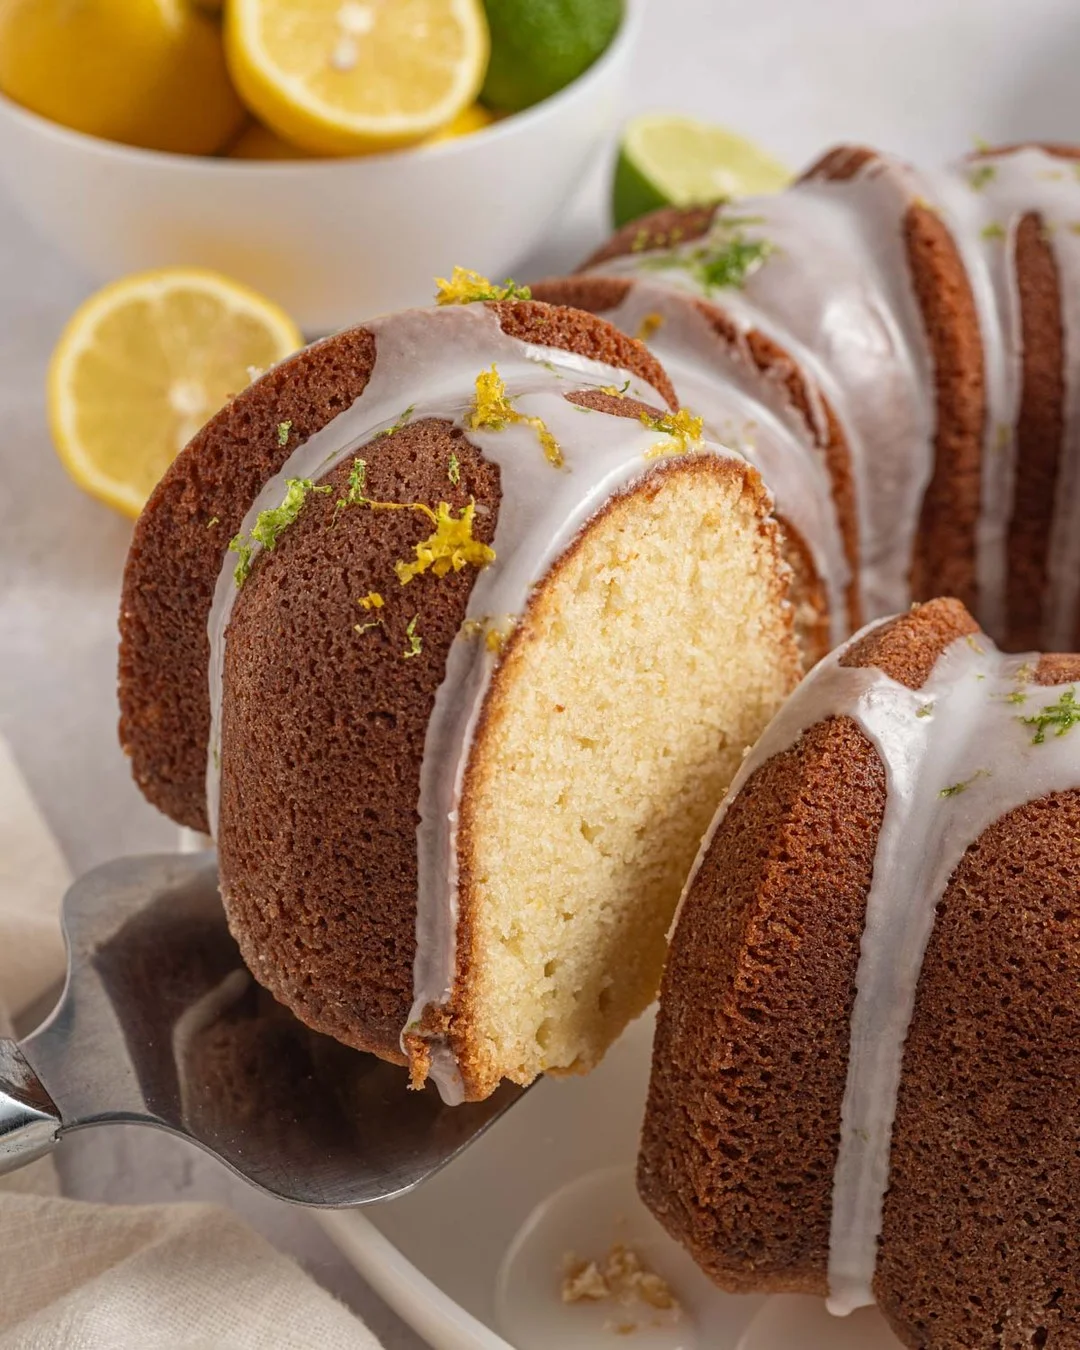
There is a reason this cake has survived decades of trend cycles without ever falling out of favor. Long before bundt pans lined every bakery shelf, home cooks were folding lemon-lime soda into butter and sugar, chasing a crumb so tight and tender it practically dissolves on the tongue. This is not a novelty dessert. It is a Southern staple built on technique, patience, and a fizzy secret ingredient that does more work than most people realize.
What makes this cake remarkable is its texture. The carbonation in 7UP lightens the batter just enough to counter the density of a traditional pound cake, while the citrus notes cut through the richness of butter and cream cheese. The result is a loaf that is buttery, faintly tangy, and finished with a golden, slightly crisp crust that gives way to a soft interior.
This recipe is written the way a professional bakeshop would approach it: precise measurements, clear technique, and no shortcuts that compromise the final crumb. Whether you are baking for a holiday table or a quiet Sunday afternoon, this cake delivers consistent, bakery-quality results every single time.
Below, you will find everything needed to bake this classic with confidence, from ingredient selection to storage tips that keep it fresh for days.
Ingredients You’ll Need
A great pound cake does not hide behind fancy ingredients, and this one proves that point beautifully. The magic here lies in balance, not complexity, and every item on this list earns its place in the final crumb.
One of the things I love about this recipe is that it uses simple pantry ingredients. You probably already have most of them in your kitchen.
Base Ingredients
- 1 ½ cups unsalted butter, softened
- 3 cups granulated sugar
- 5 large eggs, room temperature
- 3 cups all-purpose flour
- 1 cup 7UP soda, room temperature
- 1 teaspoon lemon extract
- 1 teaspoon vanilla extract
- ¼ teaspoon salt
Optional Add-ins
- 1 tablespoon lemon zest
- ½ cup cream cheese, softened
- 1 teaspoon almond extract
- ½ cup finely chopped pecans
- 2 tablespoons powdered sugar, for dusting
Step-by-Step Instructions
Prepare the Pan and Oven
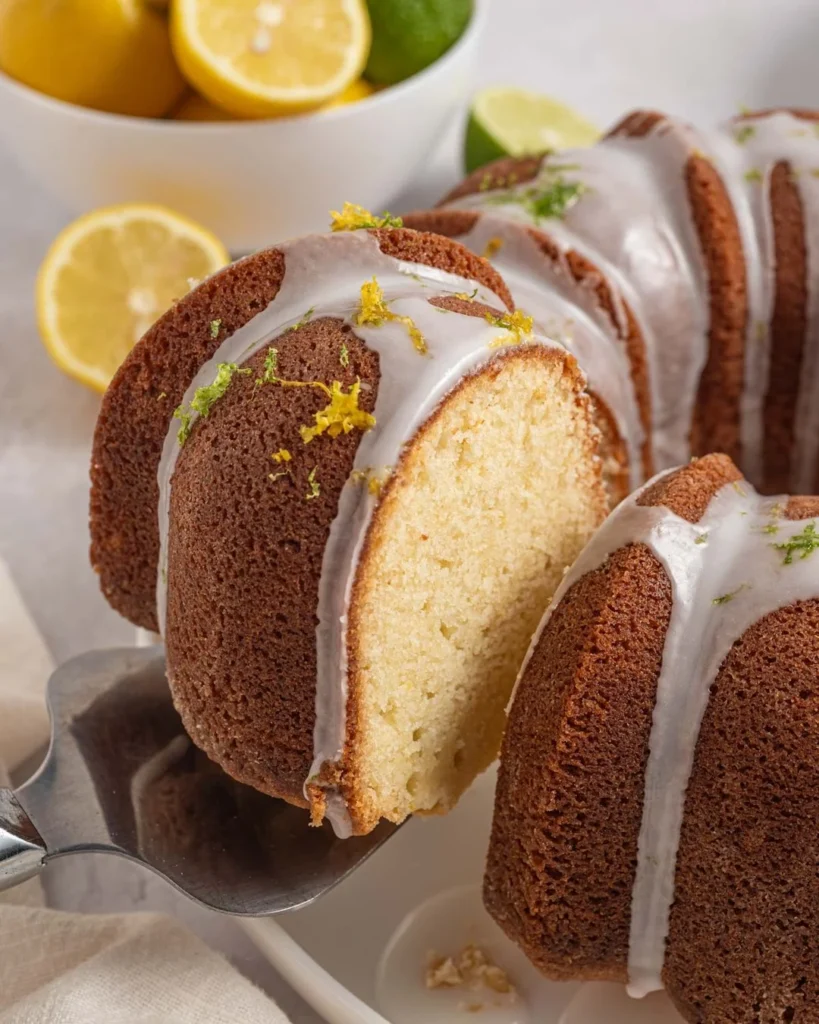
Preheat your oven to 325°F. Grease a 10-inch bundt or tube pan thoroughly, making sure to coat every groove and ridge. Dust lightly with flour, tapping out the excess. This step prevents sticking, which is one of the most common frustrations with dense pound cakes. A well-prepared pan ensures a clean release and preserves the cake’s structure once it is fully baked and cooled.
Cream the Butter and Sugar
In a large mixing bowl, beat the softened butter and sugar together on medium speed for 5 to 7 minutes. The mixture should turn pale and fluffy, not just combined. This extended creaming stage incorporates air into the batter, which directly affects the final texture. Rushing this step is the single biggest reason pound cakes turn out dense or gummy instead of light and tender.
Add the Eggs Gradually
Add the eggs one at a time, beating well after each addition. This slow incorporation prevents the batter from curdling and keeps the emulsion stable. Scrape down the sides of the bowl between additions to ensure everything blends evenly. Room temperature eggs are essential here, since cold eggs can cause the butter to seize and create an uneven, lumpy batter texture.
Alternate Flour and Soda
Add the flour in three additions, alternating with the 7UP soda, beginning and ending with flour. Mix on low speed just until combined after each addition. Overmixing at this stage develops gluten, which leads to a tough, chewy cake rather than the tender crumb this recipe is known for. Stir in the lemon and vanilla extracts along with the salt during the final addition.
Bake Low and Slow
Pour the batter into the prepared pan, smoothing the top with a spatula. Bake for 75 to 85 minutes, checking at the 70-minute mark with a toothpick inserted into the center. The cake is done when the toothpick comes out clean or with a few moist crumbs. Avoid opening the oven door frequently, as temperature fluctuations can cause the cake to sink in the middle.
Cool and Release
Let the cake cool in the pan for 15 to 20 minutes before inverting it onto a wire rack. This resting period allows the structure to set, reducing the risk of breakage during release. Cool completely before slicing or glazing. Patience here rewards you with clean slices and a crumb that holds together beautifully once fully rested.
Cook Time
Total
2 hours, including cooling time
Prep
20 minutes
Bake
75 to 85 minutes
Servings
This recipe makes approximately 16 generous slices, making it ideal for gatherings, potlucks, or a week of make-ahead desserts. A standard bundt pan yields a tall, evenly baked loaf that slices cleanly once fully cooled, so portion sizes stay consistent from the first cut to the last.
Each slice offers a satisfying balance of richness and lightness, meaning smaller portions often feel just as indulgent as a larger cut. This makes it a practical choice for entertaining, since guests can enjoy a modest slice without feeling shortchanged on flavor or texture.
If you are baking for a smaller household, the cake freezes well in individual portions, so servings can easily be stretched across several weeks. This flexibility is part of what makes the recipe such a reliable, repeatable staple in any home baker’s rotation.
Common Mistakes in This Recipe
The most frequent error bakers make is underbeating the butter and sugar. Skipping the full 5 to 7 minute creaming time results in a dense, heavy cake that lacks the signature light crumb this recipe is known for. Many home bakers underestimate how much this single step influences the final texture.
Another common issue is using cold eggs or cold soda straight from the refrigerator. Cold ingredients can cause the batter to separate or curdle, leading to an uneven bake and a greasy texture once the cake cools. Temperature consistency across ingredients matters more than most recipes let on.
Overmixing after adding the flour is another frequent misstep. Once flour enters the batter, gluten begins developing quickly, and excessive mixing produces a tough, rubbery cake instead of a tender one. This is often mistaken for an ingredient problem when it is actually a technique issue.
Finally, many bakers open the oven door too often to check progress. This causes temperature drops that can collapse the cake’s center or extend baking time unpredictably, leading to dry edges and an underbaked middle.
Solutions to Common Mistakes
To avoid a dense crumb, always cream the butter and sugar for the full recommended time, watching for a visibly pale, fluffy texture rather than relying on the clock alone. This visual cue is more reliable than timing across different mixers and kitchens.
Bring all refrigerated ingredients, including eggs and soda, to room temperature before starting. Setting them out 30 to 45 minutes in advance prevents curdling and helps the batter emulsify smoothly, resulting in a more even, tender crumb throughout the cake.
When adding flour, mix only until each addition is just incorporated. Switching to a spatula for the final folds gives you more control and reduces the risk of overworking the gluten in the batter.
Resist the urge to open the oven early. Use the oven light and a timer instead, checking only near the end of the suggested bake time to preserve consistent heat and structure.
Nutritional Information (approx. per serving)
- Calories: 385 kcal
- Total Fat: 16g
- Saturated Fat: 9g
- Carbohydrates: 55g
- Sugars: 38g
- Protein: 4g
- Sodium: 140mg
- Cholesterol: 95mg
This cake, enjoyed in moderation, offers more than just indulgence. The eggs contribute a meaningful dose of protein and essential amino acids, supporting muscle repair and satiety within an otherwise dessert-focused recipe.
Butter, while rich, provides fat-soluble vitamins such as A and D, which play a role in immune function and bone health when consumed as part of a balanced diet.
The citrus notes from the soda and lemon extract are more than flavor accents. Citrus compounds have long been associated with digestive comfort, which can make this cake feel lighter on the stomach compared to denser, heavier desserts.
As with any treat, portion control matters most. A single well-portioned slice fits comfortably into an occasional indulgence without derailing broader dietary goals.
Storage Instructions
Once fully cooled, store the cake at room temperature in an airtight container for up to 4 days. Keeping it wrapped tightly prevents the crust from drying out while preserving the tender interior that makes this cake so distinctive.
For longer storage, refrigerate the cake for up to 10 days. Wrap slices individually in plastic wrap before placing them in a sealed container to prevent the cake from absorbing refrigerator odors or losing moisture over time.
This cake also freezes exceptionally well. Wrap the whole loaf or individual slices tightly in plastic wrap, then aluminum foil, and freeze for up to 3 months. Thaw at room temperature for several hours before serving.
Avoid storing the cake uncovered, even briefly, as pound cakes dry out quickly once exposed to open air. A tight seal is the key to preserving both texture and flavor over time.
Suggestions
Serve this cake slightly warmed with a light dusting of powdered sugar for a simple, elegant presentation that highlights its buttery crumb without overwhelming it with additional sweetness.
For a richer occasion, pair each slice with fresh berries and a dollop of lightly sweetened whipped cream. The tartness of the berries complements the citrus undertones beautifully.
A thin lemon glaze drizzled over the top adds visual appeal and reinforces the citrus profile, making it an excellent centerpiece for spring or summer gatherings.
Toasted slices, lightly buttered and warmed in a skillet, transform leftovers into a completely different experience, ideal for a weekend breakfast or afternoon coffee pairing.
Seasonal Relevance
This cake shines brightest during spring and summer months, when its citrus undertones feel especially refreshing alongside lighter seasonal menus and outdoor gatherings.
During the winter holidays, it adapts easily by incorporating warm spices like nutmeg or cinnamon into the batter, offering a comforting variation without straying from the original technique.
Its make-ahead and freezer-friendly nature also makes it a practical choice for holiday baking marathons, when time and oven space are often limited.
Because it travels well and holds up at room temperature, this cake is equally suited for potlucks, picnics, and family gatherings throughout the entire year.
Final Words
This 7UP pound cake represents everything a great heritage recipe should be: simple, reliable, and deeply satisfying. Its enduring popularity comes from a balance of technique and nostalgia that few desserts manage to achieve so effortlessly.
Mastering this recipe means understanding the small details, from ingredient temperature to mixing time, that separate an average cake from an exceptional one. Each step plays a measurable role in the final result.
Once you have made it a few times, this cake becomes a reliable go-to for celebrations, quiet weekends, or thoughtful homemade gifts that never go out of style.
Trust the process, respect the technique, and this classic will consistently reward you with a cake worth returning to again and again.
Frequently Asked Questions
Can I substitute 7UP with another lemon-lime soda?
Yes, Sprite or similar lemon-lime sodas work well as substitutes. The key is using a carbonated, citrus-flavored soda to maintain the lightness and flavor profile the recipe depends on for its signature texture.
Why did my cake sink slightly in the center after baking?
This usually happens from underbaking, opening the oven too early, or overmixing the batter. Ensure full baking time, minimal oven checks, and gentle mixing once flour is added to prevent this issue.
Can this cake be made without a stand mixer?
Yes, a hand mixer works fine, though creaming may take slightly longer. Ensure the butter is fully softened beforehand, and mix in intervals to achieve the same pale, fluffy texture required for best results.
