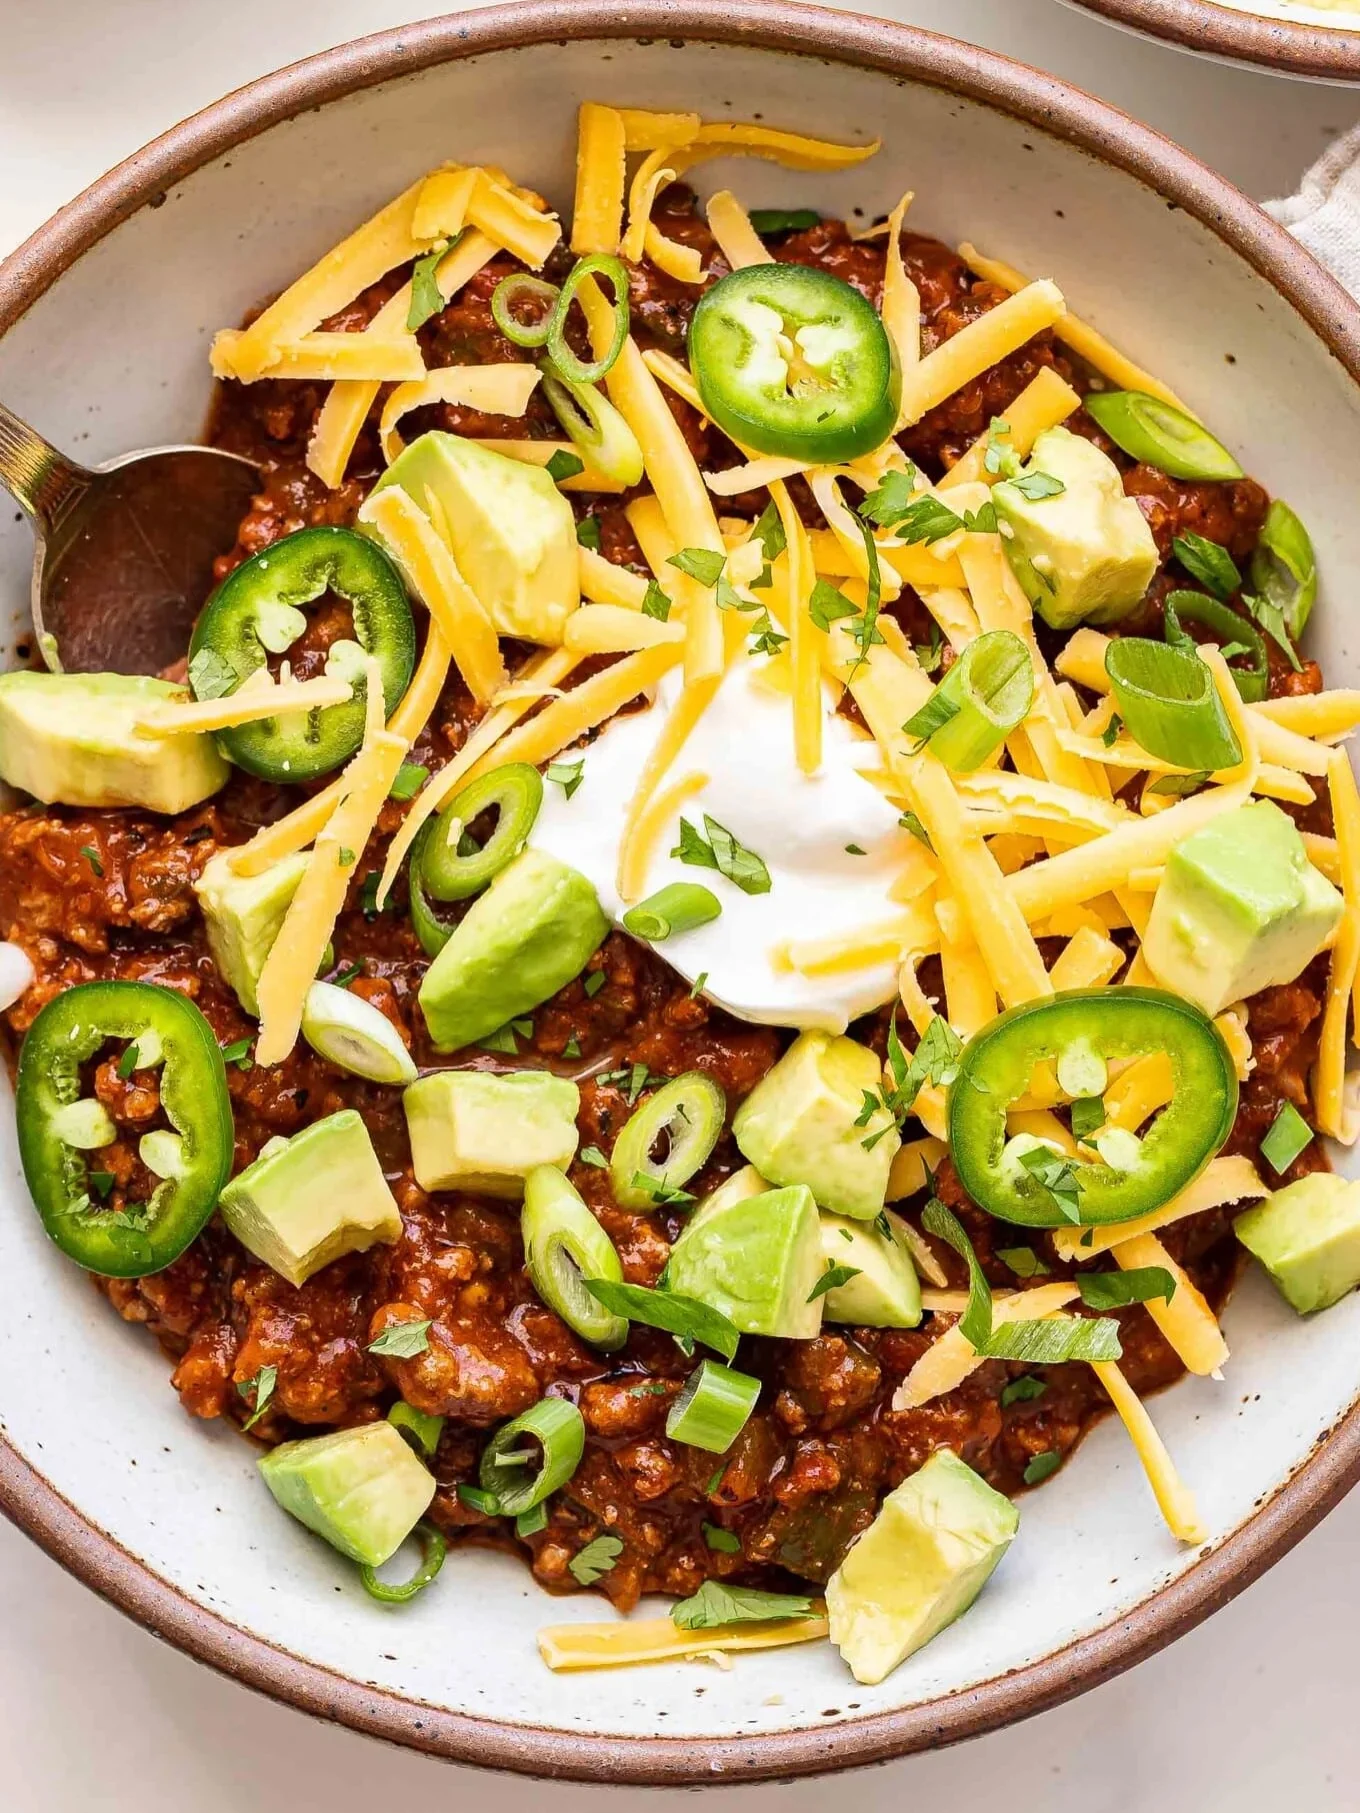
There’s a particular kind of chili that separates itself from the crowd — thick, meaty, and deeply savory, with nothing to dilute the richness of the meat and spice. No-bean chili is that chili. It’s built for people who want every spoonful to taste like slow-cooked beef and smoky peppers, not filler.
This version leans on browned ground beef, a layered spice blend, and just enough tomato to bind everything into a glossy, clinging sauce. The texture is denser than a typical bean-heavy pot, which means it reheats beautifully and holds its shape on a plate of nachos or a baked potato.
What makes this recipe worth bookmarking is its balance. It’s spicy without being punishing, rich without feeling heavy, and simple enough for a weeknight yet impressive enough for game day. Every step is designed to build flavor in layers rather than dump everything in at once.
By the end of this article, you’ll have a foolproof method, exact timing, storage tips, and answers to the mistakes that trip up most home cooks. Let’s get into it.
Ingredients You’ll Need
Great chili starts with a short, honest ingredient list — no shortcuts disguised as flavor, no mystery packets. Here’s exactly what earns a spot in this pot.
One of the things I love about this recipe is that it uses simple pantry ingredients. You probably already have most of them in your kitchen.
Base Ingredients
- 2 lbs ground beef (80/20)
- 1 large yellow onion, diced
- 4 cloves garlic, minced
- 2 tbsp chili powder
- 1 tbsp ground cumin
- 1 tsp smoked paprika
- 1 tsp dried oregano
- 1/2 tsp cayenne pepper
- 1 tsp salt
- 1/2 tsp black pepper
- 2 tbsp tomato paste
- 1 can (28 oz) crushed tomatoes
- 1 cup beef broth
- 2 tbsp olive oil
Optional Add-ins
- 1 diced jalapeño
- 1 diced red bell pepper
- 1/2 cup diced green chilies
- 1 tbsp Worcestershire sauce
- 1 tsp brown sugar
- 1/2 cup shredded cheddar cheese, for topping
- 2 tbsp sour cream, for topping
- 1/4 cup chopped fresh cilantro
Step-by-Step Instructions

Brown the Beef
Heat olive oil in a large, heavy-bottomed pot over medium-high heat. Add the ground beef, breaking it apart with a wooden spoon. Let it sear undisturbed for a minute before stirring — this builds a deeper, roasted flavor instead of a gray, boiled one. Cook until fully browned, about 7 to 8 minutes. Drain excess fat if needed, leaving just enough to sauté the aromatics in the next step.
Build the Aromatic Base
Push the beef to one side and add the diced onion to the rendered fat. Cook until softened and translucent, about 4 minutes. Stir in the garlic and cook for 30 seconds until fragrant, being careful not to let it burn. If using jalapeño or bell pepper, add them now and cook for another 2 minutes to soften slightly before moving to the spice stage.
Toast the Spices
Stir in the chili powder, cumin, smoked paprika, oregano, cayenne, salt, and pepper directly into the pot. Toast the spices with the beef and vegetables for about 60 seconds, stirring constantly. This short toasting step wakes up the essential oils in the spices, giving the finished chili a rounder, more complex flavor instead of a flat, one-note heat.
Simmer to Thicken
Add the tomato paste and stir until it coats everything evenly. Pour in the crushed tomatoes and beef broth, then stir in Worcestershire sauce and brown sugar if using. Bring to a gentle boil, then reduce to low heat. Partially cover and simmer for 45 to 60 minutes, stirring occasionally, until the chili has thickened and turned glossy and deep red.
Taste, Adjust, and Serve
Taste the chili and adjust the salt, heat, or acidity as needed — a splash more broth loosens it, a touch more chili powder sharpens it. Ladle into bowls and top with shredded cheddar, a spoonful of sour cream, and fresh cilantro. Serve hot with cornbread, rice, or tortilla chips for a complete, satisfying meal.
Cook Time
Total
1 hour 15 minutes
Prep
15 minutes
Bake
Not applicable — this recipe is stovetop only
Servings
This recipe makes approximately 6 generous servings, each landing around 1.5 cups of chili. It’s portioned for a family dinner with enough left for lunch the next day, which is part of what makes no-bean chili such a practical weeknight staple.
Because the chili is dense and meat-forward rather than stretched with beans, servings feel more substantial than they look. A single bowl paired with cornbread or rice is typically enough to satisfy even a hearty appetite, making this a cost-effective recipe per serving.
If you’re feeding a crowd for game day or a potluck, the recipe scales cleanly. Simply double the meat, spices, and tomatoes proportionally, and extend the simmer time slightly to allow the larger batch to thicken properly.
Common Mistakes in This Recipe
The most frequent mistake is rushing the browning stage. When beef is added to a crowded, lukewarm pan, it steams instead of sears, resulting in a pale, mushy texture instead of the deep flavor that a proper sear delivers.
Another common issue is skipping the spice-toasting step and dumping raw spices straight into the liquid. This leaves the chili tasting dusty and disjointed rather than layered, because the spices never get the chance to bloom in fat and release their full aroma.
Many cooks also underestimate simmer time, pulling the pot off the heat too early. A thin, watery chili is almost always the result of an impatient simmer rather than a wrong ingredient ratio, since the sauce needs time to reduce and concentrate.
Finally, over-salting early is a frequent trap. Broth, tomatoes, and toppings all carry sodium, so seasoning aggressively at the start often leads to an overly salty final dish by the time everything reduces.
Solutions to Common Mistakes
To fix rushed browning, work in batches if your pot is small, and resist stirring the meat for the first minute. A hot, dry-ish pan with space around each piece of beef is what creates real caramelization instead of steam.
For flat-tasting chili, always toast the spice blend directly in the pot with the fat and aromatics for about a minute before adding any liquid. This single step makes the biggest difference in overall depth of flavor.
If your chili turns out thin, simply uncover the pot and let it simmer longer, stirring occasionally. A slightly wider pot also helps liquid evaporate faster, thickening the sauce without needing extra thickeners.
To avoid over-salting, season lightly at the start and taste again near the end of cooking. Add salt in small increments after the reduction, once you can accurately judge the concentrated flavor.
Nutritional Information (approx. per serving)
- Calories: 380
- Protein: 27g
- Fat: 24g
- Carbohydrates: 12g
- Fiber: 3g
- Sugar: 6g
- Sodium: 640mg
Beyond its bold flavor, this chili is a genuinely practical source of protein, delivering nearly 27 grams per bowl to support muscle repair and keep you satisfied for hours. The absence of beans means the carbohydrate count stays low, which works well for anyone following a lower-carb or ketogenic-friendly eating pattern.
Tomatoes contribute lycopene, an antioxidant linked to heart health, while the spice blend — particularly cumin and smoked paprika — offers anti-inflammatory compounds without adding empty calories. Using lean beef or draining excess fat keeps the saturated fat content reasonable while preserving flavor.
This is a dish that fits comfortably into a balanced diet, especially when paired with fiber-rich sides like brown rice or a simple green salad. It’s filling without being excessive, which naturally discourages overeating later in the day.
Storage Instructions
No-bean chili stores exceptionally well, which is part of its appeal for meal preppers. Once cooled to room temperature, transfer it to an airtight container and refrigerate for up to 4 days without any noticeable drop in quality.
For longer storage, freeze the chili in individual portions using freezer-safe containers or heavy-duty bags. It holds its flavor and texture for up to 3 months, making it an ideal make-ahead option for busy weeks or unexpected dinner emergencies.
When reheating from the refrigerator, warm it gently on the stovetop over medium-low heat, stirring occasionally and adding a splash of broth if it has thickened too much. Microwaving in short intervals also works well for single servings.
Always thaw frozen chili overnight in the refrigerator rather than at room temperature. This preserves both food safety and texture, preventing the sauce from separating or turning watery once reheated.
Suggestions
Serve this chili over a baked potato for a hearty, stick-to-your-ribs dinner that turns a simple side into the main event. The starchy potato balances the richness of the meat beautifully.
For game day spreads, ladle the chili over tortilla chips with melted cheese for an instant chili-nachos platter. It’s an easy crowd-pleaser that requires almost no extra effort beyond the base recipe.
If you prefer a lighter meal, spoon the chili over steamed rice or cauliflower rice instead of heavier starches. This keeps the dish satisfying while trimming down the overall carbohydrate load.
Leftovers also make an excellent chili dog or stuffed baked pepper filling. Repurposing the base recipe across multiple meals is one of the easiest ways to get more value from a single pot.
Seasonal Relevance
No-bean chili genuinely earns its place at the table year-round, but it shines brightest during the colder months. As temperatures drop in late fall and winter, this rich, warming dish becomes an obvious weeknight go-to.
It’s also a natural fit for football season, tailgates, and game-day gatherings, where a big pot of chili feeds a crowd with minimal hands-on effort. Its thick, scoopable texture makes it ideal for casual, help-yourself serving setups.
During the summer, this chili still works well for backyard cookouts, especially as a topping for hot dogs, burgers, or loaded fries. Its bold spice profile pairs naturally with grilled foods.
Regardless of season, its make-ahead friendliness means it’s equally useful for holiday meal prep, post-workout dinners, or simply stocking the freezer with something reliable and satisfying.
Final Words
No-bean chili proves that a stripped-down ingredient list can still deliver an incredibly satisfying, restaurant-quality result. By focusing on properly browned meat, toasted spices, and a patient simmer, you end up with a chili that tastes far more complex than its short ingredient list suggests.
This recipe is forgiving enough for beginners but detailed enough to reward more experienced cooks who want to fine-tune heat and thickness to their taste. It’s a dependable formula you’ll likely return to again and again.
Whether you’re cooking for a quiet weeknight dinner or a game-day crowd, this chili adapts easily to the occasion. Its versatility with toppings and sides means it rarely tastes the same way twice.
Give it a try, adjust the spice level to your preference, and don’t be afraid to double the batch — this is the kind of chili that disappears fast and gets requested again soon after.
Frequently Asked Questions
Can I make this chili in a slow cooker instead of the stovetop?
Yes. Brown the beef and sauté the aromatics first, then transfer everything to a slow cooker with the remaining ingredients. Cook on low for 6 to 7 hours or high for 3 to 4 hours, stirring occasionally.
Why is my chili too thin even after simmering for an hour?
Your pot may be too narrow or covered too tightly, trapping steam instead of letting it evaporate. Uncover the pot fully, increase heat slightly, and simmer longer, stirring occasionally until it reduces properly.
Can I substitute ground turkey for beef in this recipe?
Yes, ground turkey works well as a leaner substitute. Add an extra tablespoon of olive oil to compensate for reduced fat, and consider a touch more seasoning, since turkey has a milder natural flavor than beef.
