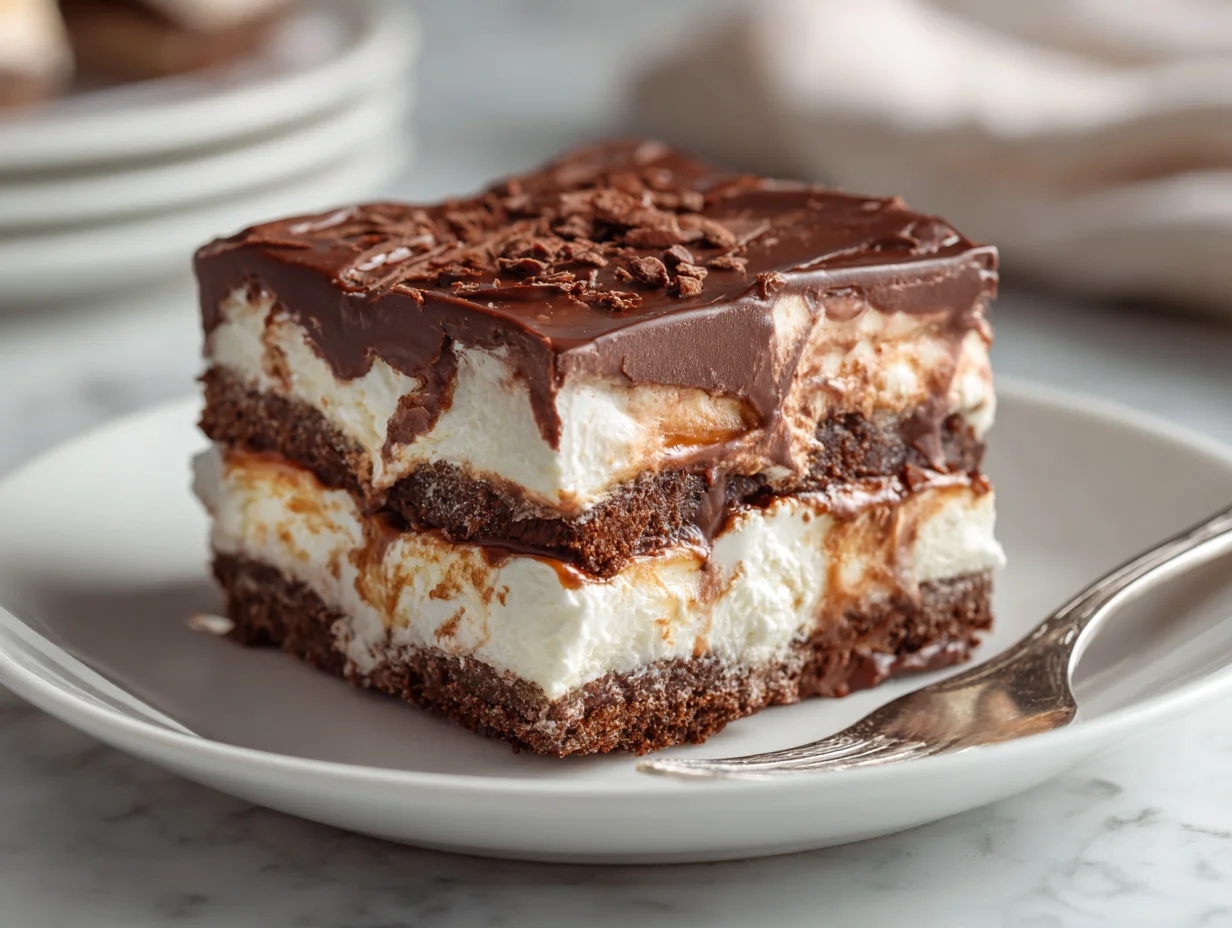
Indulging in chocolate doesn’t always mean turning on the oven. This no-bake chocolate dessert combines velvety chocolate, creamy layers, and a hint of crunch, delivering a luxurious treat in minutes. Perfect for busy weeknights, last-minute parties, or simple sweet cravings, this recipe proves that convenience doesn’t compromise elegance.
Crafted for both flavor and presentation, each portion is visually striking and delightfully satisfying. The dessert balances sweetness with a smooth chocolate texture, making it appealing to both kids and adults. You’ll enjoy a melt-in-your-mouth experience without hours in the kitchen, yet it looks like a dessert worthy of any celebration.
What sets this recipe apart is its simplicity and versatility. You can adjust chocolate types, incorporate nuts or berries, or use different bases to suit your taste. Even novice cooks can create a dessert that is decadent, refined, and irresistible in a fraction of the time of traditional chocolate cakes.
Common Pitfalls in No-Bake Chocolate Desserts
One frequent mistake in making no-bake chocolate desserts is not letting the chocolate mixture set properly before serving. Pouring or cutting too soon results in a runny, unstructured dessert that lacks visual appeal and proper texture.
Another common error is using low-quality chocolate. While convenient, cheaper chocolate may separate or become grainy when chilled, affecting both taste and consistency. A smooth, creamy chocolate layer is essential for a luxurious mouthfeel.
Overmixing the cream or mascarpone layer can also compromise texture. Excess air can make it too light, causing layers to sink or merge instead of staying defined.
Finally, neglecting the base layer is a mistake. An uneven, soft, or overly dry base prevents clean slicing and undermines the dessert’s professional presentation. A sturdy yet slightly crumbly base ensures structure and balance.
Solutions to Common No-Bake Chocolate Mistakes
Allow chocolate layers to cool and set fully in the fridge, ideally for 2–3 hours. This ensures a firm structure and clean slices without compromising creaminess.
Invest in high-quality chocolate with a cocoa content suited to your preference. Dark, milk, or semi-sweet chocolate yields the best texture, flavor, and smoothness.
Fold cream or mascarpone gently, stopping at soft peaks to maintain stability. Proper folding prevents deflation and preserves distinct layers in the dessert.
Prepare the base evenly and compact it slightly to create a firm foundation. Crushed biscuits, nuts, or cookie crumbs pressed into an even layer provide balance while supporting the chocolate and cream layers beautifully.
Ingredients You’ll Need
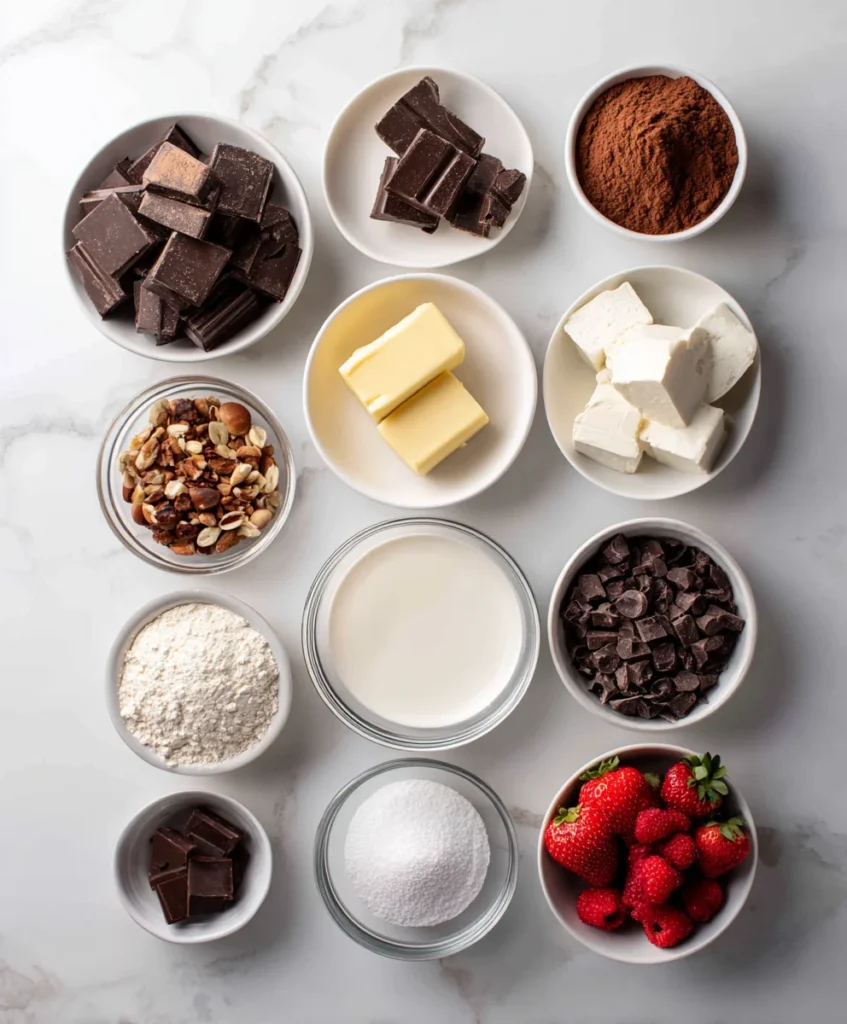
Base Ingredients
- 200g digestive biscuits, crushed
- 100g unsalted butter, melted
- 200g dark chocolate, chopped
- 250ml heavy cream
- 2 tbsp powdered sugar
- 1 tsp vanilla extract
Optional Add-ins
- 50g chopped nuts (almonds, hazelnuts)
- 50g berries (strawberries, raspberries)
- 2 tbsp chocolate chips or shavings
- 1 tbsp cocoa powder for dusting
Step-by-Step Instructions
Step 1: Prepare the Base
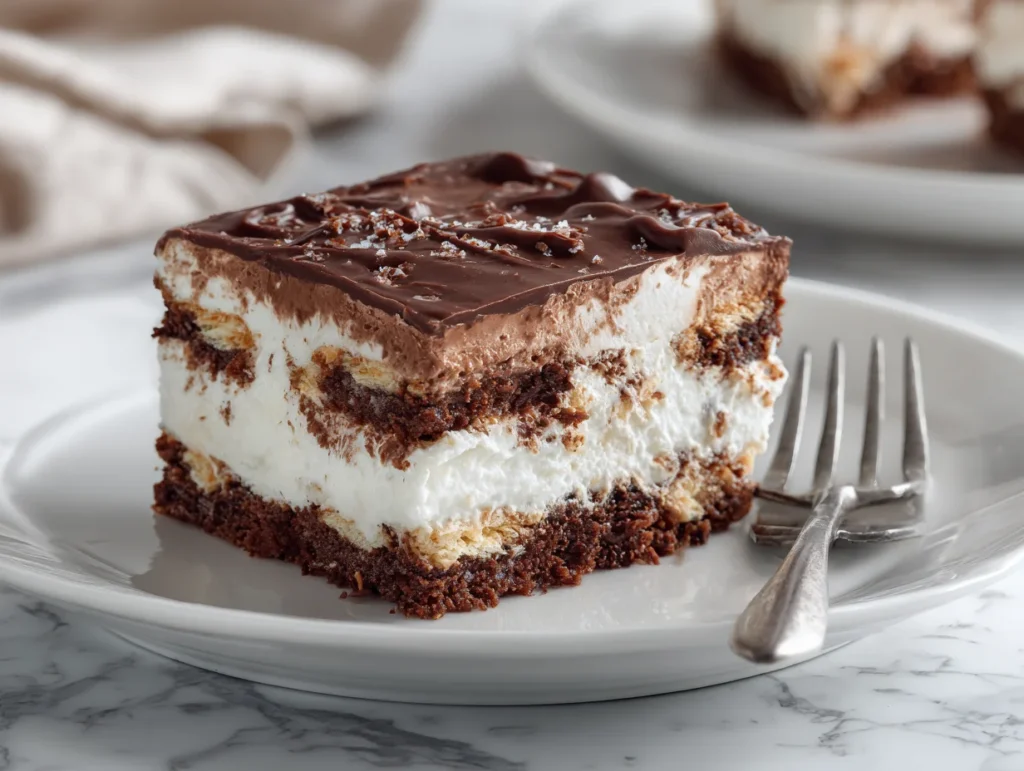
Mix crushed biscuits with melted butter until uniform. Press firmly into a serving dish or tray to form an even base. Chill in the refrigerator for 10 minutes to set while preparing the chocolate layer.
Step 2: Make the Chocolate Layer
Melt dark chocolate gently over a double boiler or in short microwave bursts. Stir until smooth. Allow to cool slightly before combining with whipped cream to maintain structure.
Step 3: Whip the Cream
Whip heavy cream with powdered sugar and vanilla until soft peaks form. Gently fold into the cooled chocolate mixture to achieve a smooth, velvety texture without deflating the cream.
Step 4: Assemble and Chill
Pour the chocolate-cream mixture over the chilled base, spreading evenly. Top with optional nuts, berries, or chocolate shavings. Cover and refrigerate for at least 2–3 hours or overnight for best results before slicing and serving.
Cook Time
Total: 3 hours
Prep: 20 minutes
Bake: None required
Servings
This dessert serves 6–8, making it ideal for small parties or family treats. Each portion is indulgent but balanced, combining a crisp base with rich, creamy chocolate.
The recipe is scalable; double or triple quantities for larger gatherings while maintaining the same structure and flavor. Individual portions in small glasses create an elegant presentation for special events or gatherings.
No-bake preparation ensures minimal kitchen cleanup while maintaining a professional, decadent finish that is sure to impress.
Makes approximately 6–8 servings
Nutritional Information (approx. per serving)
- Calories: 320 kcal
- Protein: 5g
- Fat: 22g
- Carbohydrates: 28g
- Fiber: 2g
Benefits
This dessert provides antioxidants from high-quality dark chocolate. Nuts add healthy fats and protein, while berries contribute vitamins and fiber.
Using whipped cream instead of heavy custard reduces cooking time and complexity, keeping preparation simple yet satisfying.
Controlled portion size and quality ingredients allow indulgence without excess, making it a balanced treat for both adults and children.
Storage Instructions
Store in an airtight container in the refrigerator to preserve texture and flavor. Avoid keeping it at room temperature for long periods, as the cream may soften excessively.
Consume within 3–4 days for optimal freshness. Layers may become slightly firmer over time but remain delicious.
If storing individual servings, cover each glass to maintain presentation and prevent absorption of refrigerator odors.
Do not freeze, as freezing may cause separation of cream and chocolate layers, compromising texture and appearance.
Suggestions
Experiment with different chocolate types or combinations to suit taste preferences. Milk, dark, or semi-sweet chocolate creates unique flavors.
Add fruits like berries or banana slices for freshness and natural sweetness.
Garnish with nuts or grated chocolate for an elegant touch and texture contrast.
Serve chilled with a drizzle of caramel or chocolate sauce for a restaurant-style presentation that wows guests.
Seasonal Relevance
No-bake chocolate desserts are perfect year-round. During summer, chilling provides a refreshing treat without heating the kitchen.
Winter offers a cozy indulgence; add spices like cinnamon or chili for a seasonal twist.
Spring and autumn allow for fresh fruit or nut variations, aligning with seasonal produce.
This dessert is flexible, making it suitable for holidays, birthdays, or spontaneous celebrations regardless of the season.
Final Words
This no-bake chocolate dessert is the ultimate combination of ease, elegance, and indulgence. Each layer is thoughtfully prepared for texture and flavor harmony.
It demonstrates that a sophisticated dessert can be created quickly without sacrificing quality or taste.
By focusing on ingredient quality and proper layering, even beginner cooks can achieve professional results.
Perfect for entertaining or everyday enjoyment, this dessert is a versatile, crowd-pleasing treat that will elevate any occasion.
Frequently Asked Questions
Can I use milk chocolate instead of dark chocolate?
Yes, milk chocolate works well and provides a sweeter, creamier flavor. Adjust sugar slightly if needed to balance sweetness.
How long should I chill the dessert?
Chill for at least 2–3 hours to allow the layers to set properly. Overnight chilling enhances flavor and firmness.
Can I make this dessert in individual portions?
Yes, use small glasses or jars to layer base, chocolate, and cream. Individual servings are visually appealing and convenient for parties.
Are there any nut-free options?
Absolutely. Simply omit nuts or use seeds like pumpkin or sunflower for crunch. This keeps the dessert safe for nut-allergic guests.
Can I prepare this a day ahead?
Yes, preparing a day ahead improves flavor melding. Keep it covered in the fridge to maintain freshness and presentation.
