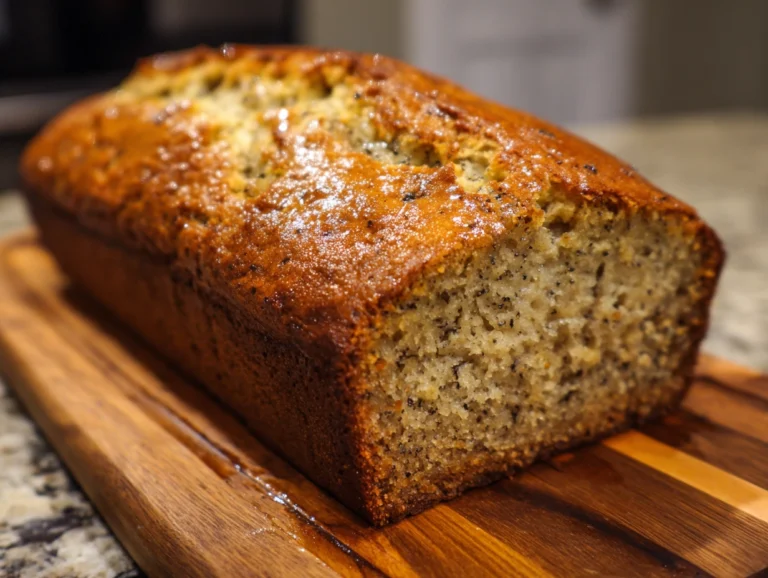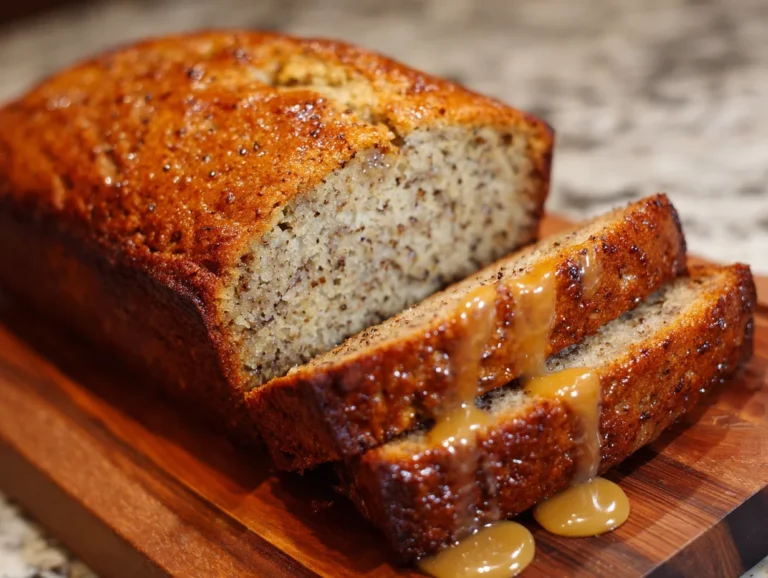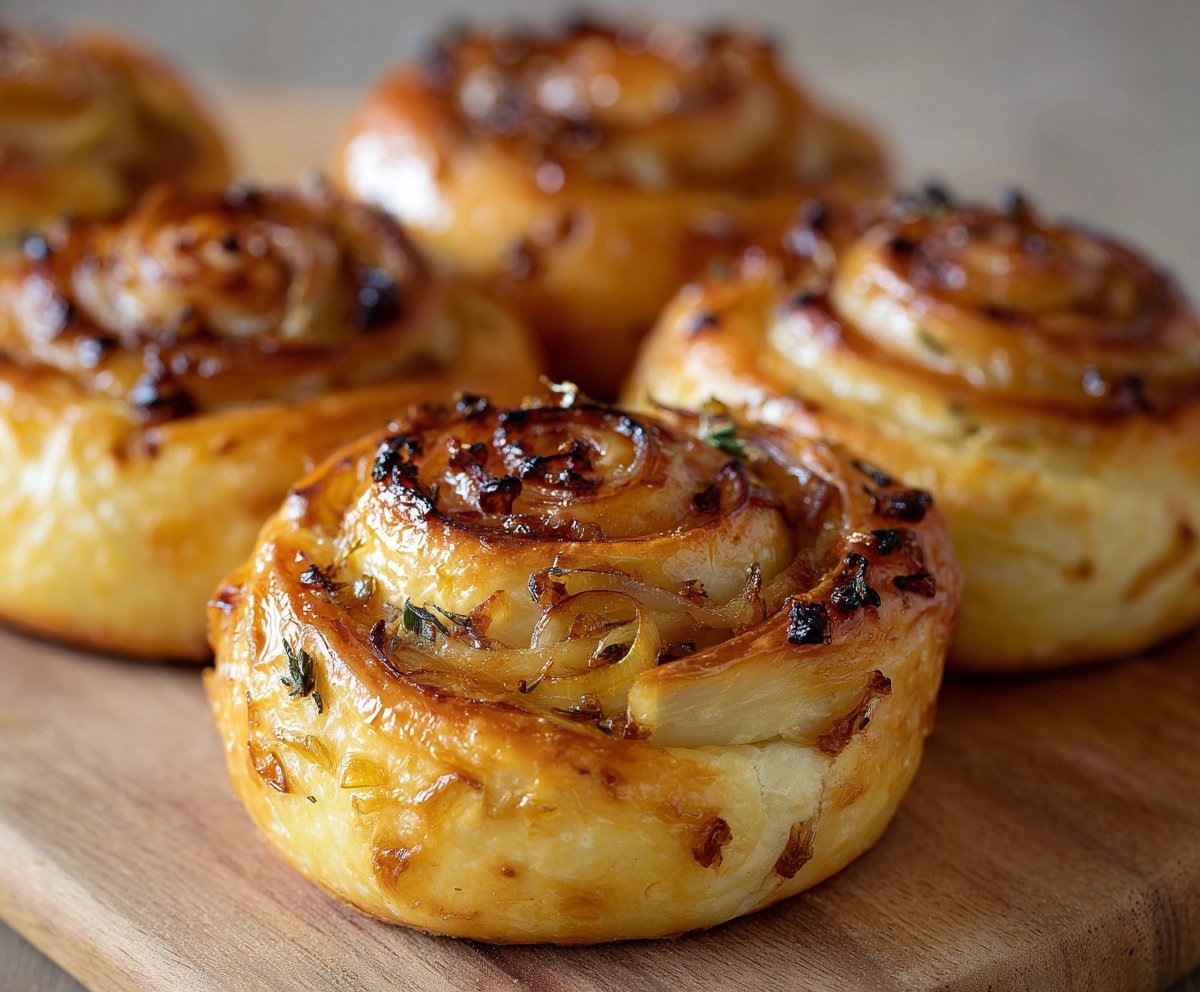
Caramelized Onion Buns Soft and Rich
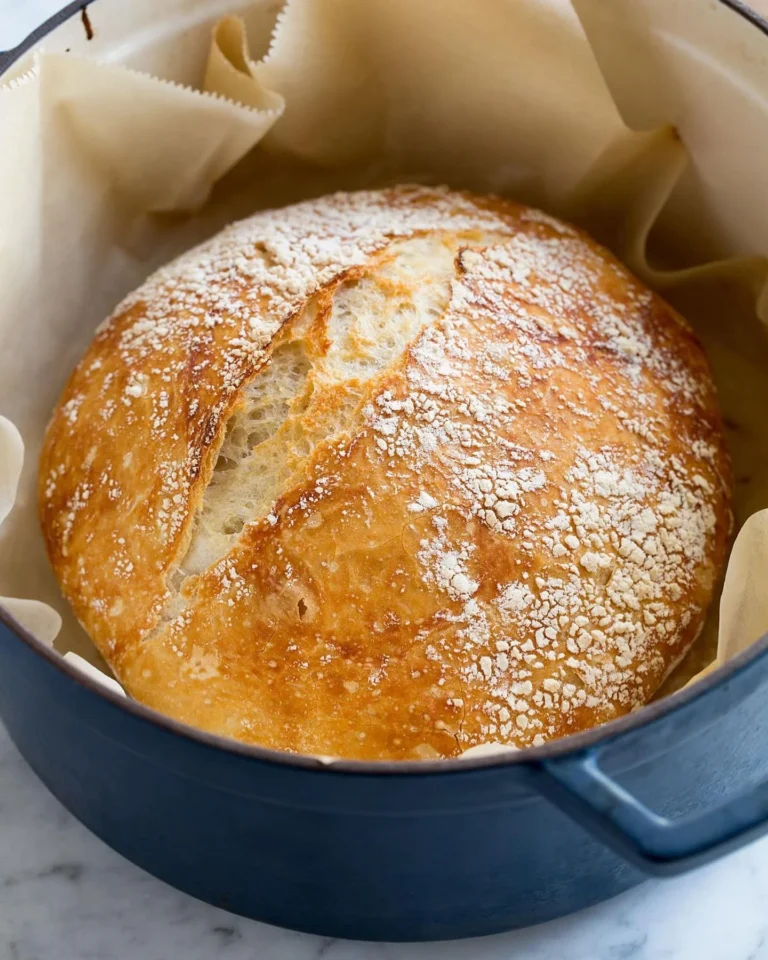
Warm bread has always held a special place in my kitchen, but few recipes deliver the same comfort and depth as caramelized onion buns. Slow cooked onions bring a natural sweetness that blends beautifully into a soft, airy dough, creating buns that feel both simple and refined. Each batch I make fills the kitchen with a rich aroma that signals something truly satisfying is on the way. Attention to detail at every stage, from properly cooking the onions to allowing the dough enough time to rise, transforms basic ingredients into something memorable. With the right approach, these buns come out tender, lightly golden, and full of character, making them perfect for everyday meals or special gatherings.
? If you enjoy homemade bread recipes, you’ll love our Sourdough Focaccia with Soft Airy Texture for another bakery-style favorite.
Where Texture Falls Apart in Onion Buns
Over time, I have noticed one issue that repeatedly affects the outcome of these buns. A dense texture often comes from onions that have not been cooked long enough or still carry moisture. When onions are rushed, they fail to develop the depth needed and release water into the dough, which weakens its structure. Another mistake happens during kneading. Too much handling tightens the dough and prevents it from staying soft. Proofing is another stage where things go wrong. If the dough is not given enough time to rise, the buns bake up compact instead of light. Even adding extra flour during kneading can dry out the dough. Each of these small errors quietly affects the final result.
How to Perfect the Onion Bun Process
My approach focuses on patience and control at every step. I always cook the onions slowly until they turn deeply golden and completely soft, allowing their sweetness to develop fully. Letting them cool before adding to the dough keeps the yeast active and the texture stable. Gentle kneading builds structure without making the dough tight. I avoid adding excess flour, keeping the dough slightly soft to ensure a tender crumb. Proper proofing makes a noticeable difference. Giving the dough enough time to double creates a lighter texture that carries through baking. Once in the oven, the buns develop a golden surface while staying soft inside. Following these steps consistently produces buns that feel rich, balanced, and professionally made.
Ingredients List
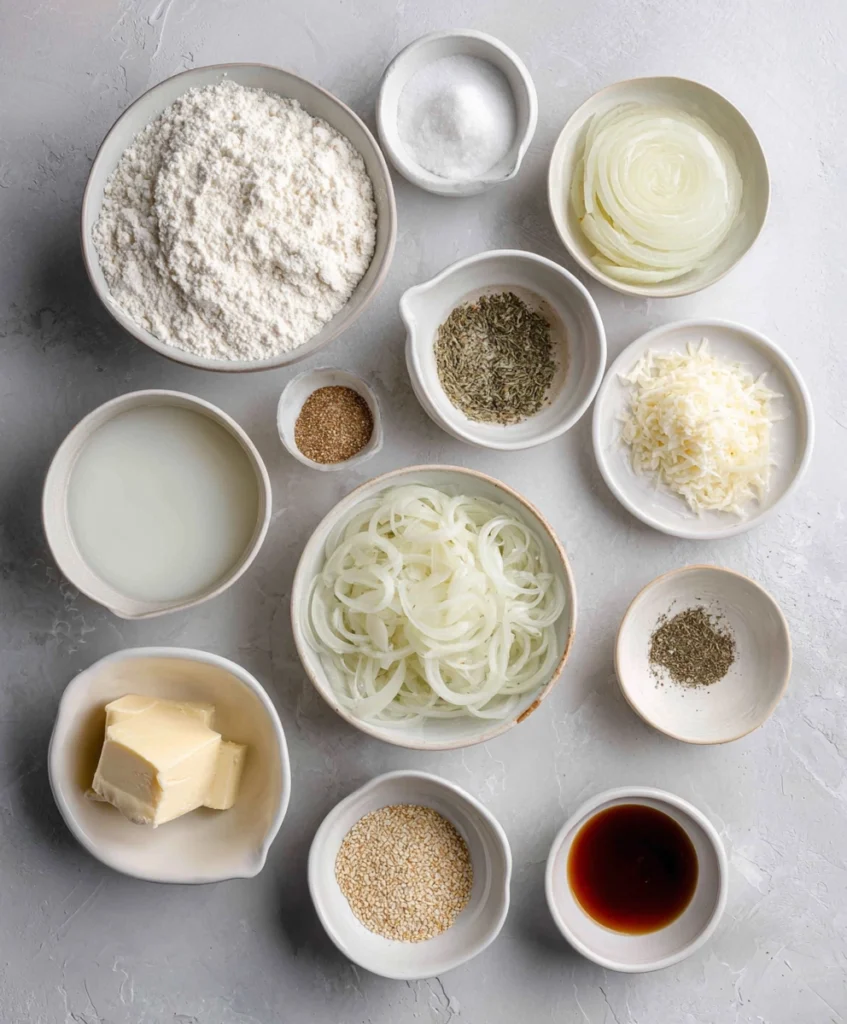
Base Ingredients:
- 3 cups all purpose flour
- 1 cup warm milk
- 2 tablespoons sugar
- 2 teaspoons instant yeast
- 1 teaspoon salt
- 2 tablespoons butter softened
- 2 medium onions thinly sliced
Optional Add-ins:
- 1 teaspoon garlic powder
- 1 tablespoon fresh herbs chopped
- 1 tablespoon olive oil
- 1 teaspoon black pepper
- sesame seeds for topping
Step-by-Step Instructions
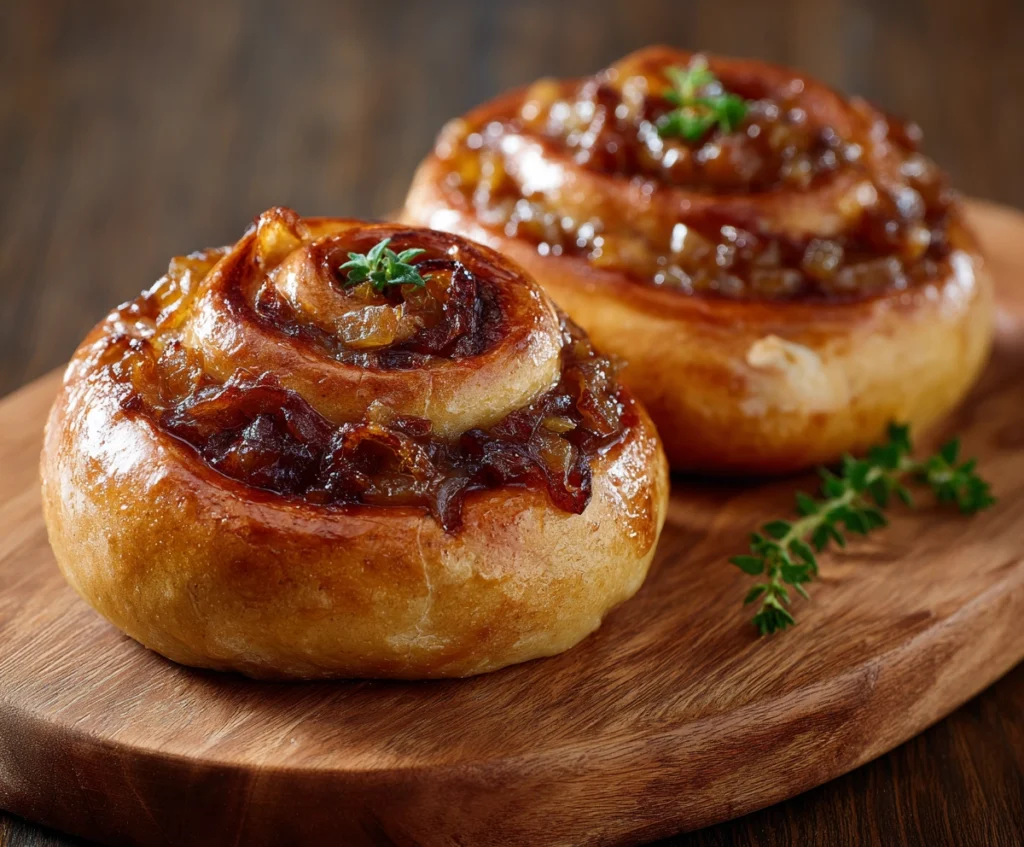
Step 1: Preparing the Dough Base
I start by activating the yeast in warm milk with a bit of sugar, allowing it to develop a light foam that shows it is ready. Flour and salt go into a bowl, followed by the yeast mixture and softened butter. Mixing gradually helps the dough come together without becoming stiff. I knead just until it becomes smooth and slightly elastic, making sure it stays soft rather than dry. A lightly greased bowl keeps it from sticking while it rests. Covering and placing it in a warm spot allows it to rise naturally. I always give it enough time to double, because rushing this stage affects the final texture more than anything else.
? These soft buns pair perfectly with cozy soups like our Deliciously Creamy French Onion Soup.
Step 2: Caramelizing the Onions Properly
Cooking onions correctly changes everything about the final result. I use medium low heat and allow them to cook slowly, stirring occasionally so they do not burn. The goal is a deep golden color and a soft, almost spreadable texture. Rushing with high heat creates uneven cooking and a harsh taste. As they cook, moisture evaporates and natural sweetness develops. Once they reach the right stage, I remove them from heat and let them cool completely. Warm onions can interfere with the dough, so patience here protects the texture. Properly prepared onions bring richness that defines these buns.
Step 3: Incorporating Onions into Dough
After the dough has risen, I gently press it down to release excess air. Instead of aggressive kneading, I spread the dough slightly and fold in the cooled onions. Careful handling keeps the structure intact while distributing the onions evenly. I divide the dough into equal portions and shape each piece into a smooth round by tucking the edges underneath. That small step helps the buns hold their shape during baking. Each piece goes onto a lined tray with enough space to expand. A short rest allows the dough to relax before the final rise begins.
Step 4: Final Proofing and Baking
For the second rise, I cover the shaped buns lightly and let them become slightly puffy. This stage ensures a soft interior once baked. While they rest, the oven is preheated so it is ready at the right moment. A light brush of milk or butter on top helps achieve a golden finish. Sometimes I add sesame seeds for a bit of texture. Baking continues until the buns develop an even color and a rich aroma fills the kitchen. I avoid over baking to keep the inside soft. Once out of the oven, a short cooling period helps the texture settle before serving.
Cook Time
Total: 2 hours 30 minutes
Prep: 2 hours
Bake: 30 minutes
Servings
In my kitchen, this recipe usually yields about eight buns, depending on how large I shape them. Each portion feels satisfying without being too heavy, making them suitable for both individual servings and shared meals. Smaller portions work well for gatherings, while slightly larger buns can be used for sandwiches or paired with main dishes. Keeping sizes consistent helps them bake evenly, ensuring every bun comes out soft and balanced.
Nutritional Information (approx. per serving)
- Calories: 220 to 260
- Carbohydrates: 32g
- Protein: 6g
- Fat: 8g
- Fiber: 2g
- Sodium: moderate
I appreciate how these buns offer a balance between comfort and nourishment. Onions naturally contribute beneficial compounds, while the bread base provides steady energy. Moderate fat content keeps the texture rich without making them heavy. When enjoyed in reasonable portions, they fit well into a balanced routine while still delivering a satisfying eating experience.
? Looking for another savory baked side? Try the Perfectly Delicious Homemade Garlic Knots Recipe
Storage Instructions
From experience, proper storage makes a big difference in maintaining softness. I keep the buns in an airtight container at room temperature when planning to use them within a couple of days. Exposure to air quickly dries them out, so sealing them well is important. For longer storage, refrigeration helps extend their life, though I always reheat them gently to bring back softness. Freezing works best for extended use. Wrapping each bun individually protects their texture and prevents moisture loss. When needed, I let them thaw naturally and warm them slightly before serving. Taking these simple steps keeps the buns tasting fresh and enjoyable.
Suggestions
Serving these buns opens up many possibilities in my kitchen. I often pair them with soups or use them as a base for sandwiches because they hold fillings well without becoming soggy. A light spread of butter enhances their richness, especially when they are still slightly warm. Adding herbs or mild cheese to the dough can create variation without losing the original character. Light toasting before serving adds a gentle crispness on the outside while keeping the inside soft. Presentation also matters. Serving them warm with simple accompaniments creates a more inviting experience. Small adjustments like these can turn a simple recipe into something memorable.
Seasonal Relevance
I find these buns especially comforting during cooler months when warm, rich bread feels most satisfying. They pair naturally with hearty meals and create a sense of warmth at the table. During festive seasons, they fit easily into shared meals and gatherings. In warmer months, I use them more as sandwich buns for lighter meals, which keeps them versatile throughout the year. Adding seasonal herbs or slight variations helps keep the recipe fresh without changing its core. Their flexibility makes them a reliable choice no matter the season.
Conclusion
Baking caramelized onion buns has become one of those processes I return to often because of how rewarding it feels. Careful preparation and attention to detail bring out the best in simple ingredients. Each step contributes to a final result that is soft, rich, and balanced. Achieving that texture consistently builds confidence in the kitchen and makes the effort worthwhile. Whether served on their own or alongside a meal, these buns deliver a reliable and satisfying experience every time.
? Serve these rich onion buns alongside our Hamburger Steak with Rich Gravy for the ultimate comfort meal.
Frequently Asked Questions
What type of onions do you personally prefer for this recipe?
I usually go with yellow onions because they develop a well balanced sweetness during slow cooking. They soften evenly and blend smoothly into the dough. Red onions can also work, though they may slightly change the final color and bring a slightly sharper taste depending on how they are cooked.
Can I let the dough rise overnight in the fridge?
Yes, I often use overnight refrigeration when I want deeper texture. Slower fermentation improves the dough structure and makes handling easier. Before shaping, I let it come back to room temperature so it rises properly during baking and produces a softer final result.
What is the best way to reheat these buns?
I prefer warming them in a low temperature oven for a few minutes rather than using a microwave. Gentle heat restores softness without making them rubbery. Wrapping them lightly while reheating helps keep moisture inside and maintains the texture close to freshly baked buns.
Can I make these buns slightly sweeter?
A small increase in sugar or a light glaze on top after baking can enhance sweetness without overpowering the onion base. I keep adjustments minimal so the natural balance between soft bread and caramelized onions remains intact and does not become too heavy.
How do I keep the buns soft for a longer time?
Storing them properly is the key. I always use airtight containers and avoid leaving them exposed. Freezing them soon after cooling also helps preserve freshness. When reheated correctly, they regain much of their original softness and remain enjoyable even after storage.
Caramelized Onion Buns Soft and Rich
8 buns
servings2
hours30
minutes1800
kcal2
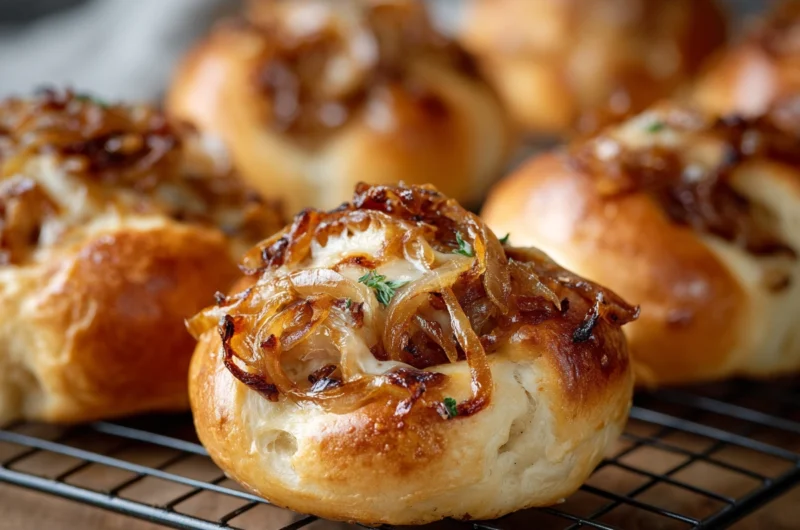
minutesCaramelized Onion Buns bring together slow cooked onions and a soft enriched dough to create bakery style bread with a rich and balanced taste. The onions are gently cooked until golden and sweet, then folded into a light dough that bakes into soft, airy buns. Each piece delivers a tender crumb with a deep aroma that makes them suitable for meals, sandwiches, or simple serving with butter. Careful proofing and proper onion preparation ensure consistent texture and quality. This recipe focuses on achieving softness while maintaining structure, making it reliable for both home baking and professional level results.
? If you love fresh homemade bread, don’t miss our Homemade Garlic Bread Recipe for another easy and flavorful option.
Ingredients
3 cups all purpose flour
1 cup warm milk
2 tablespoons sugar
2 teaspoons instant yeast
1 teaspoon salt
2 tablespoons butter softened
2 medium onions thinly sliced
1 tablespoon oil or butter for onions
- Optional:
1 teaspoon garlic powder
1 tablespoon fresh herbs chopped
1 teaspoon black pepper
sesame seeds for topping
Directions
- In a bowl, mix warm milk with sugar and yeast. Let it sit until slightly foamy. Add flour, salt, and butter, then mix to form a soft dough. Knead gently until smooth and elastic. Place in a greased bowl, cover, and allow it to rise until doubled in size.
- Heat a pan over medium low heat and cook sliced onions slowly with oil or butter. Stir occasionally until they turn golden and soft. Allow them to cool completely before adding to the dough.
- Deflate the risen dough and gently fold in the cooled onions. Divide into equal portions and shape into smooth buns. Place on a lined tray with space between each piece.
- Cover and let the buns rise again until slightly puffy. Brush with milk or butter and add toppings if desired. Bake in a preheated oven at 180°C until golden. Allow to cool slightly before serving.
Recipe Video
Notes
- Use slow heat when caramelizing onions to develop proper sweetness without burning.
- Keep the dough slightly soft for better texture after baking.
- Avoid over kneading once onions are added to maintain a light crumb.
- Ensure proper proofing time for soft and airy buns. Store in an airtight container to retain freshness and softness.