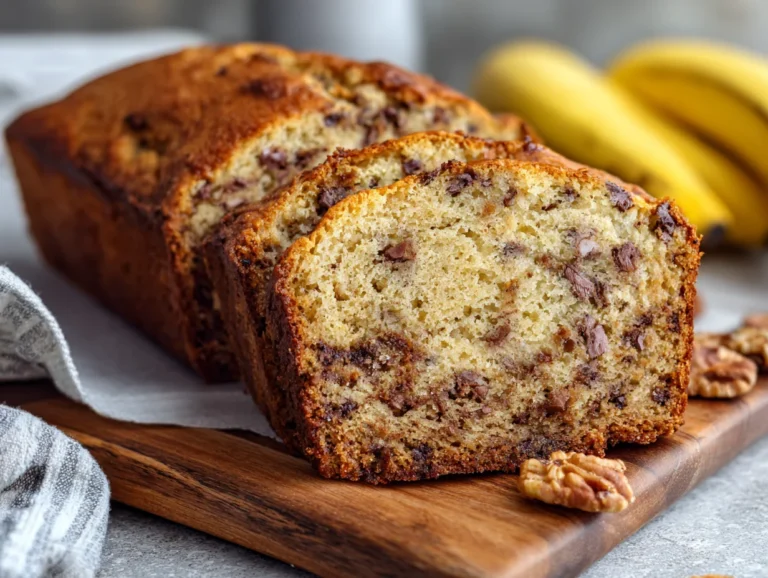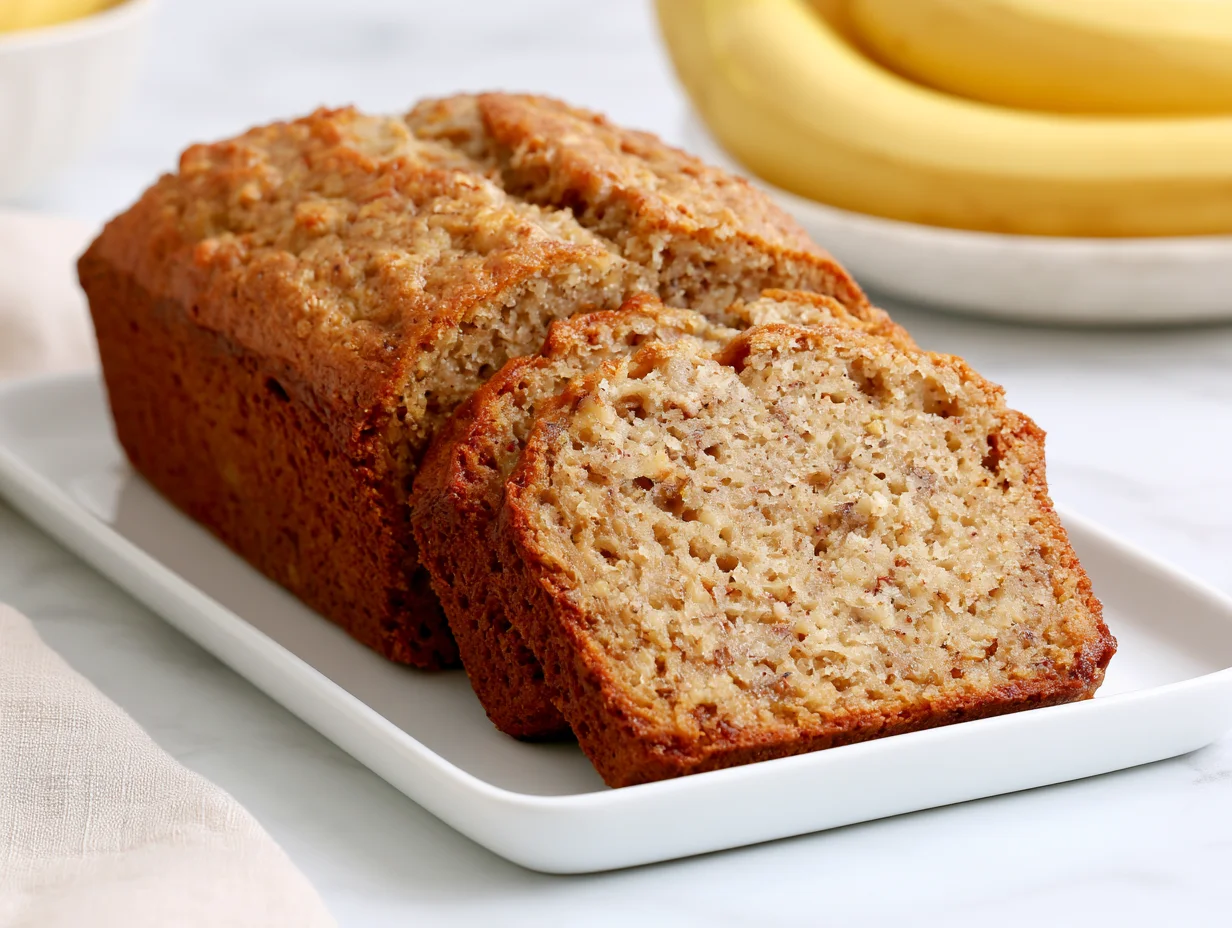
Healthy Banana Bread Recipe
There is something deeply comforting about a loaf of banana bread cooling on the counter. It fills the kitchen with warmth, draws people in from the other room, and delivers on every expectation the moment you take that first bite.
But most traditional banana bread recipes are loaded with refined sugar, white flour, and enough butter to make your cardiologist uncomfortable. What if you could have that same golden, tender, deeply flavorful loaf without any of the guilt?
This healthy banana bread recipe was built from the ground up to be nutritious without sacrificing a single thing on taste or texture. It uses wholesome, real-food ingredients that come together in one bowl, in under an hour, with almost no effort at all.
Whether you are making it for a busy weekday breakfast, a post-workout snack, or something to pack into lunchboxes, this recipe is going to earn a permanent spot in your kitchen rotation. Let’s get into it.
Ingredients You’ll Need
Not every great recipe starts with a long, intimidating shopping list — and this one proves it beautifully.
One of the things I love about this recipe is that it uses simple pantry ingredients. You probably already have most of them in your kitchen.
Base Ingredients:
- 3 medium very ripe bananas, mashed (about 1 ¼ cups)
- 2 large eggs
- ⅓ cup pure maple syrup or raw honey
- ¼ cup melted coconut oil or extra-virgin olive oil
- 1 teaspoon pure vanilla extract
- 1 ¾ cups whole wheat flour or white whole wheat flour
- 1 teaspoon baking soda
- 1 teaspoon ground cinnamon
- ½ teaspoon fine sea salt
- ¼ teaspoon ground nutmeg
Optional Add-ins:
- ½ cup dark chocolate chips (70% cacao or higher)
- ⅓ cup chopped walnuts or pecans
- ¼ cup unsweetened shredded coconut
- 2 tablespoons ground flaxseed or chia seeds
- ½ teaspoon espresso powder for deeper flavor
- ¼ cup plain Greek yogurt for extra moisture
Step-by-Step Instructions
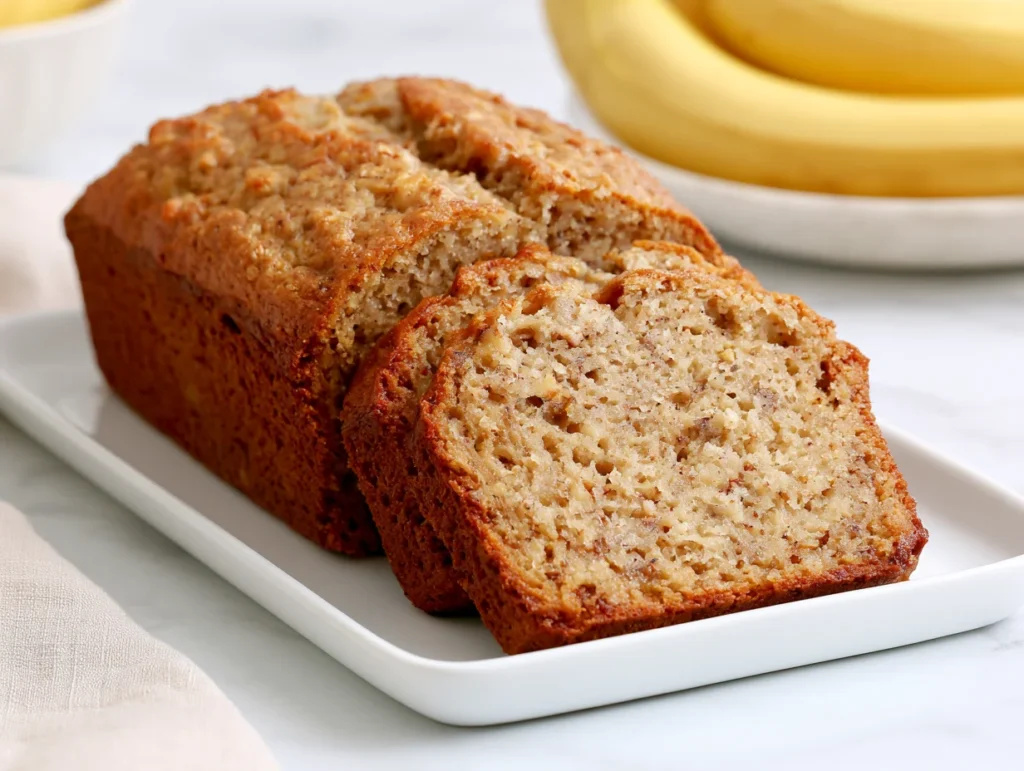
Step 1: Preheat and Prepare Your Pan
Set your oven to 350°F (175°C) and give it a full 10 to 15 minutes to preheat properly. Grease a standard 9×5 inch loaf pan with coconut oil or line it with parchment paper, leaving a bit of overhang on the sides for easy removal. A well-prepared pan makes all the difference between a loaf that releases cleanly and one that sticks and tears. Do not skip this step, even if you are in a hurry.
Step 2: Mash the Bananas
Use a fork or a potato masher to mash your ripe bananas directly in a large mixing bowl. You want the bananas almost completely smooth, with just a few small lumps remaining for texture. The riper the bananas, the sweeter and more flavorful your bread will be. Deep brown, spotty bananas are ideal here. If your bananas are not quite ripe enough, place them unpeeled on a baking sheet and roast at 300°F for 15 minutes to intensify the sweetness.
Step 3: Mix the Wet Ingredients
To the mashed bananas, add the eggs, maple syrup, melted coconut oil, and vanilla extract. Whisk everything together until fully combined and smooth. Make sure your coconut oil is not too hot before adding it, or it could scramble the eggs. If you are using Greek yogurt as an optional add-in, stir it in at this stage as well. A smooth, well-blended wet mixture ensures even distribution of moisture throughout the finished loaf.
Step 4: Add the Dry Ingredients
Sprinkle the whole wheat flour, baking soda, cinnamon, salt, and nutmeg directly into the wet mixture. Using a spatula or wooden spoon, fold gently until just combined. Stop the moment you no longer see streaks of flour. Overmixing activates the gluten in whole wheat flour and leads to a dense, tough loaf. A few remaining lumps in the batter are perfectly fine and actually a good sign. If you are adding chocolate chips, walnuts, or other mix-ins, fold them in now.
Step 5: Pour and Bake
Transfer the batter into your prepared loaf pan and smooth the top gently with a spatula. If you like, press a few extra chocolate chips or walnut halves on top for a beautiful presentation. Place the pan on the center rack of your oven and bake at 350°F for 55 to 65 minutes. The bread is done when a toothpick inserted in the center comes out clean or with just a few moist crumbs. If the top is browning too quickly, tent loosely with foil after the 40-minute mark.
Step 6: Cool Before Slicing
This step requires patience, but it is non-negotiable. Once out of the oven, let the banana bread rest in the pan for 10 minutes before transferring it to a wire cooling rack. Allow it to cool for at least another 20 to 30 minutes before slicing. Cutting into warm banana bread causes the interior to compress and become gummy. The texture firms up and the crumb sets properly as it cools, giving you that perfect, clean slice every single time.
Cook Time
Total:
Approximately 1 hour 15 minutes from start to finish, including prep, mixing, baking, and initial cooling.
Prep:
10 to 15 minutes. This includes mashing the bananas, mixing the wet ingredients, and folding in the dry ingredients. No stand mixer required.
Bake:
55 to 65 minutes at 350°F (175°C). Oven temperatures can vary, so start checking at the 55-minute mark with a toothpick.
Servings
This recipe yields one standard 9×5 inch loaf, which slices into generous portions that feel satisfying without being excessive. Depending on how thick you cut each slice, you can comfortably get anywhere between 10 and 12 servings from a single loaf.
Makes approximately 10 to 12 slices per loaf.
For a family of four, one loaf easily covers breakfast for two to three days, making it a smart batch-baking choice. If you are baking for a larger group, a gathering, or meal prepping for the week, the recipe doubles beautifully. Simply use two separate loaf pans rather than one larger pan for even baking.
Individual slices can also be portioned out, wrapped, and frozen separately so you always have a wholesome option ready to grab on busy mornings with zero additional effort.
Common Mistakes in This Recipe
One of the most frequent mistakes home bakers make with this recipe is using bananas that are not ripe enough. Yellow or lightly freckled bananas simply do not have the natural sugar content or soft texture needed to produce a moist, deeply flavored loaf.
Another common error is overmixing the batter after the flour is added. Whole wheat flour develops gluten quickly, and aggressive stirring will result in a loaf that is dense and rubbery rather than tender and soft.
Many bakers also make the mistake of pulling the bread out of the oven too soon. The outside of the loaf can look beautifully golden and fully baked while the center is still wet and underdone. Without the toothpick test, it is easy to misjudge doneness.
Finally, slicing the bread while it is still hot is something most people do once and immediately regret. The interior has not yet finished setting, and cutting into it too early results in a gummy, compressed crumb that does not slice cleanly or hold its shape.
Solutions to Common Mistakes
The fix for underripe bananas is simple. If your bananas are not yet deeply speckled and brown, place them unpeeled on a lined baking sheet and roast at 300°F for about 15 minutes until the skins turn completely black. The flesh inside will be perfectly soft and sweet.
To avoid a tough, overdense loaf, switch from a whisk to a rubber spatula the moment you start adding the flour. Fold with slow, deliberate strokes and stop as soon as the dry ingredients are just incorporated. A few lumps in the batter are your friend.
Always use the toothpick test, and do not trust visual cues alone. Insert a toothpick or thin skewer into the very center of the loaf. If it comes out with wet batter, give it another 5 to 8 minutes and test again. Moist crumbs on the toothpick are fine; wet batter is not.
For clean slices and a beautiful crumb structure, resist the urge to cut into the loaf right away. A 30-minute rest on a wire rack is the minimum. An hour is even better. Use a sharp serrated bread knife and apply gentle, sawing pressure for clean, even slices every time.
Nutritional Information (approx. per serving)
- Calories: 195 kcal
- Total Fat: 7g (Saturated Fat: 4g)
- Carbohydrates: 30g
- Dietary Fiber: 3g
- Natural Sugars: 11g
- Protein: 4g
- Sodium: 180mg
- Potassium: 220mg
- Iron: 6% DV
- Calcium: 2% DV
- Vitamin B6: 12% DV
Whole wheat flour brings more than just structure to this recipe. It retains the bran and germ layers of the grain, which means each slice delivers a meaningful amount of dietary fiber, B vitamins, and trace minerals that refined white flour simply cannot offer.
Bananas themselves are an underrated nutritional powerhouse. Rich in potassium, vitamin B6, and natural resistant starch, they support heart health, stabilize blood sugar when paired with protein and fat, and provide sustained energy without the spike-and-crash of refined sweeteners.
Coconut oil and walnuts, when included, contribute healthy fats that support brain function and reduce inflammation. Using maple syrup or honey instead of white sugar means you are also getting trace antioxidants and minerals alongside the sweetness.
The result is a loaf that genuinely nourishes you, slice by slice, rather than just providing empty calories. It is the kind of food you can eat regularly and feel good about, especially when it tastes this satisfying.
Storage Instructions
At room temperature, this banana bread stays fresh and moist for up to three days when stored properly. Wrap the cooled loaf tightly in plastic wrap or beeswax wrap, or store individual slices in an airtight container. Keep it at room temperature away from direct sunlight or heat sources.
For longer storage, refrigerate the wrapped loaf for up to one week. The cool temperature slows moisture loss and keeps the bread tasting fresh. Let refrigerated slices come to room temperature for 10 to 15 minutes before eating, or warm them briefly in the microwave for 20 seconds for a freshly baked feel.
This banana bread freezes exceptionally well, which makes it ideal for meal prepping. Once fully cooled, slice the entire loaf, separate individual slices with small squares of parchment paper, and store in a zip-lock freezer bag or airtight container for up to three months.
To thaw, place a slice on the counter for about 30 minutes, or microwave from frozen for 45 to 60 seconds. You can also toast frozen slices directly in a toaster oven for a warm, slightly crisp exterior that tastes incredibly good with a light spread of almond butter or a drizzle of honey.
Suggestions
This banana bread is delicious on its own, but it truly shines as a base for creative serving ideas. Warm a slice and top it with natural almond butter and a few slices of fresh banana for a breakfast that is both beautiful and balanced. A light drizzle of raw honey on top adds a gorgeous gloss and a gentle floral sweetness.
For a more indulgent treat that still keeps things wholesome, spread a thin layer of Greek yogurt on a toasted slice and finish with fresh berries and a pinch of cinnamon. It reads like dessert, but the nutrition profile keeps it entirely in breakfast or snack territory without any compromise.
This loaf also works wonderfully as a base for a more structured dessert. Slice it thicker, warm it in a skillet with a touch of coconut oil, and serve it alongside a scoop of vanilla bean frozen yogurt or a spoonful of lightly sweetened ricotta. It feels elevated without requiring any extra effort.
If you are baking for others, consider making mini loaves or muffins from the same batter. Baking in a muffin tin at 350°F for 22 to 25 minutes gives you perfectly portioned servings that are easy to share, pack, and eat on the go without needing to slice anything at all.
Seasonal Relevance
Banana bread has no real off-season, but there are certain times of year when a warm, freshly baked loaf feels especially right. In autumn, when mornings turn cool and kitchens become the coziest room in the house, this recipe fits perfectly alongside a mug of black coffee or a spiced chai latte.
During the winter months, this loaf becomes a genuine household staple. Baking it on a Sunday afternoon fills the home with warmth and sets the tone for the week ahead. Add a pinch of cardamom or clove to the batter to give it a subtle seasonal depth that makes it feel intentional rather than everyday.
Spring and early summer are when the lightest version of this recipe shines. Skip the chocolate chips and walnuts, fold in fresh blueberries or diced strawberries instead, and finish each slice with a spoonful of coconut yogurt. It becomes something fresh and bright rather than warming and rich.
No matter the season, overripe bananas appear in kitchens year-round, and this recipe is always the best possible answer to those brown, forgotten bananas sitting on your counter. It is the kind of recipe that earns its place in your collection not because it belongs to a season, but because it belongs to every one.
Final Words
Healthy eating and genuinely delicious food should never feel like they exist in opposition to each other. This banana bread is proof that you do not have to choose between nourishment and pleasure, between a recipe that is good for you and one that people will actually want to eat.
What makes this recipe work is not one single ingredient but the combination of all of them working together. Ripe bananas for natural sweetness. Whole wheat flour for fiber and structure. Coconut oil and eggs for richness. Maple syrup for depth. Cinnamon and nutmeg for that unmistakable warmth that makes every slice feel like a small celebration.
This is the kind of recipe worth memorizing. Once you make it a few times, you will not need to look it up again. It will become something you bake by feel, adjusting it slightly based on what you have on hand, making it your own over time. That is when a recipe stops being a recipe and starts being part of your kitchen.
So the next time those bananas on your counter start going brown, do not see it as a problem. See it as an opportunity. Because a loaf of this banana bread is about thirty minutes of active effort away, and the reward — in flavor, in nutrition, and in the simple satisfaction of making something truly good from scratch — is absolutely worth it every time.
Frequently Asked Questions
Can I make this banana bread gluten-free?
Yes. Substitute the whole wheat flour with a 1:1 gluten-free baking flour blend. Bob’s Red Mill and King Arthur both make reliable options that work well in this recipe. The texture may be slightly denser, but the flavor holds up beautifully. Do not use almond or coconut flour as a direct swap.
Can I reduce or eliminate the sweetener in this recipe?
Absolutely. Very ripe bananas provide a surprising amount of natural sweetness on their own. You can reduce the maple syrup to 2 tablespoons or leave it out entirely if your bananas are deeply overripe. Adding dark chocolate chips will contribute sweetness as well, making the reduction easier to achieve without missing anything.
Why did my banana bread sink in the middle after baking?
A sunken center is almost always caused by underbaking or opening the oven door too early in the bake. Make sure your oven is fully preheated, do not open the door before the 45-minute mark, and always use the toothpick test before removing the loaf. Expired baking soda can also cause this issue, so check the freshness of yours before baking.
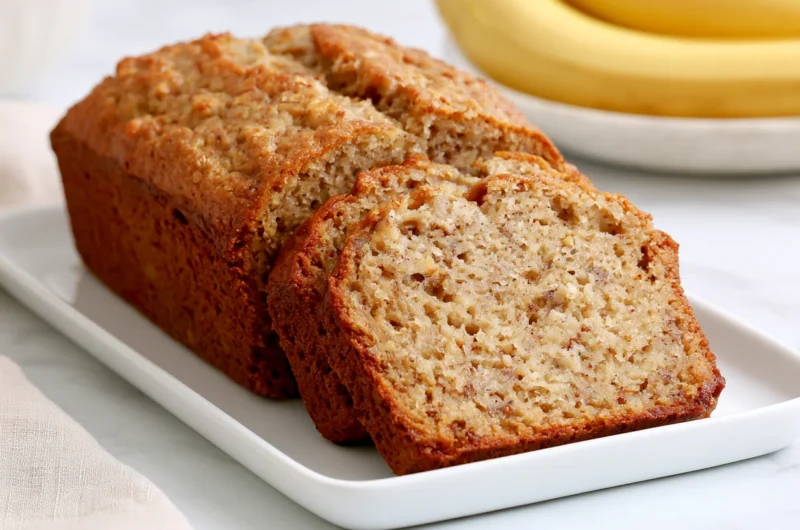
Healthy Banana Bread Recipe
10
servings15
minutes1
hour195
kcal1
hour15
minutesA moist, tender, and naturally sweetened banana bread made with whole wheat flour, ripe bananas, and maple syrup. Wholesome enough for breakfast, satisfying enough for dessert — and ready in under an hour.
Ingredients
Base ingredients
3 medium very ripe bananas, mashed (about 1¼ cups)
2 large eggs
⅓ cup pure maple syrup or raw honey
¼ cup melted coconut oil or extra-virgin olive oil
1 tsp pure vanilla extract
1¾ cups whole wheat flour or white whole wheat flour
1 tsp baking soda
1 tsp ground cinnamon
½ tsp fine sea salt
¼ tsp ground nutmeg
Optional add-ins
½ cup dark chocolate chips (70% cacao or higher)
⅓ cup chopped walnuts or pecans
¼ cup unsweetened shredded coconut
2 tbsp ground flaxseed or chia seeds
½ tsp espresso powder
¼ cup plain Greek yogurt for extra moisture
Directions
- Preheat oven to 350°F (175°C). Grease a 9×5 inch loaf pan with coconut oil or line with parchment paper.
- Mash the ripe bananas in a large bowl until almost smooth with a few small lumps remaining.
- Add eggs, maple syrup, melted coconut oil, and vanilla extract. Whisk until fully combined and smooth.
- Sprinkle in whole wheat flour, baking soda, cinnamon, salt, and nutmeg. Fold gently until just combined — do not overmix.
- Fold in any optional add-ins such as chocolate chips, walnuts, or Greek yogurt.
- Pour batter into the prepared loaf pan and smooth the top. Press extra toppings on top if desired.
- Bake for 55 to 65 minutes, or until a toothpick inserted in the center comes out clean or with moist crumbs.
- Cool in the pan for 10 minutes, then transfer to a wire rack for at least 20 to 30 minutes before slicing.
Recipe Video
Notes
- Use very ripe, deeply speckled bananas for the best natural sweetness and moisture. If bananas aren’t ripe, roast them unpeeled at 300°F for 15 minutes until the skins turn black.
- Do not overmix after adding the flour. Fold gently with a spatula and stop as soon as no dry streaks remain to avoid a dense, tough loaf.
- If the top browns too quickly, tent the loaf loosely with foil after the 40-minute mark and continue baking until done.
- For gluten-free banana bread, swap whole wheat flour with a 1:1 gluten-free baking flour blend. Do not use almond or coconut flour as a direct substitute.
- Store at room temperature for up to 3 days, refrigerate for up to 1 week, or freeze individual slices for up to 3 months.
- This batter also works for muffins — bake in a standard muffin tin at 350°F for 22 to 25 minutes for perfectly portioned individual servings.