Silky Chocolate Pudding Recipe
There are desserts you make to impress, and then there are desserts you make because you genuinely need one. Silky chocolate pudding belongs firmly in the second category. It is the kind of recipe that does not require an occasion, a dinner party, or a special reason — just a craving that demands to be taken seriously.
What sets a truly great chocolate pudding apart from the rest is texture. Not just the flavor, though that matters enormously, but the way it feels when it settles on a spoon and melts the moment it touches your tongue. That silky, almost custard-like consistency is not an accident. It is the result of technique, the right ingredients, and a little patience.
This recipe was developed after years of testing ratios, adjusting cooking temperatures, and learning what actually makes pudding fail — and why most homemade versions never quite reach the standard of something you would order at a fine restaurant. The good news is that the gap between ordinary and extraordinary is surprisingly small.
Whether you are making this for a quiet night at home, prepping dessert for a dinner gathering, or simply satisfying a chocolate craving the right way, this pudding delivers. Every single time.
Ingredients You’ll Need
Before you even turn on the stove, let me tell you this: there is something deeply satisfying about watching a handful of everyday ingredients transform into something that tastes genuinely luxurious.
One of the things I love about this recipe is that it uses simple pantry ingredients. You probably already have most of them in your kitchen.
Base Ingredients:
- 3 cups whole milk
- ½ cup heavy cream
- ¾ cup granulated sugar
- ¼ cup unsweetened cocoa powder (Dutch-process preferred)
- 3 tablespoons cornstarch
- ¼ teaspoon fine sea salt
- 4 ounces dark chocolate (70% cacao), finely chopped
- 2 tablespoons unsalted butter
- 1½ teaspoons pure vanilla extract
Optional Add-ins:
- ½ teaspoon espresso powder (deepens the chocolate flavor)
- 1 pinch cayenne pepper (adds a very subtle warmth)
- 2 tablespoons Kahlúa or dark rum (for an adult version)
- ¼ teaspoon cinnamon (pairs beautifully with dark chocolate)
- 1 tablespoon tahini (for a nutty, complex finish)
Step-by-Step Instructions
Step 1: Combine Your Dry Ingredients
In a medium heavy-bottomed saucepan, whisk together the sugar, cocoa powder, cornstarch, and salt before adding any liquid. This step is more important than it sounds. Mixing the dry ingredients first ensures the cornstarch disperses evenly and eliminates the risk of lumps forming later. Take your time here. A thorough dry whisk takes thirty seconds and saves you from a grainy pudding.
Step 2: Whisk in the Milk and Cream
Slowly pour in the whole milk and heavy cream while whisking constantly. Add the liquids gradually rather than all at once. This technique allows everything to incorporate smoothly into a uniform mixture. Once all the liquid is added, whisk vigorously for about a minute to make sure no pockets of dry ingredients remain at the bottom or sides of the pan. The mixture should look thin and uniform at this stage.
Step 3: Cook Over Medium Heat
Place the saucepan over medium heat and continue whisking steadily as the mixture heats up. Do not walk away from the stove during this step. As the mixture approaches a simmer, you will notice it beginning to thicken. Keep whisking in wide, consistent strokes, making sure to cover the corners of the pan. The pudding is ready when it reaches a full, slow bubble and has thickened noticeably — this usually takes eight to ten minutes.
Step 4: Add Chocolate and Butter
Remove the saucepan from the heat immediately after the pudding thickens. Add the finely chopped dark chocolate and the butter all at once. Let them sit undisturbed for about thirty seconds, then stir gently until both are fully melted and incorporated. This is the moment the pudding transforms from good to exceptional. The chopped chocolate adds richness and depth that cocoa powder alone cannot deliver. Stir until the mixture is completely smooth and glossy.
Step 5: Finish with Vanilla and Pour
Stir in the vanilla extract, then pour the pudding through a fine mesh sieve into your serving dishes or a large bowl. Straining removes any small lumps and guarantees that signature silky texture. If you prefer a skin-free pudding, press a piece of plastic wrap directly onto the surface before refrigerating. Chill for at least two hours before serving, though overnight gives the best results.
Cook Time
Total:
2 hours 20 minutes (including chilling time)
Prep:
10 minutes
Bake:
10 minutes active stovetop cooking
Servings
This recipe makes a generous batch that is easy to scale up or down depending on your needs. As written, it serves four to six people comfortably, depending on the size of the individual portions you pour.
For a dinner party, I typically serve this in small ramekins or short glasses, which makes each portion feel intentional and elegant. For everyday use, a simple bowl straight from the refrigerator works perfectly well.
Makes approximately 4 to 6 servings (roughly ½ cup per serving). If you are feeding a larger group, the recipe doubles beautifully without any adjustments to technique.
Common Mistakes in This Recipe
One of the most frequent errors people make with homemade pudding is cooking it over high heat in an attempt to speed things up. High heat causes the cornstarch to break down unevenly and the milk solids to scorch, resulting in a grainy, slightly burnt flavor that no amount of chocolate can mask.
Another common mistake is adding the chocolate before removing the pan from the heat. Doing so exposes the chocolate to prolonged direct heat, which can cause it to seize or turn bitter rather than melting smoothly into the pudding base.
Many home cooks also skip straining the finished pudding. Even when the mixture looks smooth, small lumps from the cocoa or improperly dissolved cornstarch can remain. These are nearly invisible in the pan but very noticeable in the final texture.
Finally, under-chilling is a mistake that ruins the experience entirely. Pudding that has only been refrigerated for thirty or forty minutes will be loose, almost liquid in the center, and will not hold up on a spoon. Proper setting requires at least two full hours.
Solutions to Common Mistakes
Always cook your pudding over medium heat and resist the urge to rush. The process takes about eight to ten minutes of active whisking, and that time cannot be shortened without sacrificing quality. Steady, moderate heat gives the cornstarch time to do its job properly.
Remove the pan from the heat completely before adding your chopped chocolate and butter. The residual heat in the pudding is more than enough to melt both ingredients gently and evenly, without the risk of scorching or seizing.
Make straining a non-negotiable step. A fine mesh sieve takes less than a minute to use and makes a visible difference in the final texture. Pour slowly and use a spatula to press the pudding through if needed.
For proper setting, plan ahead. Make the pudding earlier in the day or the night before you intend to serve it. Two hours is the absolute minimum; four to six hours gives a firmer, more consistent result.
Nutritional Information (approx. per serving)
- Calories: 320 kcal
- Total Fat: 16g
- Saturated Fat: 9g
- Cholesterol: 38mg
- Sodium: 115mg
- Total Carbohydrates: 40g
- Dietary Fiber: 3g
- Total Sugars: 30g
- Protein: 6g
- Calcium: 180mg
- Iron: 3mg
- Potassium: 290mg
Dark chocolate is genuinely good for you when consumed in reasonable amounts. The cacao in this recipe is a natural source of flavanols, compounds that support healthy circulation and have been associated with improved cardiovascular function over time.
Whole milk and heavy cream provide fat-soluble vitamins including A, D, and K2, which play important roles in bone health, immune function, and cellular repair. The calcium in this dessert also contributes meaningfully to your daily intake.
Cocoa powder contains theobromine and a small amount of caffeine, both of which offer a gentle, sustained lift in mood and alertness without the sharp edge of coffee. This makes chocolate pudding a surprisingly appropriate afternoon treat.
The inclusion of real dark chocolate rather than just cocoa powder also means this dessert delivers magnesium, iron, and zinc — minerals that many people do not get enough of from everyday eating.
Storage Instructions
Once the pudding has fully set, it keeps beautifully in the refrigerator for up to four days. Store it in individual serving dishes or transfer it to an airtight container, making sure the surface is covered with plastic wrap pressed directly against the pudding to prevent a thick skin from forming.
Do not store this pudding at room temperature for more than two hours. Because it contains dairy and no preservatives, it is perishable and should always be kept chilled. If you are transporting it, pack it in a cooler with ice or a cold pack.
Freezing is possible but not recommended for best results. The cornstarch-based thickener can weep and separate when thawed, leaving the pudding watery and uneven. If you do freeze it, thaw it in the refrigerator overnight and whisk it briefly before serving.
When serving from the refrigerator, you can let individual portions sit at room temperature for ten to fifteen minutes before eating. Pudding served slightly less cold has a noticeably creamier mouthfeel, and the chocolate flavor comes through more fully when it is not ice-cold.
Suggestions
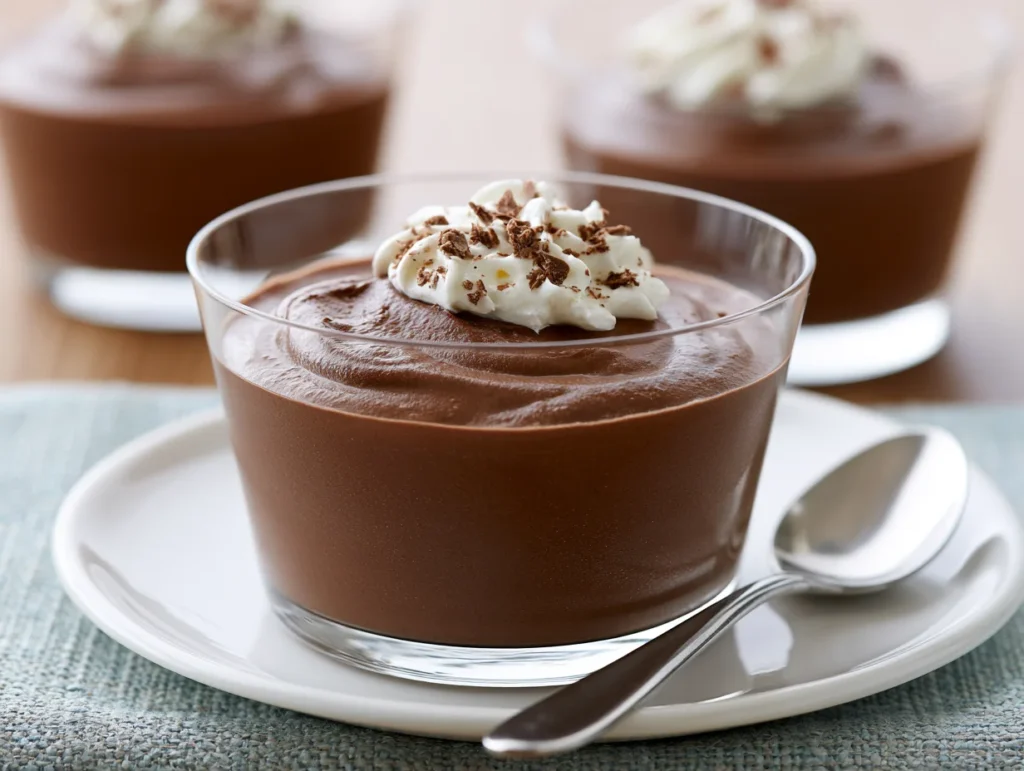
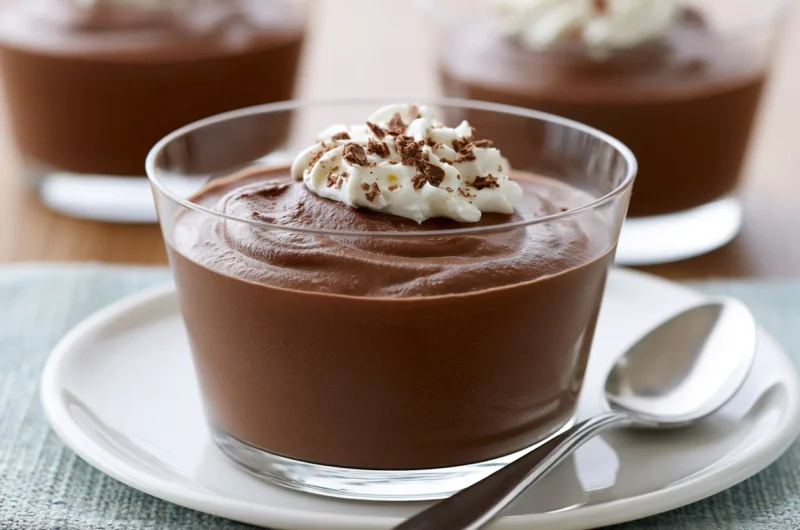
This pudding is a perfect base for creative toppings and presentations. A simple dollop of lightly sweetened whipped cream is the classic pairing, and it works because the airy cream balances the dense, rich pudding without competing with it. A small pinch of flaky sea salt on top just before serving adds a sophisticated contrast.
If you want something more textural, consider adding crushed chocolate wafers, toasted hazelnuts, or a layer of crumbled graham crackers at the bottom of each serving glass before pouring in the warm pudding. The contrast between the crunchy base and the silky pudding is genuinely satisfying.
For a more composed dessert experience, serve the pudding alongside a shortbread biscuit or a thin butter cookie. The neutral sweetness of either one pairs exceptionally well with intense dark chocolate.
You can also layer this pudding with salted caramel sauce, vanilla pudding, or even a tangy raspberry compote for a parfait-style presentation that works beautifully for dinner parties or casual gatherings alike.
Seasonal Relevance
Chocolate pudding may feel like a cool-weather comfort food, and in many ways it is. During autumn and winter, this recipe fits naturally alongside seasonal flavors like cinnamon, cardamom, and orange zest. A small addition of any of these to the finished pudding turns it into something that feels distinctly festive without requiring extra effort.
In spring and summer, this pudding becomes a canvas for fresh fruit. A spoonful of fresh raspberries, sliced strawberries, or a few blackberries on top of the chilled pudding creates a balance of rich and bright that works wonderfully in warmer months.
During the holiday season, a splash of peppermint extract in place of some of the vanilla creates a chocolate-peppermint pudding that feels genuinely celebratory. It pairs well with crushed candy cane sprinkled on top just before serving.
Because the core recipe is so neutral and adaptable, it genuinely works in every season. The real seasonal magic comes from what you choose to add around it — and that is part of what makes this a recipe worth keeping permanently in your repertoire.
Final Words
A recipe like this one earns its place in your regular rotation not because it is flashy or complicated, but because it is consistently, quietly excellent. Once you have made it a few times, you will find that you barely need to look at the recipe at all. The technique becomes intuitive quickly.
There is also something meaningful about making dessert entirely from scratch. In a world where chocolate pudding usually comes from a box and requires nothing more than cold milk, making it properly from real chocolate and whole milk feels like a small act of care — whether for yourself or for someone else.
If this is your first time making pudding from scratch, do not be intimidated. The process is straightforward, the ingredients are forgiving, and the result will almost certainly exceed what you were expecting. The gap between scratch-made and instant pudding is significant in every way that matters.
Come back to this recipe often. Adapt it over time. Try the espresso powder on a Tuesday when you need something to look forward to, or the Kahlúa version on a Friday evening when dinner deserves a proper finish. This is exactly the kind of recipe that gets better every time you make it.
Frequently Asked Questions
Can I use milk chocolate instead of dark chocolate in this recipe?
You can, though the result will be noticeably sweeter and less complex. If you use milk chocolate, reduce the sugar by two tablespoons to compensate. The pudding will still be delicious, just softer in flavor. Dark chocolate at 60% cacao or higher gives the best depth and balance.
Why does my pudding have lumps even after whisking?
Lumps usually form when the dry ingredients are added to hot liquid too quickly, or when the heat is too high and the mixture cooks unevenly. Always whisk the dry ingredients together before adding liquid, cook over medium heat, and strain the finished pudding through a fine mesh sieve to guarantee a smooth result.
Can I make this pudding dairy-free?
Yes, with some adjustments. Replace the whole milk with full-fat oat milk or canned coconut milk, and substitute the heavy cream with coconut cream. Use dairy-free butter or a neutral-flavored coconut oil. The texture will be slightly different but still very good, especially with coconut milk, which adds its own mild richness.
Silky Chocolate Pudding Recipe
4
servings10
minutes10
minutes320
kcal20
minutesA rich, deeply chocolatey pudding with a custard-like texture that melts on your tongue. Made entirely from scratch using real dark chocolate and everyday pantry staples, this recipe delivers a genuinely luxurious dessert in under thirty minutes.
Ingredients
Base Ingredients:
3 cups whole milk
½ cup heavy cream
¾ cup granulated sugar
¼ cup unsweetened cocoa powder (Dutch-process preferred)
3 tablespoons cornstarch
¼ teaspoon fine sea salt
4 ounces dark chocolate (70% cacao), finely chopped
2 tablespoons unsalted butter
1½ teaspoons pure vanilla extract
Optional Add-ins:
½ teaspoon espresso powder
1 pinch cayenne pepper
2 tablespoons Kahlúa or dark rum
¼ teaspoon cinnamon
1 tablespoon tahini
Directions
- Whisk together sugar, cocoa powder, cornstarch, and salt in a medium heavy-bottomed saucepan until fully combined with no dry clumps remaining.
- Slowly pour in the whole milk and heavy cream while whisking constantly, adding the liquids gradually to ensure a smooth, lump-free mixture.
- Place the saucepan over medium heat and whisk steadily for 8 to 10 minutes until the mixture thickens and reaches a full, slow bubble.
- Remove from heat immediately. Add the chopped dark chocolate and butter, let sit for 30 seconds, then stir until fully melted and the pudding is smooth and glossy.
- Stir in the vanilla extract, then pour the pudding through a fine mesh sieve into serving dishes or a large bowl.
- Press plastic wrap directly onto the surface to prevent a skin from forming, then refrigerate for at least 2 hours before serving.
Recipe Video
Notes
- Always whisk the dry ingredients together before adding any liquid to prevent lumps from forming in the finished pudding.
- Cook over medium heat only — high heat scorches the milk solids and breaks down the cornstarch unevenly.
- Add the chopped chocolate and butter only after removing the pan from heat to avoid seizing or bitterness.
- Straining the pudding through a fine mesh sieve is not optional if you want that signature silky texture.
- For a skin-free pudding, always press plastic wrap directly onto the surface before refrigerating.
- Pudding sets properly after a minimum of 2 hours in the refrigerator; overnight chilling gives the best, firmest result.
- Let individual portions sit at room temperature for 10 to 15 minutes before serving for the creamiest mouthfeel and fullest chocolate flavor.
- Pudding keeps well in the refrigerator for up to 4 days in a covered container.