Best-Ever Brownie Recipe
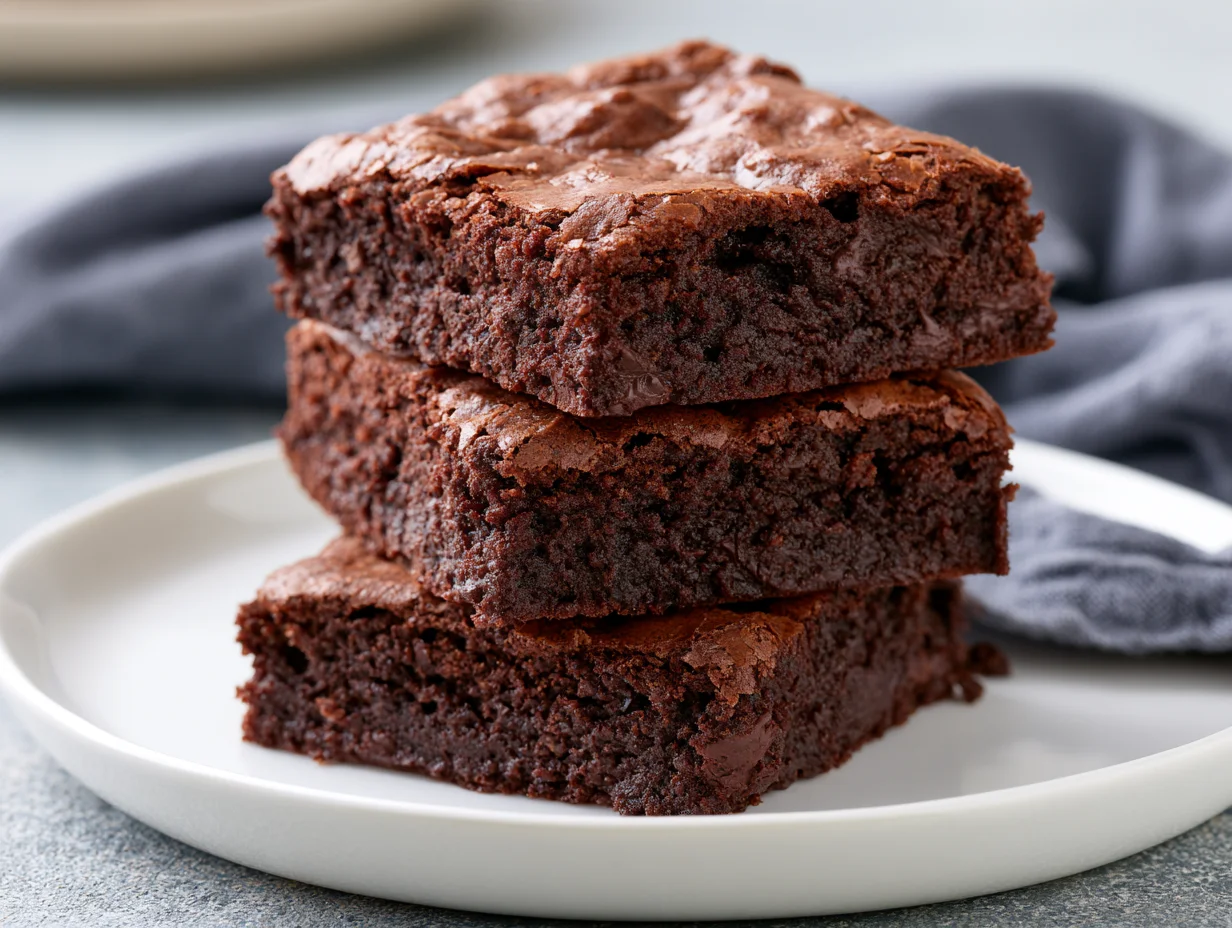
There is a difference between a good brownie and a great one, and that difference comes down to technique, not luck. After testing this formula through dozens of batches, I landed on the exact ratio of butter to chocolate to sugar that produces that coveted shiny, crackly top with a dense, fudgy interior underneath.
Most home bakers struggle with brownies turning out either too cakey or too greasy. This recipe solves both problems by controlling two things precisely: the temperature at which you combine your wet ingredients, and the moment you pull the pan from the oven. Get those right, and everything else falls into place.
What makes this version stand apart is its reliance on melted chocolate alongside cocoa powder, giving you layered depth of flavor rather than a one-note sweetness. It is rich without being heavy, and structured without being dry.
Whether you are baking for a holiday table, a bake sale, or simply because chocolate is calling your name, this recipe delivers consistent, bakery-quality results every single time. No special equipment required, no obscure ingredients, just a method that actually works.
Ingredients You’ll Need
Great brownies start with a short list of honest ingredients, each one earning its place rather than padding the recipe.
Base Ingredients
- 1 cup unsalted butter, melted
- 2 cups granulated sugar
- 4 large eggs
- 1 teaspoon vanilla extract
- 1 cup all-purpose flour
- 3/4 cup unsweetened cocoa powder
- 1/2 teaspoon salt
- 1/4 teaspoon baking powder
- 1 cup semi-sweet chocolate chips
Optional Add-ins
- 1/2 cup chopped walnuts or pecans
- 1/4 cup espresso powder dissolved in 1 tablespoon hot water
- 1/2 cup white chocolate chunks
- 1/4 teaspoon cayenne pepper for a spiced version
- 2 tablespoons orange zest
Step-by-Step Instructions

Step 1: Prepare Your Pan and Oven
Preheat your oven to 350°F (175°C). Line a 9×13-inch baking pan with parchment paper, leaving an overhang on two sides for easy removal later. Lightly grease the exposed edges of the pan with butter or nonstick spray. This step matters more than most bakers realize, since a properly lined pan prevents sticking and allows you to lift the brownies out cleanly once baked, making clean slicing far easier later.
Step 2: Melt and Combine Wet Ingredients
In a large heatproof bowl, melt the butter, then whisk in the sugar while the butter is still warm. This helps dissolve the sugar slightly, which contributes to that glossy crackle top. Add the eggs one at a time, whisking vigorously after each addition. Stir in the vanilla extract. The mixture should look thick, pale, and slightly aerated before you move forward.
Step 3: Fold in Dry Ingredients
Sift together the flour, cocoa powder, salt, and baking powder in a separate bowl. Gradually fold the dry mixture into the wet ingredients using a spatula, not a whisk. Stop mixing the moment no streaks of flour remain. Overmixing develops gluten, which leads to tough, cakey brownies instead of the dense, fudgy texture you are aiming for here.
Step 4: Add Chocolate and Bake
Fold in the chocolate chips and any optional add-ins of your choice. Pour the batter into the prepared pan, spreading it evenly into the corners with a spatula. Bake for 28 to 32 minutes, until a toothpick inserted in the center comes out with a few moist crumbs attached, not wet batter. Avoid opening the oven door during the first 20 minutes of baking.
Step 5: Cool and Slice
Remove the pan from the oven and let it cool completely on a wire rack, about 1 hour, before lifting the brownies out using the parchment overhang. Slicing while warm causes crumbling and uneven edges. For bakery-style clean cuts, chill the slab for 20 minutes first, then use a sharp knife wiped clean between cuts.
Cook Time
Total
1 hour 45 minutes (including cooling time)
Prep
15 minutes
Bake
30 minutes
Servings
This recipe makes approximately 24 brownies when cut into standard 2-inch squares, perfect for a crowd, a bake sale table, or a week of after-dinner treats. If you prefer larger, more indulgent portions, cutting the slab into 16 pieces gives you a thicker, richer square better suited for serving with a scoop of ice cream.
For smaller gatherings, the recipe halves cleanly using an 8×8-inch pan, yielding around 12 squares with only a slight adjustment to bake time. Keep an eye on the toothpick test rather than relying purely on the clock, since pan size and oven calibration both affect timing.
However you portion them, these brownies hold their shape and texture well, making them easy to package, gift, or stack for transport without falling apart.
Common Mistakes in This Recipe
The most frequent mistake bakers make is overbaking, pulling the pan out only when the center looks fully set. Brownies continue cooking from residual heat after leaving the oven, so a slightly underdone center at the toothpick stage is actually correct, not a failure.
Another common issue is using cold eggs straight from the refrigerator. This causes the melted butter to seize and clump, resulting in a dense, oily texture instead of the silky batter this recipe is designed to produce.
Many bakers also skip sifting the cocoa powder, leading to small bitter clumps scattered throughout the finished brownies that disrupt the smooth, fudgy texture everyone is after.
Finally, cutting brownies before they have fully cooled is a mistake that ruins otherwise perfect results, leaving you with torn, messy edges instead of clean bakery-style squares.
Solutions to Common Mistakes
To avoid overbaking, start checking your brownies at the 26-minute mark rather than waiting for the full bake time to elapse. Look for moist crumbs on the toothpick, not a completely clean one, and trust that residual heat will finish the job.
Bring your eggs to room temperature about 30 minutes before baking by leaving them on the counter, or place them briefly in warm water if you forgot to plan ahead.
Always sift cocoa powder together with the flour before folding it into your wet ingredients, breaking up clumps before they ever reach the batter.
Let the pan cool completely on a wire rack, and chill it briefly if you want professional, razor-clean slices every time.
Nutritional Information (approx. per serving)
- Calories: 220 kcal
- Total Fat: 11g
- Saturated Fat: 6g
- Carbohydrates: 29g
- Sugars: 21g
- Protein: 3g
- Fiber: 2g
- Sodium: 95mg
Dark chocolate and cocoa powder, the backbone of this recipe, are rich in flavonoids that support healthy blood circulation when enjoyed in moderation as part of a balanced diet. Cocoa also contains trace minerals like magnesium and iron that contribute to everyday nutritional intake.
Eggs add a meaningful dose of protein and choline, a nutrient that supports brain and nervous system function, making this treat slightly more substantial than a typical sugar-only dessert.
Using real butter rather than oil-based substitutes means you avoid certain processed fats, keeping the ingredient list closer to whole, recognizable foods.
Portion control remains key here, as with any rich dessert, but enjoying a single square as an occasional treat fits comfortably within most balanced eating patterns.
Storage Instructions
Store cooled brownies in an airtight container at room temperature for up to 4 days, placing a sheet of parchment paper between layers to prevent sticking. Room temperature storage actually preserves the fudgy texture better than refrigeration in most cases.
If you need them to last longer, refrigerate the brownies in an airtight container for up to 10 days. Let them come back to room temperature before serving, as cold brownies taste noticeably firmer and less rich.
For longer storage, wrap individual squares tightly in plastic wrap, then place them in a freezer-safe bag for up to 3 months. Thaw at room temperature for about an hour before enjoying.
Avoid storing brownies uncovered, as exposure to air dries out the edges quickly and dulls the deep chocolate flavor that makes this recipe stand out.
Suggestions
Serve these brownies slightly warm with a scoop of vanilla bean ice cream for a contrast of temperature and texture that elevates a simple square into a proper dessert course.
A drizzle of salted caramel sauce or a dusting of flaky sea salt on top right after baking adds a sophisticated edge that balances the deep sweetness nicely.
For entertaining, cut the brownies into smaller bite-sized squares and serve them alongside fresh berries on a dessert platter, giving guests an easy, elegant grab-and-go option.
If you enjoy texture contrast, toast the chopped nuts before folding them into the batter, which deepens their flavor and adds a satisfying crunch against the fudgy center.
Seasonal Relevance
These brownies work beautifully year-round, but they truly shine during the colder months, when rich, warming desserts feel especially fitting for holiday gatherings and cozy evenings indoors.
During autumn and winter, consider adding a pinch of cinnamon or a swirl of pumpkin spice to the batter, tying the recipe naturally into seasonal flavor trends without overpowering the chocolate.
In warmer months, this recipe adapts well as a base for ice cream sandwiches or a layered trifle with fresh summer fruit, keeping it relevant even outside the holiday season.
Because brownies travel and store so well, they also make an excellent contribution to potlucks, picnics, and bake sales throughout the entire calendar year.
Final Words
This brownie recipe earns its place as a permanent fixture in your baking rotation because it delivers consistent, professional results without requiring advanced skills or specialty equipment.
The balance between fudgy interior and crackly top is what separates this recipe from countless others online, and it comes down entirely to technique rather than complicated ingredients.
Once you bake this version, you will understand why so many home bakers stop searching for other brownie recipes altogether. It simply works, every single time you make it.
Bookmark this one, share it with someone who loves chocolate as much as you do, and enjoy the process of making something genuinely great from your own kitchen.
Frequently Asked Questions
Can I use Dutch-processed cocoa powder instead of natural cocoa powder? Yes, Dutch-processed cocoa works well and produces a slightly darker, smoother flavor. Since it is less acidic, your brownies may rise marginally less, but the texture and taste remain excellent and arguably more refined overall.
Why did my brownies turn out cakey instead of fudgy? Cakey brownies usually result from overmixing the batter or using too much flour. Measure flour by spooning it into the cup and leveling it off, and stop mixing as soon as the streaks disappear.
Can I make this recipe gluten-free? Yes, substitute the all-purpose flour with a 1:1 gluten-free baking blend. The texture remains nearly identical, though you may notice a slightly denser crumb. Avoid almond flour alone, as it changes the structure significantly.
Best-Ever Brownie Recipe
24
servings15
minutes30
minutes220
kcal45
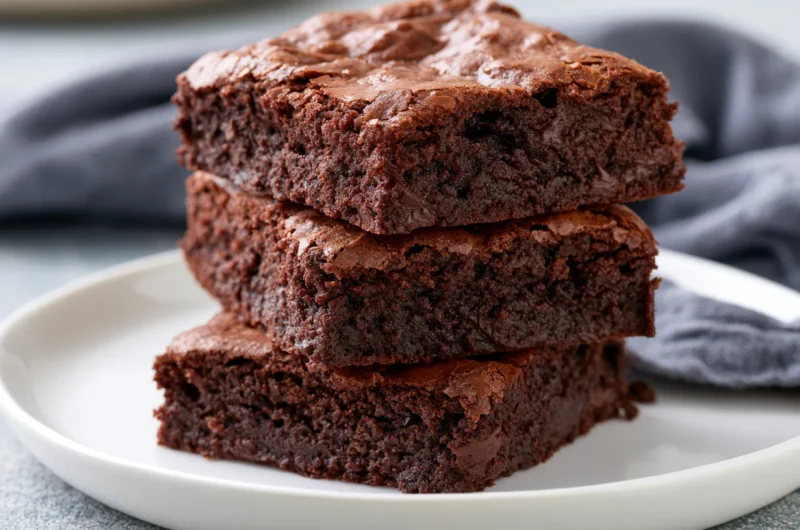
minutesRich, fudgy brownies with a glossy, crackly top and a deep chocolate center. Made with melted butter, cocoa, and chocolate chips, this foolproof recipe delivers bakery-quality results every single time you bake it.
Ingredients
Base Ingredients
1 cup unsalted butter, melted
2 cups granulated sugar
4 large eggs
1 teaspoon vanilla extract
1 cup all-purpose flour
3/4 cup unsweetened cocoa powder
1/2 teaspoon salt
1/4 teaspoon baking powder
1 cup semi-sweet chocolate chips
Optional Add-ins
1/2 cup chopped walnuts or pecans
1/4 cup espresso powder dissolved in 1 tablespoon hot water
1/2 cup white chocolate chunks
1/4 teaspoon cayenne pepper
2 tablespoons orange zest
Directions
- Preheat oven to 350°F (175°C) and line a 9×13-inch pan with parchment paper.
- Melt butter, whisk in sugar while warm, then beat in eggs one at a time.
- Stir in vanilla extract until the mixture is thick and pale.
- Sift together flour, cocoa powder, salt, and baking powder.
- Fold dry ingredients into wet ingredients until just combined.
- Fold in chocolate chips and any optional add-ins.
- Pour batter into the prepared pan and spread evenly.
- Bake 28-32 minutes, until a toothpick comes out with moist crumbs.
- Cool completely on a wire rack before lifting out and slicing.
Recipe Video
Notes
- Use room-temperature eggs to prevent the batter from seizing.
- Do not overmix once flour is added, or brownies turn cakey.
- Chill the slab for 20 minutes before slicing for cleaner cuts.
- Store in an airtight container at room temperature for up to 4 days.
- Freezes well for up to 3 months when wrapped tightly.