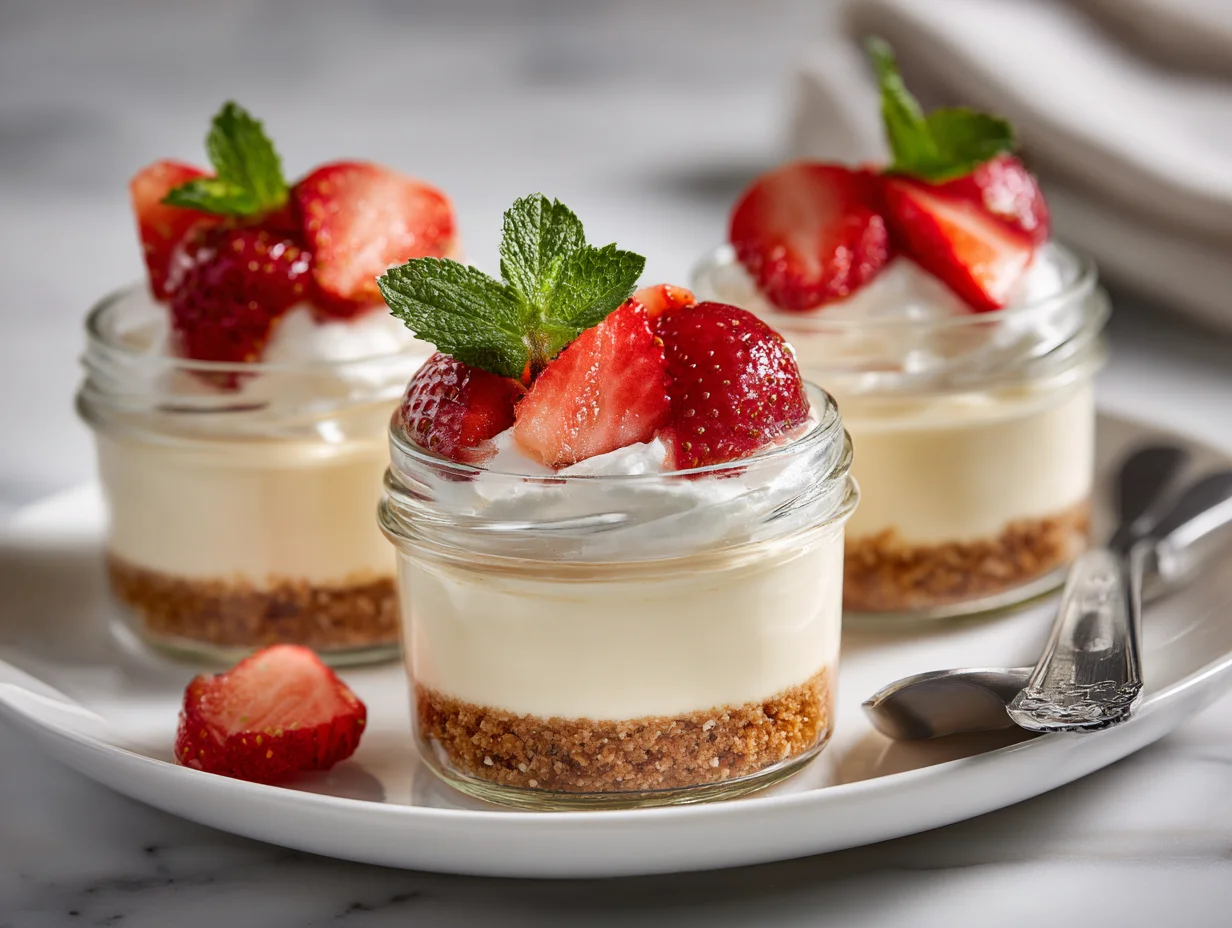
Mini desserts have taken over the dessert scene, and no-bake cheesecake jars are at the top of the list. These little cups combine creamy cheesecake, a crisp biscuit base, and fresh toppings for a treat that’s both indulgent and elegant. Perfect for parties, celebrations, or an everyday sweet craving, these jars deliver professional results without turning on the oven.
The beauty of cheesecake jars is in the balance of textures and flavors. Each jar provides a crisp, buttery base, smooth cream cheese filling, and the vibrant flavor of fruit or chocolate toppings. They are visually appealing and customizable, making them a favorite for both children and adults.
Beyond flavor, these mini desserts are versatile and convenient. Prepare them in advance, store in the fridge, and serve chilled. With simple ingredients and easy assembly, even beginners can create desserts that look like they came from a pastry shop.
Common Errors in Cheesecake Jar Preparation
A frequent mistake in making cheesecake jars is improperly preparing the biscuit base. If the crumbs are too coarse or the butter ratio is off, the base can crumble apart or remain too soft, making the dessert unstable.
Another common issue is over-whipping the cream cheese filling. While some air is necessary for lightness, over-whipping creates bubbles and an uneven texture, causing the jars to collapse or become watery when chilled.
Using overly watery fruits or toppings without draining can also ruin the structure. Excess liquid seeps into the cheesecake, making it soggy and difficult to serve.
Finally, rushing assembly without chilling components first leads to messy layers. Each element needs to be set properly to maintain clean, defined layers in the jar.
Solutions for Perfect Cheesecake Jars
Press biscuit crumbs firmly with melted butter to form a stable base. Use fine crumbs for a uniform texture, and chill before adding the filling to ensure firmness.
Whip cream cheese and cream carefully, folding gently to maintain a smooth, airy texture. Stop at soft peaks to prevent collapse.
Drain fruit thoroughly before layering on top. This preserves the cheesecake’s structure and prevents sogginess while maintaining fresh flavors.
Chill each layer before adding the next. This helps the dessert hold shape and ensures distinct, visually appealing layers that are perfect for serving.
Ingredients You’ll Need
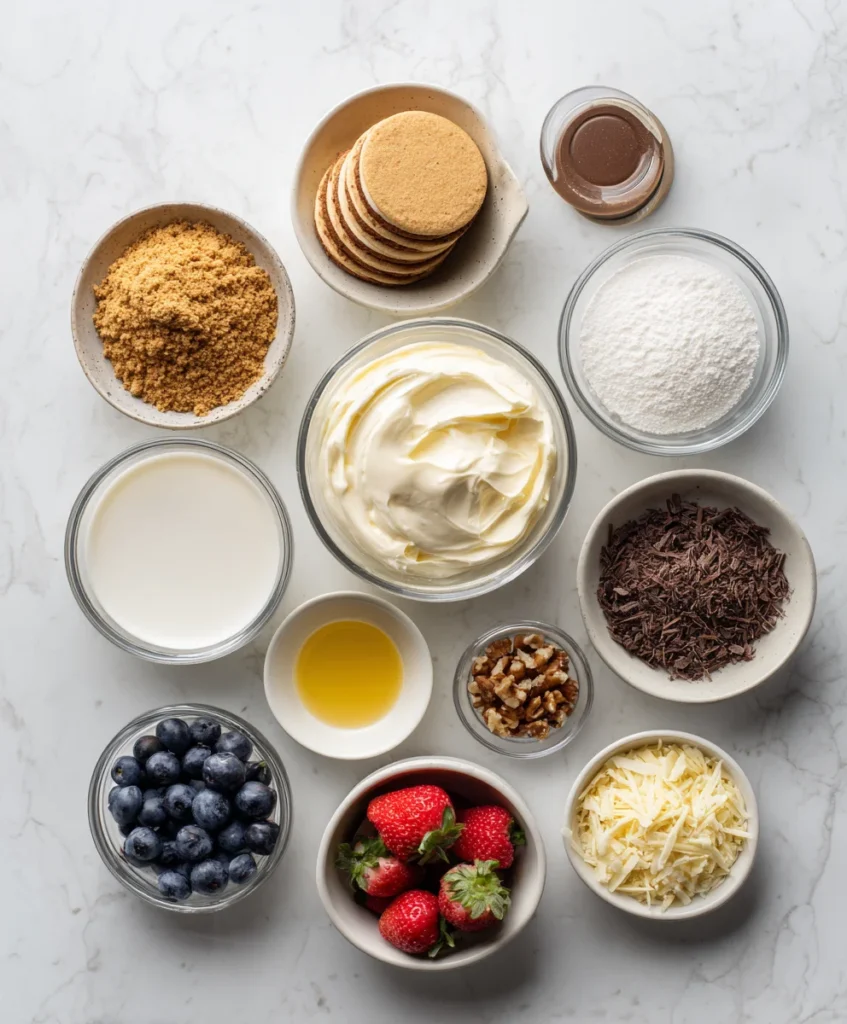
Base Ingredients
- 200g digestive biscuits, crushed
- 100g unsalted butter, melted
- 250g cream cheese, softened
- 100ml heavy cream
- 2 tbsp powdered sugar
- 1 tsp vanilla extract
Optional Add-ins
- 50g berries (strawberries, blueberries, raspberries)
- 2 tbsp chocolate shavings or cocoa powder
- 1 tbsp lemon zest
- 50g chopped nuts (almonds, walnuts)
Step-by-Step Instructions
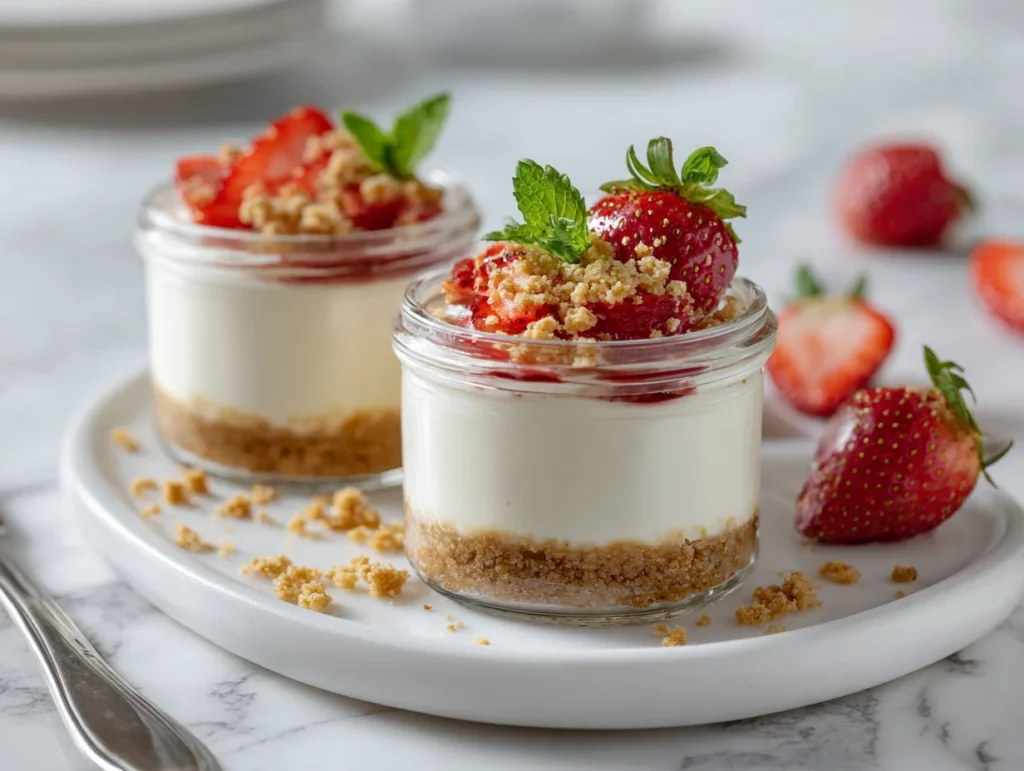
Step 1: Prepare the Base
Mix crushed biscuits with melted butter until uniform. Press evenly into the bottom of each jar, creating a solid foundation. Chill for 10 minutes while preparing the filling to ensure stability.
Step 2: Make the Cheesecake Filling
Whip cream cheese with powdered sugar and vanilla until smooth. Separately, whip heavy cream to soft peaks and fold gently into cream cheese mixture for a light, creamy texture.
Step 3: Assemble the Jars
Spoon the cheesecake mixture over the chilled biscuit base, filling jars evenly. Smooth the tops with a spatula, leaving room for toppings. Ensure layers are defined for visual appeal.
Step 4: Add Toppings and Chill
Top with berries, chocolate shavings, or nuts as desired. Chill the jars for at least 2–3 hours to set completely before serving, ensuring perfect structure and creamy texture.
Cook Time
Total: 2 hours 40 minutes
Prep: 20 minutes
Bake: None required
Servings
These mini cheesecake jars serve 6–8 people. Each portion is balanced, offering a satisfying combination of crisp base, creamy filling, and fresh toppings.
Perfect for gatherings, these jars are scalable; make individual servings for parties or larger jars for home enjoyment. Their portion-controlled size makes them easy to serve and visually elegant for any occasion.
Makes approximately 6–8 jars
Nutritional Information (approx. per serving)
- Calories: 280 kcal
- Protein: 5g
- Fat: 18g
- Carbohydrates: 25g
- Fiber: 1g
Benefits
Cream cheese provides protein and calcium, while berries contribute antioxidants and vitamins.
The portion-controlled mini jars allow indulgence without overconsumption, making this dessert both enjoyable and mindful.
Customizable toppings enhance nutritional value, and using high-quality ingredients ensures rich flavor without relying on artificial additives.
Storage Instructions
Store cheesecake jars in an airtight container in the refrigerator to maintain freshness. Avoid leaving them at room temperature to prevent cream separation.
Consume within 2–3 days for optimal flavor and texture. Layers remain intact if chilled properly.
For individual jars, cover each with plastic wrap to maintain presentation and avoid absorbing other refrigerator odors.
Do not freeze, as this may cause the cream to separate and affect texture, compromising the dessert’s structure and visual appeal.
Suggestions
Experiment with seasonal fruit toppings for variety. Berries, mango, or passionfruit complement the creamy cheesecake beautifully.
Add chocolate shavings or a light drizzle of caramel for extra indulgence.
Incorporate a flavored base, like chocolate or ginger snaps, to enhance texture and taste.
Serve in clear jars for a stunning presentation, perfect for parties, brunches, or festive occasions.
Seasonal Relevance
Cheesecake jars are perfect year-round. Summer fruits like berries add freshness and color.
In winter, top with spiced fruits or chocolate for a cozy, indulgent treat.
Spring allows lighter flavors, such as lemon zest or tropical fruits, for a refreshing dessert.
Autumn can incorporate pumpkin puree or cinnamon for a seasonal twist, maintaining elegance in mini dessert cups.
Final Words
No-bake cheesecake jars combine convenience, elegance, and flavor, making them a must-try for any dessert lover.
Their visual appeal and layered texture create a professional dessert experience without complex preparation.
With careful attention to base, filling, and toppings, even beginners can achieve restaurant-quality results.
Perfect for entertaining, gifting, or simple indulgence, these jars deliver a versatile, delicious dessert that impresses every time.
Frequently Asked Questions
Can I make these cheesecake jars a day ahead?
Yes, preparing them a day in advance enhances flavor and ensures layers set perfectly. Keep covered in the fridge until serving.
Can I use a chocolate cookie base instead of digestive biscuits?
Absolutely. Chocolate cookies provide a richer, deeper flavor and work well with the creamy cheesecake filling.
How long should the jars chill before serving?
Chill at least 2–3 hours for firmness. Overnight chilling improves texture and flavor melding.
Can I make these dairy-free?
Yes, substitute cream cheese and heavy cream with vegan alternatives like cashew cream or plant-based cream cheese.
Can I freeze cheesecake jars?
Freezing is not recommended as it may cause separation of cream layers and affect texture, making the dessert less visually appealing.
