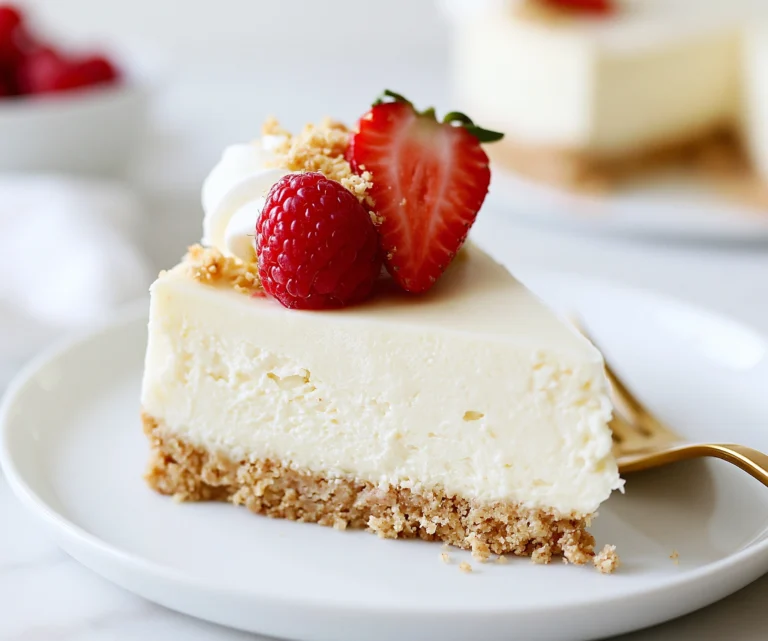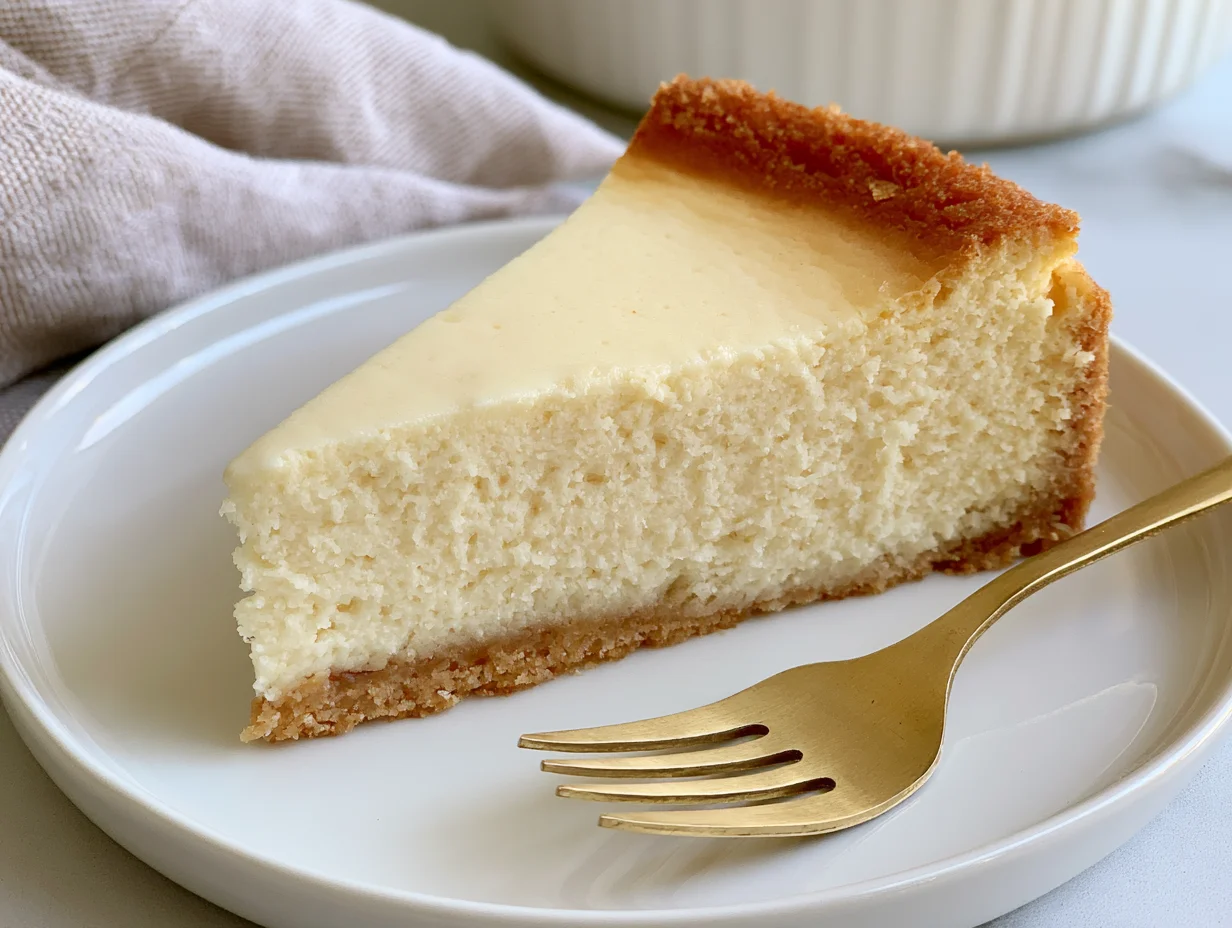
Best-Ever Cheesecake Recipe
There is a reason cheesecake holds its place at the top of every dessert table, every holiday spread, and every “what should I bake this weekend” search. It is not just dessert. It is an experience built on contrast: a buttery, crumbly base meeting a filling so smooth it almost feels like it shouldn’t be real.
This recipe was built from scratch through repeated testing, not borrowed from a box. Every measurement here exists for a reason, whether it is preventing cracks, controlling moisture, or guaranteeing that clean, bakery-style slice every single time.
What sets this version apart is balance. It is rich without being heavy, sweet without overwhelming the tang of the cream cheese, and dense enough to feel indulgent while still slicing cleanly. No gimmicks, no shortcuts that compromise texture.
By the end of this article, you will have a foolproof method, a clear troubleshooting guide, and the confidence to make a cheesecake that tastes like it came from a professional bakery kitchen, not a rushed weeknight attempt.
Ingredients You’ll Need
A truly great cheesecake doesn’t hide behind fancy ingredients, it earns its reputation through ratio, technique, and timing. Here is everything required to build that signature creamy, crack-free texture from the ground up.
Base Ingredients
- 2 cups graham cracker crumbs
- 1/2 cup unsalted butter, melted
- 1/4 cup granulated sugar
- 32 oz cream cheese, full-fat, softened
- 1 cup granulated sugar
- 1 cup sour cream, room temperature
- 1 tablespoon vanilla extract
- 3 large eggs, room temperature
- 2 tablespoons all-purpose flour
- 1 pinch fine sea salt
Optional Add-ins
- 1 tablespoon lemon zest
- 1/2 cup sour cream extra for tang
- 1/3 cup melted white chocolate
- 2 tablespoons cocoa powder for a chocolate base
- 1 cup fresh berries for topping
- 1/4 cup caramel sauce for drizzling
Step-by-Step Instructions
Prepare the Crust
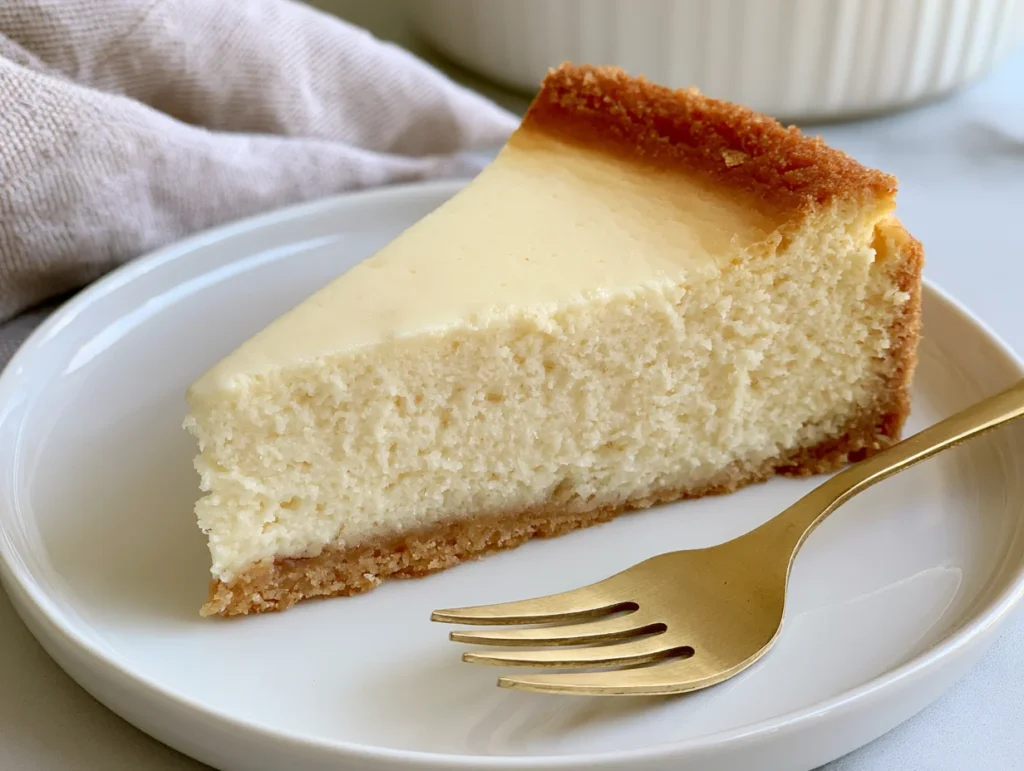
Preheat your oven to 325°F. Combine graham cracker crumbs, melted butter, and sugar in a bowl until the texture resembles wet sand. Press this mixture firmly into the bottom of a 9-inch springform pan, using the back of a measuring cup to compact it evenly. Bake for 8 to 10 minutes until lightly golden and fragrant. Remove and let it cool completely on a wire rack while you prepare the filling. A fully cooled crust prevents sogginess and gives your cheesecake a clean structural base to support the dense filling above it.
Mix the Filling
In a large bowl, beat the softened cream cheese until completely smooth, scraping down the sides to remove any lumps. Add sugar gradually, mixing on low speed to avoid incorporating excess air. Blend in sour cream, vanilla extract, flour, and salt until just combined. Add eggs one at a time, mixing on the lowest speed possible after each addition. Overbeating introduces air bubbles that expand and collapse during baking, which is the leading cause of cracked, sunken cheesecakes. Smooth and dense is the goal here, not fluffy.
Bake Using a Water Bath
Wrap the bottom of your springform pan tightly in two layers of heavy-duty foil to prevent leaks. Place it inside a larger roasting pan and pour hot water halfway up the sides. This water bath regulates oven humidity and temperature, preventing the surface from drying out and cracking. Pour the filling over the cooled crust and smooth the top with a spatula. Bake at 325°F for 55 to 65 minutes, until the edges are set but the center still has a slight, gentle wobble when nudged.
Cool and Chill Properly
Turn off the oven and crack the door open, letting the cheesecake rest inside for one hour. This gradual temperature drop is essential for preventing surface cracks caused by sudden cooling. Afterward, remove it from the oven and let it cool completely at room temperature for another hour. Cover loosely and refrigerate for a minimum of six hours, though overnight chilling delivers the best texture. Patience here is non-negotiable; rushing this stage results in a filling that hasn’t fully set internally.
Cook Time
Total
7 hours 15 minutes (including chilling time)
Prep
25 minutes
Bake
55 to 65 minutes
Servings
This recipe makes approximately 12 generous slices, perfect for portioning at gatherings, dinner parties, or holiday dessert tables where a little goes a long way. The richness of the filling means thinner slices are not only acceptable but expected, especially when served alongside fruit compotes or coffee.
If you are serving a larger crowd, this recipe scales well by doubling the ingredients and baking in a larger springform pan, though bake time will need slight adjustment. For smaller households, leftover slices store beautifully, making this a practical make-ahead dessert rather than a one-time-only treat.
Whether you are slicing it for a birthday, a holiday, or simply because cheesecake cravings demanded it, twelve clean, bakery-style portions is a realistic and satisfying yield from this exact recipe.
Common Mistakes in This Recipe
The most frequent mistake is using cold cream cheese straight from the refrigerator. Cold cream cheese refuses to blend smoothly, leaving lumps that bake into a grainy, uneven texture no amount of mixing can fix later. Another common error is overmixing the batter after adding eggs, which whips excess air into the filling and causes dramatic cracking and sinking once the cheesecake cools and the trapped air escapes.
Skipping the water bath is another major issue bakers run into, often without realizing why their cheesecake turned out dry or cracked on top. Without that buffer of steam and humidity, the oven’s dry heat attacks the surface directly. Lastly, many people slice into the cheesecake too soon, before it has properly chilled, resulting in a filling that oozes rather than holds its structured, clean slice shape.
Solutions to Common Mistakes
Always set your cream cheese, eggs, and sour cream out at least an hour before baking. Room-temperature ingredients blend smoothly and create a lump-free, silky batter without overworking the mixer. When adding eggs, switch to the lowest mixer speed and blend just until incorporated, no longer chasing a fluffy texture.
Commit to the water bath step every time, even though it feels like an extra task. The foil-wrapped pan method protects against leaks while still delivering the humidity benefit. Finally, resist cutting into the cheesecake before it has chilled for a minimum of six hours, ideally overnight. Use a hot, clean knife for each slice to achieve that professional, streak-free presentation bakeries are known for.
Nutritional Information (approx. per serving)
- Calories: 410 kcal
- Protein: 7g
- Carbohydrates: 29g
- Sugar: 22g
- Fat: 30g
- Saturated Fat: 17g
- Calcium: 8% DV
- Sodium: 290mg
Beyond indulgence, cheesecake offers a surprising calcium boost thanks to the cream cheese and sour cream base, contributing meaningfully toward daily bone-health needs. The protein content, while not its main draw, still provides a satisfying density that makes a single slice genuinely filling.
Using full-fat dairy rather than low-fat substitutes actually creates a more stable emulsion, reducing the need for stabilizers or gums often found in store-bought versions. This means fewer processed additives despite the richness.
Moderation transforms this dessert into an occasional treat rather than a dietary concern, especially when paired with fresh fruit toppings that add fiber and antioxidants. Portion control through thinner slicing allows you to enjoy the flavor without the full caloric weight landing in one sitting.
Storage Instructions
Store leftover cheesecake covered tightly in the refrigerator, where it will stay fresh and creamy for up to five days without any noticeable texture change. Always use plastic wrap pressed directly against cut surfaces to prevent the filling from absorbing other refrigerator odors, which cream cheese is particularly prone to picking up.
For longer storage, cheesecake freezes exceptionally well. Wrap individual slices tightly in plastic wrap, then again in foil, and freeze for up to two months without sacrificing texture or flavor. Thaw frozen slices overnight in the refrigerator rather than at room temperature to maintain that signature dense, creamy consistency.
Avoid leaving cheesecake out at room temperature for more than two hours at a time, as the high dairy content makes it susceptible to bacterial growth. Always return leftovers to the refrigerator promptly after serving.
If freezing the entire cheesecake rather than slices, remove the springform ring first and freeze it on a flat tray before wrapping, which preserves its shape and prevents any unwanted denting during storage.
Suggestions
For a brighter flavor profile, top finished cheesecake with fresh berry compote made by simmering raspberries or strawberries with a touch of sugar and lemon juice. The acidity cuts through the richness beautifully and adds visual appeal for entertaining.
If you prefer texture contrast, a thin layer of sour cream topping spread over the cooled cheesecake before chilling adds tang and a glossy, bakery-style finish. This is a classic New York cheesecake technique worth trying at least once.
Chocolate lovers can swap the graham crust for crushed chocolate sandwich cookies, creating a deeper, more decadent base that pairs especially well with caramel drizzle. Consider this variation for fall and winter gatherings.
Finally, serve slices slightly chilled but not ice-cold, allowing the full creaminess of the filling to come through rather than firming up too much in extreme cold.
Seasonal Relevance
Cheesecake holds a unique place across nearly every season, adapting effortlessly through its toppings rather than its core recipe. In summer, fresh berries, peaches, or a light citrus glaze keep it feeling bright and seasonally appropriate for warm-weather gatherings and barbecues.
As autumn arrives, this same base recipe transforms beautifully with a pumpkin spice swirl or salted caramel drizzle, making it a natural addition to Thanksgiving dessert tables alongside pie.
Winter holidays call for richer adaptations, think peppermint bark crumbles, eggnog-spiced filling variations, or a dark chocolate ganache poured over the top for a more festive, indulgent presentation.
Even spring celebrations like Easter or Mother’s Day benefit from this recipe, especially when topped with pastel-colored fruit or a light lemon curd, proving this cheesecake is truly a year-round dessert rather than a single-season specialty.
Final Words
Mastering cheesecake is less about complicated technique and more about respecting the process, room temperature ingredients, gentle mixing, water baths, and patient chilling. Each step exists to protect texture, and skipping even one noticeably affects the final result.
This recipe was designed to remove guesswork, giving home bakers the same reliable outcome professional kitchens achieve through repetition and precision. Once you understand why each step matters, adapting flavors and toppings becomes effortless creative freedom rather than risky experimentation.
Whether this is your first cheesecake or your fiftieth, the fundamentals outlined here will consistently deliver that smooth, dense, crack-free slice everyone associates with high-quality bakery cheesecake.
Bake it once following this method, and it quickly becomes the dessert people specifically request you bring to gatherings, holidays, and celebrations for years to come.
Frequently Asked Questions
Can I make this cheesecake without a springform pan?
A deep cake pan lined with parchment can work, though removing slices cleanly becomes harder. Springform pans are strongly recommended since their removable sides protect the delicate filling structure and allow clean, professional-looking slices without disturbing the crust underneath.
Why did my cheesecake turn out watery in the middle?
This usually means it was underbaked. The center should look slightly set with a gentle wobble, not liquid. Bake a few extra minutes if needed, and always confirm doneness with a slight jiggle test rather than a fully firm appearance.
Can I reduce the sugar without affecting texture?
You can reduce sugar by up to a quarter without major texture changes, since sugar here primarily affects sweetness rather than structure. Reducing further may slightly affect browning and moisture balance, so minor adjustments are safer than drastic cuts.
Best-Ever Cheesecake Recipe
12
servings25
minutes1
hour5
minutes410
kcal1
hour30
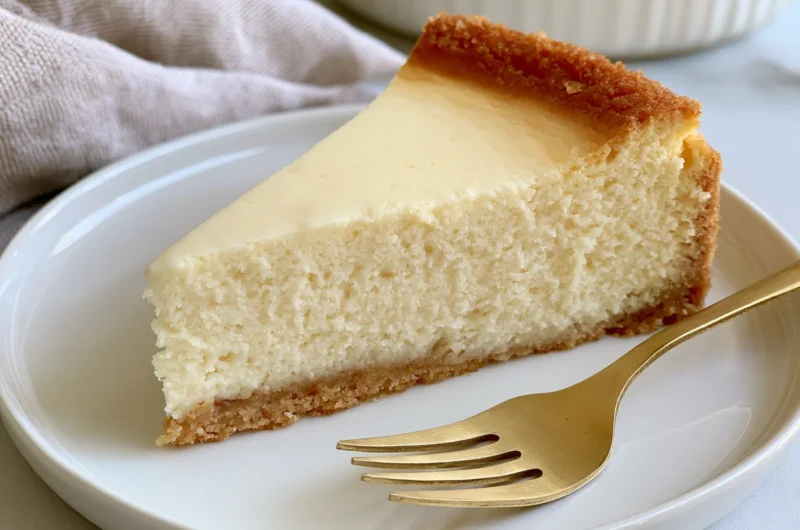
minutesA rich, creamy, crack-free cheesecake with a buttery graham crust and silky cream cheese filling. Baked using a water bath for that flawless, bakery-style texture and clean slice every single time.
Ingredients
Base Ingredients:
2 cups graham cracker crumbs
1/2 cup unsalted butter, melted
1/4 cup granulated sugar
32 oz cream cheese, full-fat, softened
1 cup granulated sugar
1 cup sour cream, room temperature
1 tablespoon vanilla extract
3 large eggs, room temperature
2 tablespoons all-purpose flour
1 pinch fine sea salt
Optional Add-ins:
1 tablespoon lemon zest
1/2 cup sour cream extra for tang
1/3 cup melted white chocolate
2 tablespoons cocoa powder for a chocolate base
1 cup fresh berries for topping
1/4 cup caramel sauce for drizzling
Directions
- Preheat oven to 325°F.
- Mix graham cracker crumbs, melted butter, and sugar; press firmly into a 9-inch springform pan.
- Bake crust for 8 to 10 minutes until golden; cool completely.
- Beat cream cheese until smooth, scraping bowl sides.
- Add sugar gradually on low speed.
- Mix in sour cream, vanilla, flour, and salt until just combined.
- Add eggs one at a time on lowest speed; avoid overbeating.
- Wrap pan base in two layers of heavy-duty foil.
- Place pan in a roasting pan; add hot water halfway up sides.
- Pour filling over cooled crust; smooth the top.
- Bake at 325°F for 55 to 65 minutes until edges are set with a slight center wobble.
- Turn off oven; let cheesecake rest inside with door cracked for 1 hour.
- Cool completely at room temperature for 1 more hour.
- Refrigerate, covered, for at least 6 hours or overnight before slicing.
Recipe Video
Notes
- Use room-temperature cream cheese, eggs, and sour cream for a smooth, lump-free batter.
- Don’t skip the water bath; it prevents cracking and drying.
- Use a hot, clean knife for neat slices.
- Store covered in the fridge up to 5 days, or freeze wrapped slices up to 2 months.
- Avoid leaving cheesecake at room temperature for more than 2 hours.