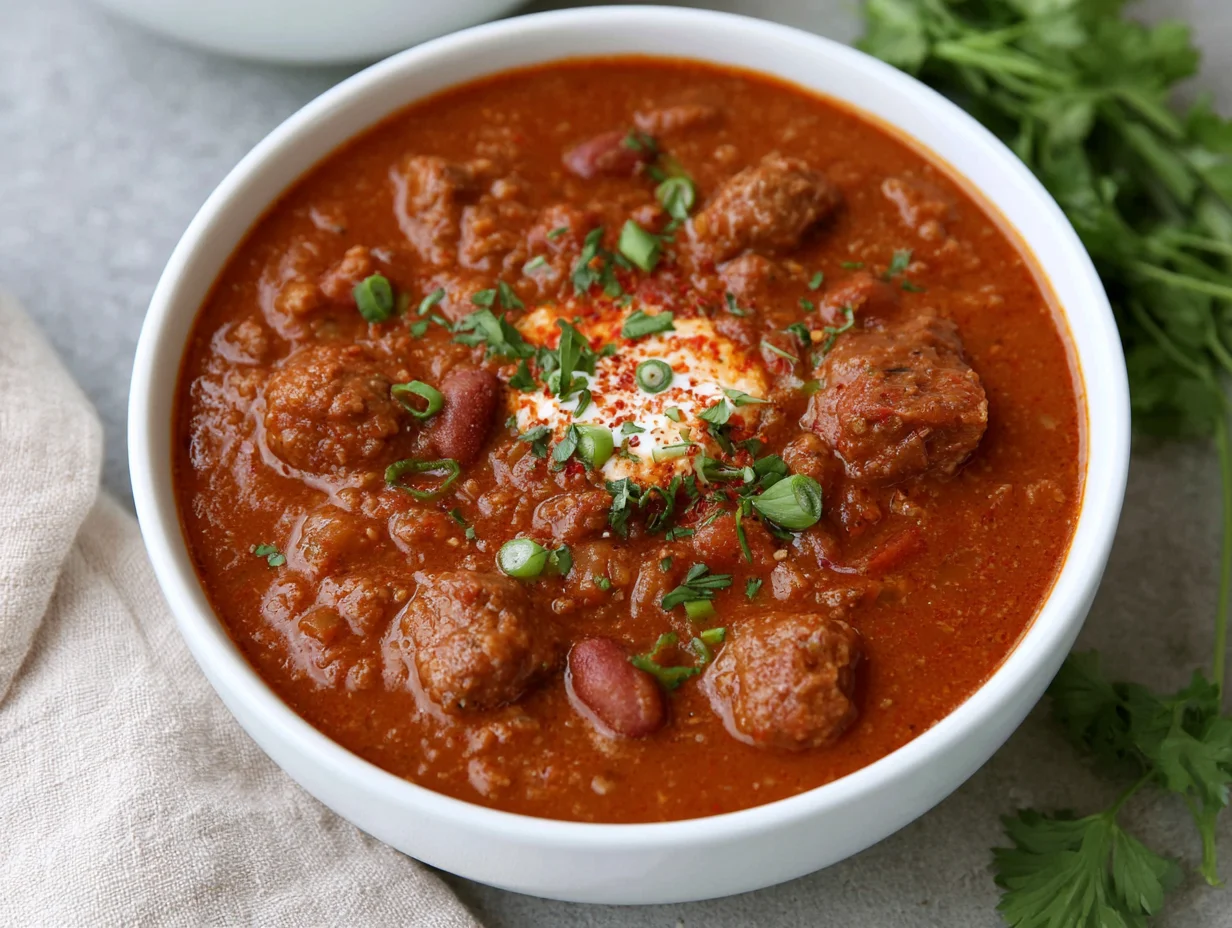
Smoky Texas Chili Recipe
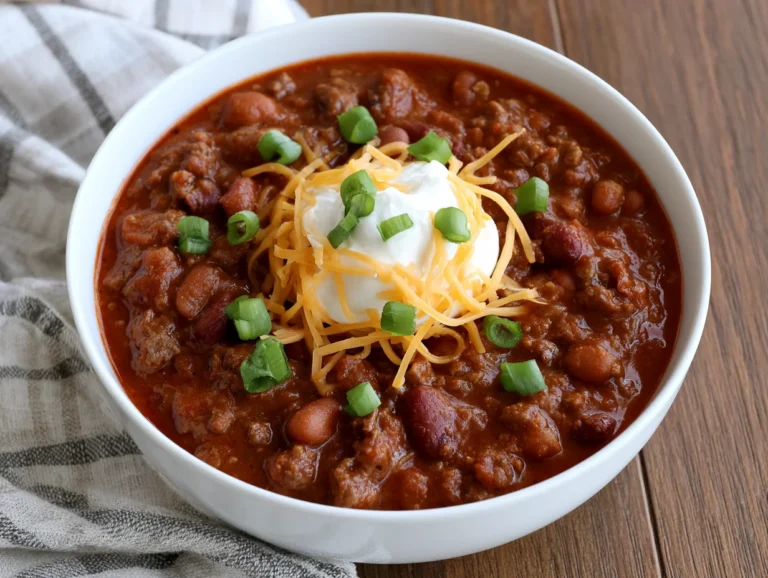
Texas knows a thing or two about chili. Not the kind that comes out of a can, and not the kind with beans, pasta, or tomato paste doing all the heavy lifting. Real Texas chili is something different entirely — a slow-cooked, deeply spiced, smoke-kissed bowl of bold flavor that commands your attention from the first spoonful.
This recipe is built the way Texas pitmaster tradition intended: chunks of beef coaxed into tenderness, a rich base of toasted dried chiles, and a smokiness that lingers long after the bowl is empty. No shortcuts. No fillers. Just a recipe that respects the craft behind one of America’s most iconic dishes.
What makes this version stand out is the balance. The heat is present but controlled, the smoke is deep but not overpowering, and the texture is thick without being heavy. Every ingredient earns its place in this pot, and every step has a purpose that shapes the final result.
Whether you’re cooking for a Sunday crowd, a tailgate, or simply because it’s that kind of day — this Smoky Texas Chili delivers every single time. Make it once, and you’ll understand why Texas never needed beans to prove a point.
Ingredients You’ll Need
Before you even turn on the stove, gather everything on this list — once this chili gets going, you won’t want to stop and search your pantry mid-cook.
One of the things I love about this recipe is that it uses simple pantry ingredients. You probably already have most of them in your kitchen.
Base Ingredients:
- 2.5 lbs beef chuck, cut into 1-inch cubes
- 3 dried ancho chiles, stems and seeds removed
- 2 dried guajillo chiles, stems and seeds removed
- 1 chipotle chile in adobo sauce (plus 1 tsp adobo sauce)
- 1 large yellow onion, finely diced
- 6 garlic cloves, minced
- 2 tbsp tomato paste
- 1 can (14.5 oz) crushed fire-roasted tomatoes
- 2 cups beef broth (low sodium)
- 2 tbsp vegetable oil
- 2 tsp smoked paprika
- 1.5 tsp ground cumin
- 1 tsp dried oregano (preferably Mexican oregano)
- 1 tsp kosher salt (plus more to taste)
- 0.5 tsp black pepper
- 0.5 tsp cayenne pepper
Optional Add-ins:
- 1 bottle (12 oz) dark beer (such as a stout or dark lager)
- 1 tbsp unsweetened dark cocoa powder
- 1 tsp brown sugar
- 0.5 tsp cinnamon
- 1 tbsp masa harina (for thickening)
- Sour cream, shredded cheddar, sliced jalapeños, and lime wedges for serving
Step-by-Step Instructions
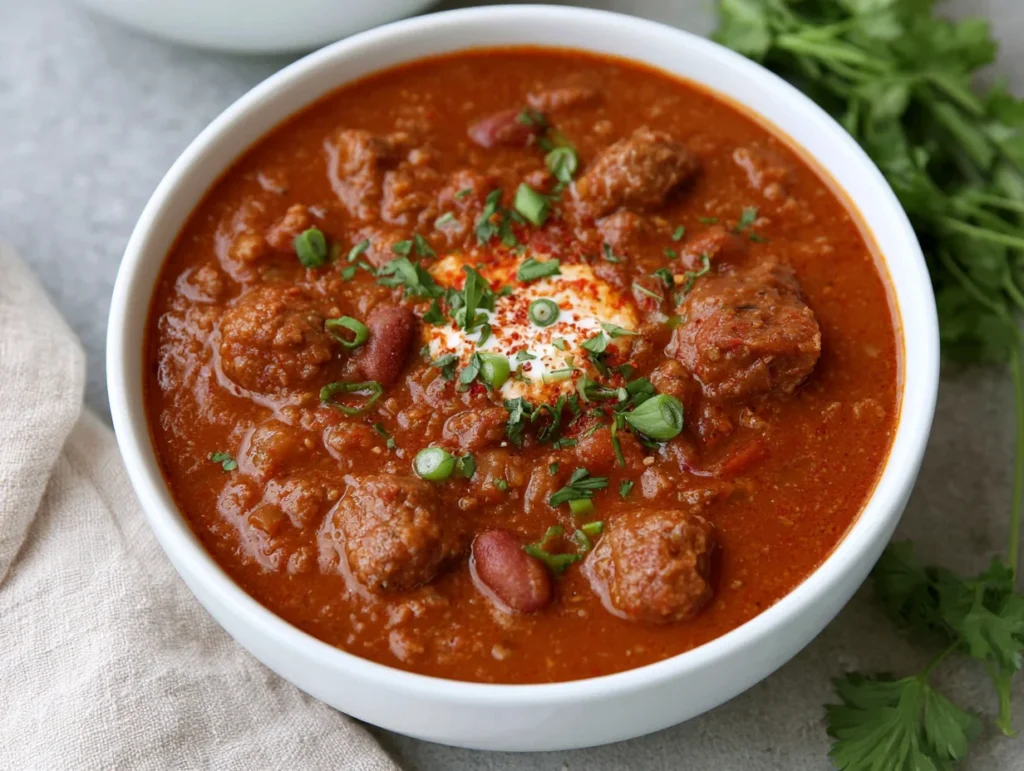
Step 1: Toast and Rehydrate the Dried Chiles
Heat a dry skillet over medium heat. Place the dried ancho and guajillo chiles flat in the skillet and toast them for about 30 to 45 seconds per side, pressing gently, until they become fragrant and slightly puffed. Do not let them burn — bitterness ruins the base. Transfer the toasted chiles to a bowl, cover with hot water, and soak for 15 to 20 minutes until soft. Drain, then blend with 0.5 cup of beef broth until completely smooth. Set aside.
Step 2: Sear the Beef
Pat the beef chuck cubes completely dry with paper towels — moisture is the enemy of a proper sear. Season generously with salt and pepper. Heat the vegetable oil in a heavy-bottomed Dutch oven or cast iron pot over high heat until shimmering. Working in batches, sear the beef on all sides until a deep brown crust forms, about 2 to 3 minutes per side. Do not crowd the pan. Remove each batch and set aside. This step builds the foundational flavor of the entire dish, so take your time.
Step 3: Build the Flavor Base
Reduce the heat to medium. In the same pot, add the diced onion and cook for 5 to 6 minutes until softened and translucent, scraping up any browned bits from the bottom. Add the minced garlic and cook for another 60 seconds. Stir in the tomato paste and cook it for 2 minutes, allowing it to deepen in color. Add the smoked paprika, cumin, oregano, and cayenne. Toast the spices briefly in the oil, stirring constantly, for about 30 seconds to bloom their flavor fully before adding any liquid.
Step 4: Combine and Simmer
Return the seared beef to the pot. Pour in the blended chile purée, fire-roasted tomatoes, beef broth, chipotle chile, and adobo sauce. If using, add the dark beer now. Stir everything together, making sure the beef is fully submerged in the liquid. Bring the pot to a gentle boil, then reduce the heat to low. Cover partially and simmer for 1 hour 45 minutes to 2 hours, stirring occasionally, until the beef is fork-tender and the chili has thickened into a rich, velvety sauce.
Step 5: Adjust and Finish
Once the beef is tender, taste the chili and adjust seasoning. If you want more depth, stir in the cocoa powder and a pinch of brown sugar. For a thicker consistency, whisk masa harina into 2 tablespoons of cold water to form a slurry and stir it into the pot. Simmer uncovered for an additional 10 to 15 minutes to let the chili tighten. Taste one final time and adjust salt and heat. Let the chili rest off the heat for 10 minutes before serving — it gets better as it sits.
Cook Time
Total:
Approximately 2 hours 30 minutes
Prep:
25 to 30 minutes
Bake:
1 hour 45 minutes to 2 hours (stovetop simmer)
Servings
This recipe makes a generous pot of chili that serves a crowd without compromise. The ingredient quantities are calibrated to produce a thick, deeply flavored result — not a watered-down version stretched to feed more people.
Makes approximately 6 hearty servings as a main dish. If you’re serving it as a side alongside cornbread or rice, it can comfortably stretch to 8 portions. Keep that in mind when planning your meal.
Leftovers are one of the great rewards of making this recipe. The chili tastes notably better the next day once the flavors have had time to meld and settle overnight. Store extras and plan for round two.
Common Mistakes in This Recipe
One of the most frequent errors is skipping the searing step or rushing through it by overcrowding the pan. When too much beef goes in at once, the temperature drops and the meat steams instead of searing. You lose that deep, caramelized crust that forms the flavor backbone of the entire dish.
Another common pitfall is burning the dried chiles during the toasting step. They only need 30 to 45 seconds per side over moderate heat. Over-toasting pushes them into bitter territory, and no amount of simmering will fix that once it’s in the pot.
Many cooks also add everything too early and then crank up the heat to rush the simmer. High heat makes the beef tough and causes the liquid to reduce unevenly. Low and slow is not optional here — it’s the only path to properly tender chunks of beef.
Finally, not tasting and adjusting at the end is a mistake that leaves the chili feeling flat. Every batch of dried chiles, every brand of broth, and every cut of beef behaves slightly differently. The final 10 minutes of seasoning adjustment is what takes this from good to genuinely great.
Solutions to Common Mistakes
To avoid a poor sear, work in batches — no more than a single layer of beef at a time. Use a heavy pot like a Dutch oven that holds and distributes heat well. Pat the beef bone dry before it ever touches the oil, and resist the urge to move it around. Let the crust form.
For the chile toasting step, keep the heat at medium and stay right at the stove. As soon as you smell a warm, earthy aroma and the skin looks slightly puffed, flip and pull. Use a timer if needed. Thirty seconds goes fast.
The fix for impatient simmering is simple: commit to low heat and a partial lid from the start. If you’re worried about time, make this chili a day ahead. A longer, gentler cook window almost always produces a better result than trying to speed it along.
For the final seasoning, taste with intention. Ask yourself if it needs acid, heat, salt, or sweetness. A squeeze of lime brightens the whole bowl. A pinch of cayenne adds heat. A small spoon of brown sugar balances bitterness. These micro-adjustments are what separate an amateur pot from a professional one.
Nutritional Information (approx. per serving)
- Calories: 420 kcal
- Protein: 38g
- Total Fat: 22g
- Saturated Fat: 7g
- Carbohydrates: 14g
- Dietary Fiber: 4g
- Sugars: 5g
- Sodium: 610mg
- Iron: 4.2mg (23% DV)
- Vitamin C: 18mg
- Cholesterol: 110mg
Beef chuck is an excellent source of high-quality complete protein and delivers a meaningful amount of iron per serving, which supports red blood cell production and energy metabolism. The dried chiles in this recipe contribute capsaicin, a compound shown in research to support metabolic function and circulation.
The fire-roasted tomatoes provide a solid dose of lycopene, an antioxidant that has been associated with reduced inflammation and cardiovascular protection. Combined with garlic, which contains allicin and other beneficial sulfur compounds, this chili carries a genuinely functional nutritional profile beneath its bold flavor.
Smoked paprika and cumin are not merely flavor contributors — both spices contain polyphenols and antioxidants that support digestive health and have anti-inflammatory properties. When paired with the lean protein content of the beef, this makes for a macro-balanced, satisfying meal.
Prepared without the optional add-ins and served without heavy toppings, a bowl of this chili can fit comfortably within a high-protein, moderate-fat dietary framework. It is naturally gluten-free when made without the dark beer, making it broadly accessible as a nutrient-dense, whole-food meal.
Storage Instructions
This chili stores exceptionally well, which is one of the many reasons it is worth making in a full batch. Allow the chili to cool completely at room temperature for no more than 1 hour before transferring it to storage containers. Placing hot chili directly into sealed containers traps steam and accelerates bacterial growth.
Transfer cooled chili into airtight containers and refrigerate for up to 4 days. The flavor will deepen significantly by day two, making leftovers a genuine highlight. Reheat gently on the stovetop over low to medium heat, adding a splash of beef broth or water to loosen the consistency if needed.
For longer storage, this chili freezes beautifully. Portion it into freezer-safe containers or heavy-duty zip-lock bags in serving-size amounts. Lay the bags flat for efficient freezer storage. Frozen chili keeps well for up to 3 months without any meaningful loss of flavor or texture.
To reheat from frozen, thaw overnight in the refrigerator and warm on the stovetop as usual. Avoid microwaving from frozen, as uneven heating can dry out the beef. Do not refreeze chili that has already been thawed — single-use portions prevent this issue entirely.
Suggestions
This chili is tremendous on its own in a bowl, but it becomes a genuinely versatile foundation when you start building around it. Serve it over a scoop of white rice or alongside a thick wedge of skillet cornbread to make it a full, satisfying meal. The chili soaks into the cornbread in the best possible way.
For a loaded bowl, set up a small topping station with shredded sharp cheddar, sour cream, thinly sliced pickled jalapeños, diced white onion, fresh cilantro, and lime wedges. These additions do not mask the chili — they complement and highlight its depth. Let your guests build their own bowls.
This recipe also works brilliantly as a topping. Spoon it over baked potatoes, use it as the base for chili dogs at a cookout, or pile it onto tortilla chips for a fully loaded version of nachos that leaves everyone reaching for more. It is the kind of recipe that earns its place in regular rotation.
If you are feeding a crowd, this recipe doubles without any issues. Use a larger pot, maintain the low simmer, and extend the cook time by about 20 to 30 minutes to ensure the additional volume of beef reaches proper tenderness. Everything else scales cleanly.
Seasonal Relevance
There is no wrong season for a pot of Texas chili, but it finds its truest purpose in the fall and winter months when the air turns cool and something warm and smoky feels like a necessity rather than a choice. The deep, slow-braised quality of this recipe is exactly what those evenings call for.
During football season, this chili earns its reputation as the definitive game-day dish. It can be made entirely the day before, reheated with ease, and served to a crowd without any last-minute stress. The flavors improve with time, meaning the cook gets to enjoy the party instead of staying anchored to the stove.
In the spring, this recipe transitions naturally into cookout territory. Serve it alongside grilled meats, use it as a topping at a backyard burger bar, or bring it to a potluck where it will consistently outshine more predictable contributions. Its versatility makes it valuable well beyond cold-weather months.
Even in the summer, when dried chiles are at peak availability in markets and the tomato season is generous, making this chili and freezing individual portions is a smart investment. You will thank yourself in November when a rich, homemade chili is already waiting in the freezer.
Final Words
Texas chili is one of those recipes that reveals its depth slowly. The first time you make it, you will be impressed by the layered heat and smoke. The second time, you will start to understand how each ingredient contributes to the whole. By the third time, you will make it entirely your own.
What makes this recipe worth returning to is its honesty. There is no clever shortcut pretending to be a technique. The flavor comes from quality ingredients handled with patience — toasted chiles, properly seared beef, and a simmer long enough to let everything knit together into something genuinely cohesive and satisfying.
Cooking like this is a deliberate act. It slows you down in the best possible way and rewards your attention with something far better than any fast version could produce. That is the spirit behind this recipe and behind Texas chili as a tradition — a dish that earns your respect through the process, not just the result.
Take your time, taste as you go, and do not rush the simmer. This is a bowl worth building properly. And when you serve it to someone who has never had a real Texas chili, pay close attention to their expression after the first spoonful. That reaction is exactly why this recipe exists.
Frequently Asked Questions
Can I make Smoky Texas Chili in a slow cooker or Instant Pot?
Yes. For the slow cooker, complete the searing and sautéing steps on the stovetop first, then transfer everything to the slow cooker and cook on low for 7 to 8 hours. For the Instant Pot, use the sauté function for the early steps, then pressure cook on high for 45 minutes with a natural release.
Is this chili very spicy, and can I adjust the heat level?
The heat level is moderate as written — noticeable but not aggressive. To reduce heat, omit the cayenne and use only half a chipotle chile. To increase it, add a second chipotle or a teaspoon of hot sauce at the end. The dried ancho and guajillo chiles add depth and mild heat, not fire.
What is the best cut of beef to use, and can I substitute ground beef?
Beef chuck is the ideal choice because its fat content and connective tissue break down during the long simmer into rich, tender bites. You can use ground beef as a substitute for a quicker version, but the texture will be notably different. Brown the ground beef thoroughly and reduce the simmer time to about 45 minutes.
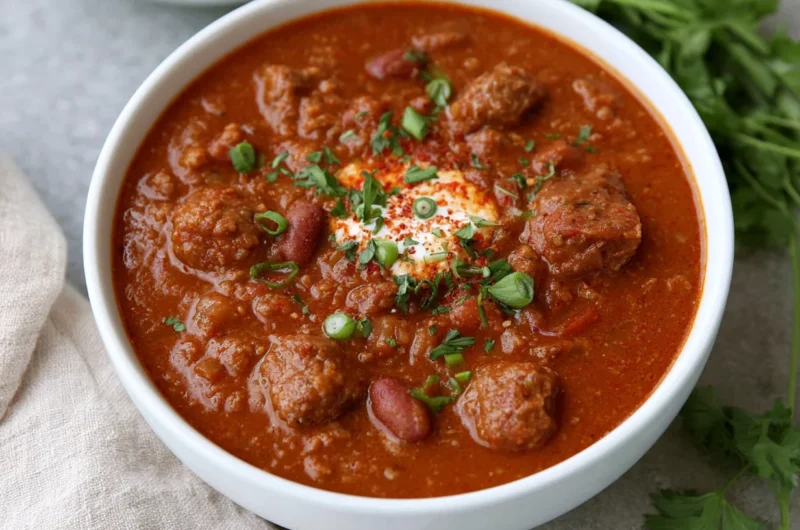
Smoky Texas Chili Recipe
6
servings30
minutes2
hours420
kcal2
hours30
minutesA bold, slow-simmered Texas-style chili built on toasted dried chiles and deeply seared beef chuck — smoky, rich, and satisfying. No beans, no shortcuts. Just authentic flavor that gets better the next day.
Ingredients
Base ingredients
2.5 lbs beef chuck, 1-inch cubes
3 dried ancho chiles, deseeded
2 dried guajillo chiles, deseeded
1 chipotle chile in adobo + 1 tsp sauce
1 large yellow onion, finely diced
6 garlic cloves, minced
2 tbsp tomato paste
1 can (14.5 oz) fire-roasted tomatoes
2 cups beef broth (low sodium)
2 tbsp vegetable oil
2 tsp smoked paprika
1.5 tsp ground cumin
1 tsp dried Mexican oregano
1 tsp kosher salt
0.5 tsp black pepper
0.5 tsp cayenne pepper
Optional add-ins
1 bottle (12 oz) dark beer
1 tbsp unsweetened dark cocoa powder
1 tsp brown sugar
0.5 tsp cinnamon
1 tbsp masa harina
Sour cream, for serving
Shredded cheddar, for serving
Sliced jalapeños, for serving
Lime wedges, for serving
Directions
- Toast ancho and guajillo chiles in a dry skillet for 30–45 seconds per side until fragrant and puffed. Soak in hot water for 15–20 minutes, then blend with 0.5 cup beef broth until smooth. Set aside.
- Pat beef chuck completely dry. Season with salt and pepper. Heat oil in a Dutch oven over high heat and sear the beef in batches, 2–3 minutes per side, until deeply browned. Remove and set aside.
- Reduce heat to medium. In the same pot, sauté onion for 5–6 minutes. Add garlic, cook 1 minute. Stir in tomato paste and cook 2 minutes. Add smoked paprika, cumin, oregano, and cayenne; toast 30 seconds.
- Return beef to pot. Add the chile purée, crushed tomatoes, beef broth, chipotle chile, adobo sauce, and dark beer if using. Bring to a boil, then reduce to low and partially cover.
- Simmer on low for 1 hour 45 minutes to 2 hours, stirring occasionally, until beef is fork-tender and the chili has thickened into a rich, velvety consistency.
- Stir in cocoa powder and brown sugar if using. For a thicker chili, whisk masa harina with 2 tbsp cold water and stir into the pot. Simmer uncovered 10–15 minutes.
- Taste and adjust salt, heat, and acidity. Rest off heat for 10 minutes before serving. Top with sour cream, cheddar, jalapeños, and a lime wedge.
Recipe Video
Notes
- Never skip the searing step — it builds the foundational flavor of the entire dish. Work in batches and keep the pan hot.
- Toast dried chiles carefully. Even 10 extra seconds over high heat turns them bitter. Pull them as soon as they smell warm and earthy.
- Beef chuck is non-negotiable for best results. Its connective tissue breaks down during the long simmer, creating rich, tender bites.
- The chili tastes significantly better the next day. Make it ahead and reheat gently on the stovetop with a splash of broth.
- To make it gluten-free, omit the dark beer and use certified GF beef broth. All other ingredients are naturally gluten-free.
- Leftovers freeze well for up to 3 months. Portion into individual servings before freezing for easy single-meal reheating.
- Add a small square of dark chocolate instead of cocoa powder for an even richer, more complex depth in the final 15 minutes.