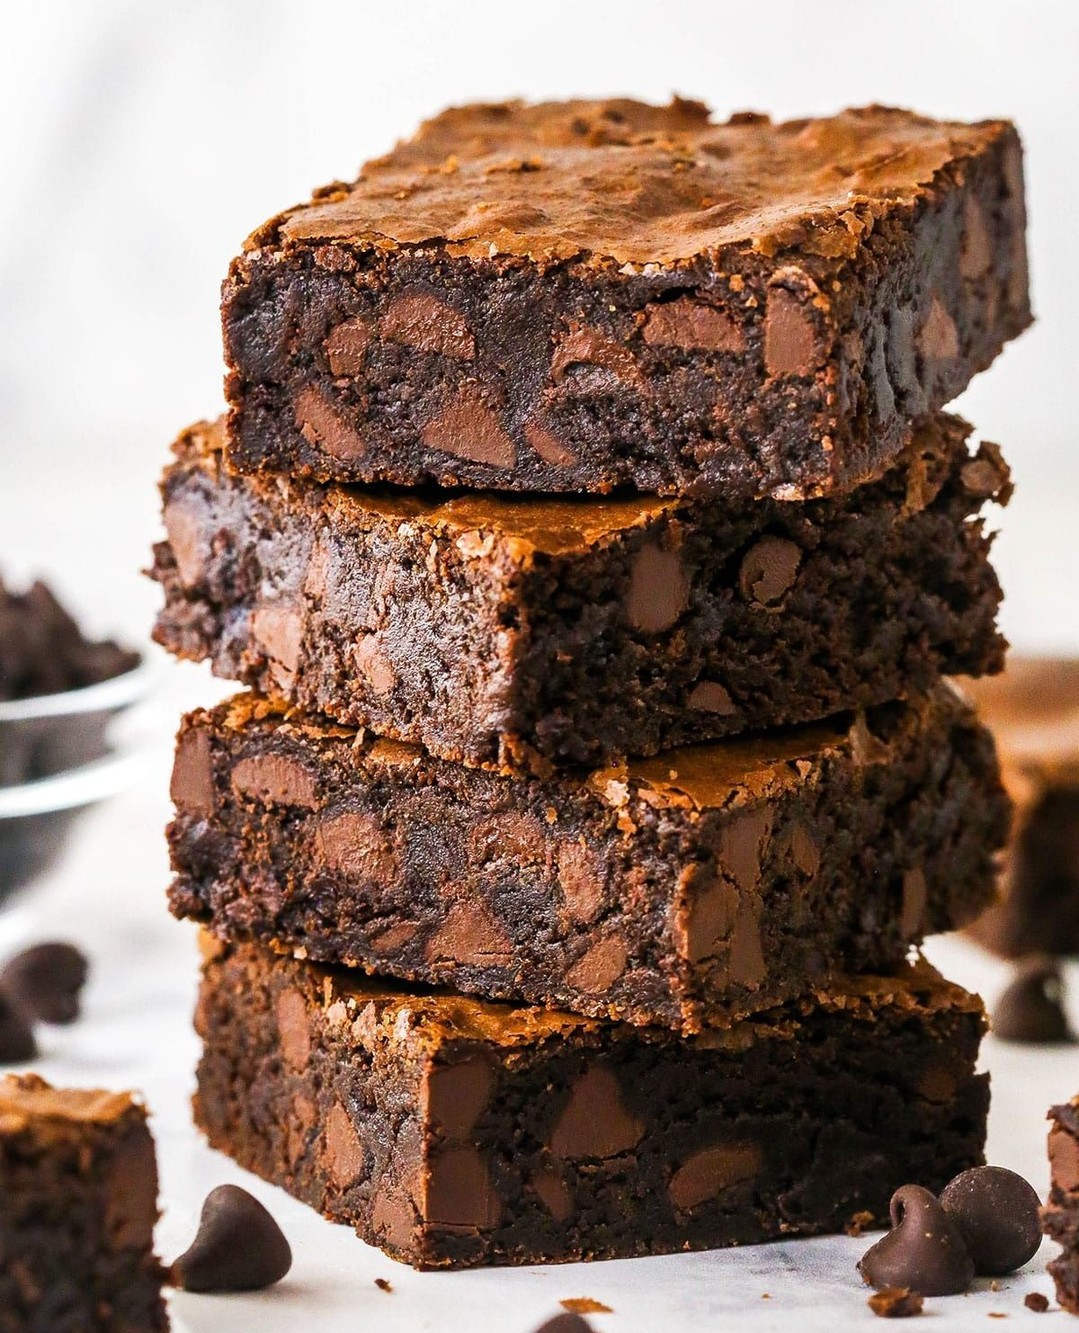
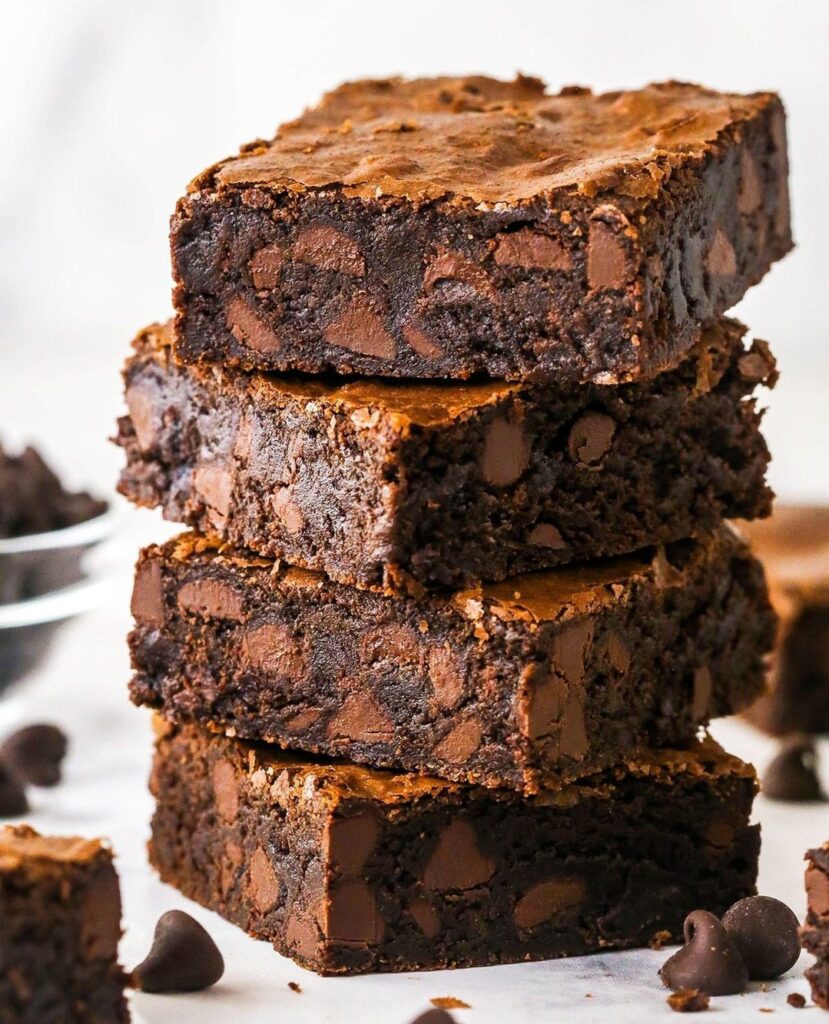
There’s a moment every home baker chases: that first bite where the top cracks like a thin sheet of ice and the inside gives way to something dense, glossy, and almost molten. That’s what a true fudge brownie delivers, and it’s a far cry from the cakey, crumbly versions that dominate too many recipe boxes.
This recipe strips away the guesswork. No stand mixer, no fancy equipment, no obscure ingredients you’ll use once and forget. Just a saucepan, a bowl, and a method that’s been tested until the ratios stopped failing.
What separates a good brownie from a forgettable one isn’t luck. It’s understanding how fat, sugar, and eggs behave together under heat, and respecting that balance instead of rushing it.
By the end of this article, you’ll have a brownie recipe that produces that coveted shiny, crackly top every single time, along with the reasoning behind each step so you can troubleshoot with confidence long after this page is closed.
Ingredients You’ll Need
Great brownies don’t hide behind complicated techniques, they rely on getting a handful of humble ingredients to work in harmony, and that’s exactly what makes this recipe so satisfying to master.
Base Ingredients
- 1 cup unsalted butter, melted
- 2 cups granulated sugar
- 4 large eggs
- 1 teaspoon vanilla extract
- 1 cup all-purpose flour
- 3/4 cup unsweetened cocoa powder
- 1/2 teaspoon salt
- 1/4 teaspoon baking powder
Optional Add-ins
- 1 cup semi-sweet chocolate chips
- 1/2 cup chopped walnuts or pecans
- 2 tablespoons espresso powder
- 1/4 cup caramel sauce, swirled
- 1/2 teaspoon cinnamon
- 1/4 cup white chocolate chunks
Step-by-Step Instructions
Prepare the Pan and Oven
Preheat your oven to 350°F (175°C). Line an 8×8-inch baking pan with parchment paper, leaving an overhang on two sides for easy removal later. Lightly grease the exposed edges of the pan. This small step prevents sticking and makes cutting clean squares far easier once the brownies have cooled. Set the pan aside while you prepare the batter, and resist the urge to skip lining it, since fudge brownies are notoriously sticky.
Melt the Butter and Sugar
In a medium saucepan over low heat, melt the butter completely, then stir in the granulated sugar. Keep the mixture over low heat for about two minutes, stirring constantly, until it looks slightly glossy and grainy. This step is what creates that signature crackly top later, so don’t rush past it. Remove from heat and let the mixture cool for five minutes before moving to the next step, so the eggs don’t scramble on contact.
Whisk in the Eggs and Vanilla
Add the eggs one at a time into the cooled butter-sugar mixture, whisking vigorously after each addition until fully incorporated. Stir in the vanilla extract last. The batter should look smooth, pale, and slightly thickened, almost like a loose caramel. Whisking with intention here, rather than just stirring, is what traps air into the batter and helps form that glossy crust as it bakes. Take your time with this stage.
Fold in the Dry Ingredients
Sift the flour, cocoa powder, salt, and baking powder directly into the wet mixture. Using a spatula, fold gently rather than stir, working just until no dry streaks remain. Overmixing develops gluten and results in a tougher, cakier texture, which is the opposite of what we want. If using chocolate chips or nuts, fold them in now, keeping your movements light and minimal throughout this stage.
Bake to Fudgy Perfection
Pour the batter into your prepared pan, smoothing the top with a spatula. Bake for 28 to 32 minutes, checking at the earliest mark. A toothpick inserted in the center should come out with a few moist crumbs, not wet batter, but not completely clean either. Fudge brownies continue cooking slightly from residual heat once removed, so slight underbaking is intentional and correct here.
Cool and Slice
Let the brownies cool in the pan for at least 20 minutes before lifting them out using the parchment overhang. Transfer to a wire rack and cool completely, ideally for an hour, before slicing. Cutting too early causes the center to collapse and lose its dense structure. Use a sharp knife wiped clean between cuts for neat, bakery-style edges on every square.
Cook Time
Total:
55 minutes
Prep:
20 minutes
Bake:
30 minutes
Servings
This recipe makes approximately 16 generously sized brownie squares when cut into a standard 4×4 grid, though you can easily slice them smaller for a party platter or larger for a more indulgent dessert plate. The 8×8-inch pan keeps the layer thick enough to preserve that essential fudgy center without spreading the batter too thin.
If you’re feeding a crowd, this recipe doubles cleanly into a 9×13-inch pan, though you’ll want to add roughly eight to ten extra minutes of bake time to account for the increased volume. Keep an eye on the toothpick test rather than relying on the clock alone, since oven behavior varies.
For portion control or gifting, consider cutting the squares smaller and wrapping them individually in parchment. Fudge brownies hold their texture well even in miniature form, making them a reliable choice for bake sales, lunchboxes, or holiday cookie tins.
Common Mistakes in This Recipe
The most frequent error is overbaking, driven by the assumption that brownies should look done the way a cake does. Waiting for a completely clean toothpick guarantees a dry, crumbly result rather than the dense, fudgy texture this recipe is built around.
Another common misstep is skipping the butter-sugar heating stage or rushing through it. That two-minute window over low heat is directly responsible for the glossy, crackly top, and shortcuts here almost always produce a flat, matte surface instead.
Overmixing the dry ingredients into the batter is a subtle but damaging mistake. It activates gluten development, which shifts the texture toward cakey rather than dense and chewy, undermining the entire point of a fudge-style brownie.
Finally, many bakers slice brownies while still warm, eager to taste the results. This causes the center to cave in, ruining presentation and losing the structural integrity that a full cooling period allows to set properly.
Solutions to Common Mistakes
To avoid overbaking, start checking your brownies at the earliest time listed and prioritize the moist-crumb toothpick test over visual cues. Remember that carryover cooking continues after the pan leaves the oven, so slight underbaking is the safer target, not a flaw.
For the butter-sugar step, use a kitchen timer and stir constantly over low heat for the full two minutes. Watching for a glossy, slightly grainy texture, rather than guessing by eye, ensures consistent results every time you bake this recipe.
When folding in dry ingredients, switch from a whisk to a spatula and count your folds if needed, stopping the moment streaks disappear. This deliberate restraint preserves the dense crumb structure that defines a proper fudge brownie.
Lastly, set a timer for a full hour of cooling before cutting, even if it tests your patience. Chilling the pan briefly in the refrigerator afterward can also sharpen your slices and improve overall presentation.
Nutritional Information (approx. per serving)
- Calories: 220
- Total Fat: 12g
- Saturated Fat: 7g
- Carbohydrates: 27g
- Sugar: 20g
- Protein: 3g
- Fiber: 1g
- Sodium: 95mg
Despite being a dessert, cocoa powder contributes meaningful antioxidants in the form of flavanols, which have been studied for their role in supporting healthy blood circulation when consumed in moderation as part of a balanced diet.
Eggs bring high-quality protein and essential nutrients like choline, which supports brain and liver function, making this treat slightly more nutritionally complete than many purely sugar-based desserts on the market today.
Using unsalted butter allows better control over sodium content, which matters for anyone monitoring their intake, while still delivering the rich mouthfeel and structure that plant-based substitutes often struggle to replicate.
Enjoyed in reasonable portions, this brownie can fit comfortably into a balanced eating pattern, offering genuine satisfaction that may reduce the likelihood of overeating less satisfying, lower-quality snack alternatives later in the day.
Storage Instructions
Once fully cooled, store brownies in an airtight container at room temperature for up to four days. Layering parchment paper between stacked squares prevents them from sticking together and preserves that clean-cut appearance you worked for.
For longer storage, refrigerate the container for up to ten days. The texture becomes slightly denser and fudgier when chilled, which many people actually prefer, especially during warmer months when a firmer bite feels more refreshing.
Freezing is highly effective for this recipe. Wrap individual squares tightly in plastic wrap, then place them in a freezer-safe bag for up to three months. This method preserves flavor and moisture remarkably well.
To serve frozen brownies, thaw at room temperature for about an hour, or microwave individual pieces for ten to fifteen seconds for a warm, gooey texture reminiscent of freshly baked ones.
Suggestions
Serve these brownies slightly warmed with a scoop of vanilla bean ice cream for a contrast of temperatures and textures that elevates a simple square into a genuine dessert course worth savoring slowly.
A dusting of powdered sugar or a light drizzle of warm chocolate ganache on top instantly upgrades presentation for guests, without requiring any additional baking skill or specialized equipment on your part.
Pair with a strong espresso or a glass of cold milk to balance the richness. The bitterness of coffee in particular complements the deep cocoa notes remarkably well, cutting through the sweetness effectively.
For gifting, stack squares in a decorative tin lined with parchment paper. Brownies travel well and rarely arrive damaged, making them a dependable homemade gift for holidays, housewarmings, or thank-you gestures.
Seasonal Relevance
Fudge brownies genuinely work year-round, but they shine especially during colder months when rich, warming desserts feel most appropriate alongside hot drinks and heavier comfort meals shared around the table.
During the winter holiday season, this recipe adapts beautifully with peppermint bits folded in or a dusting of crushed candy cane on top, making it a festive addition to any dessert spread.
In warmer months, serve chilled straight from the refrigerator alongside fresh berries for a lighter, refreshing take that still satisfies chocolate cravings without feeling heavy in summer heat.
Because the ingredients are pantry staples available year-round, there’s no seasonal barrier to making this recipe whenever the craving strikes, whether it’s a rainy afternoon or a summer barbecue dessert table.
Final Words
This fudge brownie recipe rewards patience and attention to detail far more than complicated technique. Each step exists for a reason, and understanding those reasons turns this into a recipe you’ll actually remember.
What makes this version worth returning to isn’t novelty, it’s reliability. The crackly top, dense center, and rich flavor come through consistently, batch after batch, once you respect the process outlined above.
Whether you’re baking for a special occasion or simply craving something rich on an ordinary evening, this recipe delivers professional-level results without requiring professional-level effort or equipment in your kitchen.
Bookmark this one. Few desserts offer this much payoff for so little active effort, and once you’ve nailed the technique here, you’ll find yourself reaching for this recipe far more often than you’d expect.
Frequently Asked Questions
Can I use oil instead of butter in this brownie recipe?
Yes, but butter contributes more flavor and helps create the crackly top. If substituting, use a neutral oil in equal measure, though expect a slightly less glossy surface and a marginally different flavor profile overall.
Why did my brownies turn out cakey instead of fudgy?
This usually results from overmixing the batter once flour is added, or using too much flour relative to fat. Measure flour by spooning it into the cup rather than scooping directly from the bag.
Can I make these brownies gluten-free?
Yes, substitute the all-purpose flour with a 1:1 gluten-free baking blend. The texture remains largely unchanged since brownies rely less on gluten development than cakes do, making them forgiving for this substitution.