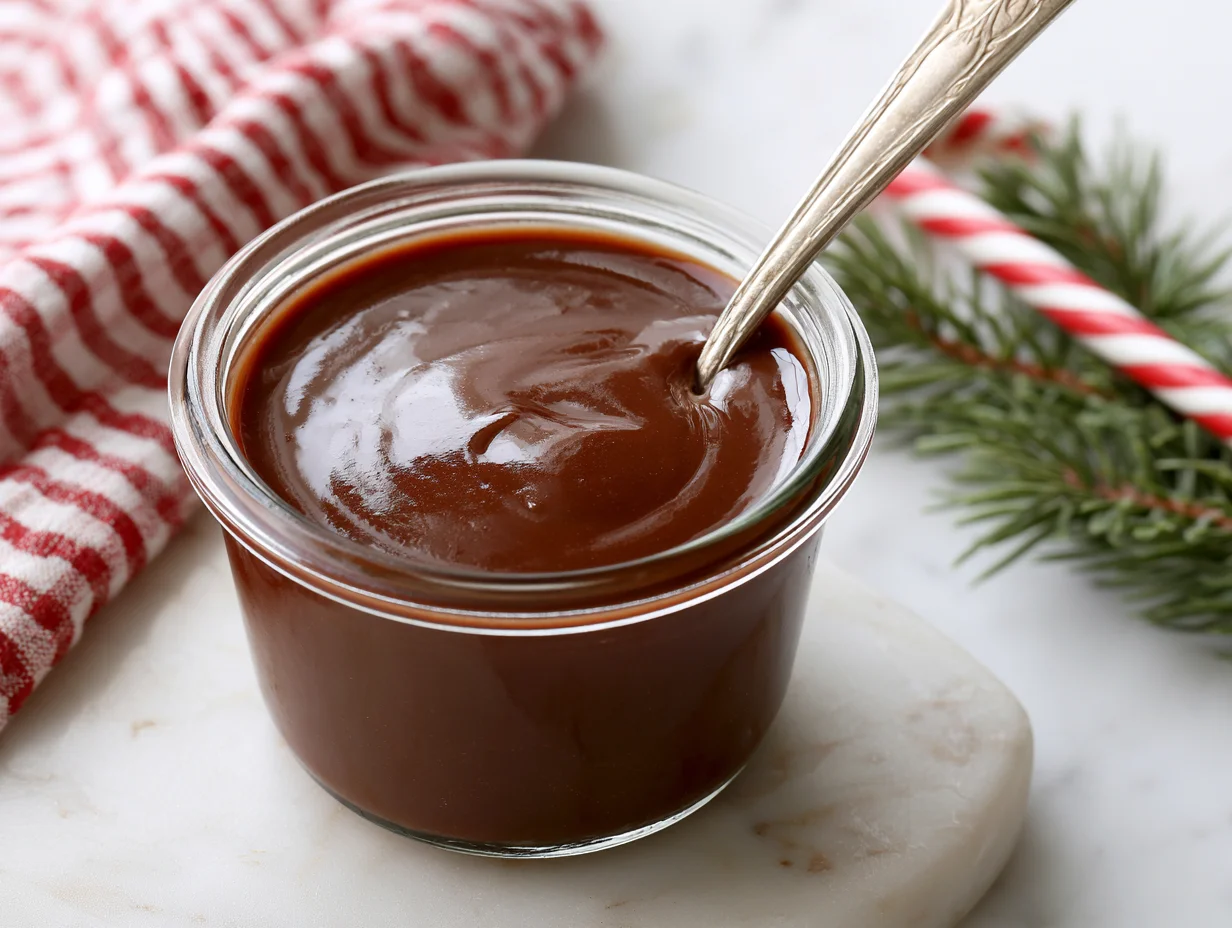
Homemade Chocolate Syrup Recipe
Store-bought chocolate syrup has a problem nobody talks about: it tastes like sugar wearing a chocolate costume. Thin, artificially sweet, and missing the deep cocoa punch that real chocolate delivers. Once you make your own, going back feels like a downgrade you didn’t ask for.
This homemade chocolate syrup recipe fixes that in under fifteen minutes, using ingredients already sitting in your pantry. No corn syrup, no preservatives, no mystery stabilizers. Just cocoa, sugar, water, and a pinch of technique that turns basic staples into something glossy, pourable, and genuinely rich.
What makes this version stand out is control. You decide how dark, how sweet, and how thick it gets. Drizzle it over pancakes, stir it into milk, swirl it through brownie batter, or spoon it straight over vanilla ice cream — it holds its shine and flavor in every application.
I’ve tested this formula enough times to know exactly where people go wrong, and I’m walking you through each detail so your first batch comes out restaurant-quality. Grab a saucepan; this is worth the ten minutes it takes.
Ingredients You’ll Need
A great chocolate syrup doesn’t need a shopping list — it needs the right ratios. This recipe leans on humble ingredients that punch well above their price tag, and chances are your kitchen is already stocked and ready to go.
Base Ingredients
- 1 cup granulated sugar
- 1 cup unsweetened cocoa powder
- 1 cup water
- 1/4 teaspoon fine sea salt
- 1 teaspoon pure vanilla extract
Optional Add-ins
- 1 tablespoon unsalted butter, for extra gloss
- 1/2 teaspoon instant espresso powder, to deepen chocolate flavor
- 1/4 teaspoon ground cinnamon, for warmth
- 1 tablespoon corn syrup, for a thicker, glossier finish
- 1/8 teaspoon cayenne pepper, for a subtle spiced kick
Step-by-Step Instructions
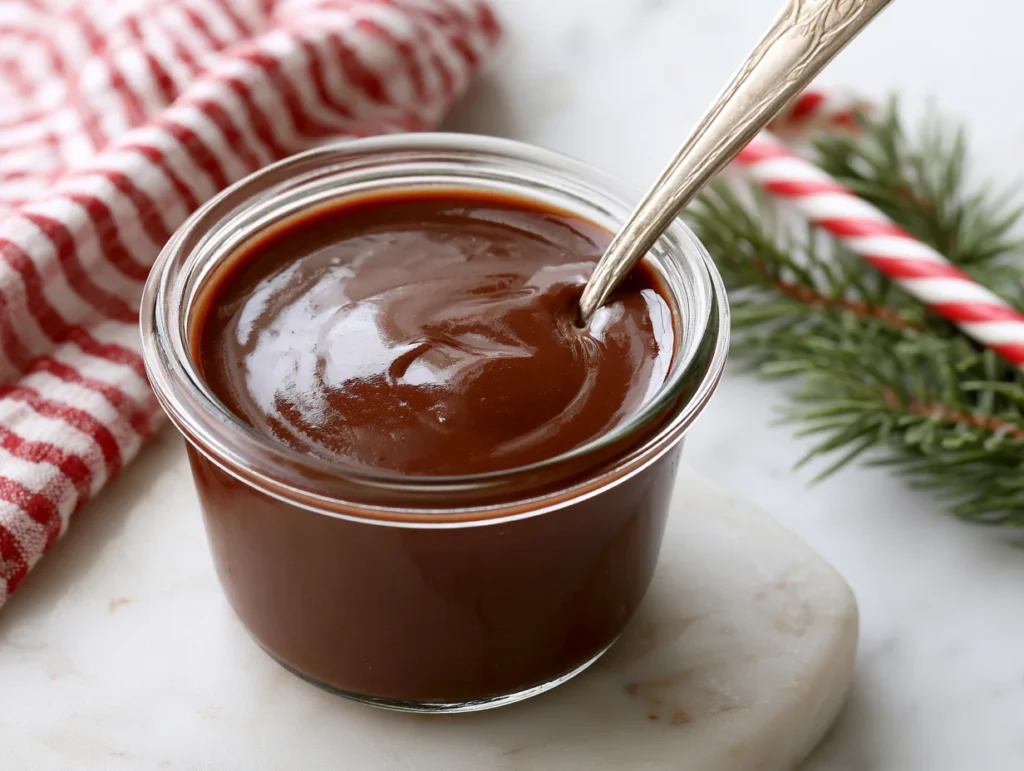
Step 1: Combine the Dry Ingredients
In a medium saucepan, whisk together the sugar, cocoa powder, and salt before adding any liquid. Mixing the dry ingredients first prevents cocoa from clumping once water hits the pan. Use a balloon whisk and work in small circular motions until the mixture looks uniform, sandy, and free of lumps. This thirty-second step is the difference between a silky syrup and a grainy one, so don’t rush past it. Set the saucepan aside and prepare your water.
Step 2: Add Water and Whisk
Pour the water into the saucepan gradually, whisking constantly as you go. Adding it slowly keeps the cocoa from seizing into stubborn clumps that are hard to break down later. Once all the water is incorporated, you should have a loose, dark brown mixture with no dry pockets remaining. Scrape down the sides of the pan with a spatula to catch any cocoa powder clinging to the edges. This ensures every bit of flavor ends up in the final syrup.
Step 3: Cook Over Medium Heat
Place the saucepan over medium heat and bring the mixture to a gentle boil, stirring frequently. Once it starts bubbling, reduce the heat to low and let it simmer for three to four minutes. Stir continuously during this stage to prevent scorching on the bottom of the pan. You’ll notice the syrup thickening slightly and turning glossy as the sugar fully dissolves. Avoid walking away here — chocolate mixtures can burn quickly once they hit a simmer.
Step 4: Finish with Vanilla and Butter
Remove the saucepan from heat and stir in the vanilla extract immediately. If using butter for extra shine, add it now while the syrup is still hot, stirring until fully melted and incorporated. This is also the moment to add espresso powder, cinnamon, or cayenne if you’re customizing the flavor profile. Taste and adjust sweetness with an extra teaspoon of sugar if needed. The syrup will still seem thin at this stage — that’s expected and normal.
Step 5: Cool and Store
Let the syrup cool at room temperature for fifteen to twenty minutes before transferring it to a jar. It will continue thickening significantly as it cools, so resist the urge to cook it longer on the stove. Use a funnel to pour it cleanly into a glass bottle or mason jar. Once fully cooled, seal tightly and refrigerate. The syrup will firm up further overnight, reaching its ideal pourable consistency by morning.
Cook Time
Total: 25 minutes
Prep: 5 minutes
Bake: Not applicable (stovetop recipe)
Servings
This recipe makes approximately 1.5 cups of chocolate syrup, which is enough to comfortably last most households one to two weeks with regular use. A standard serving size is about two tablespoons, meaning this batch yields roughly twelve servings depending on how generously you pour.
Portion size naturally varies by use case. A drizzle over ice cream uses far less than a full glass of chocolate milk, so don’t think of servings as rigid — think of them as a flexible guide. Doubling the recipe is simple and works well if you’re stocking up or gifting jars to friends and family during the holidays.
Because this syrup is concentrated, a little goes a long way. Unlike thin store-bought versions that require heavy pouring to taste anything, this homemade batch delivers bold flavor in smaller amounts, which actually makes each batch stretch further than the cup measurements suggest.
Common Mistakes in This Recipe
The most frequent error is adding water too quickly to the cocoa-sugar mixture, which creates stubborn lumps that never fully smooth out. Rushing this step ruins texture before the syrup even hits the heat.
Overcooking is another common pitfall. Many home cooks let the syrup simmer far longer than necessary, expecting it to thicken on the stove. This leads to a syrup that turns hard, sticky, or even crystallized once it cools completely in the refrigerator.
Using natural cocoa powder interchangeably with Dutch-processed cocoa without adjusting sweetness is a subtle mistake. Natural cocoa is more acidic and bitter, which can throw off the balance the recipe is calibrated for.
Skipping the resting period before bottling is also surprisingly common. Pouring hot syrup directly into a sealed jar traps steam, leading to condensation that waters down the consistency and shortens shelf life considerably.
Solutions to Common Mistakes
To avoid lumps, always whisk dry ingredients together first, then add water gradually in a slow stream while whisking continuously. This single adjustment eliminates clumping almost entirely and saves significant frustration.
For overcooking, set a timer for three to four minutes once the syrup reaches a simmer, and remember it will thicken considerably as it cools. Trust the cooling process rather than the stovetop.
If using natural cocoa powder, taste the syrup before removing it from heat and add an extra tablespoon of sugar if it tastes too sharp or bitter. Small adjustments here make a noticeable difference.
Always let the syrup cool uncovered at room temperature for fifteen to twenty minutes before sealing it in a jar. This prevents trapped steam and keeps the texture consistent throughout storage.
Nutritional Information (approx. per serving)
- Calories: 45 kcal
- Total Fat: 0.5 g
- Sodium: 25 mg
- Total Carbohydrates: 11 g
- Sugars: 9 g
- Protein: 0.5 g
- Iron: 4% DV
Cocoa powder, the backbone of this syrup, is naturally rich in flavonoids and antioxidants that support cardiovascular health when consumed in moderation. These compounds have been studied for their role in supporting healthy blood flow and reducing oxidative stress in the body.
Because this recipe skips corn syrup and artificial preservatives found in commercial versions, you control exactly how much sugar enters your body. That transparency matters for anyone managing sugar intake or cooking for children.
Cocoa also contains trace minerals like iron and magnesium, nutrients that are often overlooked in dessert-category foods. While chocolate syrup isn’t a health food, it offers more nutritional substance than its store-bought counterpart.
Portion control becomes easier with a concentrated, flavorful syrup like this one, since less is needed to achieve a satisfying chocolate taste compared to thinner, sugar-heavy alternatives.
Storage Instructions
Once fully cooled, transfer the syrup to an airtight glass jar or bottle with a tight-fitting lid. Glass is preferable to plastic, as it won’t absorb or transfer odors over time and keeps the chocolate flavor clean.
Store the syrup in the refrigerator, where it will stay fresh for up to three weeks. Always use a clean, dry spoon when scooping or pouring to avoid introducing bacteria that can shorten its shelf life.
If the syrup thickens too much after refrigeration, simply let the jar sit at room temperature for ten minutes, or warm it briefly in the microwave in five-second bursts, stirring between each interval.
Freezing is also an option for long-term storage. Pour cooled syrup into ice cube trays, freeze until solid, then transfer the cubes to a freezer bag for up to three months, thawing individual portions as needed.
Suggestions
This syrup shines beyond the obvious milk-and-ice-cream pairing. Try swirling it into plain yogurt for a quick chocolate parfait, or layering it between pancake stacks for a dessert-style breakfast that feels indulgent without much effort.
For coffee lovers, a spoonful stirred into hot or iced coffee creates an instant homemade mocha, free from the syrupy artificial flavors found in many café versions sold in stores.
Bakers can repurpose this syrup as a brownie or cake glaze, drizzled while the syrup is still slightly warm for a glossy, professional finish that rivals bakery-quality desserts without extra equipment.
It also makes a thoughtful homemade gift. Poured into a small glass bottle with a ribbon, it feels personal and elevated, especially during the holiday season when homemade pantry gifts are genuinely appreciated.
Seasonal Relevance
Chocolate syrup earns its keep year-round, but it finds particular purpose during colder months, when hot chocolate, warm desserts, and cozy breakfasts dominate kitchen routines across most households.
During the holiday season, this syrup becomes a practical homemade gift, packaged in mason jars alongside ribbon and a handwritten tag. It costs little to make but feels thoughtful and personal to receive.
In summer, the same syrup transforms into a topping for milkshakes, iced coffee, and ice cream sundaes, proving its versatility isn’t locked to one season or one type of weather.
Back-to-school season also sees a spike in demand, as parents look for quick, additive-free ways to make milk and breakfast more appealing to kids without relying on heavily processed alternatives.
Final Words
Making chocolate syrup from scratch isn’t complicated, but it does reward attention to detail. The five ingredients here, handled with a little patience, outperform anything sold in a plastic squeeze bottle.
What I appreciate most about this recipe is its flexibility. Once you understand the base ratio, you can scale it, spice it, or adjust sweetness to match exactly what your household prefers, batch after batch.
This is the kind of recipe worth keeping on hand permanently. It’s fast enough for a weeknight craving and reliable enough to gift during the holidays without a second thought.
If you try this recipe, I’d genuinely love to know how it turns out in your kitchen. Small tweaks like espresso powder or cinnamon can make it entirely your own.
Frequently Asked Questions
Can I use Dutch-processed cocoa instead of natural cocoa powder?
Yes, Dutch-processed cocoa works well and produces a smoother, less acidic flavor. You may need slightly less sugar since Dutch-process cocoa is milder and less bitter than natural cocoa powder overall.
Why did my syrup turn out too thick after refrigeration?
This usually happens from overcooking on the stove. Warm the jar at room temperature for ten minutes, or microwave briefly in short bursts, stirring until it loosens back to pourable consistency.
Is this chocolate syrup suitable for vegan diets?
Yes, as long as you skip the optional butter or replace it with a plant-based alternative. The base recipe uses only cocoa, sugar, water, salt, and vanilla, making it naturally vegan-friendly.

Homemade Chocolate Syrup Recipe
12
servings5
minutes20
minutes45
kcal25
minutesRich, glossy chocolate syrup made from pantry staples in under fifteen minutes. No corn syrup, no preservatives — just real cocoa flavor you can pour over ice cream, stir into milk, or drizzle on pancakes.
Ingredients
Base Ingredients:
1 cup granulated sugar
1 cup unsweetened cocoa powder
1 cup water
1/4 teaspoon fine sea salt
1 teaspoon pure vanilla extract
Optional Add-ins:
1 tablespoon unsalted butter, for extra gloss
1/2 teaspoon instant espresso powder, to deepen chocolate flavor
1/4 teaspoon ground cinnamon, for warmth
1 tablespoon corn syrup, for a thicker, glossier finish
1/8 teaspoon cayenne pepper, for a subtle spiced kick
Directions
- Whisk sugar, cocoa powder, and salt together in a saucepan before adding any liquid.
- Pour water in gradually, whisking constantly to prevent clumping.
- Scrape down the sides of the pan to incorporate all the cocoa.
- Bring the mixture to a gentle boil over medium heat, stirring frequently.
- Reduce heat to low and simmer for 3 to 4 minutes, stirring continuously.
- Remove from heat and stir in vanilla extract immediately.
- Add butter, espresso powder, cinnamon, or cayenne now, if using.
- Taste and adjust sweetness with extra sugar if needed.
- Let the syrup cool at room temperature for 15 to 20 minutes.
- Pour into a glass jar or bottle using a funnel.
- Seal tightly and refrigerate; syrup thickens further overnight.
Recipe Video
Notes
- Whisk dry ingredients first to avoid lumps once water is added.
- Don’t overcook — the syrup thickens significantly as it cools, not on the stove.
- Natural cocoa powder is more bitter than Dutch-processed; add extra sugar to taste if needed.
- Always cool the syrup uncovered before sealing to prevent trapped steam.
- Store in the refrigerator for up to 3 weeks in an airtight glass jar.
- Freeze in ice cube trays for up to 3 months for longer storage.
- Warm gently for a few seconds if syrup becomes too thick to pour.