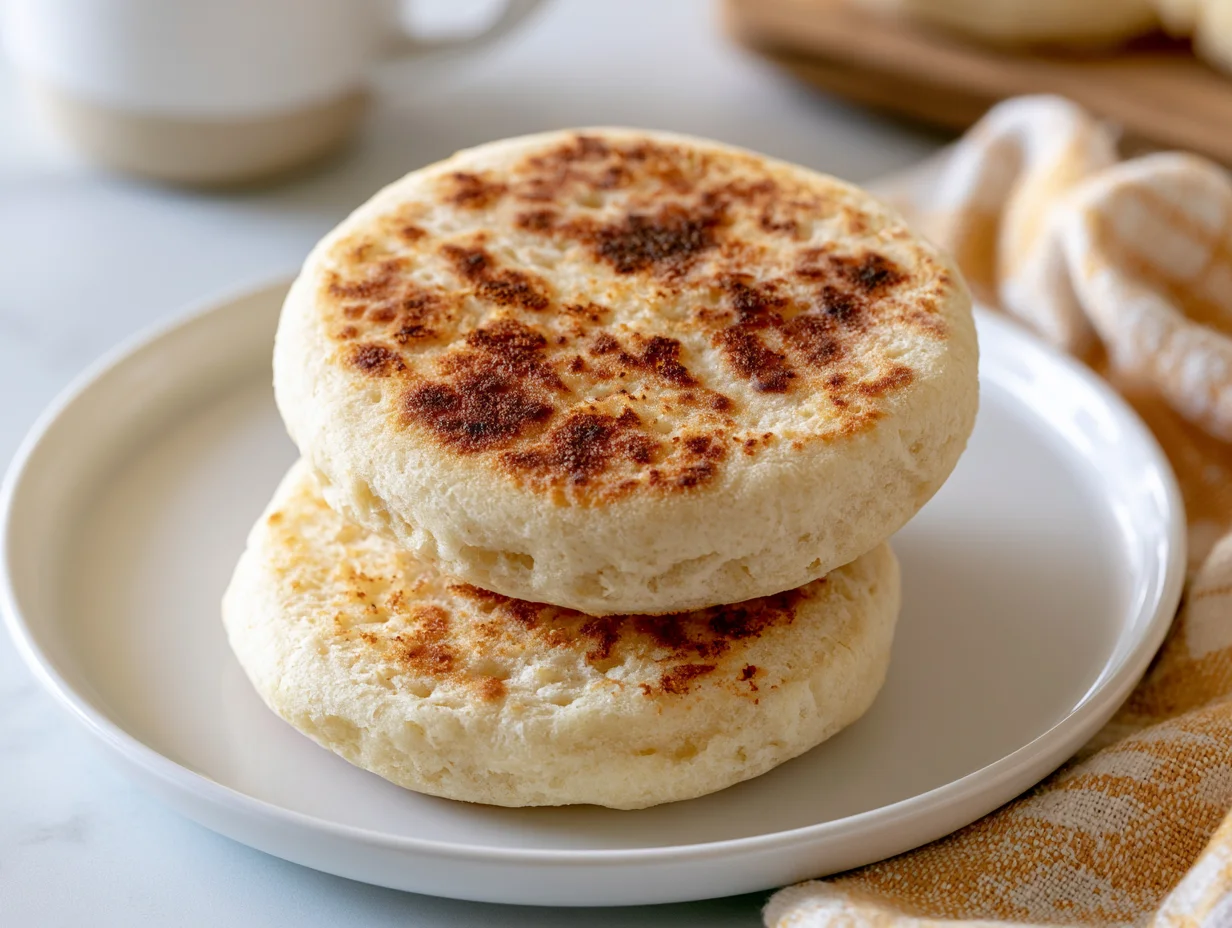
Homemade English Muffin Recipe
Store-bought English muffins promise those signature nooks and crannies but rarely deliver beyond a thin, uniform texture that toasts unevenly and falls apart under too much butter. Making them from scratch changes that equation entirely, giving you a muffin with real structure, a tender chew, and craters deep enough to actually hold melted butter.
This recipe uses a griddle instead of an oven, which surprises most home bakers the first time they try it. Cooking English muffins on the stovetop creates that distinctive golden, slightly craggy exterior while keeping the interior soft and airy, exactly how they’re meant to be.
The process is more approachable than most yeasted bread recipes, requiring no shaping skills beyond a simple ring mold and a steady hand. Even first-time bread bakers tend to find success here, which is part of why this recipe earns repeat visits to the kitchen.
Once you’ve tasted a fresh, warm English muffin split open with a fork to preserve those crannies, the packaged version becomes difficult to justify. This is a weekend baking project worth the modest effort it asks for.
Ingredients You’ll Need
There’s a quiet satisfaction in pulling a tray of golden, griddle-marked muffins off the stove, knowing exactly what went into every single one.
One of the things I love about this recipe is that it uses simple pantry ingredients. You probably already have most of them in your kitchen.
Base Ingredients
- 3 ½ cups all-purpose flour
- 1 cup milk, warmed
- ½ cup water, warmed
- 2 ¼ teaspoons active dry yeast (1 packet)
- 2 tablespoons unsalted butter, melted
- 1 tablespoon granulated sugar
- 1 ¼ teaspoons salt
- ¼ cup cornmeal, for dusting
Optional Add-ins
- 1 tablespoon honey, in place of sugar
- ½ cup whole wheat flour, substituted for part of the all-purpose flour
- 1 teaspoon ground cinnamon, for a subtly spiced version
- ¼ cup raisins, folded into the dough
- 1 tablespoon dried chives, for a savory variation
- 1 egg, for a slightly richer crumb
Step-by-Step Instructions

Step 1: Activate the Yeast
Combine the warmed milk and water in a bowl, making sure the temperature sits between 105°F and 110°F, warm but not hot enough to kill the yeast. Sprinkle the active dry yeast and sugar over the liquid, then let it sit undisturbed for five to ten minutes. The mixture should turn foamy and fragrant, confirming the yeast is active and ready to use.
Step 2: Mix the Dough
In a large bowl, combine the flour and salt. Pour in the activated yeast mixture along with the melted butter. Mix with a wooden spoon or stand mixer fitted with a dough hook until a shaggy dough forms. Knead for about eight minutes, either by hand or machine, until the dough turns smooth, elastic, and slightly tacky but not sticky to the touch.
Step 3: First Rise
Shape the dough into a ball and place it in a lightly oiled bowl, turning once to coat. Cover with a damp towel or plastic wrap and let it rise in a warm spot for about one hour, or until doubled in size. This first rise develops flavor and structure, so resist the temptation to rush it along with extra heat.
Step 4: Shape the Muffins
Punch down the risen dough gently and turn it out onto a lightly floured surface. Pat it into a rectangle about ¾ inch thick. Using a 3-inch round cutter or ring mold, cut out muffin rounds. Dust both sides generously with cornmeal, which prevents sticking and adds that classic English muffin exterior texture during cooking.
Step 5: Second Rise
Place the shaped muffins on a baking sheet lined with parchment and dusted with additional cornmeal, spacing them apart. Cover loosely with a towel and let rise for 30 to 45 minutes, until visibly puffy. This second rise is essential for an airy interior, so don’t skip ahead to cooking before they’ve had enough time.
Step 6: Cook on the Griddle
Heat a griddle or large skillet over medium-low heat, no oil needed if nonstick. Cook the muffins in batches for six to seven minutes per side, until deeply golden and cooked through. Lower the heat if browning too quickly, since the interior needs time to cook fully without the outside burning first.
Cook Time
Total:
2 hours 30 minutes (includes rising time)
Prep:
20 minutes
Bake:
13 minutes per batch (stovetop griddle)
Servings
This recipe makes approximately 10 to 12 English muffins, depending on the size of your cutter and how thick you pat out the dough before shaping each round.
A single muffin makes a satisfying breakfast on its own when split and toasted, though most people enjoy two at a time alongside eggs or a simple spread of butter and jam for a more complete meal.
These muffins also work wonderfully for sandwiches, making the batch stretch further across the week when used for breakfast sandwiches, lunch bases, or even mini pizza rounds for a quick snack.
Common Mistakes in This Recipe
The most common mistake is using liquid that’s too hot when activating the yeast. Anything above 115°F can kill the yeast outright, leaving you with dense, flat muffins that never properly rise during either proofing stage.
Another frequent error is skipping or rushing the second rise. Cooking the muffins immediately after shaping, without allowing them to puff up again, results in a tight, bread-like crumb instead of the light, airy texture that defines a proper English muffin.
Many home bakers also cook over heat that’s too high, assuming faster cooking means better results. This browns the exterior too quickly while leaving the center raw and gummy, an especially disappointing outcome after all the time invested in the rising stages.
Skipping the cornmeal dusting is another overlooked detail. Without it, muffins stick to the pan and lose that classic textured exterior, while also making them noticeably harder to flip cleanly during cooking.
Solutions to Common Mistakes
Always check liquid temperature with a thermometer before adding yeast, aiming for a range between 105°F and 110°F. If you don’t have a thermometer, the liquid should feel warm to the touch, similar to a baby’s bottle, never hot.
Give the second rise its full 30 to 45 minutes, looking for visible puffiness as your cue rather than relying solely on the clock. Warmer kitchens may need less time, while cooler environments may require slightly more patience.
Keep the griddle at a steady medium-low heat throughout cooking, adjusting as needed if muffins brown too quickly. A longer, gentler cook ensures the interior sets fully before the exterior turns too dark.
Don’t skip the cornmeal. Dust both the muffin rounds and the baking sheet generously, which prevents sticking, adds authentic texture, and makes flipping during the griddle stage significantly easier and cleaner.
Nutritional Information (approx. per serving)
- Calories: 165
- Protein: 5g
- Carbohydrates: 31g
- Fat: 2g
- Saturated Fat: 1g
- Fiber: 1g
- Sodium: 290mg
- Sugar: 2g
Homemade English muffins offer a meaningful advantage over store-bought versions by avoiding preservatives, stabilizers, and added sugars commonly found in packaged bread products, giving you full control over exactly what goes into each bite.
The moderate carbohydrate content provides accessible, quick energy, making these muffins a practical choice for active mornings when sustained fuel matters more than a heavier, slower-digesting breakfast option.
Using milk in the dough adds a small but meaningful boost of calcium and protein compared to water-based bread recipes, contributing to a slightly more nutrient-dense final product without any extra effort.
Because this recipe contains no added fats beyond a small amount of butter, these muffins remain relatively low in saturated fat, making them a reasonable base for healthier topping choices like nut butter or avocado.
Storage Instructions
Allow the muffins to cool completely on a wire rack before storing, as trapping residual heat in a container leads to condensation and a soggy, less appealing texture within just a few hours.
Store cooled muffins in an airtight container or zip-top bag at room temperature for up to three days. Avoid refrigerating them directly, as cold temperatures tend to dry out bread products faster than room temperature storage.
For longer storage, these muffins freeze exceptionally well. Wrap each one individually in plastic wrap, then place them together in a freezer bag for up to two months, pulling out single portions as needed.
To serve from frozen, simply pop a muffin directly into the toaster, splitting it first if it’s not pre-split. This restores the texture almost entirely, making frozen muffins nearly indistinguishable from a fresh batch.
Suggestions
Split muffins with a fork rather than a knife to preserve those signature nooks and crannies. This small detail allows butter and jam to soak into every crevice instead of sliding across a flat, knife-cut surface.
These muffins make an excellent base for eggs Benedict, holding up well under poached eggs and hollandaise sauce thanks to their sturdy yet airy structure, far better than most store-bought alternatives manage.
For a savory breakfast sandwich, layer a toasted muffin with a fried egg, cheese, and a slice of ham or sausage. The texture holds together far better than standard sandwich bread under a hearty filling.
Try them lightly toasted with a smear of honey butter, or topped simply with good salted butter and a drizzle of local honey for a quick, satisfying breakfast that needs nothing else.
Seasonal Relevance
English muffins work well in any season, but they take on a special role during the colder months, when a warm, freshly toasted muffin alongside hot coffee feels especially comforting on a chilly morning.
During spring and summer, these muffins shine as a base for lighter breakfasts, paired with fresh fruit, yogurt, or a simple avocado spread that complements warmer weather without feeling heavy or overly indulgent.
The ingredients required here remain available year-round, meaning there’s no real seasonal restriction on making this recipe whenever the craving for fresh, homemade bread strikes, regardless of the calendar.
Around the holidays, these muffins also work beautifully as a homemade gift, packaged in a simple box or bag alongside a jar of jam, offering something genuinely thoughtful and made from scratch.
Final Words
Homemade English muffins reward the baker who’s willing to slow down, and that’s really the heart of this recipe. Two rises and a gentle griddle cook produce something far superior to anything found in a plastic sleeve at the grocery store.
What makes this recipe worth repeating is the contrast it reveals. Once you’ve tasted the difference between a freshly made muffin and a packaged one, it becomes clear how much flavor and texture commercial versions typically sacrifice for shelf life.
This is a forgiving recipe for beginner bread bakers, requiring no special equipment beyond a basic ring mold and a skillet most kitchens already have. The technique builds confidence for future bread projects down the line.
Make a batch on a slow weekend morning, and you’ll likely find yourself returning to this recipe regularly, both for the process itself and for muffins that genuinely outperform anything store-bought.
Frequently Asked Questions
Can I bake these muffins in the oven instead of using a griddle? Yes, though the texture differs slightly. Bake at 350°F for 15 to 18 minutes, flipping halfway through. The exterior won’t develop the same griddle-marked crust, but the interior crumb remains similarly soft and airy.
Why didn’t my English muffins develop noticeable nooks and crannies? This usually happens when the dough is overworked or the rises are rushed. Handle the dough gently after the first rise, and ensure both proofing stages run their full time for the best open, airy texture.
Can I make the dough ahead and cook the muffins the next day? Yes, after shaping, refrigerate the muffins overnight on a covered, cornmeal-dusted tray instead of doing a room-temperature second rise. Let them sit at room temperature for 20 minutes before cooking the next morning.
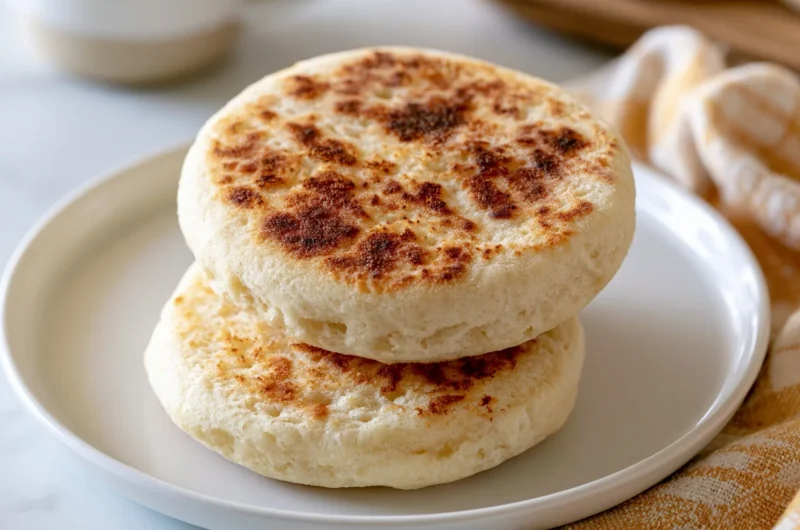
Homemade English Muffin Recipe
10
servings20
minutes13
minutes165
kcal33
minutesSoft, airy English muffins with real nooks and crannies, cooked on a stovetop griddle instead of the oven. A simple yeasted dough that delivers far better texture and flavor than store-bought versions.
Ingredients
3 ½ cups all-purpose flour
1 cup milk, warmed
½ cup water, warmed
2 ¼ teaspoons active dry yeast (1 packet)
2 tablespoons unsalted butter, melted
1 tablespoon granulated sugar
1 ¼ teaspoons salt
¼ cup cornmeal, for dusting
Optional add-ins:
honey (in place of sugar)
whole wheat flour
ground cinnamon
raisins
dried chives
1 egg
Directions
- Combine warmed milk and water (105-110°F); sprinkle in yeast and sugar, let sit 5-10 minutes until foamy.
- Mix flour and salt in a large bowl; add yeast mixture and melted butter, then knead about 8 minutes until smooth and elastic.
- Place dough in an oiled bowl, cover, and let rise for 1 hour or until doubled.
- Punch down dough, pat into a ¾-inch thick rectangle, and cut into rounds using a 3-inch cutter.
- Dust rounds generously with cornmeal on both sides.
- Place on a cornmeal-dusted tray, cover, and let rise again for 30-45 minutes until puffy.
- Cook on a medium-low griddle for 6-7 minutes per side until deeply golden and cooked through.
Recipe Video
Notes
- Check liquid temperature before adding yeast; anything above 115°F can kill it.
- Do not skip the second rise; it’s essential for an airy, open crumb.
- Keep griddle heat low and steady to avoid burning the exterior before the inside cooks.
- Split muffins with a fork, not a knife, to preserve the nooks and crannies.
- Store at room temperature for up to 3 days or freeze individually wrapped for up to 2 months.