Homemade Sandwich Bread Recipe
There is something deeply satisfying about pulling a perfectly risen loaf of sandwich bread from the oven, knowing exactly what went into it and why every slice will be better than anything wrapped in plastic at a grocery store. Homemade sandwich bread is one of those recipes that, once mastered, changes how you think about bread entirely.
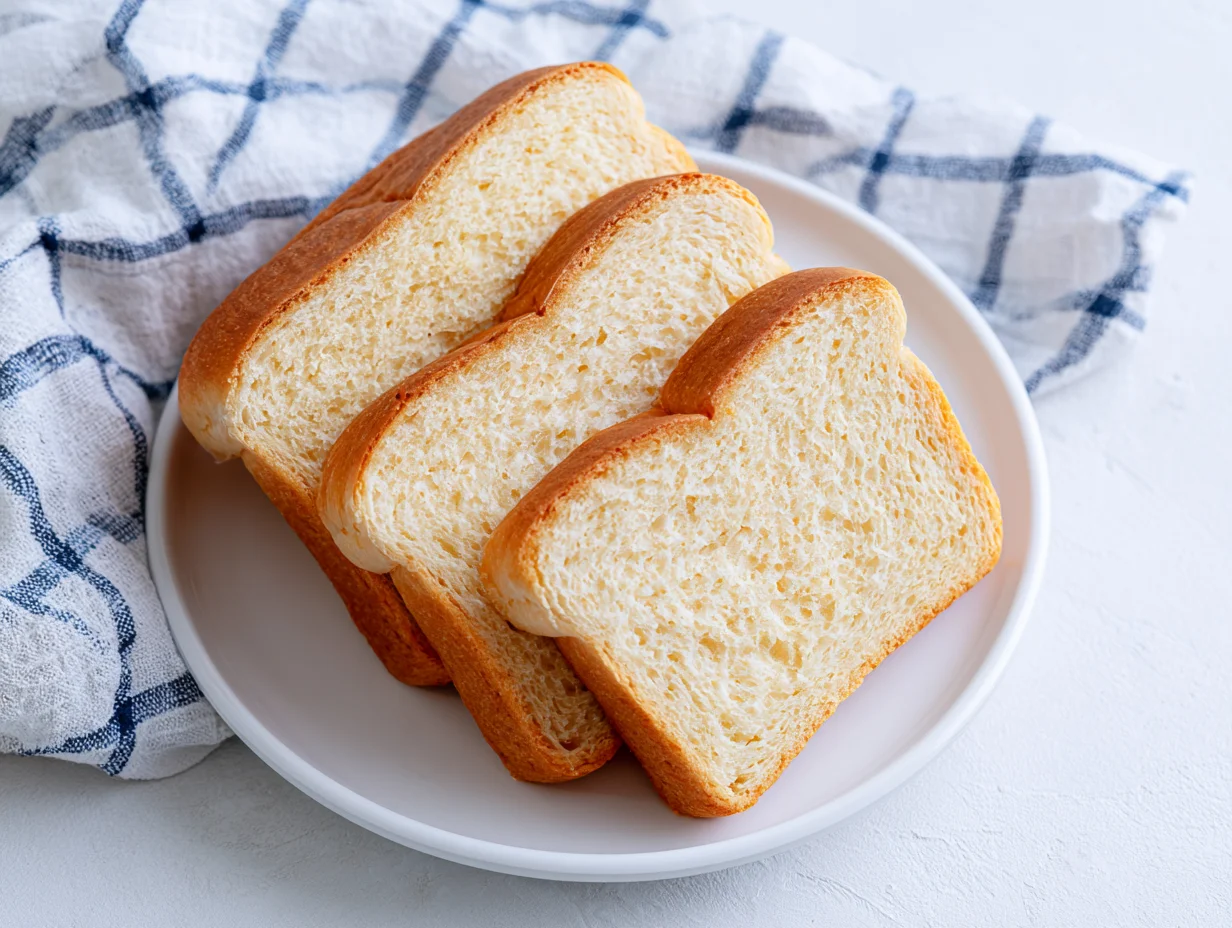
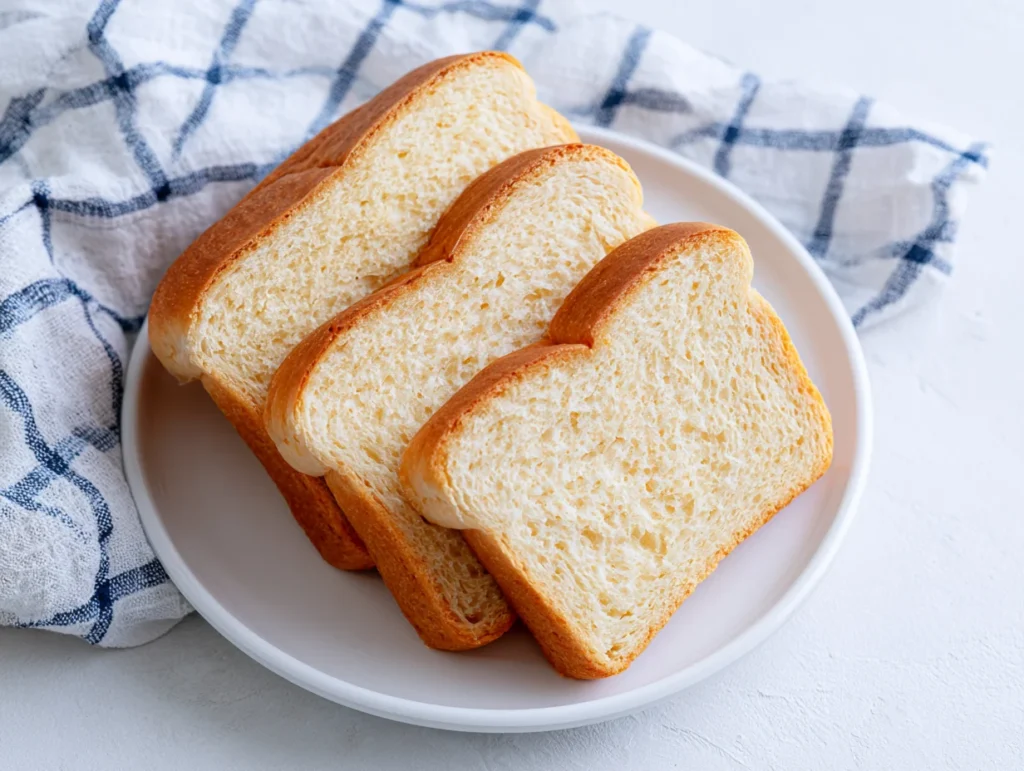
This recipe produces a soft, slightly chewy loaf with a tender crumb and a thin, golden crust that slices cleanly without crumbling. It’s the kind of bread that holds up to generous fillings, toasts evenly, and stays fresh longer than most people expect from a homemade loaf.
What makes this recipe reliable is its straightforward technique. No preferments, no complicated shaping, no specialized equipment beyond a standard loaf pan. The process is approachable even for first-time bread bakers, yet the results are consistently impressive.
Baking your own sandwich bread also gives you full control over ingredients, allowing you to avoid the preservatives, added sugars, and filler oils found in most commercial loaves. Once you taste the difference, the extra hour of your time will feel like the easiest trade you’ve ever made.
Ingredients You’ll Need
Everything about this bread starts with flour and ends with patience, and the ingredients in between are exactly what you’d expect from a recipe that lets honest baking do all the talking.
One of the things I love about this recipe is that it uses simple pantry ingredients. You probably already have most of them in your kitchen.
Base Ingredients
- 3 cups bread flour
- 1 packet (2 1/4 teaspoons) active dry yeast
- 1 cup warm water (110°F)
- 2 tablespoons unsalted butter, softened
- 1 tablespoon granulated sugar
- 1 1/2 teaspoons salt
- 2 tablespoons whole milk, room temperature
Optional Add-ins
- 1 tablespoon honey (in place of sugar for a richer flavor)
- 1 tablespoon olive oil (for a slightly softer crumb)
- 1 teaspoon garlic powder
- 2 tablespoons rolled oats for topping
- 1 tablespoon sesame seeds for topping
- 1/4 cup whole wheat flour (substituted for equal amount of bread flour)
- 1 egg, beaten (for egg wash and shinier crust)
Step-by-Step Instructions
Step 1: Activate the Yeast
Combine warm water and sugar in a large mixing bowl, then sprinkle the yeast evenly over the surface. Let the mixture sit undisturbed for 8 to 10 minutes until it becomes foamy and fragrant. This activation step confirms the yeast is alive and capable of leavening the bread. If the mixture shows no foam after 10 minutes, the yeast is likely expired or the water was too hot, and the process should be restarted with fresh yeast.
Step 2: Mix the Dough
Add the softened butter, milk, and salt to the activated yeast mixture, stirring briefly to combine. Add the bread flour one cup at a time, mixing with a wooden spoon or dough hook until a shaggy dough forms. The dough should pull away from the sides of the bowl and feel slightly tacky but not sticky to the touch. Adjust with small amounts of flour if it feels too wet or a splash of water if it seems too dry.
Step 3: Knead the Dough
Turn the dough onto a lightly floured surface and knead firmly for 8 to 10 minutes by hand, or 5 to 6 minutes using a stand mixer fitted with a dough hook on medium speed. Properly kneaded dough will feel smooth, elastic, and spring back slowly when poked. This kneading process develops the gluten structure responsible for the bread’s soft yet sturdy crumb, so don’t cut this step short regardless of how smooth the dough already appears.
Step 4: First Rise
Shape the kneaded dough into a ball and place it in a lightly oiled bowl, turning once to coat the surface. Cover with a clean kitchen towel or plastic wrap and set in a warm, draft-free location. Let the dough rise for 60 to 75 minutes, or until it has doubled in size. A cold kitchen will slow this process significantly, so placing the bowl near a warm oven or inside an unheated oven with just the light on can help create ideal rising conditions.
Step 5: Shape and Second Rise
Punch the risen dough down gently to release air, then turn it onto a lightly floured surface. Flatten it into a rough rectangle roughly as wide as your loaf pan, then roll it tightly into a log shape, pinching the seam firmly to seal. Place the shaped loaf seam-side down into a greased 9×5 inch loaf pan. Cover loosely and allow it to rise for another 45 to 60 minutes until the dough crowns about one inch above the rim of the pan.
Step 6: Bake the Loaf
Preheat the oven to 375°F (190°C) during the final 20 minutes of the second rise. Bake the loaf for 28 to 32 minutes until the top is deep golden brown and the bread sounds hollow when tapped on the bottom. An internal temperature of 190°F to 195°F confirms the loaf is fully baked through. Remove from the pan immediately and allow it to cool on a wire rack for at least one hour before slicing, as cutting too early compresses the crumb permanently.
Cook Time
Total:
2 hours 45 minutes (including rise times)
Prep:
20 minutes
Bake:
30 minutes
Servings
This recipe makes approximately 1 standard loaf, which yields 12 to 14 slices depending on how thickly you cut each piece. Each slice is sized generously for sandwiches, making this a practical single loaf for a household of two to four people across several days.
The recipe doubles easily for households that go through bread quickly or anyone who wants to freeze an extra loaf. Simply scale all ingredients proportionally and divide the dough evenly between two greased loaf pans before the second rise.
For smaller households, the baked loaf freezes exceptionally well, making it practical to bake one full batch and freeze half for later, giving you fresh-tasting homemade bread available throughout the week whenever needed.
Common Mistakes in This Recipe
One of the most damaging mistakes in bread baking is using water that is either too hot or too cold when activating the yeast. Water above 115°F kills yeast cells instantly, while water below 100°F may not activate them effectively, both resulting in a dense, flat loaf that never rises properly regardless of how well everything else is executed.
Under-kneading is another frequent error, particularly among first-time bakers who stop kneading as soon as the dough looks smooth. Insufficient kneading means underdeveloped gluten, which produces a bread with a coarse, crumbly texture rather than the soft, even crumb a sandwich loaf requires.
Many bakers also skip or rush the second rise, placing the shaped loaf directly into the oven before it has properly proofed. A loaf that hasn’t completed its second rise bakes up dense in the center and is prone to splitting along the sides rather than rising evenly through the top.
Cutting the loaf too soon after baking is surprisingly common and affects texture significantly. The internal structure continues setting as the bread cools, and slicing within the first twenty minutes releases steam prematurely, resulting in a gummy, compressed crumb.
Solutions to Common Mistakes
Always use a kitchen thermometer to verify water temperature before adding yeast. Target between 105°F and 110°F consistently, as this range reliably activates yeast without risking damage. This single habit removes the most common source of failed bread and builds confidence throughout the rest of the process.
Knead until the dough passes the windowpane test: stretch a small piece between your fingers, and if it stretches thin enough to see light through without tearing, the gluten is properly developed. Use this visual test rather than time alone to confirm readiness.
Always allow the shaped loaf to complete its second rise fully before baking. Look for the dough to crown about one inch above the rim of the pan as your visual cue, rather than relying strictly on timing, since kitchen temperature affects rise speed significantly.
Let the baked loaf cool on a wire rack for a full hour before slicing. This patience preserves the crumb structure and ensures clean, even slices from the very first cut.
Nutritional Information (approx. per serving)
- Calories: 148 kcal
- Protein: 4g
- Total Fat: 2.5g
- Saturated Fat: 1.2g
- Carbohydrates: 27g
- Fiber: 1g
- Sugar: 1.5g
- Sodium: 240mg
- Cholesterol: 5mg
Homemade sandwich bread made with bread flour provides a meaningful amount of complex carbohydrates, which serve as the body’s primary and most efficient energy source. Unlike refined commercial bread loaded with additives, this version delivers cleaner energy without unnecessary fillers that can interfere with digestion.
Because this recipe uses only real butter and milk rather than hydrogenated oils, the fat content is modest and comes from whole food sources. Controlling what goes into your bread at home also means significantly lower sodium compared to most commercially produced sandwich loaves.
The yeast used in this bread contributes small amounts of B vitamins, including folate and niacin, which support cellular energy production and overall metabolic function. These nutrients are naturally present in fermented bread doughs and are often stripped from ultra-processed alternatives.
Bread baked at home also lacks the preservatives and emulsifiers commonly added to extend commercial shelf life, making it a meaningfully cleaner option for households prioritizing whole-food ingredients and ingredient transparency in their daily diet.
Storage Instructions
Once fully cooled, store the sandwich bread in an airtight bag or wrapped tightly in plastic wrap at room temperature. Properly stored, it will stay soft and fresh for up to four days, though the texture is always best within the first two days of baking when the crumb is at its most tender.
Avoid refrigerating bread unless absolutely necessary, as cold temperatures accelerate staling by causing the starch molecules inside the crumb to recrystallize more rapidly. Room temperature storage in an airtight container consistently outperforms refrigeration for maintaining softness and fresh flavor.
For longer storage, slice the fully cooled loaf and freeze slices in a zip-top freezer bag with the air pressed out. Frozen slices last up to three months and can be toasted directly from frozen without thawing, making this an extremely convenient option for busy households.
When freezing a whole unsliced loaf, wrap it first in plastic wrap, then in aluminum foil before placing it in the freezer. Thaw at room temperature for two to three hours before slicing for the best texture.
Suggestions
Homemade sandwich bread is versatile enough to carry almost any filling beautifully, from classic turkey and avocado to grilled cheese or a simple smear of good butter and jam. Its soft crumb and neutral flavor make it a natural canvas for both savory and sweet combinations.
For toasting, this loaf performs especially well because its even crumb browns uniformly without burning at the edges before the center is warm. Toast it lightly for breakfast alongside eggs or use thicker slices for French toast on weekend mornings.
If you’d like to customize the flavor profile, try brushing the top of the shaped loaf with a beaten egg and scattering sesame seeds, rolled oats, or flaky sea salt before baking. These small additions transform the loaf visually and add subtle flavor without changing the fundamental recipe.
For the best sandwich experience, allow slices to cool completely before assembling. Warm bread compresses under the weight of fillings and can make even a simple sandwich feel dense and slightly gummy.
Seasonal Relevance
Homemade sandwich bread is genuinely a year-round recipe, though it feels most purposeful during fall and winter when the oven warmth is a welcome bonus and the desire for comforting, homemade food is strongest. A fresh loaf filling the kitchen with the scent of baking bread is a small, meaningful pleasure during colder months.
During spring and summer, this bread transitions naturally into lighter fare such as open-faced sandwiches with fresh vegetables, tomato and basil combinations, or as the base for picnic-ready wraps and packed lunches that benefit from sturdy, homemade slices.
Back-to-school season in late summer and early fall tends to renew interest in homemade lunch staples, and this sandwich bread recipe answers that call practically and deliciously, producing a week’s worth of lunch bread in a single baking session.
The holiday season also offers an opportunity to give this bread as a thoughtful homemade gift, wrapped in parchment and tied with twine, which is a gesture that tends to be received with far more appreciation than most store-bought alternatives.
Final Words
Homemade Sandwich Bread is one of those foundational recipes that rewards every baker who takes the time to learn it properly. Once you understand the feel of well-kneaded dough and the rhythm of a proper rise, the process becomes deeply intuitive and genuinely enjoyable.
This loaf isn’t just better than store-bought in taste and texture; it’s better in every measurable way, from ingredient quality to cost per slice to the quiet satisfaction of knowing you made it yourself from start to finish with nothing complicated required.
The skills this recipe teaches, including how to activate yeast, develop gluten, shape a loaf, and judge a proper bake, transfer directly to every other bread recipe you’ll ever attempt, making this as much an education as it is a recipe.
Bake it once this week and pay attention to how the dough feels at each stage. That tactile knowledge is worth more than any written instruction, and it builds quickly into the kind of baking confidence that makes the kitchen feel like yours.
Frequently Asked Questions
Can I make this sandwich bread recipe without a stand mixer?
Yes, this bread is fully achievable by hand. Knead the dough on a lightly floured surface for 8 to 10 minutes until smooth and elastic. It requires more effort than a mixer but produces equally good results, and the process itself builds useful intuition about dough texture and development.
What is the difference between bread flour and all-purpose flour for this recipe?
Bread flour has a higher protein content, typically 12 to 14 percent, which produces more gluten development and a chewier, sturdier crumb ideal for sandwich bread. All-purpose flour can be substituted, but the resulting loaf will be slightly softer and less structured overall.
How do I know if my bread is fully baked without a thermometer?
Tap the bottom of the loaf firmly after removing it from the pan. A fully baked loaf sounds distinctly hollow rather than dense or dull. Additionally, the crust should be deep golden brown on all sides, and the loaf should feel light relative to its size when lifted.
Homemade Sandwich Bread Recipe
14
servings20
minutes30
minutes180
kcal50
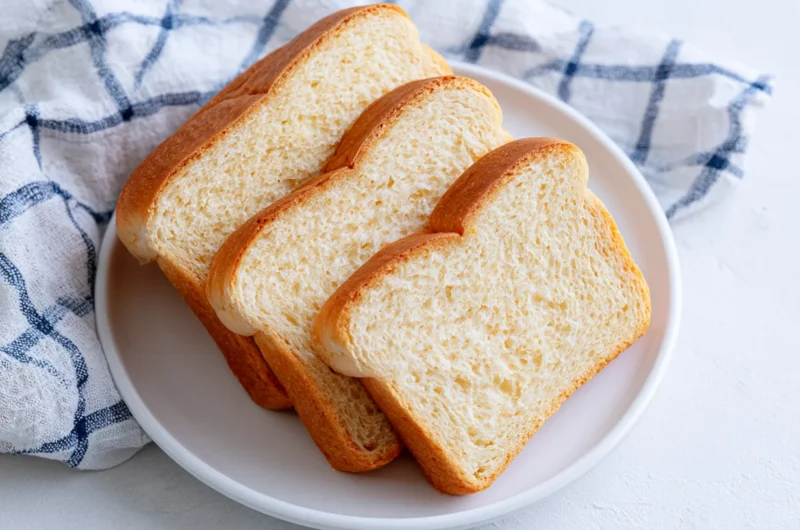
minutesSoft, golden homemade sandwich bread made with simple pantry staples. This easy yeast bread bakes up with a tender crumb, thin crust, and just the right structure for slicing, toasting, and building better sandwiches every day.
Ingredients
3 cups bread flour
1 packet (2 1/4 teaspoons) active dry yeast
1 cup warm water (110°F)
2 tablespoons unsalted butter, softened
1 tablespoon granulated sugar
1 1/2 teaspoons salt
2 tablespoons whole milk, room temperature
Directions
- Combine warm water and sugar in a bowl, sprinkle yeast over top, and let sit for 8 to 10 minutes until foamy.
- Add softened butter, milk, and salt to the yeast mixture and stir to combine.
- Add bread flour one cup at a time, mixing until a shaggy dough forms.
- Turn dough onto a floured surface and knead for 8 to 10 minutes until smooth and elastic.
- Place dough in a lightly oiled bowl, cover, and let rise for 60 to 75 minutes until doubled.
- Punch down the dough, shape into a log, and place seam-side down into a greased 9×5 inch loaf pan.
- Cover loosely and let rise for another 45 to 60 minutes until dough crowns one inch above the pan rim.
- Preheat oven to 375°F during the final 20 minutes of the second rise.
- Bake for 28 to 32 minutes until deep golden brown and hollow-sounding when tapped.
- Remove from pan immediately and cool on a wire rack for at least one hour before slicing.
Recipe Video
Notes
- Water temperature should be between 105°F and 110°F to activate yeast properly.
- Do not slice the loaf until fully cooled to preserve the crumb structure.
- Bread stays fresh at room temperature for up to 4 days in an airtight bag.
- Slices freeze well for up to 3 months and can be toasted directly from frozen.