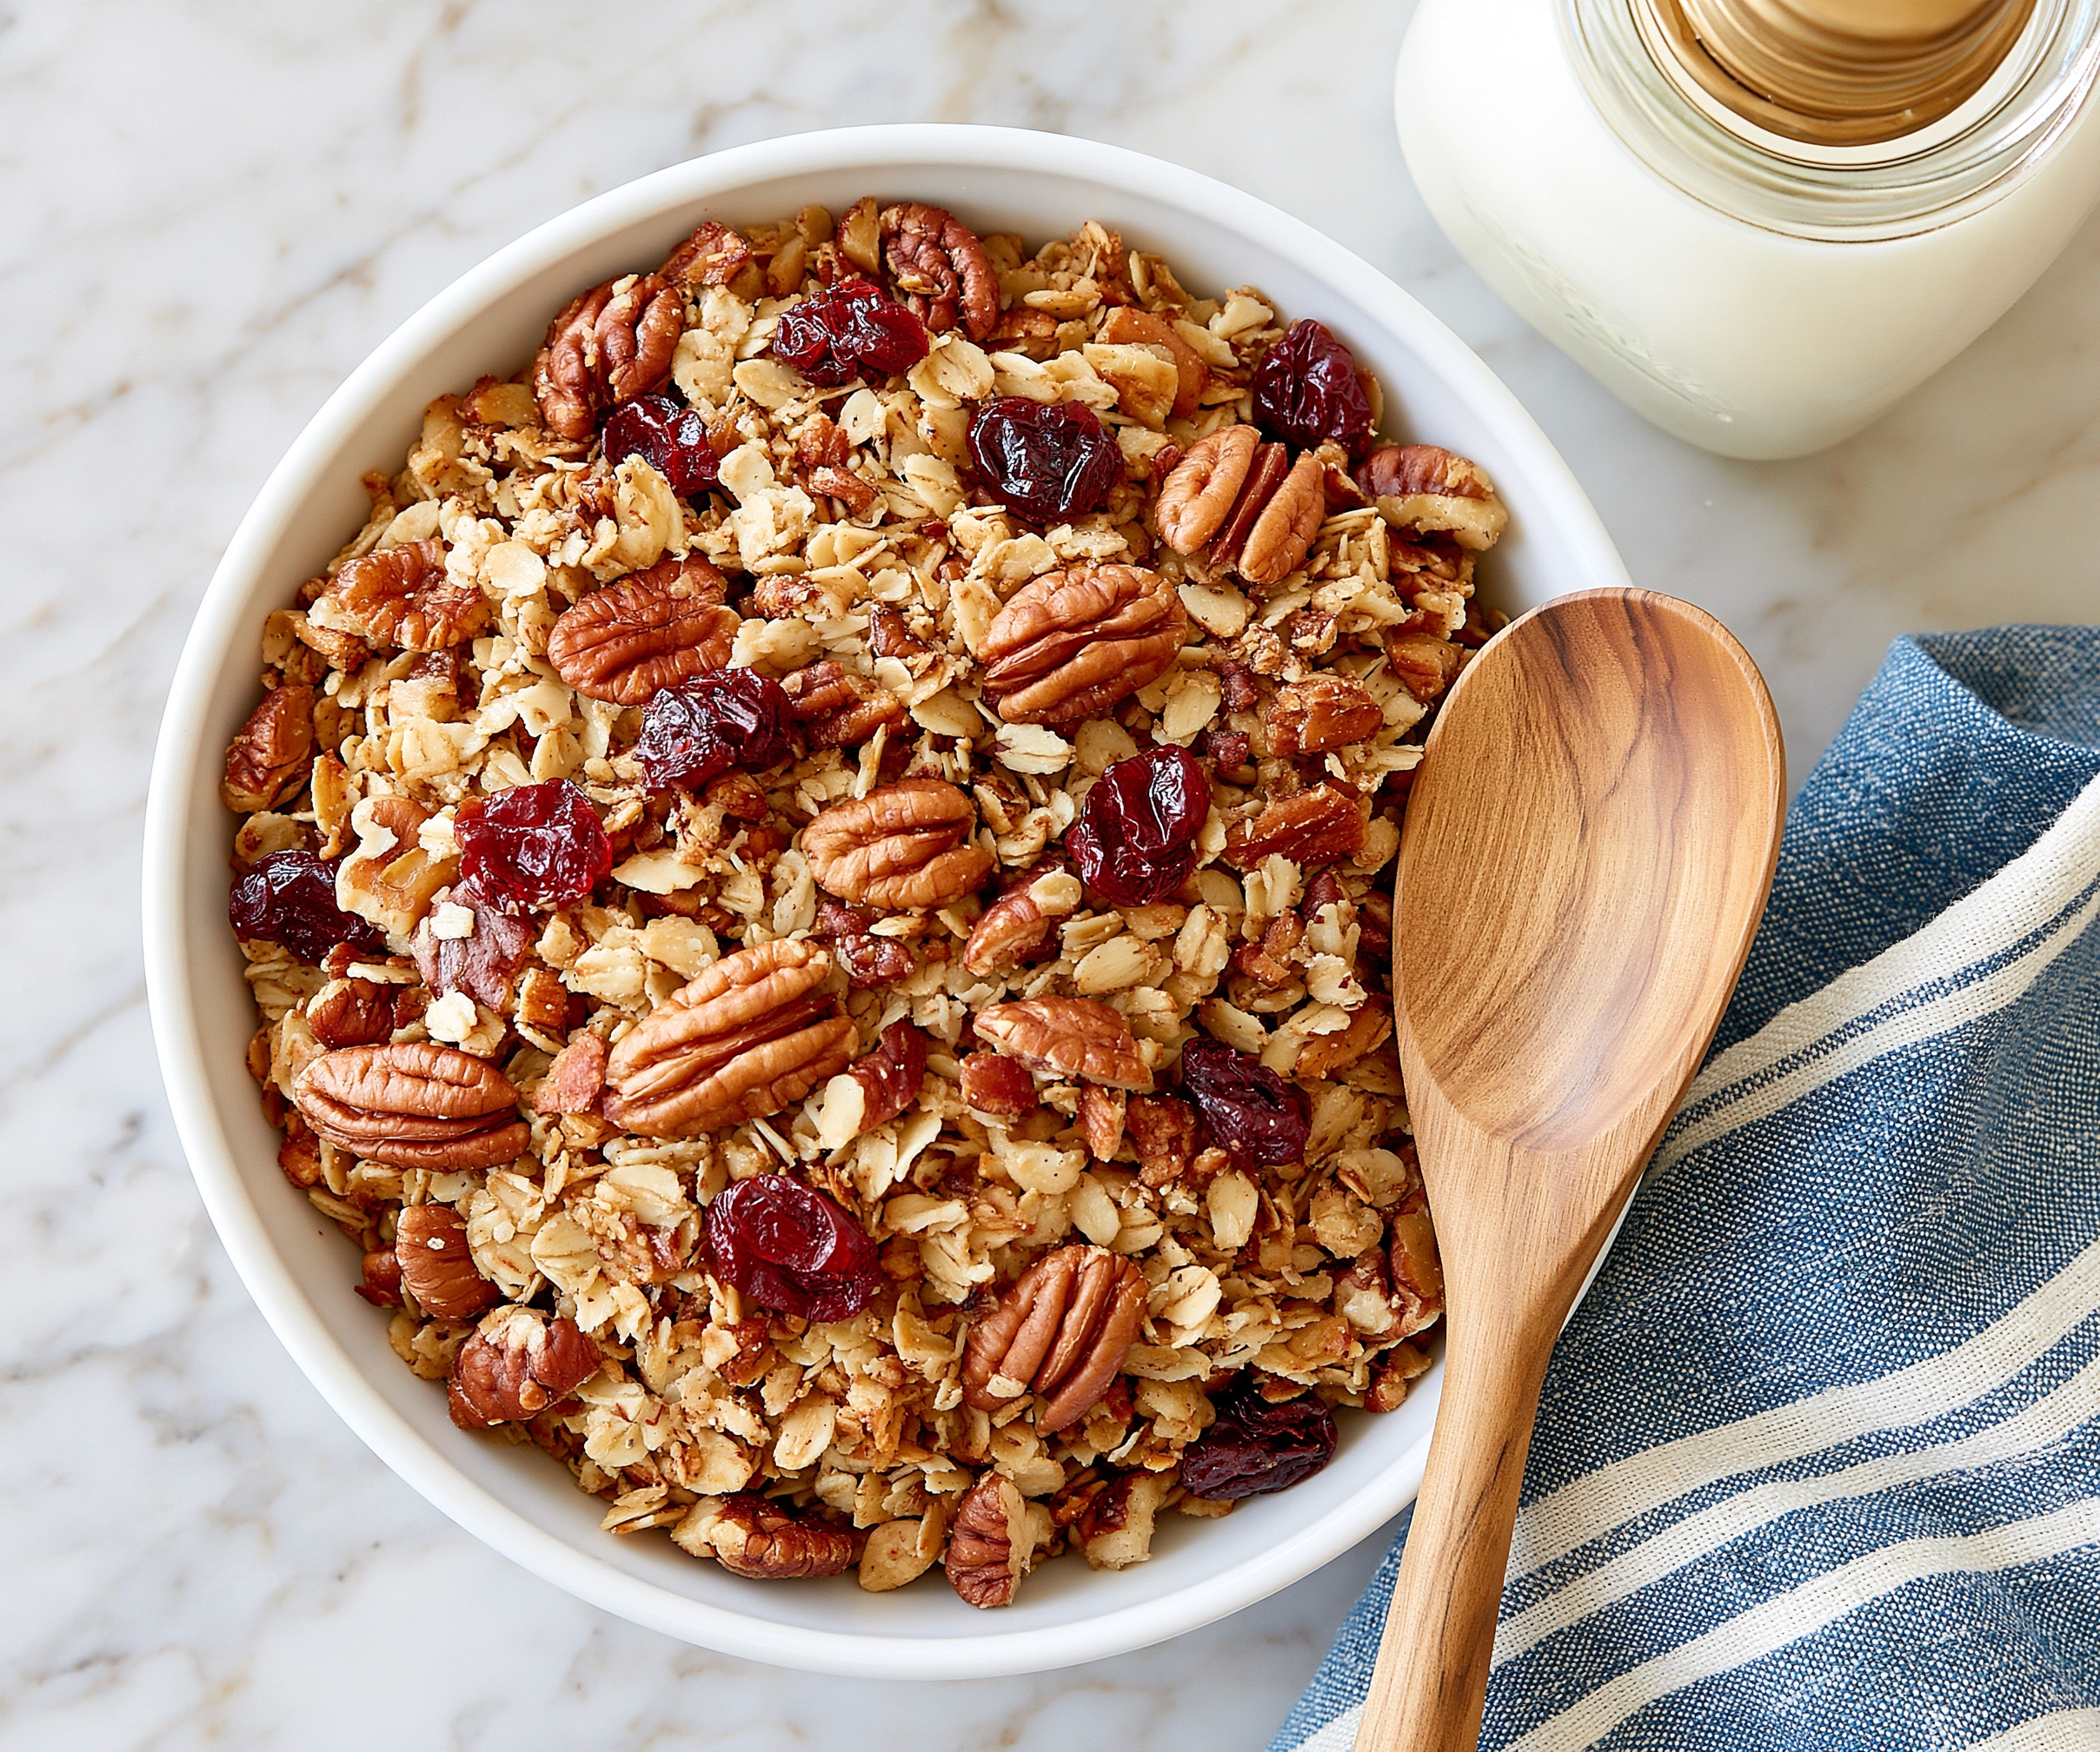
Homemade granola is one of the easiest and healthiest recipes you can make in your kitchen. It is crunchy, naturally sweet, customizable, and much healthier than many store-bought versions loaded with extra sugar, oils, and preservatives. Making your own granola allows you to control every ingredient while creating a fresh and delicious breakfast or snack that fits your lifestyle.
This quick and healthy granola recipe comes together with simple pantry staples like oats, nuts, honey, and coconut oil. The result is perfectly golden clusters with a satisfying crunch and rich toasted flavor. Whether you enjoy it with yogurt, milk, smoothie bowls, or simply by the handful, homemade granola quickly becomes a staple once you realize how easy it is to make.
Another reason homemade granola is a game-changer is its versatility. You can make it gluten-free, vegan, nut-free, low-sugar, or packed with superfoods depending on your preferences. It also stores beautifully, making it perfect for meal prep and busy mornings.
If you are looking for a healthy breakfast recipe that tastes amazing while keeping you energized throughout the day, this crunchy homemade granola recipe is exactly what you need.
Ingredients for Quick and Healthy Granola
The beauty of granola is that it uses simple, wholesome ingredients that are easy to customize. The balance of dry ingredients and wet ingredients creates those crunchy golden clusters everyone loves.
Dry Ingredients
- 3 cups old-fashioned rolled oats
- 1 cup chopped almonds
- ½ cup chopped walnuts
- ½ cup sunflower seeds
- ½ cup pumpkin seeds
- 1 teaspoon cinnamon
- ¼ teaspoon salt
Rolled oats are the base of the recipe and provide a hearty texture with lots of fiber. Nuts and seeds add crunch, healthy fats, and protein while cinnamon brings warmth and natural sweetness.
Wet Ingredients
- ⅓ cup honey or maple syrup
- ¼ cup coconut oil, melted
- 1 teaspoon vanilla extract
The wet ingredients help coat the oats evenly and create crunchy clusters during baking. Honey gives a rich flavor while maple syrup works perfectly for a vegan option.
Optional Add-Ins
- ½ cup dried cranberries
- ½ cup raisins
- ¼ cup shredded coconut
- ¼ cup dark chocolate chips
- Chia seeds or flaxseeds
Optional mix-ins allow you to customize your granola exactly how you like it. Add dried fruits after baking to maintain their chewy texture.
Step-by-Step Instructions
Making homemade granola is surprisingly simple. The process takes minimal effort but delivers bakery-style results every time.
Preheat and Prep
Preheat your oven to 325°F (160°C). Line a large baking sheet with parchment paper for easy cleanup and even baking. Using parchment paper prevents sticking and helps the granola crisp up perfectly without burning.
Mix Ingredients
In a large mixing bowl, combine the rolled oats, nuts, seeds, cinnamon, and salt. Stir until evenly mixed. In a separate small bowl, whisk together the honey, melted coconut oil, and vanilla extract.
Pour the wet mixture over the dry ingredients and stir thoroughly until everything is well coated. Every oat should have a light coating to ensure maximum crunch and flavor.
If you want chunkier granola clusters, press the mixture together gently before baking.
Bake to Crunchiness
Spread the granola mixture evenly onto the prepared baking sheet in a thin layer. Bake for 20–30 minutes, stirring halfway through for even browning. Keep an eye on it during the final minutes because granola can quickly go from golden to burnt.
The granola should look lightly golden brown and smell wonderfully toasted when ready. For extra crunchy granola clusters, avoid stirring too much during baking.
Cool and Store
Allow the granola to cool completely on the baking sheet before touching it. This step is extremely important because the granola crisps up as it cools. Once cooled, stir in dried fruits, chocolate chips, or coconut flakes if desired.
Transfer the granola to an airtight container or glass jar for storage.
Pro Tips for Perfect Granola Every Time
Making perfect homemade granola is easy once you know a few simple tricks. Use rolled oats instead of quick oats because they provide better texture and crunch. Quick oats can become soft and crumbly after baking. Do not overcrowd the baking tray. Spreading the mixture in an even layer helps it bake evenly and become crispy.
Allow the granola to cool completely before storing. Warm granola creates moisture inside containers, which can make it lose its crunch. For larger crunchy clusters, gently press the granola down with a spatula before baking and avoid stirring too often.
If you enjoy sweeter granola, add a small drizzle of maple syrup after baking for extra flavor without making it overly sugary.

Variations to Try
One of the best things about homemade granola is how customizable it is. You can easily create different flavors depending on your cravings.
Nut-Free Granola
For a nut-free version, replace almonds and walnuts with extra sunflower seeds, pumpkin seeds, or coconut flakes. This variation is perfect for school snacks or anyone with nut allergies while still providing delicious crunch and nutrition.
Chocolate Lover’s Granola
Add cocoa powder to the oat mixture and stir in dark chocolate chips after baking. You can also drizzle melted dark chocolate over cooled granola for an indulgent but still wholesome treat. Chocolate granola tastes incredible with Greek yogurt or as a crunchy dessert topping.
Tropical Fruit Granola
Mix in dried mango, pineapple, banana chips, and coconut flakes for a tropical-inspired granola blend. Using coconut oil in this variation enhances the tropical flavor even more. This version pairs beautifully with coconut yogurt and fresh fruit.
Nutritional Benefits of Homemade Granola
Homemade granola is packed with nutrients that support energy, digestion, and overall wellness. Oats are rich in fiber, especially beta-glucan fiber, which may help support heart health and keep you full longer. They also provide slow-releasing carbohydrates that deliver lasting energy throughout the day.
Nuts and seeds contribute healthy fats, plant-based protein, magnesium, zinc, and antioxidants. These nutrients help support brain function, muscle recovery, and healthy skin. Using natural sweeteners like honey or maple syrup instead of refined sugars keeps the recipe healthier while still adding delicious flavor.
Homemade granola also allows you to avoid unnecessary preservatives and artificial ingredients commonly found in packaged cereals.
Because this recipe is nutrient-dense and satisfying, it makes a smart breakfast or snack option for busy lifestyles.
How to Serve Your Granola
Homemade granola is incredibly versatile and can be enjoyed in many delicious ways.
With Yogurt or Milk
One of the most popular ways to enjoy granola is over yogurt or with milk. Layer crunchy granola with Greek yogurt and fresh berries for a protein-packed breakfast parfait. The creamy yogurt balances perfectly with the crunchy texture.
You can also enjoy it like cereal with almond milk, oat milk, or regular milk for a quick and satisfying breakfast.
As a Snack or Topping
Granola makes an excellent grab-and-go snack for busy days. Pack small portions into jars or snack bags for school, work, road trips, or post-workout energy. It also works wonderfully as a topping for ice cream, oatmeal, pancakes, or baked apples.
In Smoothie Bowls
Smoothie bowls become even more delicious with a crunchy granola topping. Sprinkle homemade granola over berry smoothie bowls, banana smoothies, or tropical fruit blends for added texture and nutrition.
The contrast between creamy smoothies and crispy granola creates the perfect bite.
Storage and Shelf Life
Proper storage helps homemade granola stay crunchy and fresh for weeks.
Store cooled granola in an airtight container at room temperature for up to 2 weeks. Glass jars work especially well because they keep moisture out.
For longer storage, keep granola in the refrigerator for up to 1 month or freeze it for up to 3 months.
Always make sure the granola is completely cool before storing to prevent sogginess.
If your granola loses crunch over time, simply spread it on a baking sheet and bake at a low temperature for a few minutes to crisp it back up.
Conclusion: Enjoy Your Quick and Healthy Granola
This quick and healthy granola recipe proves that homemade breakfasts can be simple, nutritious, and incredibly delicious. With crunchy oats, toasted nuts, natural sweetness, and endless customization options, homemade granola is far superior to many store-bought alternatives.
Whether you enjoy it with yogurt, milk, smoothie bowls, or straight from the jar, this easy recipe delivers flavor, texture, and wholesome ingredients in every bite. It is perfect for meal prep, busy mornings, healthy snacking, and satisfying cravings without guilt.
Once you make your own homemade granola, you may never want to buy packaged granola again. It is affordable, healthier, fresher, and endlessly customizable to match your taste preferences.
Grab your oats, mix up your favorite ingredients, and enjoy a crunchy homemade granola recipe that is both nourishing and irresistibly delicious.
