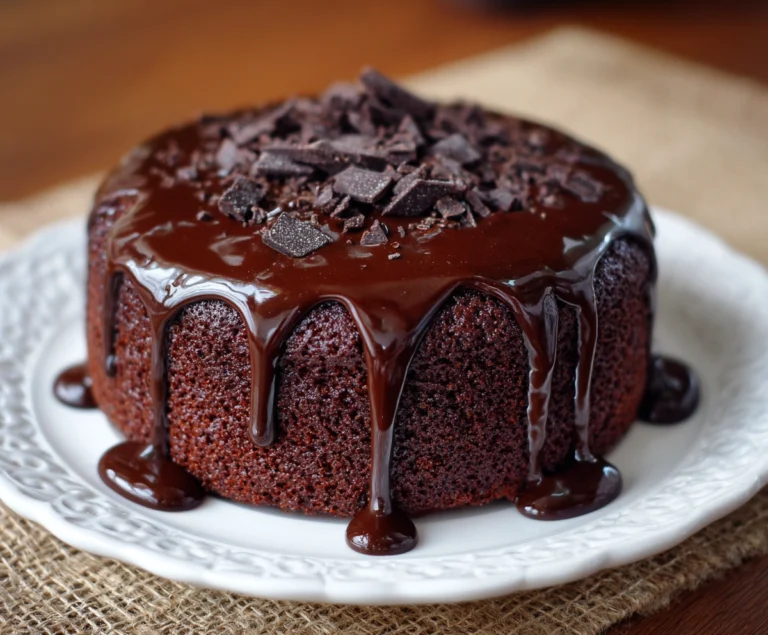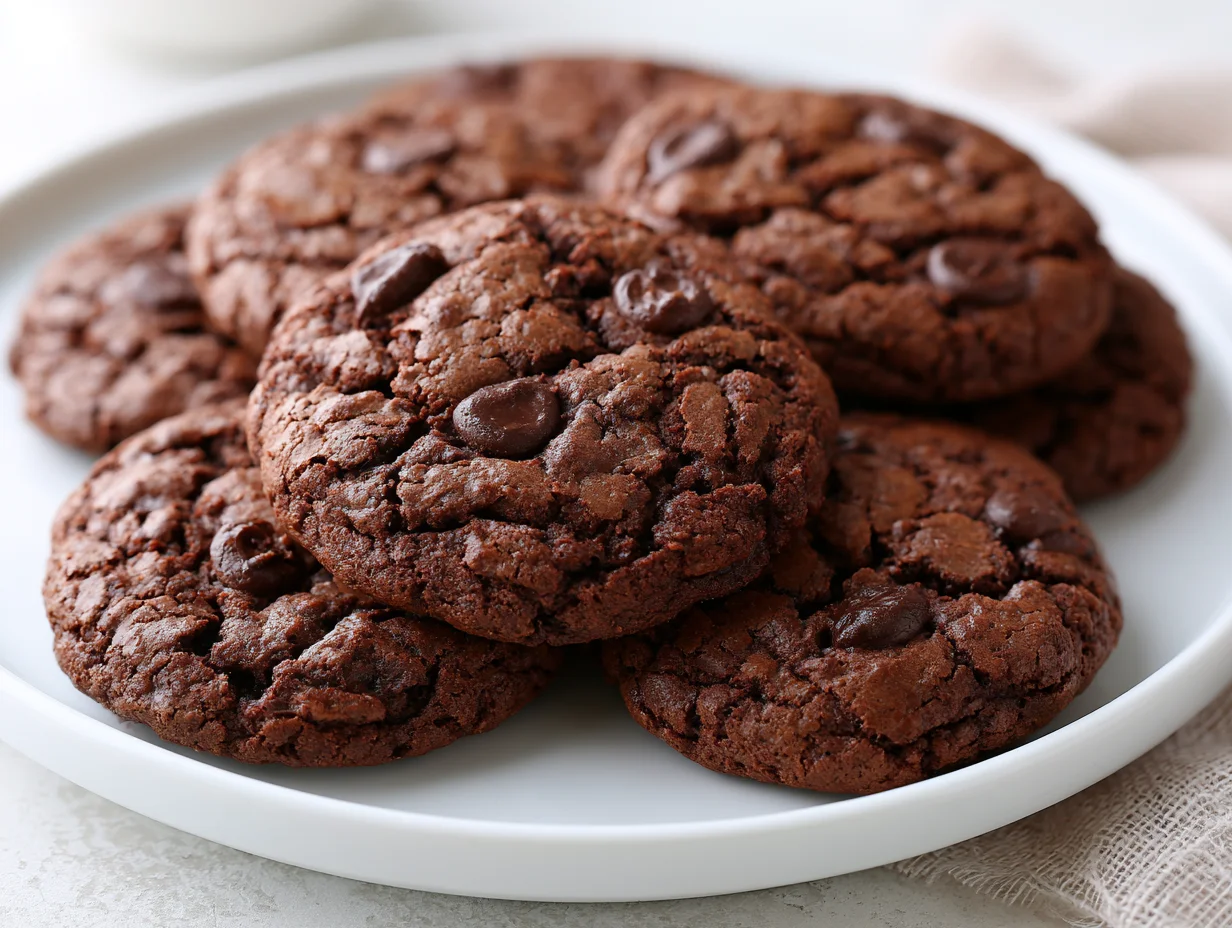
Fudgy Cookie Brownie Recipe
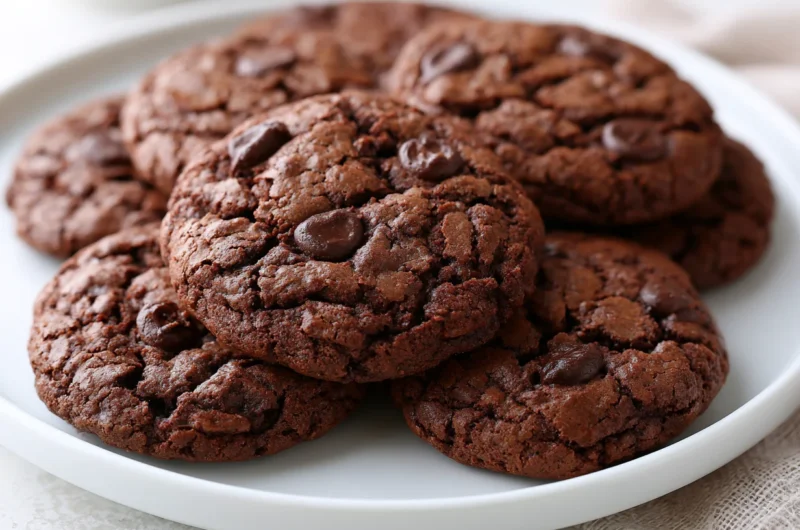
There are brownies, there are cookies, and then there is this — a hybrid that refuses to pick a side and is absolutely better for it. The fudgy cookie brownie is one of those rare recipes that delivers on every single promise: crackly on top, dense and gooey in the middle, with a chew that only comes from getting the ratio of fat to flour exactly right.
I developed this recipe after years of testing both individual components professionally. Most hybrid bakes feel like an afterthought — too cakey, too dry, or missing that signature brownie depth. This one does not. It starts with real melted chocolate, uses brown butter for complexity, and folds in a measured amount of flour so the final texture lands squarely between a bakery-style chocolate chip cookie and a dark, fudgy slab brownie.
What you get is a bar that is genuinely extraordinary. The edges are slightly crisp, the center is pull-apart soft, and every bite carries that deep bittersweet chocolate flavor that makes people go quiet for a second before reaching for another piece.
This is a recipe worth bookmarking, sharing, and making on a regular rotation. Once you understand the technique, it will become one of the most reliable and crowd-pleasing things in your baking repertoire.
Ingredients You’ll Need
Every great bake starts with intention, and this one proves that you do not need a complicated shopping list to create something genuinely outstanding — just the right ingredients used the right way.
One of the things I love about this recipe is that it uses simple pantry ingredients. You probably already have most of them in your kitchen.
Base Ingredients
- 170g unsalted butter
- 200g dark chocolate (70% cocoa), roughly chopped
- 200g granulated white sugar
- 100g light brown sugar, packed
- 3 large eggs, room temperature
- 2 tsp pure vanilla extract
- 120g all-purpose flour
- 30g unsweetened cocoa powder
- 1 tsp fine sea salt
- 1/2 tsp baking powder
- 150g semi-sweet chocolate chips
Optional Add-ins
- 80g toasted walnuts or pecans, roughly chopped
- 1/2 tsp espresso powder (enhances chocolate depth)
- 1/4 tsp flaky sea salt, for finishing
- 60g white chocolate chips
- 1 tbsp bourbon or dark rum (added with vanilla)
Step-by-Step Instructions
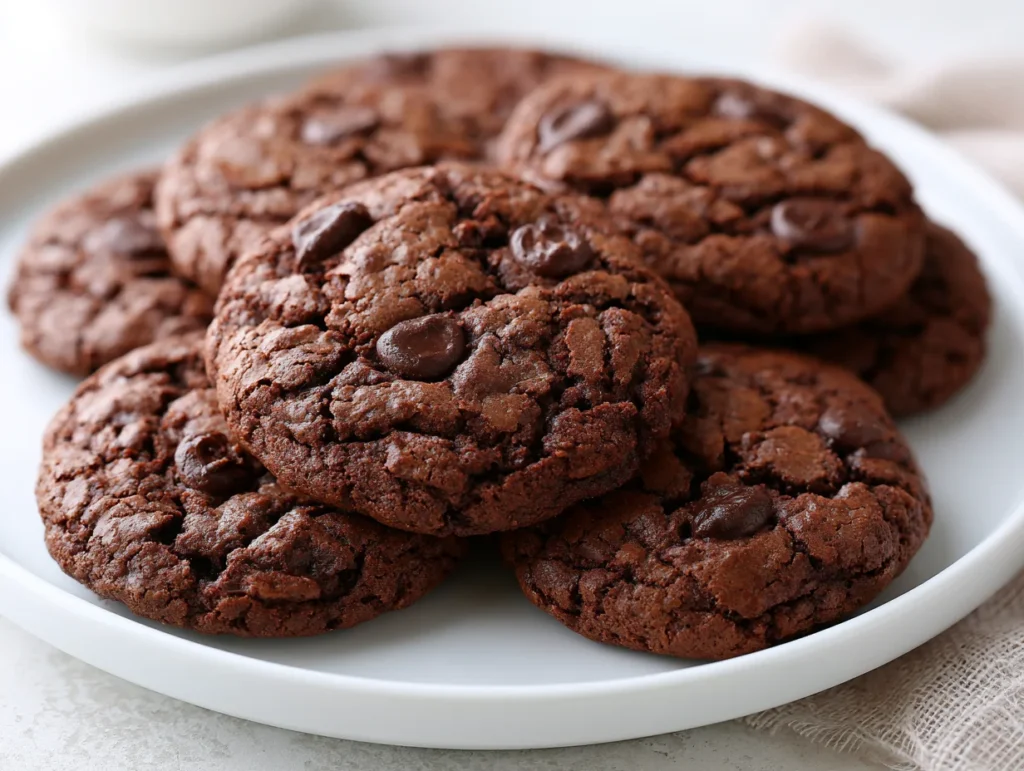
Step 1: Brown the Butter and Melt the Chocolate
Place the butter in a medium saucepan over medium heat. Stir continuously until it melts, foams, and then begins to smell nutty with golden-brown solids forming at the bottom — about 5 to 6 minutes. Remove from heat immediately and add the chopped dark chocolate. Stir until fully melted and glossy. Set aside to cool for 10 minutes. This step is non-negotiable; browned butter adds a layer of toasty complexity that separates a good brownie from an unforgettable one.
Step 2: Whisk the Sugars and Eggs
In a large mixing bowl, combine both sugars with the three eggs. Using a hand mixer or stand mixer fitted with the whisk attachment, beat on medium-high speed for 3 to 4 full minutes until the mixture is pale, thick, and has roughly doubled in volume. You will see it ribbon off the whisk in slow, heavy streams. This step builds the shiny, crackled top that is the hallmark of a properly made fudgy brownie. Do not skip or rush it.
Step 3: Combine Wet Ingredients
With the mixer on low, slowly pour the cooled chocolate-butter mixture into the whipped egg mixture, streaming it in gradually. Add the vanilla extract. Mix just until combined. The batter should be dark, glossy, and smooth at this stage. If your chocolate mixture was still warm when you added it, you risk partially cooking the eggs — always let it cool to just above room temperature before combining. A properly tempered mix gives you even texture throughout the baked bar.
Step 4: Fold in the Dry Ingredients
Sift the flour, cocoa powder, salt, and baking powder directly into the batter. Using a rubber spatula, fold gently with deliberate strokes, turning the bowl as you go. Stop folding the moment you no longer see dry streaks — overmixing activates gluten and results in a tougher, more cakey texture. Fold in the chocolate chips and any optional add-ins at this stage. The finished batter will be thick and hold its shape; this is exactly what you want for a fudgy, dense bar with structure.
Step 5: Pan, Rest, and Bake
Line a 9×13 inch baking pan with parchment paper, leaving an overhang on two sides. Pour in the batter and use an offset spatula to spread it evenly into the corners. For best results, let the batter rest in the pan for 20 minutes before baking — this allows the flour to hydrate fully and contributes to a more consistent texture. Sprinkle flaky sea salt over the top if using. Bake in a preheated oven at 175°C (350°F) for 22 to 25 minutes, until the edges are set and the center has a slight jiggle when you move the pan.
Step 6: Cool Completely Before Cutting
This step is harder than it sounds, but it is critical. Remove the pan from the oven and place it on a wire rack. Do not cut into the brownies for at least 45 minutes to 1 hour. As they cool, the center continues to set through carryover heat and the internal structure firms up significantly. Cutting too early will result in bars that fall apart and appear underbaked even when they are not. Once fully cooled, lift using the parchment overhang, transfer to a cutting board, and cut into even squares with a sharp knife wiped clean between cuts.
Cook Time
Total
50 to 55 minutes (plus 45 to 60 minutes cooling)
Prep
20 to 25 minutes
Bake
22 to 25 minutes at 175°C (350°F)
Servings
This recipe yields a generous batch that works equally well for a small gathering, a bake sale, or a week of satisfying after-dinner treats. Cut into 16 larger squares or 24 smaller bars depending on your preference and how you plan to serve them.
Makes approximately 16 to 24 bars depending on cut size.
If you are baking for a larger crowd or want to batch-freeze for later, this recipe doubles cleanly using a half-sheet pan. Simply increase the bake time by 4 to 5 minutes and check for the same visual cues — set edges, a gentle center jiggle, and a matte surface rather than a wet, glossy one. The texture holds up beautifully at scale.
Common Mistakes in This Recipe
One of the most common errors is undercooking the butter or skipping the browning step entirely. Without properly browned butter, you lose a significant layer of flavor — the nutty, caramel-like quality that sets this recipe apart from a basic box mix.
Rushing the egg and sugar whipping stage is another frequent mistake. Many home bakers mix for only 60 seconds and move on. In this recipe, that extended whipping time is what creates the shiny, crackled top. Cutting it short results in a flat, matte surface and a less complex texture.
Overbaking is perhaps the most damaging error of all. Because this batter is dense and dark, it can be difficult to read visually. Many bakers leave it in 5 to 8 minutes too long waiting for doneness cues that do not apply to fudgy-style bars. The result is a dry, crumbly texture with none of the gooey pull that makes these exceptional.
Cutting before adequate cooling is a mistake that even experienced bakers make when impatient. The internal structure of these bars needs time to set post-oven. Slicing into them while warm causes the center to collapse and smear, ruining the texture and the visual presentation entirely.
Solutions to Common Mistakes
To get the brown butter right, watch and smell rather than time it. Stay at the pan, stir continuously, and the moment you detect a warm, toasted-nut aroma and see amber-brown milk solids at the base, remove it from heat. Immediate removal prevents burning.
For the egg and sugar whipping stage, set a timer and commit to the full 3 to 4 minutes at medium-high speed. You are looking for a pale, thick ribbon consistency — if you lift the beaters, the mixture should fall in slow, heavy streams that hold their shape briefly before dissolving.
To avoid overbaking, start checking at the 20-minute mark. Look for set, slightly pulled-in edges, a matte (not shiny or wet) surface on top, and a center that moves as a single mass when you gently shake the pan. That slight jiggle is your friend — it resolves into perfect fudginess as it cools.
For clean, sharp cuts, patience is the most practical tool. Allow at least 45 to 60 minutes of cooling time at room temperature. Use a sharp chef’s knife, wipe the blade clean between each cut, and apply firm, even downward pressure rather than dragging through the bar.
Nutritional Information (approx. per serving)
- Calories: 285 kcal
- Total Fat: 16g
- Saturated Fat: 9g
- Carbohydrates: 34g
- Sugar: 24g
- Protein: 4g
- Fiber: 2g
- Sodium: 145mg
- Iron: 10% DV
Dark chocolate, the primary ingredient in this recipe, is a well-documented source of flavonoids — plant-based compounds linked to cardiovascular health and reduced inflammation. A single serving provides meaningful amounts of iron and magnesium, two minerals many people do not get enough of from their regular diet.
Eggs contribute high-quality complete protein, along with choline — a nutrient essential for brain function and often under-consumed. The use of real butter rather than refined vegetable oils means the fat profile here includes natural short-chain fatty acids alongside fat-soluble vitamins A and E.
Brown sugar and cocoa powder together contain trace amounts of potassium, calcium, and antioxidants. While this is clearly a treat and not a health food, it is made from whole, recognizable ingredients rather than stabilizers, emulsifiers, or artificial flavors. That distinction matters for both nutrition and flavor.
Portion size and frequency determine how any indulgent recipe fits into a balanced lifestyle. One well-made bar from this recipe satisfies on a level that processed sweets often do not, which naturally encourages more mindful eating.
Storage Instructions
Once fully cooled, store the cut bars in an airtight container at room temperature for up to 4 days. Place a sheet of parchment between layers if stacking to prevent them from sticking together. Keep the container away from direct sunlight or heat sources, which can cause the chocolate chips to bloom and the texture to become overly soft.
For extended storage, refrigeration works well for up to 10 days. Bring the bars to room temperature before serving, as cold temperatures firm up the chocolate and mute the flavor slightly. A quick 10 seconds in the microwave restores the soft, fudgy pull beautifully without overbaking them.
These bars freeze exceptionally well. Wrap each bar individually in plastic wrap, then place in a zip-lock freezer bag or airtight container. Freeze for up to 3 months. Thaw at room temperature for 1 to 2 hours, or overnight in the refrigerator. The texture holds up remarkably well through the freeze-thaw cycle.
Avoid storing these brownies with strongly scented foods, as chocolate readily absorbs surrounding odors. If you have made a large batch with the intention of gifting or serving later, freezing individual portions is the most practical approach and keeps each bar tasting freshly baked.
Suggestions
These fudgy cookie brownie bars are excellent on their own, but they also serve as an exceptional base for more elaborate presentations. Serve warm with a scoop of vanilla bean ice cream and a drizzle of salted caramel sauce for a restaurant-style plated dessert that requires minimal additional effort.
For gifting, stack three or four bars in a small kraft paper box lined with parchment, tie with twine, and you have a homemade gift that consistently outperforms anything store-bought. These make particularly thoughtful additions to holiday cookie boxes, birthday packages, or hostess gifts.
Crumble leftover bars over Greek yogurt with fresh berries for an indulgent yet balanced breakfast or snack. The slightly crumbly edges work especially well here. Similarly, crushed bars can be pressed into the base of a glass to form a rich no-bake cheesecake or mousse crust.
Pair a square with a well-made espresso or cold brew for an afternoon break that genuinely satisfies. The bitterness of the coffee cuts through the richness of the chocolate and amplifies the caramel notes from the brown butter. If you prefer a warmer pairing, these bars sit beautifully alongside a glass of warm whole milk or a spiced chai.
Seasonal Relevance
While this recipe works beautifully year-round, it is especially suited to the cooler months when rich, warming desserts feel most appropriate. In autumn and winter, the deep chocolate and brown butter notes feel grounding and seasonal — the kind of bake that fills the kitchen with warmth and makes a house feel like a home.
During the holiday season, this recipe earns its place on every dessert table. It scales well for large batches, photographs beautifully for social sharing, and holds up through gifting and transport far better than frosted layer cakes or delicate pastries. Add a sprinkle of crushed candy cane or a drizzle of white chocolate for a festive variation.
In spring and early summer, pair the bars with fresh fruit to lighten the overall presentation. Strawberries, raspberries, and tart cherries all complement the dark chocolate profile exceptionally well. Serve at room temperature at picnics, garden parties, or casual outdoor gatherings where something handheld is more practical than plated desserts.
Come summer, these bars make ideal make-ahead treats for potlucks, beach trips, or barbecues where reliable, crowd-pleasing food is the priority. Baked the night before and kept in a cool bag, they arrive in perfect condition and disappear faster than almost anything else on the table.
Final Words
The fudgy cookie brownie sits at a genuinely exciting intersection of two beloved classics, and when made properly, it stands apart from both. This is not a gimmick recipe or a compromise — it is a carefully constructed bake that rewards the attention you give it at every stage, from browning the butter to resisting the urge to cut too early.
What I hope you take away from this recipe is a deeper understanding of how texture is built in baking. The whipped eggs create lift and structure. The high fat ratio keeps things fudgy. The resting time allows hydration. Each step is purposeful, and knowing the why behind each one means you can troubleshoot confidently and adapt the recipe to your own kitchen.
If this is the first time you are trying a brownie-cookie hybrid, I think you will be genuinely surprised by how well the two styles coexist here. The result is something that satisfies the craving for both in a single bite — and that is a rare thing in baking.
Share it with people you care about, keep a few squares for yourself, and do not be surprised when you find yourself making it again within the same week. That is simply the nature of a recipe done right.
Frequently Asked Questions
Can I use milk chocolate instead of dark chocolate in this recipe?
Milk chocolate can be used, but the result will be noticeably sweeter and less complex. Dark chocolate at 60 to 70% cocoa is strongly recommended for the depth of flavor this recipe is built around. If you do swap, reduce the granulated sugar by 30g to compensate for the added sweetness.
Why do my brownie bars come out cakey instead of fudgy?
The most common causes are overmixing after adding the flour, overbaking by even a few minutes, or using too much leavening. Make sure to fold the dry ingredients gently, pull the pan from the oven when the center still has a slight jiggle, and measure the baking powder precisely — too much lifts the batter and creates a cakey crumb.
Can this recipe be made gluten-free?
Yes, with good results. Replace the all-purpose flour 1:1 with a high-quality gluten-free baking blend that contains xanthan gum. The texture may be very slightly more dense, but the fudginess is preserved well due to the high fat and chocolate content. Avoid single-ingredient substitutes like almond flour alone, as they do not provide the same binding or structure.
Fudgy Cookie Brownie Recipe
24
servings25
minutes25
minutes285
kcal50
minutesA rich, fudgy hybrid of your two favorite bakes — crackly on top, gooey in the center, and loaded with deep chocolate flavor from brown butter and melted dark chocolate. Perfectly satisfying in every single bite.
Ingredients
Base
170g unsalted butter
200g dark chocolate (70%), chopped
200g granulated white sugar
100g light brown sugar, packed
3large eggs, room temp
2 tsp pure vanilla extract
120g all-purpose flour
30g unsweetened cocoa powder
1 tsp fine sea salt
½ tsp baking powder
150g semi-sweet chocolate chips
Optional add-ins
80g toasted walnuts or pecans
½ tsp espresso powder
¼ tsp flaky sea salt, for top
60g white chocolate chips
1 tbsp bourbon or dark rum
Directions
- Brown the butter in a saucepan over medium heat until golden and nutty, about 5–6 minutes. Remove from heat, add chopped dark chocolate, and stir until fully melted. Cool for 10 minutes.
- In a large bowl, beat both sugars with the eggs on medium-high speed for 3–4 minutes until pale, thick, and ribbon-like. This builds the signature crackled top.
- With mixer on low, slowly stream in the cooled chocolate-butter mixture. Add vanilla extract and mix just until combined. Batter should be dark and glossy.
- Sift flour, cocoa powder, salt, and baking powder directly into the batter. Fold gently with a spatula until no dry streaks remain. Do not overmix. Fold in chocolate chips.
- Pour into a parchment-lined 9×13 inch pan. Spread evenly and let rest for 20 minutes. Sprinkle flaky salt on top if using. Bake at 175°C (350°F) for 22–25 minutes.
- Remove from oven when edges are set and center has a slight jiggle. Cool on a wire rack for at least 45–60 minutes before slicing. Cut with a sharp knife, wiping clean between cuts.
Recipe Video
Notes
- Use dark chocolate at 60–70% cocoa for the best depth of flavor. Milk chocolate makes the bars sweeter and less complex.
- Do not skip the brown butter step — it adds toasty, caramel-like notes that make this recipe stand apart from a standard brownie.
- The 20-minute batter rest before baking allows the flour to fully hydrate, resulting in a more consistent, fudgy texture.
- Bars are done when edges are pulled in, the surface is matte (not wet), and the center moves as one mass when the pan is gently shaken.
- For clean slices, cool completely and wipe the knife blade between every cut.
Store in an airtight container at room temperature for up to 4 days, or . - individually wrapped bars for up to 3 months.
- To make gluten-free, substitute all-purpose flour 1:1 with a quality GF baking blend containing xanthan gum