Airy Focaccia Bread Recipe
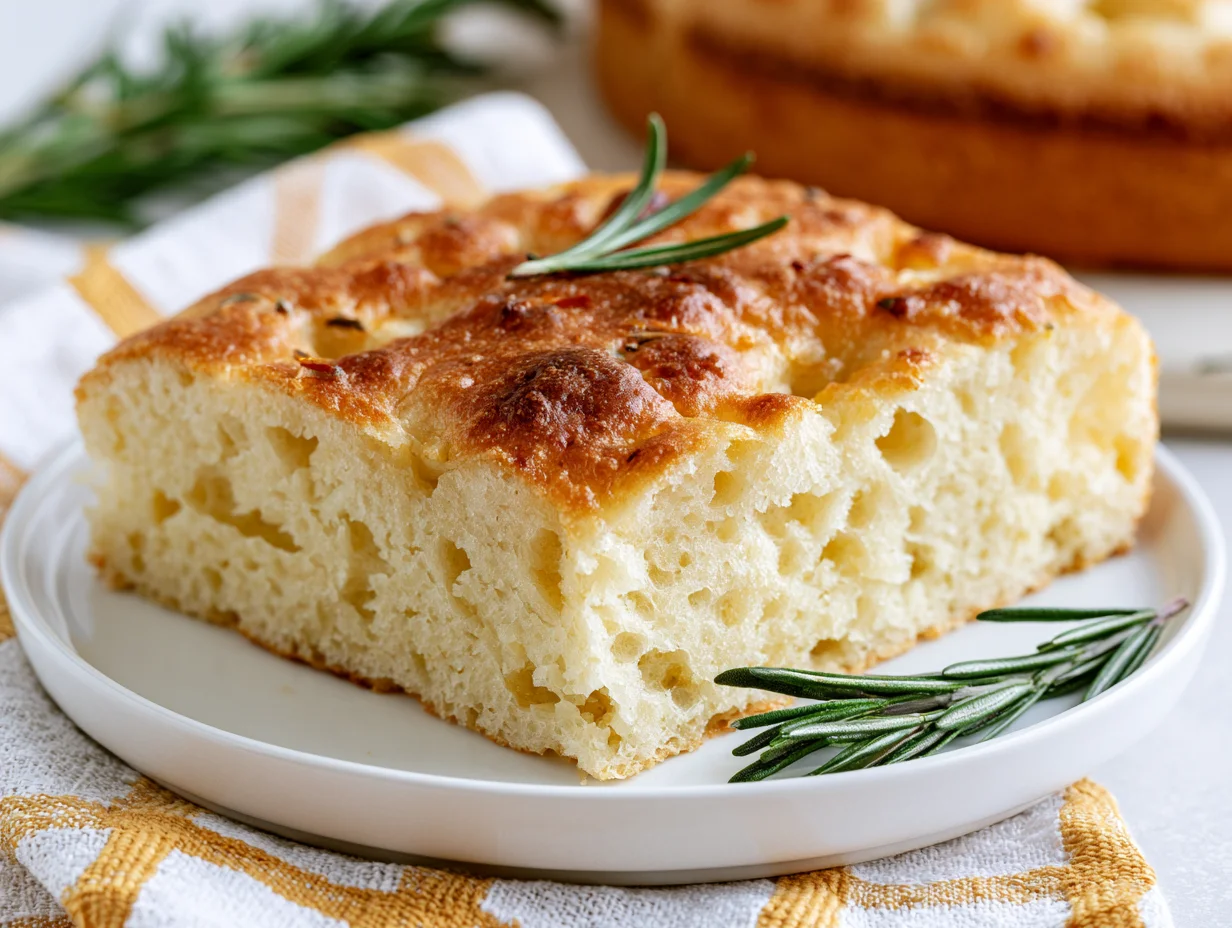
Some breads are baked out of necessity. Focaccia is baked out of pure love. That golden, olive-oil-drenched surface, the dimpled top glistening under the oven light, the smell that fills your kitchen before it even finishes baking — there’s nothing quite like it, and once you’ve made it from scratch, you’ll never look at store-bought flatbread the same way again.
What sets a truly great focaccia apart from a mediocre one comes down to two things: the dough’s hydration and the quality of your olive oil. Get those right, and the bread practically makes itself. The process is forgiving, the ingredients are minimal, and the result is a loaf with a crisp, golden bottom, a soft and airy interior, and a flavor that tastes like it came from a bakery in Liguria.
This isn’t a complicated recipe. It does require a little patience — mostly hands-off resting time — but the active work is minimal and deeply satisfying. Mixing, folding, dimpling, drizzling. It’s the kind of recipe that makes you feel like a real baker.
Whether you’re making it for a dinner party, a weekend brunch, or simply because you want something extraordinary with your soup, this airy focaccia bread recipe is the one you’ll return to again and again.
Ingredients You’ll Need
Every great focaccia starts with the same quiet confidence — a short, honest ingredient list that asks nothing of you except a little time and a generous hand with the olive oil.
One of the things I love about this recipe is that it uses simple pantry ingredients. You probably already have most of them in your kitchen.
Base Ingredients
- 4 cups bread flour (or all-purpose flour)
- 2 tsp instant yeast (or active dry yeast)
- 2 tsp fine sea salt
- 1 3/4 cups warm water (around 100°F / 38°C)
- 1/4 cup extra virgin olive oil, plus more for the pan and topping
- 1 tsp honey or sugar (to activate the yeast)
- 1 tsp flaky sea salt (for finishing)
- 2 tbsp fresh rosemary, roughly chopped
Optional Add-ins
- 1/2 cup cherry tomatoes, halved (pressed into the surface before baking)
- 1/4 cup Kalamata olives, pitted and sliced
- 3 to 4 garlic cloves, thinly sliced
- 1/4 cup caramelized onions (spread over the top before baking)
- 1/2 tsp red pepper flakes (for gentle heat)
- 2 tbsp grated Parmesan (scattered over the surface)
Step-by-Step Instructions
Step 1: Activate the Yeast and Build the Dough
In a large mixing bowl, combine the warm water, honey, and instant yeast. Give it a quick stir and let it sit for 5 to 10 minutes until foamy — this tells you the yeast is alive and ready to work. Add the bread flour, fine sea salt, and 2 tablespoons of the olive oil. Mix with a sturdy spatula or your hands until a shaggy, sticky dough forms. It will look rough and uneven at this stage — that’s completely normal and exactly what you want. Resist the urge to add more flour.
Step 2: First Rise — Let Time Do the Work
Drizzle 1 tablespoon of olive oil over the dough and use your hands to coat it lightly. Cover the bowl tightly with plastic wrap or a clean kitchen towel and let the dough rise at room temperature for 1 to 2 hours, until it has roughly doubled in size. If your kitchen is cool, this may take closer to 2 hours. For an even more developed flavor, you can place the covered bowl in the refrigerator overnight — a cold, slow rise builds exceptional depth of flavor that a quick rise simply can’t replicate.
Step 3: Prepare Your Pan and Transfer the Dough
Generously coat a 9×13 inch baking pan with at least 3 to 4 tablespoons of olive oil — do not be shy here. This oil is what creates that iconic crispy, golden bottom crust. Transfer the dough into the pan and gently stretch it toward the edges. It will spring back; that’s fine. Let it rest for 10 minutes, then gently stretch it again. Cover loosely and allow it to rest for another 45 minutes to 1 hour until it has puffed up and filled the pan with a pillowy, airy texture throughout.
Step 4: Dimple, Drizzle, and Top
Once the dough has puffed and is looking relaxed and airy, it’s time for the most satisfying step in the entire recipe. Drizzle 2 tablespoons of olive oil over the surface. With oiled fingers, press firmly straight down into the dough to create deep dimples across the entire surface — do this confidently and generously. These dimples are not just decorative; they trap olive oil and create those signature pockets of flavor. Scatter the flaky sea salt and fresh rosemary evenly over the top. Add any optional toppings at this stage.
Step 5: Bake to a Golden, Airy Finish
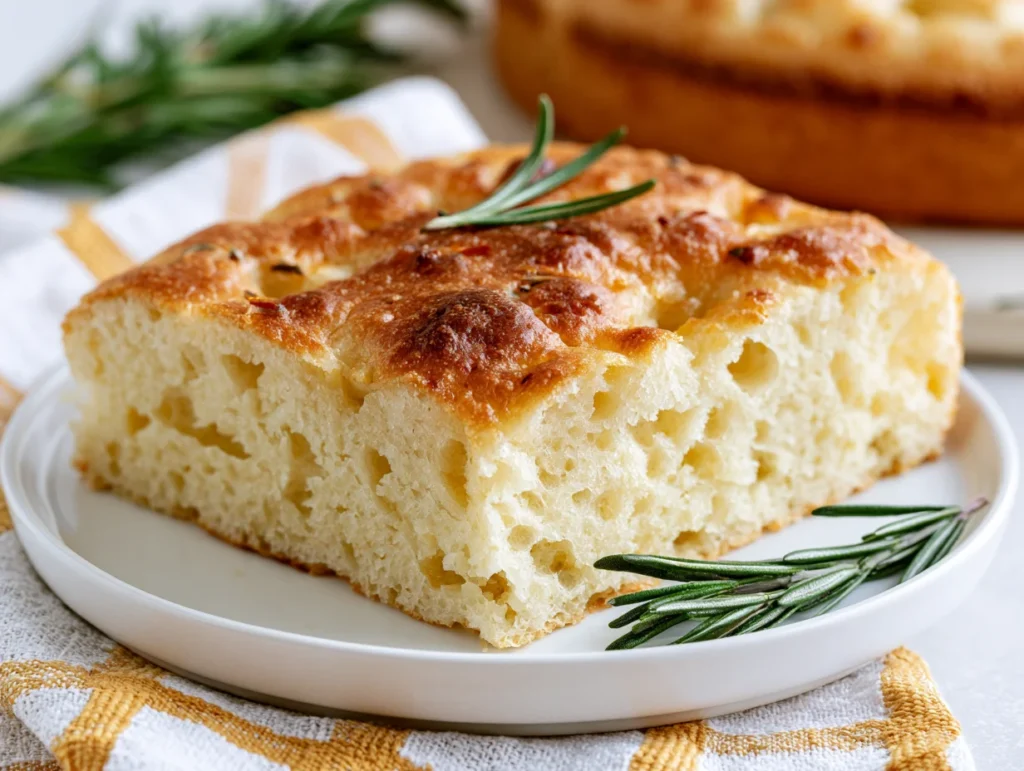
Preheat your oven to 425°F (220°C) and let it come to full temperature before the bread goes in. Bake the focaccia on the center rack for 20 to 25 minutes, until the surface is deeply golden and the edges are pulling away from the sides of the pan. The bottom should sound hollow when tapped — a reliable sign that it has baked through completely. Remove from the oven and allow it to cool in the pan for 5 minutes before lifting it out onto a wire rack. Slice and serve warm for the best possible experience.
Cook Time
Total
2 hours 40 minutes to 3 hours 30 minutes (including rise time)
Prep
15 minutes active, plus 1 hour 45 minutes to 2 hours 45 minutes resting
Bake
20 to 25 minutes
Servings
This recipe produces one full 9×13 inch focaccia loaf, which cuts beautifully into generous portions depending on how you plan to serve it. As a side bread for a dinner table, it serves eight to ten people comfortably alongside soups, salads, or pasta.
Makes approximately 8 to 10 servings as a side bread, or 12 to 16 smaller pieces if cut into appetizer-sized squares for a party or sharing board.
If you’d like a thicker, bakery-style loaf, use an 8×8 pan instead for a more substantial, pillowy result with extra height. For a thinner, crispier focaccia, the same dough can be spread across a larger sheet pan and baked for a few minutes less.
Common Mistakes in This Recipe
The most common mistake home bakers make with focaccia is using too little olive oil. It feels counterintuitive to pour what seems like an excessive amount into the pan, but that oil is doing critical structural work. Without it, the bottom crust turns dry and pale rather than developing the deep golden crispness that defines a properly made focaccia.
A close second is adding extra flour when the dough feels too sticky. Focaccia dough is supposed to be wet and loose — that high hydration is precisely what produces the open, airy crumb structure inside. Adding flour to make it easier to handle tightens the gluten network and results in a dense, bready loaf that lacks the lightness this recipe is known for.
Rushing the rise is another mistake that costs the finished bread significantly. Cutting the first or second rise short means the yeast hasn’t had enough time to produce the gas bubbles that give focaccia its characteristic lift. The bread will bake up flat, tight, and without the pillowy interior that makes every bite feel worth the effort.
Finally, under-dimpling the dough before baking is a subtle but impactful error. Shallow or timid dimples disappear as the bread puffs in the oven, leaving a smooth surface that doesn’t hold the olive oil in the signature pools that carry both flavor and texture into every bite.
Solutions to Common Mistakes
Commit to the olive oil. Use more than feels reasonable — at minimum 3 to 4 tablespoons in the pan before the dough even goes in, and another generous drizzle before baking. If the pan looks like it has too much oil, you’re probably in the right territory. That oil is an ingredient, not a lubricant.
Trust the wet dough. Work with it using oiled hands rather than floured ones, and resist any impulse to adjust the hydration. Oil keeps the dough manageable during transfers and dimpling without adding flour. Once baked, a wet dough produces a dramatically lighter crumb than a dry one — and you’ll taste the difference clearly.
Give the dough its full rise time. If your kitchen is warm, the first rise may move quickly, but the second rise in the pan matters just as much. The dough should look visibly puffed and relaxed before it goes into the oven. If you’re unsure, give it another 15 minutes — a slightly over-proofed focaccia is far better than one that was cut short.
When dimpling, press with confidence and go deep — all the way to the bottom of the pan. Use all your fingers, work quickly, and cover the entire surface. Once the oil settles into those cavities and the bread bakes, those dimples become the most flavorful parts of the entire loaf.
Nutritional Information (approx. per serving)
- Calories: 265 kcal
- Carbohydrates: 38g
- Protein: 6g
- Total Fat: 10g
- Saturated Fat: 1.5g
- Fiber: 1.5g
- Sugar: 1g
- Sodium: 480mg
- Iron: 2.2mg
- Calcium: 20mg
Extra virgin olive oil is the nutritional backbone of this recipe, and its contribution goes well beyond flavor. Rich in monounsaturated fats and polyphenols, high-quality extra virgin olive oil has been linked in numerous studies to reduced inflammation and improved cardiovascular health when consumed as a regular part of the diet.
Bread flour provides a meaningful source of complex carbohydrates, which the body breaks down gradually for sustained energy rather than the rapid spikes associated with refined sugars. The protein content in bread flour also contributes to gluten development, which — beyond its structural role in the bread — offers some dietary protein per serving.
Fresh rosemary, while used in small quantities, delivers rosmarinic acid and antioxidant compounds that have shown anti-inflammatory properties in research settings. It also contains Vitamin C and Vitamin A in trace amounts, and its aromatic oils have long been associated with digestive and circulatory benefits in traditional culinary medicine.
The relatively modest sodium content in this recipe, primarily from the sea salt used to season the dough and finish the surface, keeps each serving within a reasonable daily range. Homemade focaccia gives you full control over salt levels — a meaningful advantage over commercially produced flatbreads, where sodium is often significantly higher.
Storage Instructions
Once completely cooled to room temperature, store leftover focaccia in an airtight container or wrap it tightly in aluminum foil. Kept at room temperature, it will stay fresh and reasonably soft for up to two days. Beyond that, the crumb begins to dry out and the crust loses its texture, so plan your storage method based on when you intend to eat it.
For longer storage, the refrigerator is an option — though it does accelerate the bread’s tendency to dry out. If refrigerating, wrap each piece individually in foil and consume within four days. Refresh refrigerated focaccia in a 350°F oven for 5 to 8 minutes before serving; this restores most of the crust’s crispness and warms the interior back to something close to freshly baked.
Freezing is the best option for making this recipe ahead in bulk. Slice the cooled focaccia into individual portions, wrap each piece tightly in plastic wrap, place them in a freezer-safe bag, and freeze for up to one month. Thaw at room temperature for about an hour or overnight in the refrigerator, then warm in the oven before serving.
One of the most practical things about this recipe is that the unbaked dough can be refrigerated after the first rise for up to 24 hours. When you’re ready to bake, transfer it to the oiled pan, let it warm up and complete its second rise at room temperature, then bake as directed. This makes fresh, same-day focaccia entirely possible even on a busy schedule.
Suggestions
Focaccia is one of the most versatile breads in any cook’s repertoire, and how you serve it says a lot about the occasion. The simplest and often most satisfying approach is to cut it into generous squares and serve it warm alongside a bowl of good olive oil for dipping — perhaps with a small dish of balsamic vinegar or a sprinkle of flaky salt on the side. No accompaniment needed beyond that.
For a more composed serving, focaccia works beautifully as the base for an open-faced appetizer. Top warm squares with fresh burrata and halved cherry tomatoes, or layer on prosciutto and a few leaves of fresh basil after baking. The bread’s olive oil richness and mild yeasty flavor make it an ideal backdrop for bold, fresh toppings that don’t require cooking.
Focaccia also makes exceptional sandwiches. Slice it horizontally through the middle and fill it with roasted vegetables, fresh mozzarella, and sun-dried tomatoes for a lunch that holds together beautifully without turning soggy. The bread’s structure is firm enough to carry substantial fillings while remaining soft and tender with every bite.
Don’t overlook day-old focaccia as an ingredient in its own right. Cubed and toasted in the oven, it becomes extraordinary croutons for salads or tomato soup. Torn into rough chunks and baked until crisp, it serves as a panzanella base that soaks up dressing and juices in the most satisfying way. What starts as leftover bread can become the best part of tomorrow’s meal.
Seasonal Relevance
Focaccia has no true off-season — but it does have peak moments, and autumn is arguably the most fitting. As temperatures drop and the instinct to bake returns with full force, this is the bread that belongs in a warm kitchen on a Saturday afternoon. Paired with a bowl of roasted tomato soup or a simple autumn salad, it anchors the table in the most comforting way possible.
In spring, focaccia becomes a canvas for the season’s freshest produce. Thin slices of asparagus pressed into the surface, scattered with lemon zest and fresh thyme, turn a simple bread into something that feels light and celebratory. Spring herb focaccia — topped with chives, parsley, and dill — pairs beautifully with eggs at brunch or alongside a plate of soft cheeses.
Summer calls for the tomato version, and for good reason. Cherry tomatoes halved and pressed into the dimpled surface before baking burst open in the oven and concentrate into jammy, intensely flavored pools of sweetness against the golden, oily bread. This is the version that belongs at outdoor dinner tables, served alongside grilled fish or a cold glass of white wine.
Winter makes focaccia a natural companion to the season’s heartier meals. Serve it warm from the oven alongside braised meats, lentil soups, or holiday cheese boards. Its simplicity balances rich, slow-cooked dishes without competing with them — and there’s genuine comfort in the act of pulling a golden loaf from the oven when it’s cold outside.
Final Words
Making focaccia from scratch is one of those cooking experiences that shifts something in you. It’s not technically difficult, but it is deliberate — it asks you to slow down, to trust the process, and to resist the impulse to rush. And when you pull that golden, fragrant loaf from the oven, the reward feels entirely proportionate to that patience.
What this recipe proves, more than anything, is that great bread doesn’t require a professional kitchen, a stand mixer, or years of baking experience. It requires quality ingredients, a little understanding of how dough behaves, and the willingness to give it the time it needs. Everything else follows naturally from those three things.
I’d encourage you to make this recipe at least twice before deciding you’ve found your version. The first time you learn the dough — how it feels, how it moves, how much oil is actually the right amount. The second time, you bake with confidence, and the bread shows it. By the third time, you’ll be experimenting with toppings and making it for everyone you know.
If you make this airy focaccia bread, share how it turned out. Baking is always better when it’s a conversation — and the best recipes improve over time when real people make them in real kitchens and bring their own ideas back to the table.
Frequently Asked Questions
Can I use all-purpose flour instead of bread flour for this focaccia?
Yes, all-purpose flour works well and produces a slightly softer, less chewy crumb. Bread flour creates a more structured, airy interior with better chew due to its higher protein content. Either flour will yield a delicious focaccia — the choice comes down to the texture you prefer and what you have available.
Why does my focaccia come out dense instead of airy and light?
The most likely cause is adding too much flour to a sticky dough, cutting the rise time short, or under-proofing during the second rise in the pan. High hydration and full proofing are non-negotiable for an open, airy crumb. Trust the sticky dough and give each rise the full recommended time before baking.
Can I make focaccia dough without yeast using a sourdough starter instead?
Yes, sourdough focaccia is exceptional. Replace the instant yeast and warm water with 200g active sourdough starter and adjust the remaining water to about 1 1/4 cups. The rise time will be longer — typically 4 to 6 hours at room temperature — but the flavor depth and complexity it adds to the finished bread is genuinely worth it.
Airy Focaccia Bread Recipe
10
servings15
minutes25
minutes265
kcal40
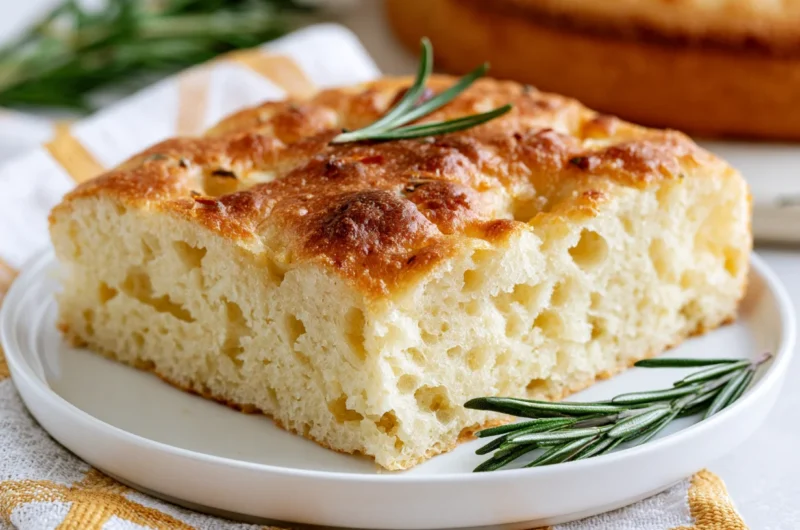
minutesThis Airy Focaccia Bread is golden, olive-oil-rich, and impossibly light inside. With a crispy bottom, pillowy crumb, and fragrant rosemary topping, it’s the homemade bread recipe that turns any ordinary meal into something truly memorable.
Ingredients
Base Ingredients:
4 cups bread flour (or all-purpose flour)
2 tsp instant yeast (or active dry yeast)
2 tsp fine sea salt
1 3/4 cups warm water (around 100°F / 38°C)
1/4 cup extra virgin olive oil, plus more for the pan and topping
1 tsp honey or sugar
1 tsp flaky sea salt (for finishing)
2 tbsp fresh rosemary, roughly chopped
Optional Add-ins:
1/2 cup cherry tomatoes, halved
1/4 cup Kalamata olives, pitted and sliced
3 to 4 garlic cloves, thinly sliced
1/4 cup caramelized onions
1/2 tsp red pepper flakes
2 tbsp grated Parmesan
Directions
- In a large bowl, combine warm water, honey, and instant yeast. Stir and let sit for 5 to 10 minutes until foamy. Add bread flour, fine sea salt, and 2 tablespoons of olive oil. Mix until a shaggy, sticky dough forms. Do not add extra flour.
- Drizzle 1 tablespoon of olive oil over the dough and coat lightly. Cover the bowl with plastic wrap or a kitchen towel and let the dough rise at room temperature for 1 to 2 hours until doubled in size. Alternatively, refrigerate overnight for deeper flavor.
- Generously coat a 9×13 inch baking pan with 3 to 4 tablespoons of olive oil. Transfer the dough into the pan and gently stretch it toward the edges. Let it rest for 10 minutes, stretch again, then cover and rest for another 45 minutes to 1 hour until puffed and airy.
- Drizzle 2 tablespoons of olive oil over the surface. With oiled fingers, press firmly into the dough to create deep dimples across the entire surface. Scatter flaky sea salt and fresh rosemary evenly on top. Add any optional toppings at this stage.
- Preheat oven to 425°F (220°C). Bake on the center rack for 20 to 25 minutes until the surface is deeply golden and the edges are pulling away from the sides of the pan. The bottom should sound hollow when tapped.
- Remove from the oven and let cool in the pan for 5 minutes. Lift onto a wire rack and slice. Serve warm for the best flavor and texture.
Recipe Video
Notes
- Do not add extra flour even if the dough feels sticky — high hydration is what creates the airy, open crumb inside the finished bread.
- Use oiled hands instead of floured hands when handling and dimpling the dough to keep the hydration intact.
- Be generous with olive oil in the pan — at least 3 to 4 tablespoons. This is what produces the iconic crispy, golden bottom crust.
- Dimple deeply and confidently using all fingers, pressing all the way to the bottom of the pan. Shallow dimples disappear during baking.
- For stronger flavor, refrigerate the dough after the first rise for up to 24 hours before proceeding with the second rise and baking.
- For a thicker, bakery-style loaf, use an 8×8 pan. For a thinner and crispier result, spread the dough across a larger sheet pan and reduce bake time by a few minutes.
- Leftover focaccia can be frozen in individual portions for up to one month. Reheat in a 350°F oven for best results.