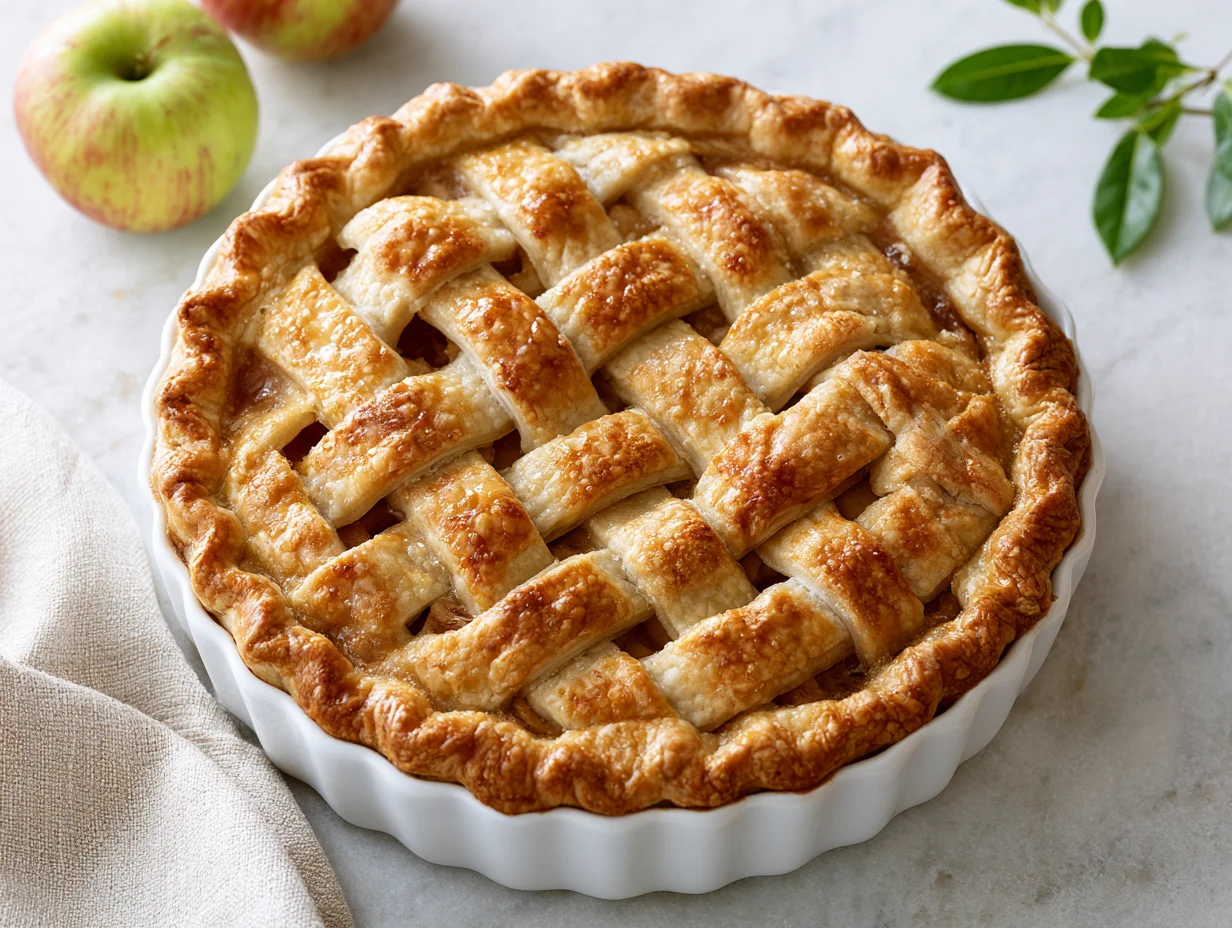
Best Classic Apple Pie Recipe
There is a reason apple pie has endured for centuries as the most beloved dessert in the American kitchen. It is not just about sweetness or warmth — it is about the way a single slice can make an ordinary afternoon feel like something worth remembering. Few things in baking carry that kind of weight.
The classics earn their reputation because they deliver, consistently and without apology. A truly great apple pie has a filling that is tender but not mushy, spiced but not overpowering, sweet but balanced with just enough tartness to keep every bite interesting. That balance is what most recipes get wrong.
This recipe does not cut corners. The crust is made from scratch with real butter, the filling is built with intention, and every element — from the apple variety to the vent pattern on top — has a reason for being there.
If you have been searching for a classic apple pie recipe that actually holds up as the best version you have ever made, this is the one. Let us walk through it together, step by step.
Ingredients You’ll Need
There is something quietly satisfying about assembling these ingredients — each one familiar, each one essential, and together they create something that smells like autumn and tastes like home.
One of the things I love about this recipe is that it uses simple pantry ingredients. You probably already have most of them in your kitchen.
Base Ingredients
- 2 ½ cups all-purpose flour (for the crust)
- 1 teaspoon salt
- 1 tablespoon granulated sugar (for the crust)
- 1 cup unsalted butter, cold and cubed
- 6 to 8 tablespoons ice-cold water
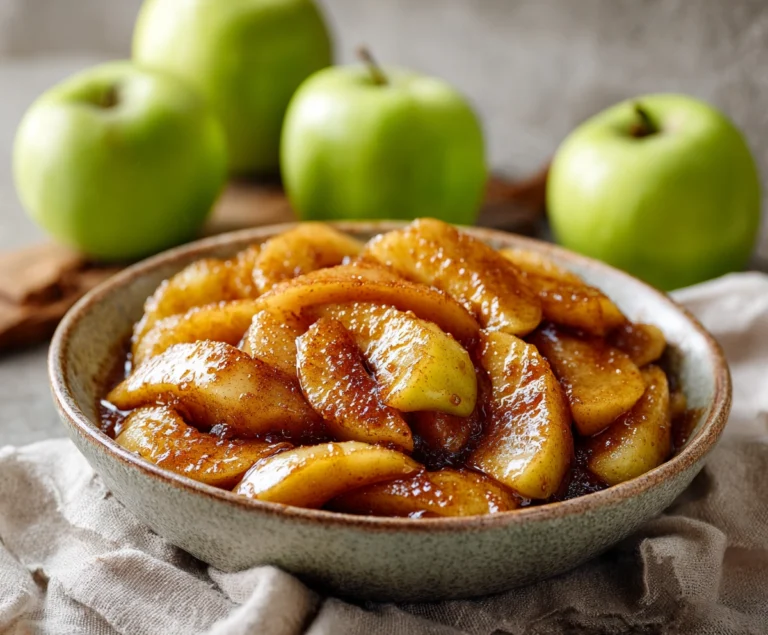
- 6 cups apples, peeled, cored, and thinly sliced (about 6 medium apples)
- ¾ cup granulated sugar (for the filling)
- 2 tablespoons brown sugar
- 2 tablespoons all-purpose flour (for the filling)
- 1 teaspoon ground cinnamon
- ¼ teaspoon ground nutmeg
- 1 tablespoon fresh lemon juice
- 1 teaspoon pure vanilla extract
- 2 tablespoons unsalted butter, cut into small pieces (for dotting the filling)
- 1 egg (for egg wash)
- 1 tablespoon milk (for egg wash)
- 1 tablespoon coarse sugar (for topping)
Optional Add-ins
- ¼ teaspoon ground allspice (deepens the spice profile)
- ¼ teaspoon ground cardamom (adds floral warmth)
- 1 tablespoon bourbon or dark rum (enhances the apple flavor beautifully)
- 2 tablespoons dried cranberries (adds color and a slight tartness)
- 1 teaspoon orange zest (brightens the overall filling)
- ½ teaspoon ground ginger (for a subtle, warming bite)
Step-by-Step Instructions
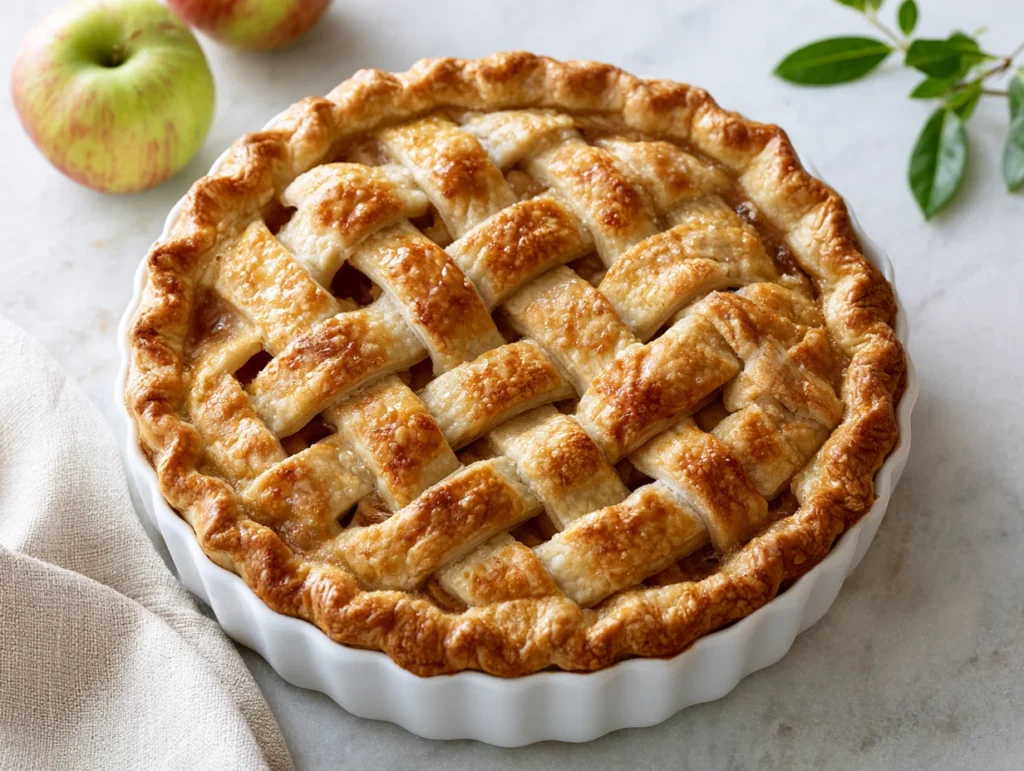
Step 1 — Make the Pie Crust Dough
In a large mixing bowl, whisk together the flour, salt, and sugar. Add the cold cubed butter and work it into the flour using your fingertips or a pastry cutter until the mixture resembles coarse crumbs with some pea-sized butter pieces remaining. Those butter pieces are essential — they create the flaky layers the crust is known for. Add ice water one tablespoon at a time, mixing gently after each addition, until the dough just comes together without being sticky. Divide in half, shape into two discs, wrap in plastic, and refrigerate for at least one hour.
Step 2 — Prepare the Apple Filling
Peel, core, and slice your apples to a uniform thickness of about 3mm — this ensures even cooking throughout the filling. In a large bowl, combine the sliced apples with granulated sugar, brown sugar, flour, cinnamon, nutmeg, lemon juice, and vanilla extract. Toss everything together until the apples are thoroughly and evenly coated. Let the mixture sit for fifteen minutes. This resting period draws out some of the natural juice from the apples and allows the sugar and spices to begin melding into the fruit before it ever enters the oven.
Step 3 — Roll Out the Crust
Remove one dough disc from the refrigerator and let it sit at room temperature for five minutes — just enough to make it pliable without warming the butter. On a lightly floured surface, roll it out from the center outward into a circle roughly 30cm (12 inches) in diameter. Carefully transfer it to a 9-inch pie dish, gently pressing it into the bottom and sides without stretching. Trim any excess dough leaving about a 1cm overhang. Return it to the refrigerator while you roll out the second disc for the top crust.
Step 4 — Assemble the Pie
Drain any excess liquid that has collected at the bottom of the apple filling bowl — pouring it directly into the pie shell is one of the most common causes of a soggy crust. Spoon the filling evenly into the chilled bottom crust and dot the top with small pieces of butter. Lay the rolled top crust over the filling, trim it to match the bottom overhang, then fold and crimp the edges together firmly to seal. Cut several small vents into the top crust to allow steam to escape during baking, which prevents the filling from becoming watery and the crust from splitting unpredictably.
Step 5 — Apply Egg Wash and Bake
Whisk together the egg and milk, then brush the mixture evenly over the entire surface of the top crust — this gives the finished pie its deep golden, glossy finish. Sprinkle coarse sugar generously over the top for a slight crunch and a beautiful crystalline appearance. Place the assembled pie on a rimmed baking sheet to catch any drips and bake in a preheated oven at 220°C (425°F) for the first 20 minutes, then reduce to 190°C (375°F) and continue baking for 35 to 40 minutes until the crust is deeply golden and the filling is visibly bubbling through the vents.
Step 6 — Cool Before Slicing
This is the step most people skip, and it is the one that makes or breaks the final texture. Remove the pie from the oven and place it on a wire cooling rack. Allow it to cool at room temperature for a minimum of two hours before slicing. The filling continues to thicken and set as it cools — cutting into a hot pie releases all the liquid before it has had the chance to gel properly, leaving you with a runny, structurally compromised slice. Patience here is not optional; it is the difference between a pie that holds and a pie that collapses.
Cook Time
Total
1 hour 20 minutes (plus 1 hour chilling and 2 hours cooling)
Prep
30 minutes
Bake
55 to 60 minutes
Servings
This recipe yields a standard 9-inch double-crust apple pie, which slices cleanly into eight generous portions. Each slice is substantial enough to serve as a proper dessert course on its own, though a scoop of vanilla ice cream or a spoonful of lightly whipped cream alongside it is always a welcome addition.
If you are serving a larger gathering or want leftovers that keep well through the next day, this pie holds up beautifully at room temperature for the first several hours and refrigerates without losing much of its texture or flavor.
Makes approximately 8 slices.
For smaller households, the pie keeps well covered in the refrigerator for up to four days, and individual slices reheat in a 175°C (350°F) oven in about ten minutes, restoring the crust’s crispness almost entirely.
Common Mistakes in This Recipe
One of the most frequent mistakes home bakers make is using the wrong variety of apples, or worse, using just one kind. Soft apples like Red Delicious break down entirely during baking, leaving a filling that is more applesauce than pie. Without the structural contrast of a firmer variety, the texture becomes uniformly mushy and unappetizing.
Overworking the pie dough is another error that quietly ruins an otherwise solid recipe. The more you handle the dough after adding the water, the more gluten develops, and the result is a crust that bakes up tough and dense rather than short, crumbly, and flaky. Many home bakers knead pie dough as they would bread — this is the opposite of what is needed.
Skipping the step of draining excess liquid from the apple filling before transferring it to the crust is a mistake that leads directly to a soggy, undercooked bottom crust. Apples release a significant amount of liquid as they macerate with the sugar, and that liquid needs to be removed rather than incorporated.
Cutting into the pie straight from the oven is perhaps the most common and most damaging mistake of all. The filling has not had time to set, the liquid has not thickened, and the result is a structurally unstable slice that falls apart on the plate and looks nothing like the pie that came out of the oven.
Solutions to Common Mistakes
The apple variety problem has a simple fix: always use a blend of at least two types. A firm, tart apple like Granny Smith provides structure and sharpness, while a sweeter variety like Honeycrisp or Braeburn adds depth and a more complex flavor. Together they create a filling with contrast, both in texture and in taste.
For the dough, the rule is clear — handle it as little as possible once the water goes in. Mix until the dough just comes together, then stop. If you see streaks of butter in the dough, that is a good sign. Those streaks turn into flaky layers in the oven. Refrigerating the dough for at least an hour before rolling also relaxes the gluten and makes it significantly easier to work with.
To address excess liquid in the filling, let the apples sit with the sugar for fifteen minutes after mixing, then drain off any pooled juices at the bottom of the bowl before filling the crust. You can reduce that drained liquid in a small saucepan and drizzle it back over the apples as a concentrated glaze for additional depth.
The cooling issue requires nothing more than discipline. Set a timer for two hours and resist the urge to cut earlier. If the kitchen is warm and you need the pie to set faster, place it near an open window or a fan. The filling firms up considerably as it cools, and that patience is what produces a clean, picture-perfect slice.
Nutritional Information (approx. per serving)
- Calories: 420–450 kcal
- Carbohydrates: 58 g
- Total Fat: 20 g
- Saturated Fat: 12 g
- Protein: 4 g
- Fiber: 3 g
- Sugar: 30 g
- Sodium: 220 mg
- Vitamin C: 5% DV
- Iron: 8% DV
- Calcium: 2% DV
Apples are one of the most nutritionally consistent fruits available year-round, and their presence in this recipe contributes more than just flavor. They are a meaningful source of dietary fiber, particularly pectin — a soluble fiber that supports digestive health and helps maintain stable blood sugar levels after eating.
The use of real butter rather than shortening or margarine means the fat in this recipe comes without trans fats, which have been broadly linked to cardiovascular risk. In reasonable portions, the saturated fat from quality dairy butter behaves very differently in the body than processed fats, and contributes to genuine satiety that prevents overconsumption.
Cinnamon, used generously in the filling, has been studied repeatedly for its role in supporting insulin sensitivity and reducing post-meal blood sugar spikes. Even at the quantities used in baking, its bioactive compounds — particularly cinnamaldehyde — contribute measurable physiological effects beyond simple flavor.
The lemon juice added to the filling provides a small but real contribution of vitamin C, which supports immune function and helps the body absorb the non-heme iron present in the flour. Small sources of nutrition, used consistently across meals, add up in meaningful ways over time.
Storage Instructions
Once the pie has cooled completely to room temperature — which takes a minimum of two hours — it can be stored loosely covered with aluminum foil or plastic wrap at room temperature for up to two days. The crust remains relatively crisp during this window, and the filling holds its set texture well without refrigeration for the first 48 hours.
For storage beyond two days, transfer the pie to the refrigerator. Cover it loosely rather than tightly to prevent condensation from building up against the crust, which would soften it prematurely. Refrigerated apple pie keeps well for up to four days without significant loss in flavor or texture, though the bottom crust does soften slightly over time.
To reheat individual slices, place them on a baking sheet in a 175°C (350°F) oven for eight to ten minutes. This method restores the crust’s structure and warms the filling evenly without making it watery. Avoid microwaving if possible — it steams the crust rather than crisping it, producing a texture that is noticeably inferior.
For longer storage, apple pie freezes exceptionally well both before and after baking. If freezing an unbaked pie, assemble it fully, wrap it tightly in two layers of plastic wrap followed by foil, and freeze for up to three months. Bake directly from frozen at 220°C (425°F) for 20 minutes, then reduce the heat and continue baking until done, adding approximately 15 extra minutes to the standard bake time.
Suggestions
The most iconic pairing for classic apple pie is a generous scoop of good vanilla ice cream — specifically one made with real vanilla bean, not artificial flavoring. The contrast between the warm, spiced filling and the cold, creamy ice cream is deliberate and deeply satisfying. This combination has endured because it works on every level: temperature, texture, and flavor all complement each other perfectly.
If ice cream is not what you are after, a dollop of lightly whipped cream with a pinch of cinnamon stirred in is an equally elegant choice. For something richer, a slice of sharp aged cheddar served alongside warm apple pie is a traditional pairing in parts of New England and the UK that surprises many first-timers but wins over nearly all of them.
The leftover filling, if you have any from a batch that did not make it into the pie, is outstanding stirred into oatmeal the following morning, spooned over pancakes, or layered into a simple parfait with Greek yogurt and granola. None of these applications require any additional cooking — the filling is already seasoned and ready.
For dinner party presentation, individual mini apple pies baked in a muffin tin using the same dough and filling recipe make a stunning plated dessert. Bake for 22 to 25 minutes at 190°C (375°F) and serve warm with a small pour of salted caramel sauce. It is the kind of detail that makes guests feel like the evening was planned with genuine care.
Seasonal Relevance
Autumn is unquestionably when this recipe belongs. It is the season when apple varieties reach their peak — when Honeycrisp, Braeburn, and Granny Smith are freshly harvested, firm, full of natural juice, and carrying the kind of concentrated flavor that apples stored through the winter months cannot quite replicate. If you are going to make this recipe once a year at its absolute best, September through November is that window.
That said, apple pie is one of the few desserts that holds genuine cultural weight across multiple seasons. It appears on Thanksgiving tables in November, Christmas dessert spreads in December, and Fourth of July celebrations in midsummer — where it serves as a nostalgic anchor alongside grilled food and warm evenings. Its versatility across seasonal contexts is part of what makes it so enduring.
Winter baking is particularly well-suited to this recipe because the long bake time at moderate heat warms the kitchen naturally and fills the home with one of the most comforting aromas in all of cooking — caramelized apple, brown sugar, and cinnamon slowly building over the better part of an hour. There are few better ways to spend a cold afternoon.
Spring versions of this pie benefit from the addition of seasonal brighteners: a touch of orange zest in the filling, a handful of dried cranberries for color, or a drizzle of honey over the top crust before baking. These small adjustments keep the recipe feeling relevant and fresh without departing from what makes the classic version so reliably beloved.
Final Words
A recipe earns the title of “best” not through novelty but through execution. The Best Classic Apple Pie Recipe delivers on every element that matters — a crust that is genuinely flaky, a filling that is perfectly spiced and properly set, and a final result that looks as good as it tastes. That combination is rarer than most baking blogs would have you believe.
What makes this version different is the attention given to the details that most recipes gloss over: the importance of mixed apple varieties, the necessity of draining excess liquid, the value of a properly chilled dough, and the discipline required to let the finished pie cool before slicing. Each of those details exists for a reason, and each one contributes to the final result in a way that is genuinely noticeable.
Apple pie is one of those recipes that rewards repetition. The first time you make it, you are learning. The second time, you are refining. By the third, it starts to feel like something you own — something that carries your instincts and your adjustments and your particular way of crimping the edge. That is when a recipe stops being a recipe and becomes a tradition.
Make this pie once, make it well, and it will earn a permanent place in your kitchen. Share it generously, adjust it confidently, and return to it every autumn with the kind of quiet anticipation that only the best recipes ever manage to inspire.
Frequently Asked Questions
What is the best apple variety to use for classic apple pie, and can I mix them?
A mix of Granny Smith and Honeycrisp is the gold standard — Granny Smith provides tartness and structure while Honeycrisp adds sweetness and depth. Mixing two varieties produces a more complex, layered filling than any single apple can deliver on its own. Always use firm apples that hold their shape during baking.
How do I prevent my apple pie crust from shrinking during baking?
Crust shrinkage is almost always caused by overworking the dough or skipping the chilling step. After rolling and placing the dough in the pie dish, refrigerate it for at least 30 minutes before filling and baking. This relaxes the gluten fully, and the crust holds its shape and dimensions cleanly throughout the bake.
Can I make this apple pie ahead of time for a dinner party or holiday gathering?
Yes — and it is actually recommended. Bake the pie the day before, allow it to cool completely, and store it loosely covered at room temperature overnight. The filling sets more firmly with time, slices hold their shape better, and reheating individual portions in the oven for ten minutes before serving restores the crust’s crispness beautifully.
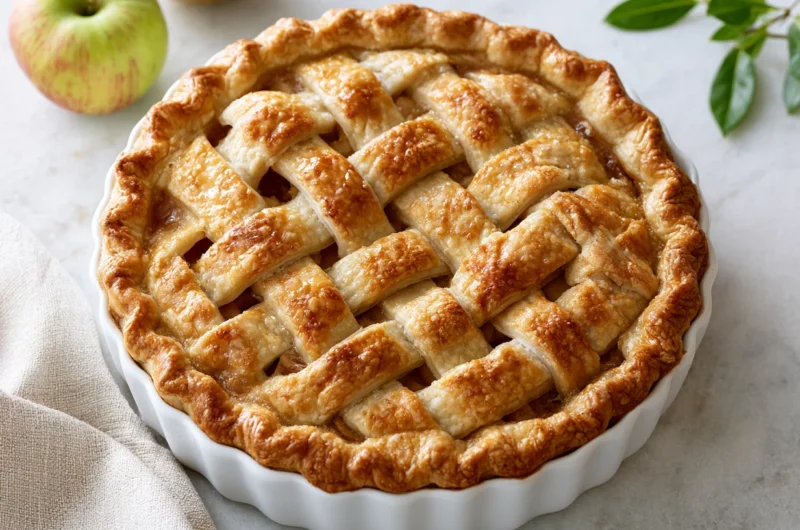
Best Classic Apple Pie Recipe
4
servings30
minutes1
hour450
kcal1
hour30
minutesA from-scratch double-crust apple pie with a buttery flaky pastry and warmly spiced filling. Made with a blend of apples for perfect texture — tender, golden, and deeply satisfying in every slice.
Ingredients
For the crust
2½ cups all-purpose flour
1 teaspoon salt
1 tablespoon granulated sugar
1 cup unsalted butter, cold and cubed
6–8 tablespoons ice-cold water
For the filling
6 cups apples, peeled, cored, and thinly sliced (about 6 medium apples)
¾ cup granulated sugar
2 tablespoons brown sugar
2 tablespoons all-purpose flour
1 teaspoon ground cinnamon
¼ teaspoon ground nutmeg
1 tablespoon fresh lemon juice
1 teaspoon pure vanilla extract
2 tablespoons unsalted butter, cut into small pieces
For finishing
1 egg (for egg wash)
1 tablespoon milk (for egg wash)
1 tablespoon coarse sugar (for topping)
Optional add-ins
¼ teaspoon ground allspice
¼ teaspoon ground cardamom
1 tablespoon bourbon or dark rum
2 tablespoons dried cranberries
1 teaspoon orange zest
½ teaspoon ground ginger
Directions
- Whisk flour, salt, and sugar together. Cut in cold butter until mixture resembles coarse crumbs with pea-sized pieces. Add ice water one tablespoon at a time until dough just comes together. Divide into two discs, wrap, and refrigerate for at least 1 hour.
- Toss sliced apples with both sugars, flour, cinnamon, nutmeg, lemon juice, and vanilla. Let sit for 15 minutes to draw out the natural juices and allow the flavors to begin melding.
- Roll one dough disc into a 30cm (12-inch) circle on a floured surface. Transfer to a 9-inch pie dish, press gently into the base and sides, trim the overhang, and refrigerate while rolling the second disc.
- Drain excess liquid from the apple filling. Spoon filling evenly into the chilled crust and dot with butter pieces. Cover with the top crust, trim, fold, and crimp the edges firmly to seal. Cut several small vents into the top.
- Brush the top crust with egg wash and sprinkle generously with coarse sugar. Place pie on a rimmed baking sheet. Bake at 220°C (425°F) for 20 minutes, then reduce to 190°C (375°F) and bake for a further 35–40 minutes until deeply golden and bubbling.
- Transfer to a wire rack and cool for a minimum of 2 hours before slicing. This allows the filling to set fully and ensures clean, picture-perfect slices.
Recipe Video
Notes
- Always use a blend of at least two apple varieties — Granny Smith for tartness and structure, Honeycrisp or Braeburn for sweetness and depth.
- Keep the butter cold at every stage. Warm butter absorbs into the flour instead of staying in flaky layers — this is the single biggest factor in crust quality.
- Drain the excess liquid from the apple filling before transferring it to the crust. Pouring it in is the leading cause of a soggy bottom crust.
- Do not skip the 2-hour cooling period. The filling sets as it cools — cutting too early releases all the liquid and ruins the slice structure.
- Crust shrinkage is caused by overworking the dough or skipping the chill.
- Refrigerate rolled dough in the dish for 30 minutes before filling for best results.
- To freeze unbaked: assemble the pie, wrap tightly in two layers of plastic wrap and foil, and freeze for up to 3 months. Bake from frozen, adding 15 extra minutes.
- Reheat individual slices in a 175°C (350°F) oven for 8–10 minutes to restore crust crispness. Avoid microwaving — it steams the pastry and softens it.