Quick Pizza Dough Recipe
Homemade pizza night shouldn’t require hours of waiting around for dough to rise. This recipe strips away the unnecessary steps and delivers a soft, stretchy crust in a fraction of the usual time, without sacrificing flavor or texture.
What sets this dough apart is its simplicity. No stand mixer, no complicated proofing schedule, and no specialty flour required. Just a handful of pantry staples and about an hour from start to finish, including rise time.
I developed this method after one too many weeknights where takeout won simply because traditional dough felt like too much effort. This recipe changed that completely, turning pizza night into something spontaneous rather than something that needs a full day of planning.
Whether you’re making a classic Margherita or loading up a pan with everything in your fridge, this dough adapts beautifully. It bakes up golden, slightly chewy, and crisp at the edges — exactly what good pizza crust should be.
Ingredients You’ll Need
Good pizza starts long before the toppings — it starts with a dough that actually behaves the way you want it to, and this one does exactly that.
Base Ingredients
- 2 ¼ cups all-purpose flour
- 1 packet (2 ¼ tsp) instant yeast
- 1 tsp sugar
- 1 tsp salt
- 1 cup warm water
- 2 tbsp olive oil
Optional Add-ins
- 1 tsp dried oregano
- 1 tsp garlic powder
- 1 tbsp grated Parmesan cheese
- ½ tsp red pepper flakes
- 1 tbsp honey (for a slightly sweeter crust)
- ½ cup whole wheat flour (substituting part of the all-purpose flour)
Step-by-Step Instructions
Step 1: Activate the Yeast
In a small bowl, combine warm water with sugar and instant yeast, stirring gently to dissolve. Let this mixture sit undisturbed for 5 to 10 minutes until it turns foamy on top. This step confirms the yeast is active and ready to work, which directly affects how well your dough rises. If the mixture doesn’t foam, your yeast may be expired, so it’s worth starting over with a fresh packet before proceeding.
Step 2: Mix the Dough
In a large bowl, whisk together flour and salt, then create a well in the center. Pour in the activated yeast mixture along with olive oil, and stir using a wooden spoon or your hands until a shaggy dough forms. Add any optional dried herbs or garlic powder at this stage if using. The dough should feel slightly sticky but hold together as one cohesive mass before moving to the kneading step.
Step 3: Knead Until Smooth
Turn the dough out onto a lightly floured surface and knead for about 5 to 7 minutes. Push the dough away with the heel of your hand, fold it back over itself, and rotate, repeating until the texture becomes smooth and elastic. You’ll know it’s ready when the dough springs back slightly after being pressed with a finger, indicating proper gluten development for a chewy crust.
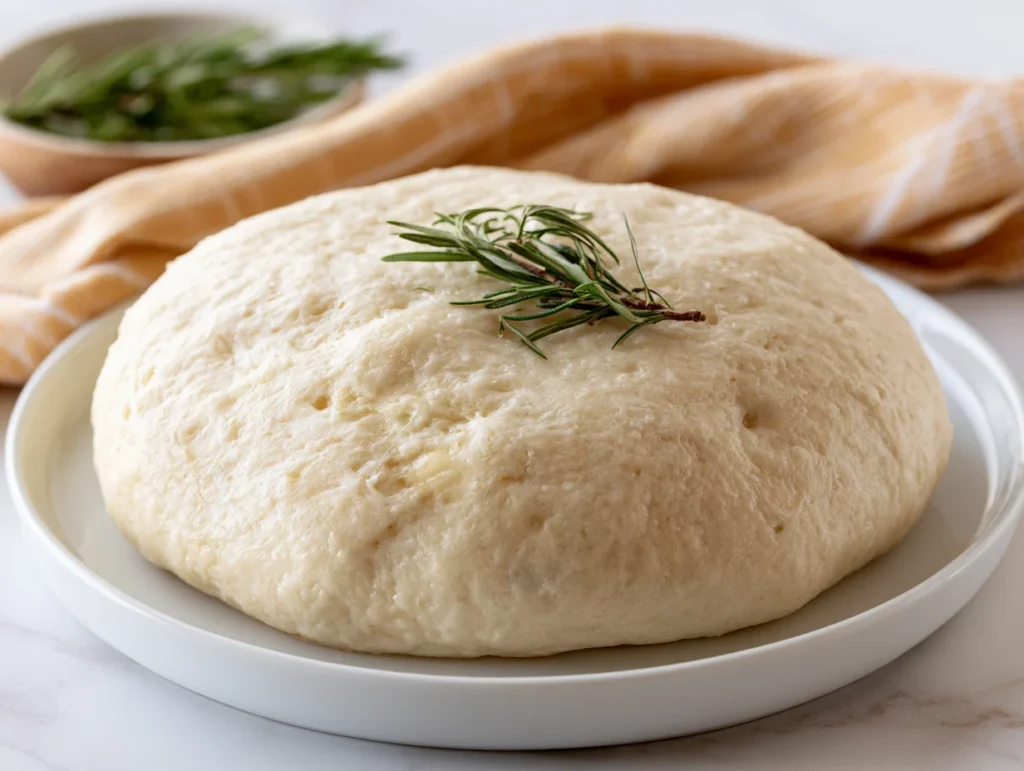
Step 4: Let It Rise
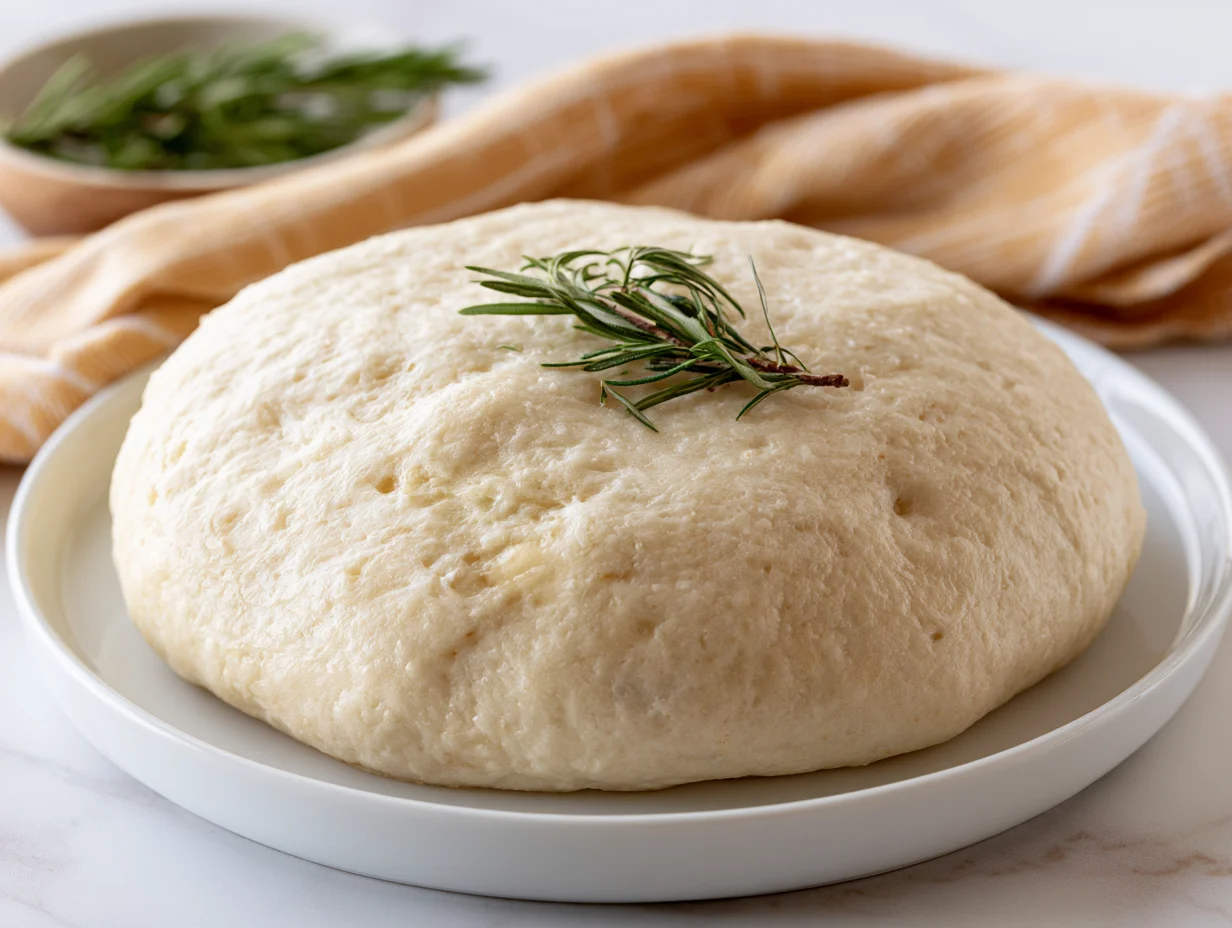
Shape the dough into a ball and place it in a lightly oiled bowl, turning once to coat the surface. Cover with a damp towel or plastic wrap and let it rest in a warm spot for 20 to 30 minutes. This shortened rise time is what makes the recipe quick, while still allowing enough fermentation for good flavor and a light, airy texture once baked.
Step 5: Shape and Bake
Punch the dough down gently to release air, then transfer it to a floured surface. Stretch or roll it into your desired shape, working from the center outward. Transfer to a pizza pan or preheated stone, add toppings, and bake at 475°F for 10 to 14 minutes until the crust turns golden brown and the edges puff up slightly with a crisp finish.
Cook Time
Total:
55 minutes
Prep:
40 minutes
Bake:
12 minutes
Servings
This recipe makes approximately 2 medium pizza crusts, or one large 14-inch pizza, depending on how thin or thick you prefer your base. It’s sized comfortably for a family dinner or a casual gathering with friends.
If you’re cooking for a larger group, the recipe doubles cleanly without affecting rise time or texture, making it easy to scale up for pizza parties or game-night spreads where everyone wants a different topping combination.
For smaller households, leftover dough can be portioned and frozen for future use, meaning a single batch can realistically stretch across two or three separate pizza nights without any noticeable drop in quality.
Common Mistakes in This Recipe
The most common mistake is using water that’s too hot when activating the yeast, which kills it before it ever gets the chance to work. Lukewarm water, not steaming, is what yeast actually needs to thrive.
Many home cooks also skip the foam test entirely, moving straight into mixing the dough without confirming the yeast is alive. This often results in a dense, flat crust that never rises properly during baking.
Over-flouring the dough during kneading is another frequent issue. Adding too much flour to fight stickiness creates a dry, tough dough that bakes up chewy in the wrong way, rather than light and tender.
Lastly, rushing the rise time or skipping it altogether under time pressure leads to underdeveloped flavor and a crust that lacks the slight chew good pizza dough should have.
Solutions to Common Mistakes
Always test your water temperature before adding yeast, aiming for around 105°F to 110°F, which feels warm to the touch but never hot. A kitchen thermometer removes the guesswork entirely.
Never skip the foaming step, even when short on time. Those 5 to 10 minutes confirm your yeast is active, saving you from baking an entire batch of flat, disappointing dough later on.
When kneading, add flour gradually and only as needed to prevent sticking to your hands or surface. A slightly tacky dough is actually ideal and will smooth out as you continue working it.
If time is tight, let the dough rise in a slightly warmer spot, like near a preheated oven, which speeds fermentation without compromising the texture or flavor of the final crust.
Nutritional Information (approx. per serving)
- Calories: 180 kcal
- Protein: 5g
- Carbohydrates: 32g
- Fat: 3g
- Fiber: 1g
- Sodium: 290mg
This dough offers a lighter alternative to store-bought versions, since you control exactly what goes into it, avoiding preservatives and excess sodium often found in packaged crusts sold at grocery stores.
Using part whole wheat flour boosts fiber content significantly, supporting digestion and providing a steadier release of energy compared to crusts made entirely from refined white flour.
Olive oil in the dough contributes heart-healthy monounsaturated fats, which also help create that desirable golden, slightly crisp texture along the crust’s outer edge once baked.
Because portion sizes are easy to control when making dough at home, it’s simpler to manage overall calorie intake compared to ordering pizza, where crust thickness and size vary unpredictably.
Storage Instructions
Fresh dough can be refrigerated in an airtight, lightly oiled container for up to 2 days, allowing the flavor to deepen slightly through slow, cold fermentation before you’re ready to bake.
For longer storage, freeze the dough after the first rise by wrapping it tightly in plastic wrap and placing it in a freezer bag, where it will keep well for up to 3 months.
When ready to use frozen dough, thaw it overnight in the refrigerator, then let it come to room temperature for about 30 minutes before shaping, which makes stretching significantly easier and more even.
Avoid storing dough at room temperature for extended periods, as over-fermentation can cause it to develop a sour taste and an overly airy, unstable texture once baked into a crust.
Suggestions
For a crispier crust, preheat your pizza stone or baking sheet in the oven for at least 20 minutes before baking, ensuring the dough hits a hot surface immediately upon contact.
If you prefer a softer, more bread-like crust, brush the edges with olive oil and a sprinkle of garlic powder right before baking for added flavor and a beautiful golden finish.
This dough also works wonderfully for flatbreads or calzones, requiring no recipe changes beyond adjusting the shape and baking time slightly to accommodate the different format you’re working with.
Pair your finished pizza with a simple arugula salad dressed in lemon and olive oil, which cuts through the richness of melted cheese and adds a refreshing contrast to each bite.
Seasonal Relevance
This quick dough recipe is especially useful during summer months, when turning on the oven for extended periods feels less appealing, and a shorter prep-to-bake time matters more than usual.
During fall and winter, it works beautifully for cozy weekend dinners, especially when topped with seasonal vegetables like roasted squash, caramelized onions, or mushrooms for a heartier, warming meal.
Spring gatherings often call for lighter, fresher toppings, and this dough’s neutral base pairs perfectly with seasonal produce like asparagus, peas, or fresh basil straight from the garden.
Holiday seasons also benefit from having this recipe on hand, since it allows for quick, customizable pizza nights between more elaborate, time-consuming holiday meals throughout the week.
Final Words
This quick pizza dough recipe proves that homemade pizza doesn’t have to mean hours of waiting or complicated techniques most weeknights simply don’t allow for in a busy schedule.
Once you’ve made it a few times, the process becomes second nature, and you’ll likely find yourself reaching for this recipe over delivery far more often than you initially expected.
Its flexibility is what makes it truly valuable, adapting easily to whatever toppings, dietary preferences, or time constraints your week happens to bring without ever compromising on taste or texture.
Keep this dough recipe bookmarked, because once homemade pizza becomes this easy, it’s genuinely hard to go back to ordering out on a regular basis.
Frequently Asked Questions
Can I make this dough without a stand mixer?
Yes, this recipe is designed for hand-kneading and doesn’t require any special equipment. A large bowl, a wooden spoon, and a clean countertop are all you need to mix and knead it properly.
Why is my dough not rising properly?
This usually happens due to inactive yeast, water that’s too hot or too cold, or a cold kitchen environment. Double-check your yeast’s expiration date and let the dough rise in a warmer spot for better results.
Can I use this dough for a thin-crust pizza?
Absolutely. Simply stretch the dough thinner than usual and reduce baking time slightly, checking around the 8 to 10 minute mark to prevent over-baking, since thinner crusts cook faster than thicker ones.
Quick Pizza Dough Recipe
2
servings40
minutes12
minutes180
kcal52
minutesA soft, stretchy homemade pizza dough ready in under an hour. No stand mixer required—just simple pantry staples for a chewy, golden crust perfect for any weeknight pizza craving.
Ingredients
Base Ingredients:
2 ¼ cups all-purpose flour
1 packet (2 ¼ tsp) instant yeast
1 tsp sugar
1 tsp salt
1 cup warm water
2 tbsp olive oil
Optional Add-ins:
1 tsp dried oregano
1 tsp garlic powder
1 tbsp grated Parmesan cheese
½ tsp red pepper flakes
1 tbsp honey (for a slightly sweeter crust)
½ cup whole wheat flour (substituting part of the all-purpose flour)
Directions
- Combine warm water, sugar, and instant yeast in a small bowl; let sit 5-10 minutes until foamy.
- Whisk flour and salt together in a large bowl, then create a well in the center.
- Pour in the yeast mixture and olive oil; stir until a shaggy dough forms.
- Turn dough onto a floured surface and knead for 5-7 minutes until smooth and elastic.
- Shape into a ball, place in an oiled bowl, cover, and let rise for 20-30 minutes.
- Punch down the dough to release air, then transfer to a floured surface.
- Stretch or roll into desired shape, working from the center outward.
- Transfer to a pizza pan or preheated stone, add toppings, and bake at 475°F for 10-14 minutes.
Recipe Video
Notes
- Use water between 105°F and 110°F to activate yeast properly without killing it.
- Don’t skip the foam test; it confirms the yeast is active before mixing.
- Add flour gradually while kneading; a slightly tacky dough is normal and ideal.
- Refrigerate dough in an airtight container for up to 2 days, or freeze for up to 3 months.
- Thaw frozen dough overnight in the fridge, then rest at room temperature for 30 minutes before shaping.