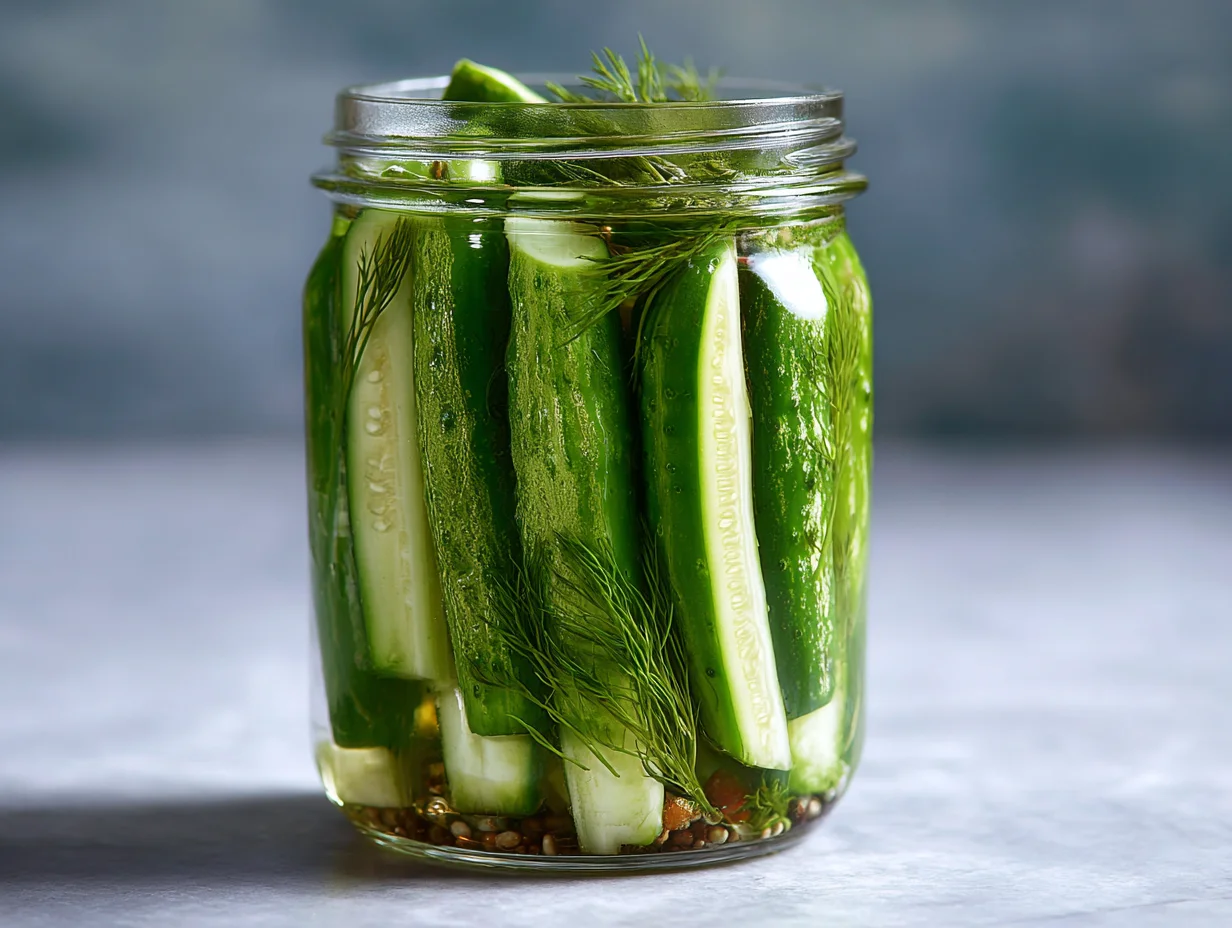
There’s something deeply satisfying about biting into a perfectly crisp dill pickle that sharp snap, that clean tang, that freshness you simply can’t fake. In my kitchen, I treat pickling as both a craft and a discipline. It’s not about throwing cucumbers into vinegar and hoping for the best; it’s about understanding texture, timing, and balance.
Over the years, I’ve refined this method to consistently produce pickles that remain firm, vibrant, and full of character. If you’ve ever been disappointed by soft, lifeless pickles, this is where that changes.
This recipe is built on professional technique, simple ingredients, and careful execution. Once you master it, you won’t just make pickles you’ll create something worth repeating, sharing, and proudly serving every single time.
? If you enjoy fresh, tangy flavors, you’ll love pairing these pickles with our Fresh Cucumber Tomato Mozzarella Salad Recipe, a light and refreshing dish perfect for summer meals.
Where Most Pickle Recipes Go Wrong
In my experience, the biggest reason homemade pickles fail is a lack of attention to the raw ingredient itself. People often start with cucumbers that are already losing firmness, and no technique can fix that. I’ve also seen many skip trimming the blossom end, not realizing it contains enzymes that lead to softening.
Another common mistake is rushing the process pouring hot brine over delicate cucumbers or storing them incorrectly. Even the choice of salt matters; iodized salt can interfere with both texture and clarity.
Then there’s imbalance in the brine too weak, and the cucumbers soften; too strong, and the flavor becomes harsh. These aren’t dramatic errors, but small oversights that quietly ruin the final result. Great pickles come from precision, not shortcuts.
My Method for Guaranteed Crisp Results
When I make dill pickles, I begin with intention. I select cucumbers that are firm, fresh, and ideally harvested within a day. Before anything else, I soak them in ice-cold water this simple step dramatically improves their structure.
I always remove the blossom end, then move on to a carefully measured brine made with filtered water, vinegar, and non-iodized salt. To reinforce texture, I often add grape leaves or a small amount of calcium chloride, a technique used in professional kitchens. I also make sure the brine is warm, not boiling, when poured. Heat control is critical.
Finally, I give the pickles time to rest undisturbed. Flavor develops gradually, and the texture stays intact. This method isn’t complicated, but it’s precise and that precision is what guarantees results.
Ingredients List
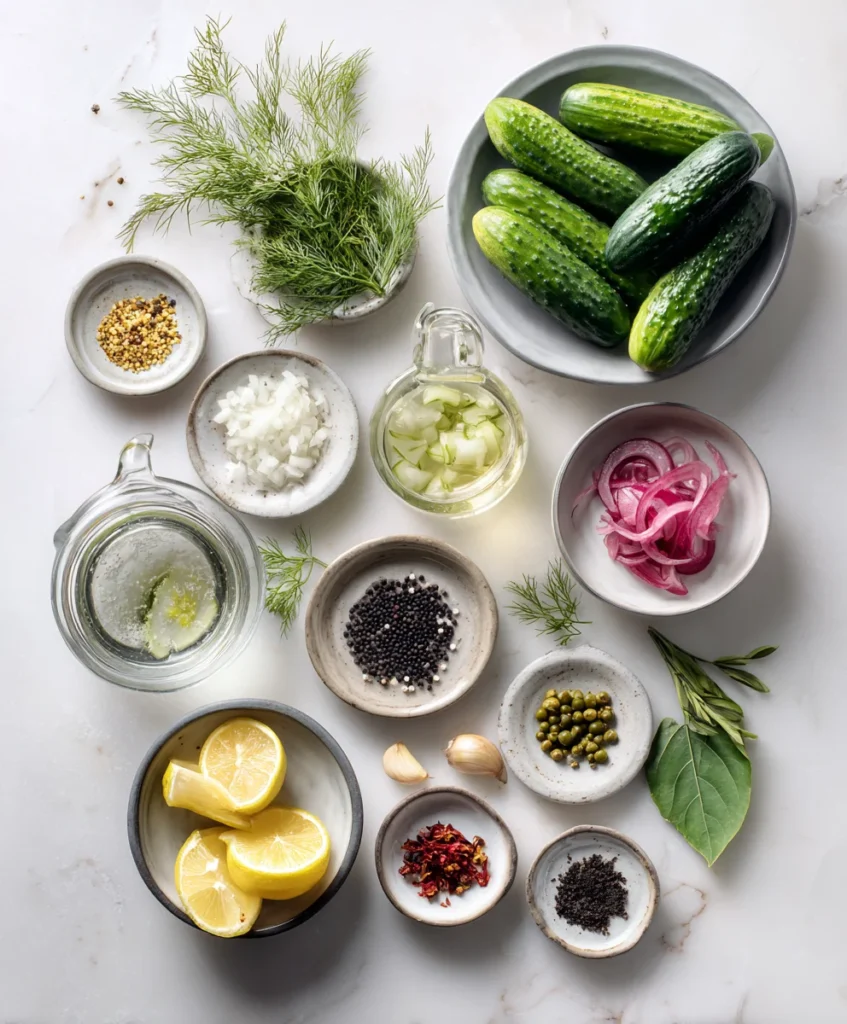
Base Ingredients:
- 1 kg fresh pickling cucumbers
- 4 cups water
- 2 cups white vinegar
- 2 tablespoons non-iodized salt
- 4 cloves garlic, peeled
- 2 teaspoons mustard seeds
- 1 teaspoon black peppercorns
- Fresh dill sprigs
Optional Add-ins:
- Grape leaves or bay leaves
- Red chili flakes
- Coriander seeds
- Sliced onions
- Lemon slices
Step-by-Step Instructions
Choosing and Preparing the Cucumbers
I always start with the freshest cucumbers I can find, because everything depends on that first decision. They should feel firm, look vibrant, and have no soft spots. Once selected, I wash them thoroughly and trim the blossom end, which helps prevent softening later.
Then I soak them in ice-cold water for a few hours. This step might seem simple, but it’s one of the most effective ways to preserve crunch. The cold water tightens the structure of the cucumber, giving it resilience during pickling. After soaking, I dry them carefully and keep them chilled until I’m ready to use them. Skipping this preparation is, in my view, one of the quickest ways to compromise the final texture.
Step 2: Building a Balanced Brine
The brine is where flavor meets preservation, and I approach it with care. I combine water, vinegar, and non-iodized salt in a saucepan and heat it just enough to dissolve the salt completely. I don’t rush this process or allow it to boil aggressively.
The balance must be clean and sharp, not overwhelming. I always use filtered water to avoid impurities that could affect the outcome. Once the brine is ready, I let it cool slightly before using it. Pouring extremely hot liquid over cucumbers is a mistake I avoid, as it can weaken their structure. A well-balanced brine should enhance the natural flavor of the cucumbers while protecting their texture not overpower it.
Step 3: Layering for Flavor and Structure
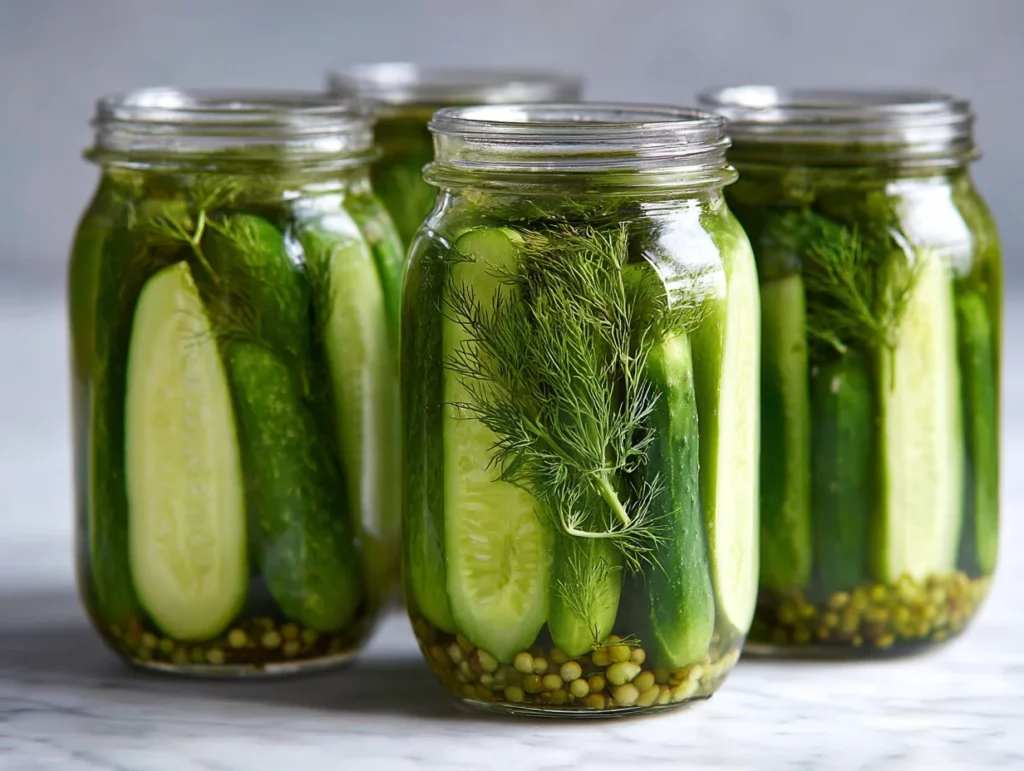
When assembling the jars, I think in layers. I start with garlic, dill, mustard seeds, and peppercorns at the base, allowing their flavors to infuse from the bottom up. Then I pack the cucumbers tightly but gently, ensuring they remain intact.
If I’m using grape leaves or spices, I incorporate them evenly throughout. Proper packing is essential too loose, and the cucumbers shift; too tight, and they bruise. Once everything is in place, I pour the warm brine until the cucumbers are fully submerged, leaving a bit of space at the top. I seal the jars carefully, ensuring no air pockets remain. This step defines how evenly the pickles will develop in both flavor and texture
? For a complete homemade experience, try serving these crunchy pickles alongside our Homemade Garlic Bread, which adds a warm, savory contrast to the crisp acidity.
Patience and Proper Resting
This is where discipline matters most. After sealing, I store the jars in a cool, dark place or refrigerate them, depending on the method. I don’t rush to taste them. At minimum, I wait 48 hours, but ideally longer. During this time, the cucumbers absorb the brine gradually, building depth without losing structure. I avoid exposing them to heat or light, as both can interfere with the process.
Before serving, I check the flavor and adjust expectations based on time rested. The longer they sit, the more refined they become. In my kitchen, I’ve learned that patience isn’t optional it’s the final ingredient that brings everything together.
Cook Time
Total: 30 minutes
Prep: 30 minutes
Bake: Not required
Servings
From my experience, this recipe produces approximately four jars of dill pickles, depending on how tightly you pack them and the size of your cucumbers. It’s a practical quantity enough to enjoy over time without losing freshness. I often prepare batches like this during peak season so I always have something ready in the refrigerator. The serving size is flexible, whether you’re adding them to meals or enjoying them on their own.
Makes approximately 4 jars
Nutritional Information (approx. per serving)
- Calories: 15
- Carbohydrates: 3g
- Fiber: 1g
- Sodium: 300mg
- Vitamin K: 20% daily value
- Vitamin C: 10% daily value
From a nutritional standpoint, dill pickles are light, refreshing, and surprisingly beneficial when consumed in moderation. They offer hydration due to their high water content and provide essential vitamins like vitamin K, which supports bone health. Their tangy profile can also stimulate digestion. I appreciate that they deliver strong flavor without adding significant calories, making them a smart addition to balanced meals.
? Looking for more Mediterranean-style freshness? Don’t miss our Mediterranean Orzo Salad , packed with vibrant ingredients that complement pickled vegetables beautifully.
Storage Instructions
I always store my pickles in the refrigerator once they’re ready, ensuring they remain crisp and safe to consume. Proper sealing is essential, and I make sure jars are tightly closed after each use. I never use unclean utensils when handling them, as contamination can quickly affect quality. Over time, the flavor deepens, but the texture remains stable if stored correctly. I avoid leaving jars at room temperature after opening, as this can compromise both safety and crunch.
Suggestions
In my kitchen, these pickles rarely sit untouched. I use them alongside grilled meats, layer them into sandwiches, or chop them into salads for added texture and acidity. They also work beautifully as part of a charcuterie board. I encourage experimenting with spices or herbs to create variations that suit your taste. Once you understand the method, you can adapt it confidently.
Seasonal Relevance
I strongly recommend making these pickles during peak cucumber season, when freshness is at its highest. That’s when you’ll achieve the best texture and flavor. I often prepare multiple batches during this time to enjoy later. While pickles can be made year-round, nothing compares to using cucumbers at their peak. Seasonality, in my view, is a key ingredient in quality cooking.
For me, making crunchy dill pickles is about respect for ingredients and control over technique. It’s a simple process, but it rewards precision. Once you understand the fundamentals freshness, balance, and patience you can produce results that rival any store-bought jar. This is one of those recipes that, once mastered, becomes part of your kitchen identity.
? If you enjoy preserving and homemade condiments, our Classic Marinara Sauce with Fresh Tomatoes is another must-try for elevating your kitchen skills.
Frequently Asked Question
1. Why do I need to remove the blossom end of cucumbers?
The blossom end contains natural enzymes that can cause cucumbers to soften during pickling. Removing it helps preserve firmness and ensures a better final texture. It’s a small step, but in my experience, it makes a noticeable difference in maintaining that desired crunch.
2. Can I reuse the pickle brine for another batch?
I don’t recommend reusing brine, as its balance changes after the first use and may not preserve properly. For consistent flavor and safety, it’s always better to prepare a fresh batch of brine each time you make pickles.
3. What type of vinegar works best for dill pickles?
I prefer using white vinegar because it provides a clean, sharp acidity without altering the color of the pickles. It keeps the flavor focused and consistent, which is essential for achieving that classic dill pickle profile.
4. How can I make my pickles more flavorful?
Flavor comes from layering. I suggest adding garlic, dill, and spices in balanced amounts and allowing enough resting time. The longer the pickles sit, the more developed and complex their flavor becomes without compromising texture.
5. Are homemade pickles healthier than store-bought ones?
In many cases, yes. Homemade pickles allow you to control ingredients, especially salt and additives. They’re free from preservatives and can be tailored to your dietary needs, making them a cleaner and often more flavorful option.