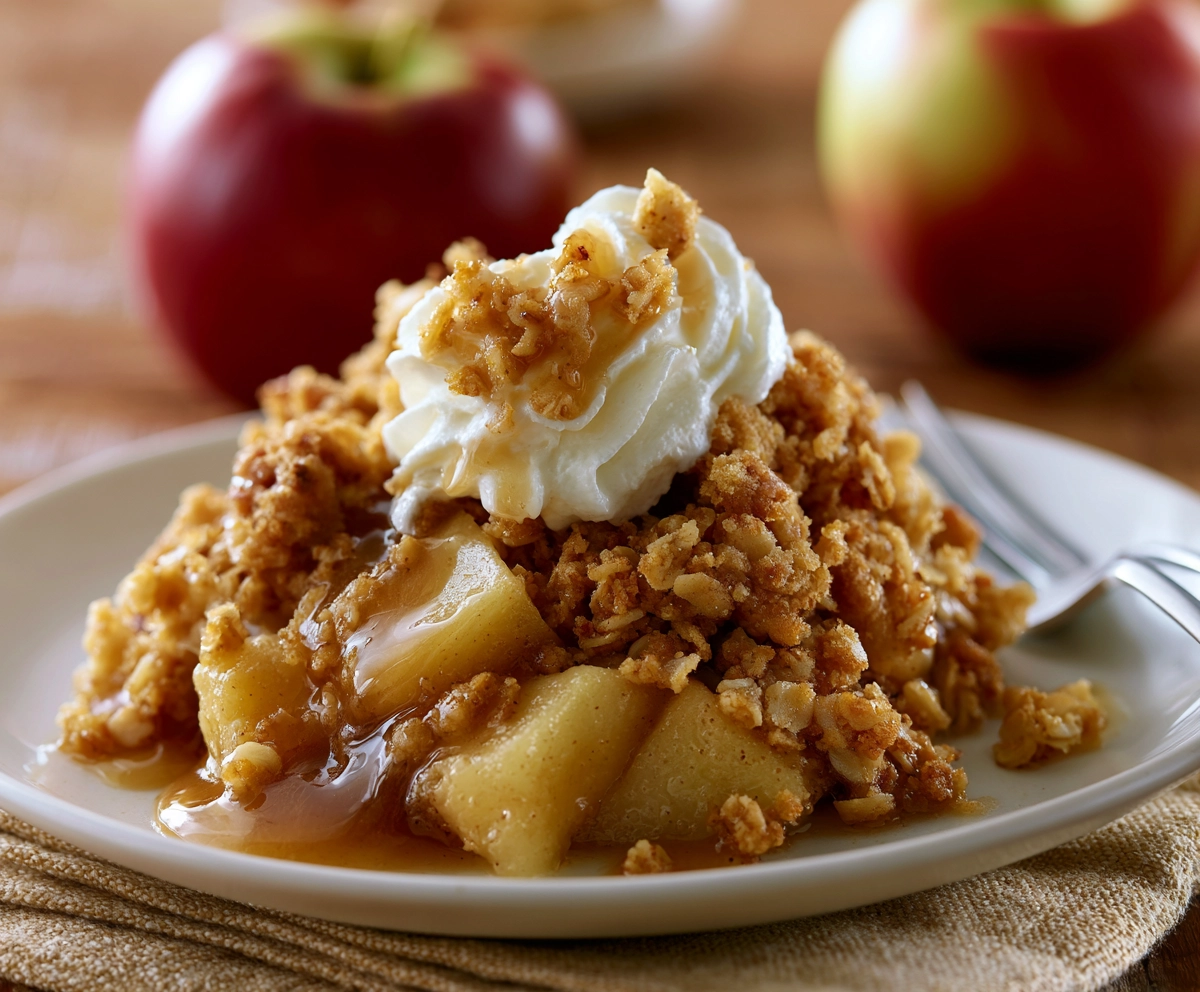
There’s something incredibly comforting about a warm apple crisp fresh from the oven. The smell of cinnamon-spiced apples bubbling beneath a golden oat topping instantly makes any kitchen feel cozy and inviting. This low-sugar apple crisp recipe gives you all the classic flavors you love while using less sugar, making it a lighter dessert you can enjoy more often without sacrificing taste.
Unlike traditional apple crisps loaded with refined sugar and butter, this healthier version relies on naturally sweet apples, wholesome oats, and smart sweetener choices. It’s perfect for anyone looking to reduce sugar intake while still enjoying homemade comfort food. Whether you serve it for a cozy family dessert, holiday gathering, or healthy snack, this recipe delivers warm, crunchy, cinnamon-filled goodness in every bite.
Ingredients You Need to Make
Apples & Fruit Base
- 6 medium apples, peeled & sliced
- 1 tsp cinnamon
- ¼ tsp nutmeg
- 1 tbsp lemon juice
- 1 tsp vanilla extract
- 1 tbsp cornstarch or arrowroot powder
Crisp Topping Ingredients
- 1 cup rolled oats
- ¾ cup almond flour or whole wheat flour
- ½ cup chopped pecans or walnuts
- ⅓ cup melted coconut oil or butter
- 1 tsp cinnamon
- ¼ tsp salt
Sweetener Options
- 2–3 tbsp maple syrup
- 2–3 tbsp honey
- ¼ cup coconut sugar
- 2 tbsp monk fruit sweetener
- 1–2 tsp stevia blend
Step-by-Step Instructions
Prep Apples
Start by preheating your oven to 350°F (175°C). Lightly grease a baking dish with coconut oil or butter.
Peel and slice the apples evenly so they cook at the same rate. Add them to a large mixing bowl and toss with cinnamon, nutmeg, vanilla extract, lemon juice, and a small amount of sweetener.
Sprinkle cornstarch over the apples and mix again. This helps create a thick, glossy filling instead of a watery one.
Transfer the apple mixture into your prepared baking dish and spread it evenly.
Make Crisp Topping
In another bowl, combine rolled oats, almond flour, cinnamon, chopped nuts, and salt.
Drizzle in melted coconut oil and your preferred sweetener, then mix until crumbly. The mixture should hold together slightly when pressed between your fingers but still feel loose and textured.
This balance creates the perfect crispy topping after baking.
Assemble the Apple Crisp
Sprinkle the topping evenly over the apples, covering the entire surface without pressing it down too firmly.
Leaving the topping slightly loose allows air to circulate during baking, helping it become beautifully golden and crunchy.
For extra flavor, you can sprinkle a little additional cinnamon on top before baking.
Bake & Serve
Bake for 35–45 minutes, or until the topping turns golden brown and the apple filling is bubbling around the edges.
Let the crisp cool for about 10 minutes before serving. This allows the filling to thicken slightly and makes serving easier.
Enjoy it warm on its own or pair it with Greek yogurt, whipped cream, or a scoop of low-sugar vanilla ice cream.
Pro Tips for Perfect Apple Crisp
Using a mix of apple varieties creates deeper flavor and better texture. Sweet apples add natural sweetness while tart apples prevent the dessert from tasting flat. Always use rolled oats instead of quick oats. Rolled oats create a heartier topping with a crispier texture.
Do not overbake the crisp. The apples should be tender but not mushy, and the topping should remain crunchy rather than dry. Letting the crisp rest after baking improves both texture and flavor because the juices settle and thicken naturally.
Variations to Try
This recipe is easy to customize based on your preferences or what you have in your kitchen. Add fresh berries like blueberries or raspberries for extra flavor and antioxidants. Mix shredded coconut into the topping for a tropical twist. Use pears instead of apples for a softer, delicate flavor.
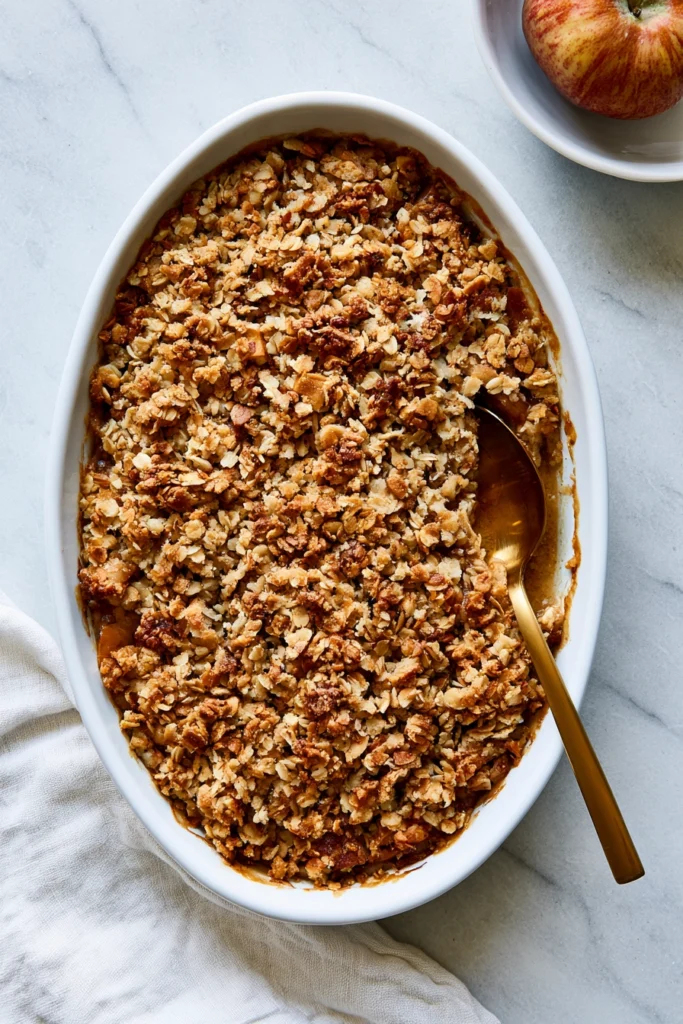
Add pumpkin spice seasoning during fall for a cozy seasonal variation. Turn it completely gluten-free by using certified gluten-free oats and almond flour.
Nutritional Benefits
This low-sugar apple crisp offers more than just comfort and flavor. Apples provide fiber, antioxidants, and vitamin C, making this dessert naturally nourishing. Oats add whole grains and help keep you fuller longer thanks to their fiber content.
Nuts contribute healthy fats, protein, and extra crunch while supporting heart health. Reducing refined sugar lowers the overall calorie content and helps avoid the heavy sweetness found in many traditional desserts.
Because this recipe uses wholesome ingredients, it feels satisfying without being overly rich.
Serving Suggestions
Serve this apple crisp warm for the best flavor and texture. It pairs beautifully with:
- Greek yogurt for a healthy breakfast-style dessert
- Vanilla ice cream for a classic cozy treat
- Whipped coconut cream for a dairy-free option
- Hot coffee or chai tea on chilly evenings
For gatherings and holidays, serve it in small ramekins for an elegant presentation that feels homemade yet special.
Storage & Reheating Tips
Store leftover apple crisp in an airtight container in the refrigerator for up to 4 days. To reheat, warm it in the oven at 325°F for about 10–15 minutes. This keeps the topping crisp much better than microwaving. If using a microwave, heat in short intervals to avoid making the topping soggy.
You can also freeze baked apple crisp for up to 2 months. Thaw overnight in the refrigerator before reheating.
Conclusion
This low-sugar apple crisp recipe proves that healthier desserts can still feel warm, comforting, and incredibly satisfying. With tender cinnamon-spiced apples and a crunchy oat topping, it delivers all the cozy flavors of a classic apple dessert while using less sugar and more wholesome ingredients.
Whether you’re making it for a family dinner, meal prep, holiday dessert, or simple weeknight treat, this recipe is easy, flexible, and guaranteed to become a favorite. One warm spoonful is all it takes to understand why homemade apple crisp never goes out of style.
