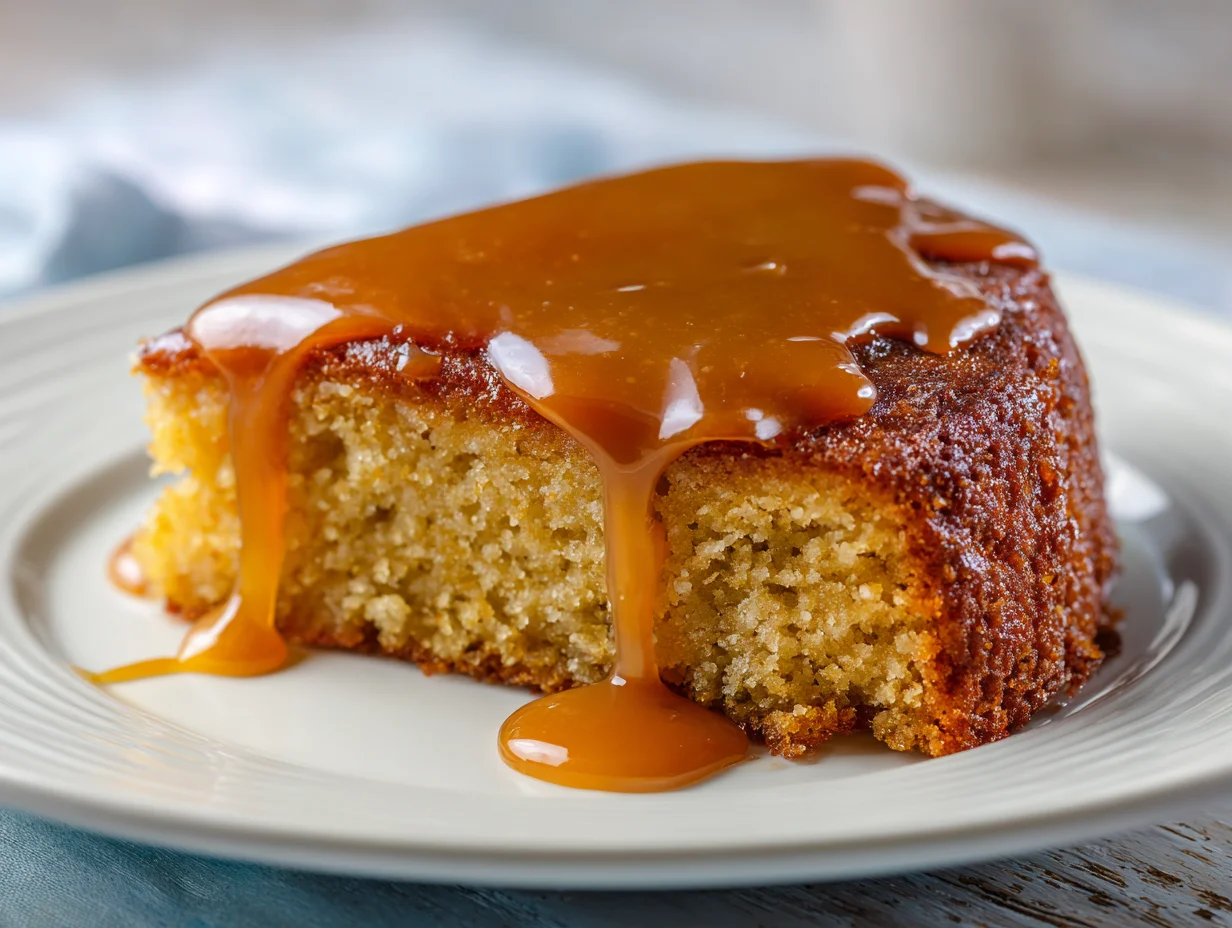
As a chef who has spent years perfecting classic desserts, I can confidently say that sticky toffee cake is one of those rare recipes that delivers both comfort and sophistication in every bite. It’s not just about sweetness,it’s about balance, depth, and that unmistakable gooey texture that defines a truly great bake.
I’ve made this cake countless times, refining each step to achieve consistent, bakery-quality results at home. The rich caramel notes from the dates, combined with the indulgent toffee sauce, create a dessert that feels both luxurious and approachable. If you follow this method carefully, you won’t just make a cake,you’ll create an experience your guests will truly remember.
? If you love rich and moist cakes, try our Moist Date Cake Recipe – Soft, Naturally Sweet Tea Time Cake for another indulgent dessert option.
The Most Overlooked Error I See in Sticky Toffee Cake
From my experience, the biggest mistake people make with sticky toffee cake is mishandling the dates. I’ve seen many rush this step, either not soaking them long enough or skipping the mashing process entirely. This results in an uneven texture, where chunks of dates remain in the batter instead of blending into a smooth, rich base. Properly softened and mashed dates are essential for achieving that signature moist and cohesive crumb.
Another issue I often notice is overmixing the batter. Many assume that more mixing leads to better results, but in reality, it does the opposite by making the cake dense and tough. I’ve tested this repeatedly, and the difference is clear,overworked batter loses its soft, melt-in-the-mouth quality. These small mistakes may seem minor, but they significantly affect the final outcome, turning a rich dessert into something average.
How I Ensure Perfect Texture Every Time
My approach is simple but precise. I always soak the dates properly in hot water with baking soda and give them enough time to fully soften. Then, I mash them until they form a thick, smooth consistency—this step alone transforms the cake’s texture. When mixing, I stay gentle and deliberate, folding ingredients just until combined. I never rush this stage. Measuring ingredients accurately is another non-negotiable rule in my kitchen; even slight imbalances can affect moisture and structure. Finally, I rely on visual cues rather than just timing when baking. A perfectly baked sticky toffee cake should feel soft but set. These habits, developed over time, guarantee a consistently rich and moist result.
Ingredients List
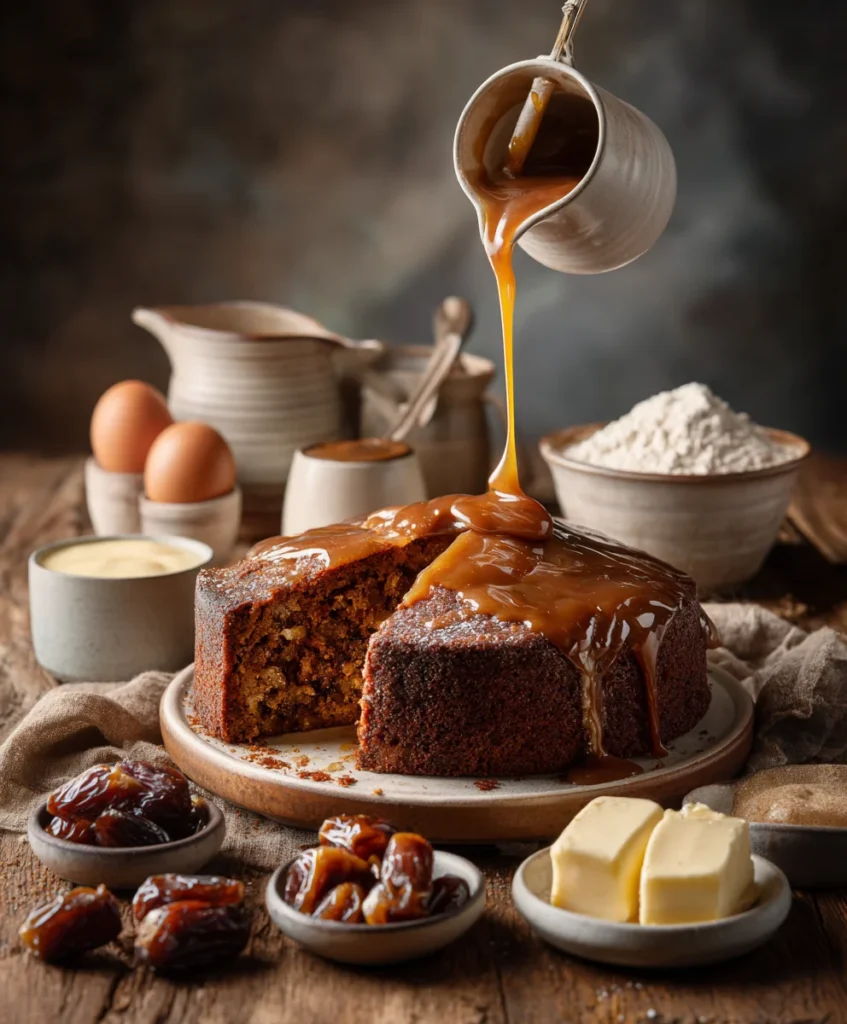
Base Ingredients:
- 200g pitted dates, finely chopped
- 250ml boiling water
- 1 tsp baking soda
- 100g unsalted butter, softened
- 150g brown sugar
- 2 large eggs
- 1 tsp vanilla extract
- 200g all-purpose flour
- 1 tsp baking powder
- ½ tsp salt
Optional Add-ins:
- ½ cup chopped walnuts or pecans
- 1 tsp espresso powder
- Orange zest
- Dark chocolate chunks
Step-by-Step Instructions
Preparing the Date Base
I always begin by focusing on the dates, because they truly define the character of this cake. I pour boiling water over the chopped dates, add baking soda, and let them sit undisturbed for about ten minutes. During this time, they soften properly and release their natural sweetness, creating the rich base flavor that sticky toffee cake is known for.
Once ready, I mash them into a thick mixture,not completely smooth, but consistent enough to blend evenly into the batter. This step ensures the cake stays moist without becoming heavy. If you rush this process, you’ll notice the difference in the final texture. Taking a few extra minutes here consistently leads to a much better result, something I’ve confirmed through repeated testing in my kitchen.
? For a decadent, layered treat, check out our Butter Pecan Praline Poke Cake Recipe to satisfy your caramel and nut cravings.
Building the Creamed Base
Next, I cream the butter and brown sugar until the mixture becomes light and airy,this is where the cake’s structure begins. I mix steadily, without rushing, allowing air to incorporate naturally for a soft, tender crumb.
Then I add the eggs one at a time, making sure each is fully blended before adding the next. I finish this stage with vanilla extract to enhance depth and aroma. From my experience, properly creamed butter and sugar are what separate a dense cake from one that feels light, rich, and perfectly balanced. This foundational step truly deserves attention and patience.
Bringing the Batter Together
At this stage, I combine the dry ingredients separately to ensure even distribution. Then I gently fold them into the creamed mixture, alternating with the prepared dates. I never overmix here,just enough to bring everything together. The batter should look thick, slightly textured, and uniform. If I’m adding extras like nuts or chocolate, this is when I fold them in carefully. Over the years, I’ve learned that restraint during mixing is key. The less you handle the batter, the softer the final cake will be. It’s a simple principle, but one that consistently delivers excellent results.
Baking with Precision
I always bake this cake in a preheated oven at 180°C, ensuring even heat from the start. Once the batter is in the pan, I smooth the top lightly and place it in the center of the oven. I avoid opening the door too often, as temperature fluctuations can affect the rise. Around the 30-minute mark, I begin checking for doneness using a skewer. It should come out clean but not dry. The top should feel soft with a slight spring. From experience, I know that overbaking ruins the texture, so I rely on touch and visual cues rather than just time.
Finishing with Toffee Sauce
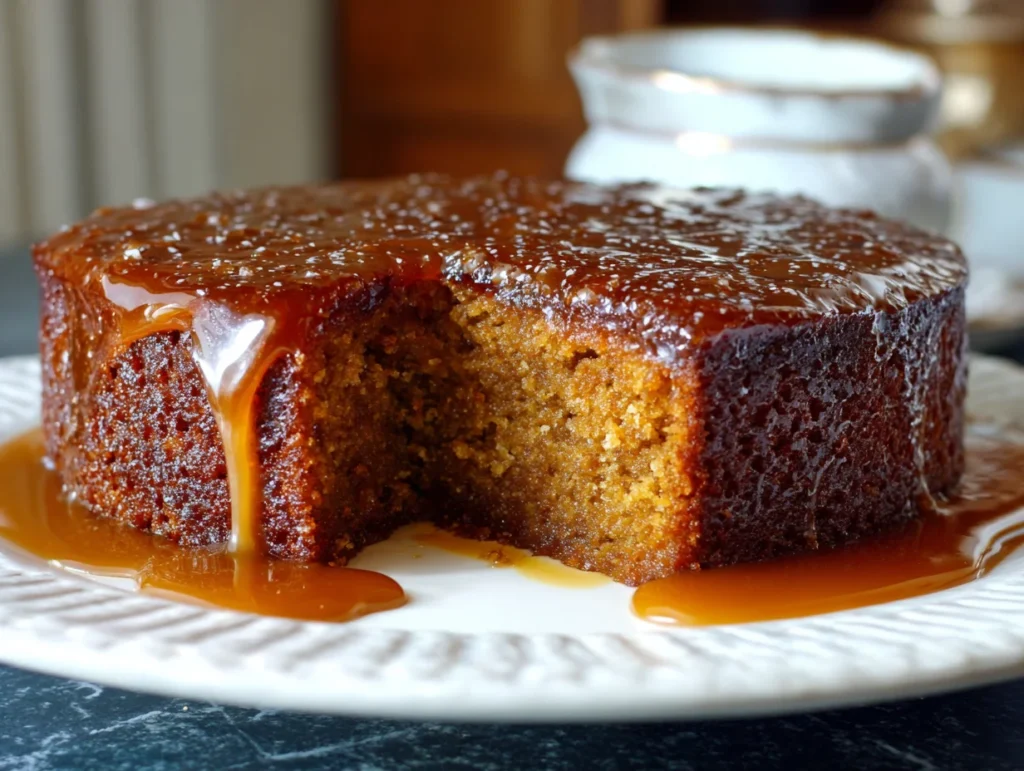
The final step is what truly defines this dessert. I prepare a warm toffee sauce and pour it over the cake while it’s still slightly warm. Before pouring, I poke small holes in the cake so the sauce can seep in deeply, creating that signature gooey texture I always aim for.
I also reserve some sauce for serving, because presentation matters just as much as taste. When done right, the cake absorbs the sauce beautifully, becoming rich without feeling overwhelming. This simple step transforms a good cake into something exceptional,and it’s always the part my guests remember most.
Cook Time
Total: 50 minutes
Prep: 15 minutes
Bake: 35 minutes
Servings
In my kitchen, this recipe comfortably serves around 8 to 10 people, depending on portion size. I usually recommend slightly smaller slices because the cake itself is quite rich and satisfying. When serving guests, I like to pair it with a light accompaniment, which balances the intensity and allows each portion to feel complete. If you’re preparing it for an event, you can easily scale the recipe without affecting quality. I’ve done this multiple times, and as long as proportions remain accurate, the results stay consistent. Proper portioning not only enhances presentation but also ensures every serving delivers the same indulgent experience.
Nutritional Information (approx. per serving)
- Calories: 420 kcal
- Carbohydrates: 58g
- Protein: 5g
- Fat: 18g
- Saturated Fat: 10g
- Sugar: 38g
- Fiber: 3g
From a chef’s perspective, I always consider balance,even in desserts. While this cake is indulgent, it also contains dates, which provide natural sweetness and fiber. When enjoyed in moderation, it can fit into a balanced lifestyle. I often recommend pairing it with lighter sides to keep the overall meal well-rounded while still enjoying its richness.
? If you enjoy classic chocolate desserts, don’t miss our Super Moist Chocolate Cake Recipe for a chocolaty twist alongside sticky toffee.
Storage Instructions
When I store sticky toffee cake, I always let it cool completely first. This prevents excess moisture from building up and affecting the texture. I keep it in an airtight container at room temperature if it’s being consumed within a couple of days. For longer storage, I refrigerate it, ensuring it’s properly covered so it doesn’t dry out. When reheating, I prefer warming individual portions rather than the whole cake, adding a bit of fresh toffee sauce to bring back its original softness. Freezing is also an option I’ve used successfully,just wrap it היטightly and thaw it slowly before reheating. Proper storage keeps the cake just as enjoyable as when freshly baked.
Suggestions
Over time, I’ve experimented with many ways to elevate this cake. My favorite approach is serving it warm with a contrast element like cream or ice cream, which balances the richness perfectly. I also enjoy adding a light sprinkle of sea salt over the sauce,it enhances the caramel notes beautifully. For a more refined version, I sometimes infuse the sauce with coffee or a subtle flavor twist. Presentation is something I never overlook; even a simple drizzle done neatly can make a big difference. These small touches, developed through experience, can turn a homemade dessert into something that feels truly professional.
Seasonal Relevance
In my experience, sticky toffee cake shines most during cooler months. Its warmth and richness make it a natural choice for autumn and winter gatherings. I often prepare it for festive occasions where comforting desserts are appreciated. That said, I’ve also adapted it for year-round use by adjusting how it’s served—lighter accompaniments in warmer weather can make it feel less heavy. Its versatility is one of the reasons I continue to recommend it. With small adjustments, it fits seamlessly into different seasons while maintaining its signature appeal.
After years of working with this recipe, I can confidently say that sticky toffee cake is one of the most rewarding desserts to master. It combines simple ingredients with thoughtful technique to create something truly special. When done right, it offers a perfect balance of flavor, texture, and richness. I’ve shared the exact approach I use in my own kitchen, and if you follow it carefully, you’ll achieve the same results. This is not just a recipe—it’s a method refined through experience. And once you get it right, it’s a dessert you’ll return to again and again.
? For a creamy and festive option, explore our Authentic Tres Leches Cake Recipe That Melts in Your Mouth for a gooey, indulgent experience.
Frequently Asked Questions
1. Can I use fresh dates instead of dried ones?
Yes, but I recommend dried dates for better flavor concentration. Fresh dates contain more moisture and may alter the texture of the batter. If using them, reduce added liquid slightly and ensure they are properly mashed for even distribution.
2. Why is my toffee sauce too thin?
This usually happens when it hasn’t been cooked long enough. I suggest simmering it a bit more until it thickens naturally. Also, ensure you’re using the correct ratio of butter, sugar, and cream for a balanced consistency.
3. Can I bake this cake in advance?
Absolutely. I often prepare it a day ahead. In fact, the flavor improves as it rests. Just reheat before serving and add fresh toffee sauce to restore its signature gooey texture.
4. What pan size works best for this recipe?
I typically use a medium-sized rectangular or square baking dish. The key is not to make the batter too thin or too thick in the pan, as this affects baking time and overall texture consistency.
5. How can I make this recipe slightly lighter?
You can reduce sugar slightly and serve smaller portions with lighter toppings like yogurt instead of cream. While it won’t be as rich, it still maintains the core flavor and remains enjoyable.