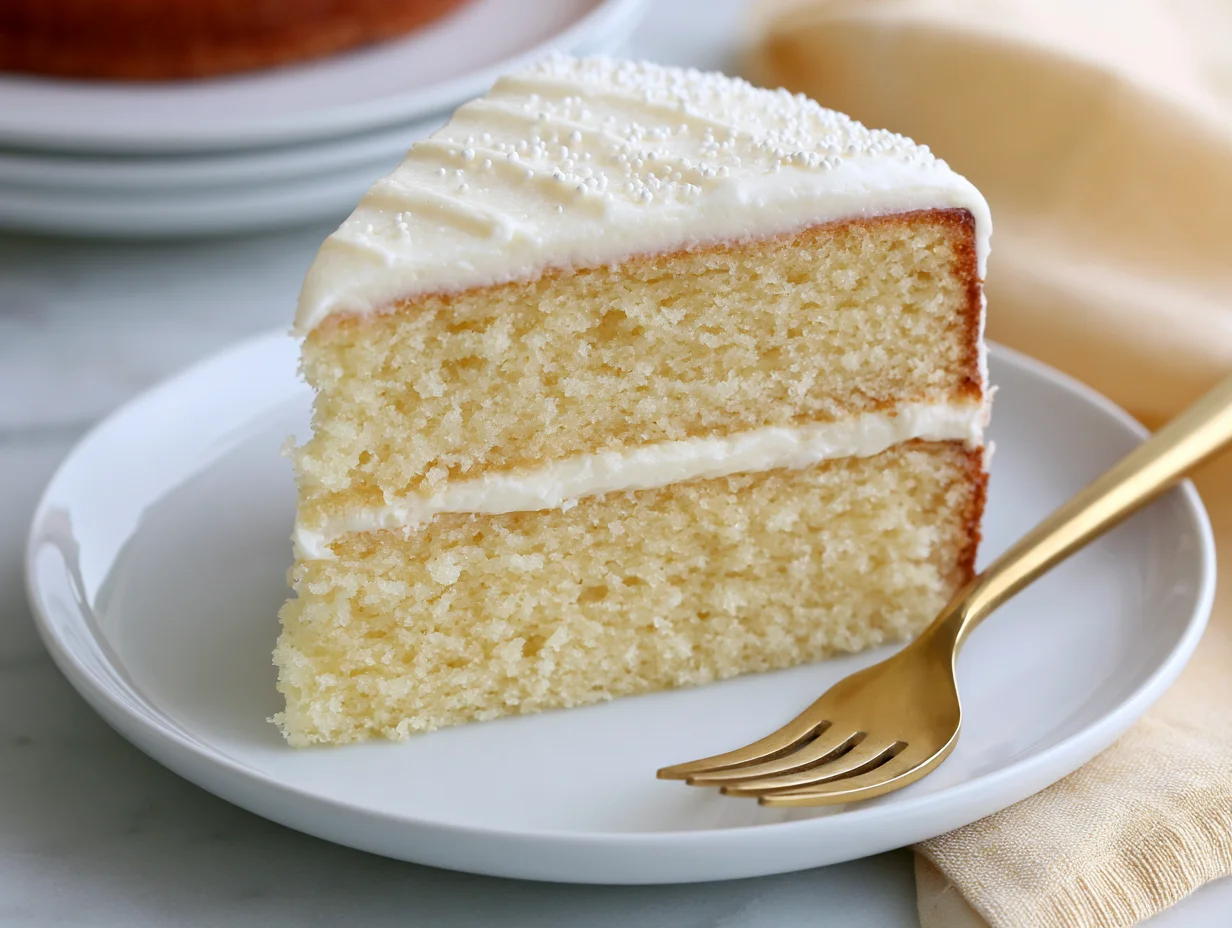
There is a reason vanilla cake has never gone out of style. It is the kind of cake that shows up at birthdays, anniversaries, Sunday dinners, and quiet Tuesday afternoons when you just need something warm and homemade. Beneath its simple name lies a recipe that demands real attention — the kind that separates a forgettable slice from one people talk about long after the plates are cleared.
What most home bakers do not realize is that a truly great vanilla cake is not about complexity. It is about precision. The ratio of fat to flour, the temperature of your butter, the quality of your vanilla — every single detail plays a role in whether your cake comes out tender and moist or dense and dry.
I have spent years refining this recipe in my kitchen, testing it through countless iterations. What you have here is not a quick-fix shortcut version. It is the real thing — a scratch vanilla cake that tastes like it came from a bakery you would drive across town for. Soft crumb, buttery depth, clean vanilla flavor in every bite.
Whether you are baking for someone you love or simply treating yourself, this recipe will not let you down. Follow each step with care, use quality ingredients, and you will pull something genuinely beautiful out of that oven.
Ingredients You’ll Need
Every great cake starts before you even turn on the oven — it starts at the ingredient level, and this one rewards those who pay attention to what they reach for.
One of the things I love about this recipe is that it uses simple pantry ingredients. You probably already have most of them in your kitchen.
Base Ingredients:
- 2 ½ cups all-purpose flour
- 2 ½ tsp baking powder
- ½ tsp fine sea salt
- 1 cup unsalted butter, softened to room temperature
- 1 ¾ cups granulated white sugar
- 4 large eggs, at room temperature
- 1 tbsp pure vanilla extract
- 1 cup whole milk, at room temperature
- ¼ cup sour cream
Optional Add-ins:
- 1 tsp almond extract (for a subtle floral depth)
- ½ cup white chocolate chips
- 1 tbsp lemon zest (for a bright citrus lift)
- ¼ tsp cardamom (for a warm, aromatic undertone)
- 2 tbsp sprinkles, folded in before baking (for a funfetti twist)
Step-by-Step Instructions
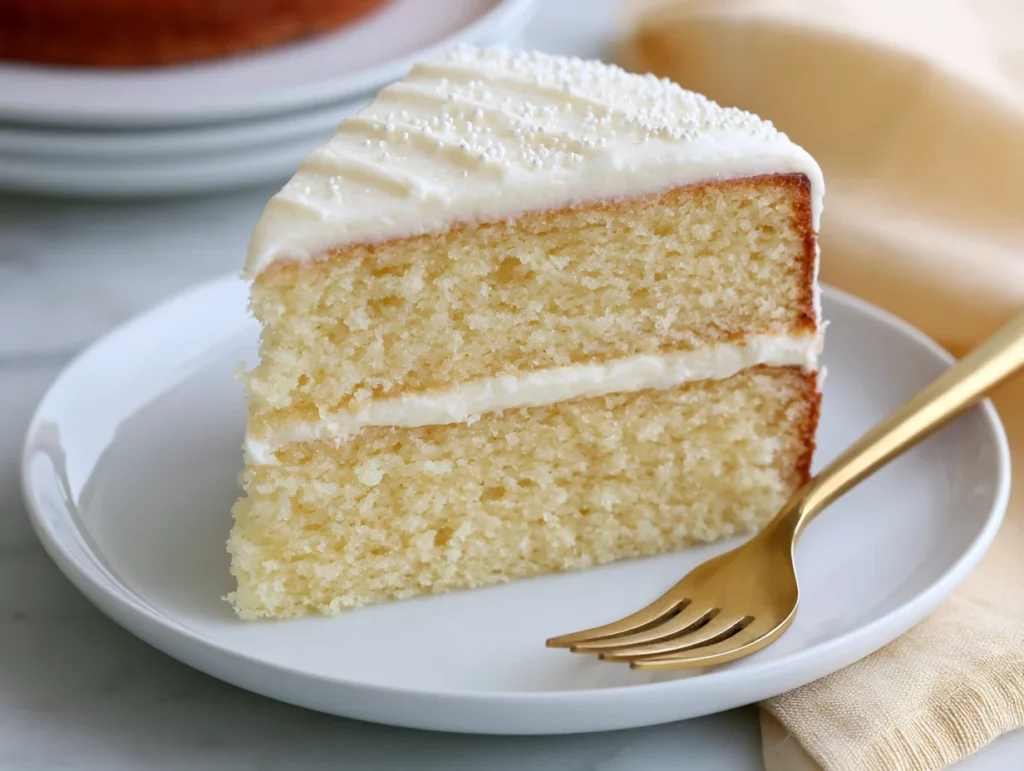
Step 1: Prepare Your Equipment and Preheat
Preheat your oven to 350°F (175°C). Grease two 9-inch round cake pans generously with butter, then line the bottoms with parchment paper circles and lightly flour the sides. This two-layer preparation ensures the cake releases cleanly and does not stick — one of the most common causes of a broken cake. Set your prepared pans aside and allow your oven to fully reach temperature before you begin mixing. A properly preheated oven is essential for an even rise.
Step 2: Sift and Combine Dry Ingredients
In a medium bowl, sift together the all-purpose flour, baking powder, and fine sea salt. Sifting is not optional here — it aerates the flour and removes any clumps, which directly affects the lightness of your crumb. Whisk the sifted mixture together once more to ensure everything is evenly distributed. Set the bowl aside. Keeping your dry and wet ingredients separate until the final stages of mixing prevents overdevelopment of gluten, which is what leads to a tough, rubbery cake.
Step 3: Cream Butter and Sugar
In a large mixing bowl using a stand mixer or hand mixer, beat the softened butter on medium-high speed for 2 full minutes until it becomes pale and fluffy. Add the granulated sugar gradually and continue beating for another 3 to 4 minutes. The mixture should look almost white and feel noticeably lighter. This creaming stage is one of the most critical steps — it incorporates air into the batter, which gives the cake its lift. Do not rush it. Under-creamed butter leads to a dense, heavy cake.
Step 4: Add Eggs and Vanilla
With the mixer running on medium speed, add the eggs one at a time, waiting until each egg is fully incorporated before adding the next. Scrape down the sides of the bowl between additions. After the final egg, add the pure vanilla extract and mix for 30 more seconds. The batter may look slightly curdled at this stage — that is perfectly normal and will smooth out once the flour is added. Using room-temperature eggs is crucial here; cold eggs can break the emulsion and lead to an uneven texture in the finished cake.
Step 5: Alternate Dry Ingredients and Milk
With the mixer on low speed, add the dry ingredient mixture in three additions, alternating with the milk and sour cream mixture in two additions. Begin and end with the flour. Mix only until just combined after each addition — a few streaks of flour remaining are fine. Overmixing at this stage activates the gluten and will make your cake tough. The sour cream adds a subtle tang and keeps the crumb incredibly moist, working together with the whole milk to create the ideal batter consistency.
Step 6: Divide, Bake, and Cool
Divide the batter evenly between your prepared pans and smooth the tops with an offset spatula. Tap each pan gently on the counter two or three times to release any large air bubbles. Bake on the center rack for 28 to 32 minutes, or until a toothpick inserted into the center comes out clean and the tops are lightly golden. Allow the cakes to cool in their pans on a wire rack for exactly 10 minutes, then turn them out and cool completely before frosting. Frosting a warm cake leads to melted, sliding icing.
Cook Time
Total:
Approximately 1 hour 15 minutes (including cooling time before frosting)
Prep:
20 to 25 minutes
Bake:
28 to 32 minutes
Servings
This recipe yields two 9-inch round cake layers, which together make a beautifully stacked layer cake. When sliced into standard portions, this recipe comfortably serves 12 to 14 people — perfect for a birthday gathering, a dinner party, or a family celebration.
If you are hosting a smaller group or simply want a single-layer cake, you can halve the recipe and bake in one 9-inch round pan, reducing the bake time to approximately 22 to 25 minutes. The formula scales well in both directions.
Makes approximately 12 to 14 slices from a standard two-layer 9-inch cake.
Common Mistakes in This Recipe
One of the most frequent mistakes bakers make with vanilla cake is using cold ingredients straight from the refrigerator. Cold butter will not cream properly, cold eggs can break the emulsion, and cold milk causes the batter to seize. This leads to a dense, uneven crumb that no amount of frosting can fix.
Another common error is overmixing the batter once the flour has been added. It is tempting to keep the mixer running until the batter looks completely smooth, but that overworks the gluten in the flour and produces a tough, chewy texture instead of the soft, tender crumb a great vanilla cake should have.
Many home bakers also make the mistake of opening the oven door too early. The internal structure of the cake has not fully set during the first 20 minutes of baking, and a rush of cool air can cause the center to collapse. This results in a sunken cake that looks underbaked even when it is not.
Finally, skipping the parchment paper liner is a mistake that leads to heartbreak. Even well-greased pans can cause cakes to stick and tear at the edges when removed. A simple parchment circle on the bottom of each pan takes less than a minute and prevents one of the most frustrating baking failures there is.
Solutions to Common Mistakes
The fix for cold ingredients is simply planning ahead. Remove your butter, eggs, milk, and sour cream from the refrigerator at least 45 minutes before you begin baking. If you forgot, you can place whole eggs in a bowl of warm water for 5 minutes and briefly microwave the milk for 10 to 15 seconds until it reaches room temperature.
To avoid overmixing, switch to a rubber spatula as soon as you begin adding the flour. Fold gently and stop mixing the moment no visible streaks of flour remain. A slightly under-mixed batter is always preferable to an over-worked one when it comes to texture.
To protect your cake from collapsing, resist the urge to check it before the 25-minute mark. Use the oven light if you need to peek. Only open the door when you are ready to do the toothpick test, and close it immediately if the center still needs more time.
Always line your pans. Cut a parchment circle to fit, press it flat into the greased pan, and dust the sides with flour. This three-step preparation — grease, parchment, flour — guarantees a clean release every single time.
Nutritional Information (approx. per serving)
- Calories: 420 kcal
- Total Fat: 21g
- Saturated Fat: 12g
- Cholesterol: 105mg
- Sodium: 180mg
- Total Carbohydrates: 54g
- Dietary Fiber: 0.5g
- Total Sugars: 34g
- Protein: 5g
- Calcium: 80mg
- Iron: 1.4mg
Eggs in this recipe contribute a meaningful dose of high-quality protein and essential B vitamins, particularly B12 and choline, which support brain function and energy metabolism. They also provide fat-soluble vitamins that help the body absorb nutrients from other ingredients.
Whole milk and butter bring calcium, phosphorus, and vitamin D to each slice — nutrients that support bone density and immune function. When consumed as part of a balanced diet, dairy-based baked goods contribute more nutritional value than most people give them credit for.
Pure vanilla extract, while used in small quantities, contains trace antioxidants and has been studied for its mild anti-inflammatory properties. Quality vanilla also reduces the need for excessive sugar to achieve a full, satisfying flavor.
This cake is a treat — and a beautifully made one. Enjoyed in a reasonable portion alongside a meal rich in vegetables and lean protein, it fits into a balanced lifestyle without compromise.
Storage Instructions
Once fully cooled and frosted, this vanilla cake can be stored at room temperature under a cake dome or in an airtight container for up to 2 days. Keep it away from direct sunlight and heat sources, which can cause the frosting to melt and the crumb to dry out faster than expected.
For longer storage, refrigerate the frosted cake in an airtight container or wrapped tightly in plastic wrap. It will keep well in the refrigerator for up to 5 days. Before serving, allow refrigerated slices to come to room temperature for 20 to 30 minutes — cold cake loses its soft texture and muted flavor is far less enjoyable.
If you want to freeze the cake, do so before frosting. Wrap each individual cake layer tightly in two layers of plastic wrap, then in a layer of aluminum foil. Freeze for up to 3 months. Thaw overnight in the refrigerator and frost once fully defrosted and brought close to room temperature.
Unfrosted cake layers can also be stored at room temperature for one day or refrigerated for 3 days before assembling. This is a helpful make-ahead strategy when preparing for a celebration.
Suggestions
This vanilla cake is a perfect blank canvas, and its beauty lies in how well it pairs with almost every frosting and filling imaginable. For a classic finish, go with a silky vanilla buttercream made with real butter and a generous pour of pure vanilla extract. It is simple, crowd-pleasing, and timeless.
For something more elevated, consider a whipped mascarpone frosting with a thin layer of raspberry jam spread between the two cake layers. The tartness of the jam cuts through the richness of the butter and cream beautifully, and the contrast in color when you slice into it is genuinely stunning.
Fresh fruit is another natural companion. A topping of lightly macerated strawberries, peaches, or mixed berries adds brightness and a seasonal freshness that transforms this into a dessert that feels appropriate at a summer garden party or bridal shower.
If you are making this for a celebration and want to go all out, pair it with a Swiss meringue buttercream and a drizzle of warm caramel sauce poured over the top. Finish with flaky sea salt for a flavor combination that is completely unforgettable.
Seasonal Relevance
Vanilla cake is one of those rare recipes that exists entirely outside of seasons — it is appropriate in January and just as welcome in July. But the way you dress it, the flavors you layer into it, and how you present it can make it feel deeply tied to the time of year.
In spring and early summer, lean into light, fresh toppings. Fresh berries, edible flowers, and lemon zest in the batter give this cake a bright, celebratory quality that pairs naturally with warmer days and outdoor gatherings. A pale lavender buttercream or a simple whipped cream finish keeps things airy and seasonal.
In autumn, warm it up. Add cardamom or cinnamon to the batter, swap the vanilla buttercream for a salted caramel frosting, and garnish with candied pecans. This version of the cake feels entirely at home on a Thanksgiving table or at a cozy fall birthday dinner.
During the winter holiday season, this vanilla cake becomes the ideal base for a showstopping layer cake. Stack it high with cream cheese frosting, dust the exterior with powdered sugar, and decorate with cranberries and rosemary sprigs for a dessert that looks like it belongs on the cover of a food magazine.
Final Words
There is something quietly extraordinary about a perfectly made vanilla cake. It does not compete for attention with dramatic flavors or showy techniques. It simply asks to be made with care, with good ingredients, and with a little patience — and in return, it gives you one of the most satisfying baking experiences there is.
Every element of this recipe exists for a reason. The sour cream keeps the crumb moist for days. The extended creaming time builds the structure that keeps each slice from falling apart. The room-temperature ingredients ensure the batter emulsifies properly. These are not arbitrary steps — they are the difference between a good cake and a great one.
If this is your first time making a vanilla cake from scratch, take your time and trust the process. Follow each step as written before you start experimenting with substitutions or shortcuts. Once you understand how this cake behaves, you will have the knowledge to make it your own.
And if you have been making vanilla cake for years and this recipe still surprised you — that is exactly the point. Classic does not mean simple. It means refined, intentional, and worth every minute spent in the kitchen making it.
Frequently Asked Questions
Can I make this vanilla cake ahead of time?
Yes. You can bake the cake layers up to 2 days in advance, wrap them tightly in plastic wrap, and store at room temperature. Frost and assemble on the day you plan to serve it. This actually improves the crumb texture slightly as the moisture redistributes overnight.
Can I substitute buttermilk for the milk and sour cream in this recipe?
You can use 1 ¼ cups of buttermilk in place of the whole milk and sour cream combined. Buttermilk adds a similar tang and helps activate the baking powder. The texture will be slightly lighter, and the flavor will carry a gentle acidity that pairs beautifully with vanilla.
Why did my vanilla cake turn out dense instead of fluffy?
The most likely causes are under-creamed butter and sugar, cold ingredients, or overmixed batter. Make sure your butter is truly soft before creaming, beat the butter and sugar for the full 3 to 4 minutes, and stop mixing the moment the flour disappears. These three steps alone resolve the majority of density issues in vanilla cake.
