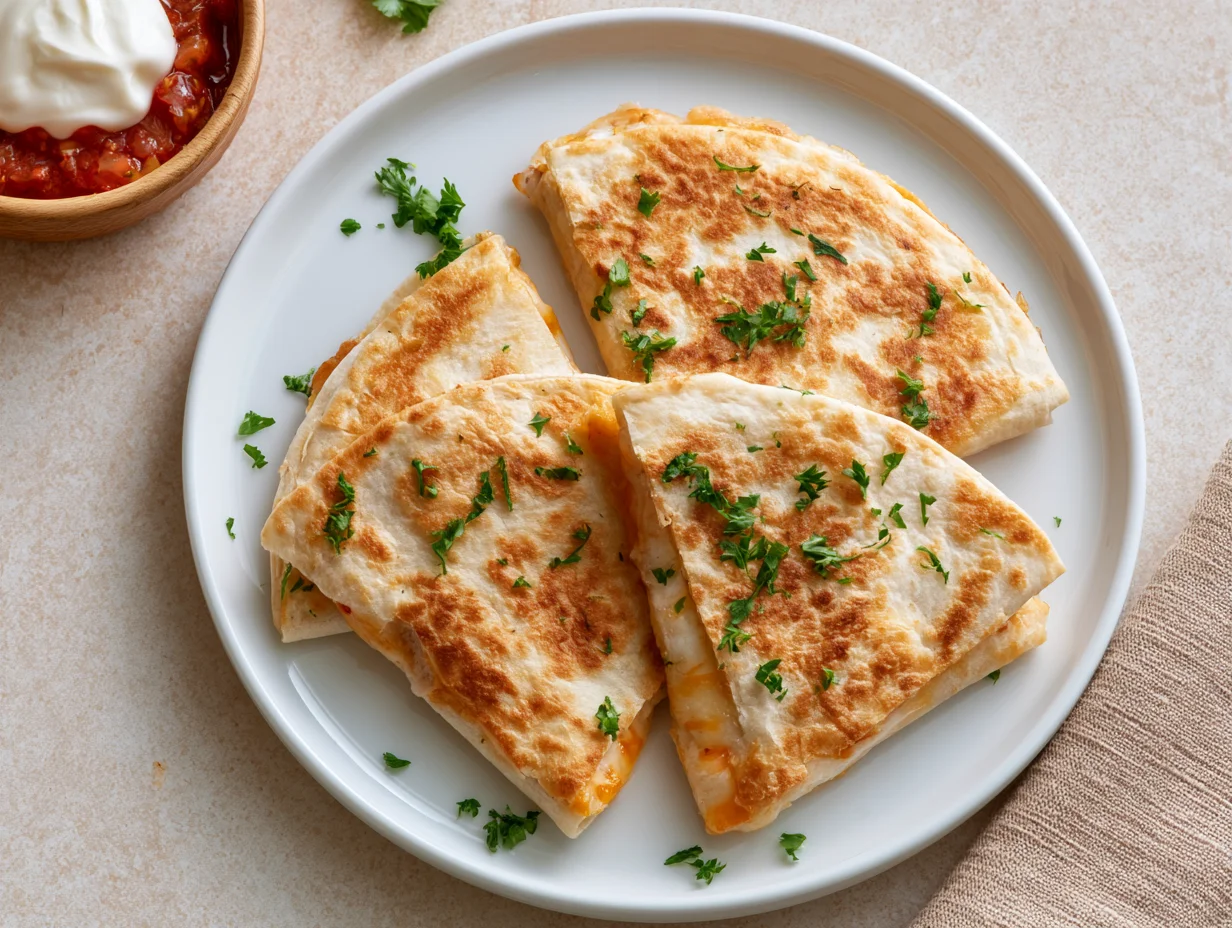
Cheesy Chicken Quesadilla Recipe
There’s a particular kind of magic that happens when a tortilla hits a hot, buttered skillet and starts to crackle. It’s the sound of dinner coming together in minutes, not hours. That sound, paired with the smell of melting cheese, is exactly why the cheesy chicken quesadilla has earned a permanent spot in my weeknight rotation.
This isn’t just a quick fix for a busy evening, though it certainly excels at that. A well-made quesadilla, with properly seasoned chicken and the right cheese blend, rivals anything you’d order at a sit-down Mexican restaurant. The difference is you control every element, from the spice level to the crispness of the exterior.
What makes this recipe stand out is balance. The filling stays juicy without making the tortilla soggy. The cheese melts into every corner without overwhelming the chicken. The exterior turns golden and crisp while the inside stays warm and gooey, which is the entire point of a quesadilla done right.
I’ve tested this recipe enough times to know exactly where people go wrong and exactly how to fix it. Below, you’ll find a method that produces consistent, restaurant-quality results every single time, along with tips that most recipes never mention.
Ingredients You’ll Need
Good quesadillas don’t need a long shopping list, they need the right ratios and a few smart choices that elevate flavor without complicating the process.
Base Ingredients
- 2 cups cooked chicken, shredded or diced
- 4 large flour tortillas
- 2 cups shredded Monterey Jack cheese
- 1 cup shredded cheddar cheese
- 2 tablespoons butter, softened
- 1 tablespoon olive oil
- 1 teaspoon ground cumin
- 1 teaspoon smoked paprika
- 1/2 teaspoon garlic powder
- 1/2 teaspoon onion powder
- 1/4 teaspoon salt
- 1/4 teaspoon black pepper
Optional Add-ins
- 1/4 cup diced red onion
- 1/4 cup diced bell pepper
- 2 tablespoons chopped fresh cilantro
- 1/4 cup canned black beans, drained
- 1 jalapeño, thinly sliced
- 2 tablespoons sour cream, for serving
- 1/4 cup salsa, for serving
- 1 avocado, sliced
Step-by-Step Instructions
Step 1: Season the Chicken
In a mixing bowl, combine the shredded chicken with cumin, smoked paprika, garlic powder, onion powder, salt, and black pepper. Toss thoroughly so every piece is coated evenly. If your chicken was plain or leftover, this step is what brings it back to life with bold, smoky flavor. Let it sit for five minutes so the spices absorb into the meat. This short resting period makes a noticeable difference in the final taste, especially if you’re using rotisserie or boiled chicken that started out fairly neutral in flavor.
Step 2: Warm the Tortillas
Heat a large nonstick skillet or griddle over medium heat. Lightly warm each tortilla for about fifteen seconds per side before assembling. This step prevents cracking when you fold or flip the quesadilla later. Warm tortillas are also more pliable, which helps them hold the filling without tearing. Skipping this step is a common reason quesadillas fall apart mid-cook. Stack the warmed tortillas under a clean kitchen towel to keep them soft and flexible while you prepare the rest of the filling components.
Step 3: Layer the Filling
Lay one tortilla flat on your work surface. Sprinkle a thin layer of cheese first, then add a portion of the seasoned chicken, followed by your chosen add-ins like onion, pepper, or jalapeño. Top with another layer of cheese before placing the second tortilla on top. Cheese on both sides acts as a binding agent, sealing the filling in place once melted. Avoid overfilling, as too much filling makes flipping difficult and increases the risk of spillage during cooking.
Step 4: Cook to Golden Perfection
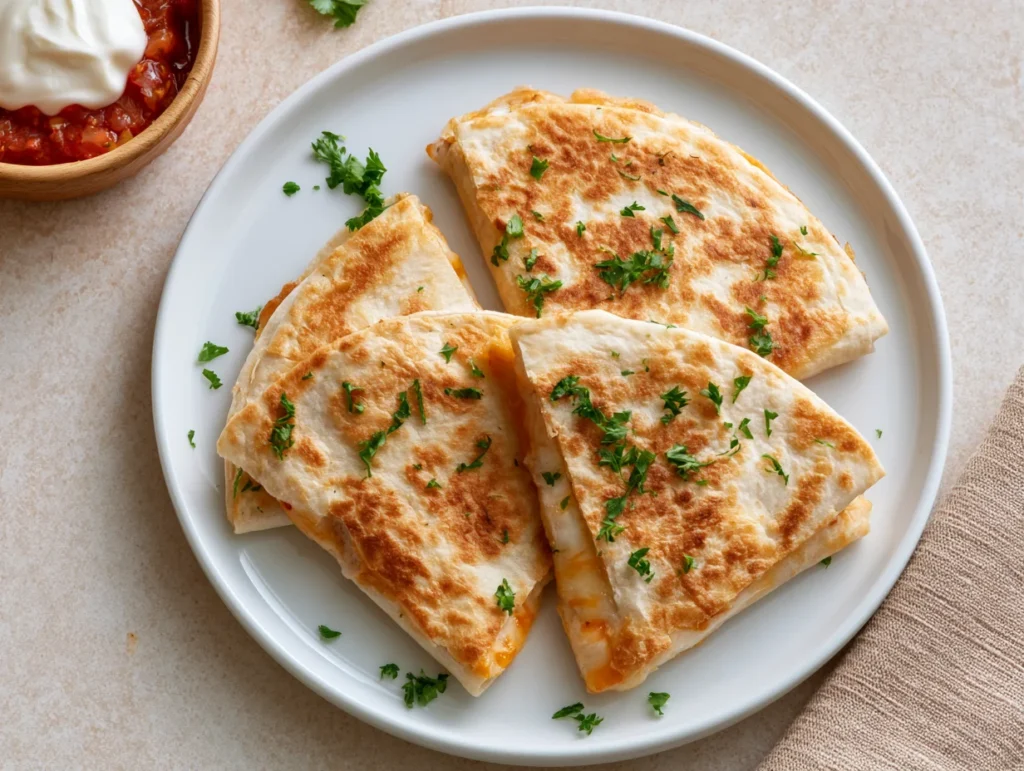
Melt half the butter in the skillet over medium heat. Place the assembled quesadilla in the pan and cook for three to four minutes until the bottom turns golden brown. Add the remaining butter to the pan, carefully flip the quesadilla, and cook for another three minutes. Press down gently with a spatula to encourage even browning and help the cheese melt completely. The exterior should be crisp and golden, never pale or soft, which indicates the cheese hasn’t fully melted yet.
Step 5: Rest, Slice, and Serve
Transfer the cooked quesadilla to a cutting board and let it rest for two minutes before slicing. This brief rest allows the melted cheese to set slightly, making clean cuts much easier. Slice into wedges using a sharp knife or pizza cutter. Serve immediately while hot, alongside sour cream, salsa, or sliced avocado. Repeat the process with remaining tortillas and filling, keeping finished quesadillas warm in a low oven if cooking multiple batches.
Cook Time
Total:
25 minutes
Prep:
15 minutes
Bake:
10 minutes
Servings
This recipe makes approximately 4 servings, with each serving consisting of one whole quesadilla cut into four wedges. It’s designed for a satisfying lunch or dinner portion, though it pairs beautifully with a side salad or rice if you want to stretch the meal further for a larger group.
For smaller gatherings or solo meals, the recipe halves easily without affecting the flavor balance. For larger families or parties, simply double the ingredients and cook in batches, keeping finished quesadillas warm in a 200°F oven.
Portion sizes can flex depending on appetite. Pair with a light side dish for a lighter meal, or serve two wedges alongside rice and beans for a heartier dinner that feels complete and filling without unnecessary excess.
Common Mistakes in This Recipe
The most frequent mistake is overfilling the tortilla, which sounds generous but actually works against the dish. Too much filling prevents the tortilla from sealing properly, causing spillage and uneven cooking. The cheese can’t melt evenly when it’s buried under excessive chicken or vegetables, leaving cold pockets in the center.
Another common issue is cooking over heat that’s too high. This browns the tortilla too quickly while the cheese inside remains unmelted, resulting in a quesadilla that looks done but tastes disappointing in the middle.
Using cold, unseasoned chicken straight from the fridge is another pitfall. It creates a bland, temperature-inconsistent filling that doesn’t integrate well with the melted cheese.
Lastly, many skip warming the tortillas first, leading to cracking and tearing during the flip, which ruins presentation and lets filling escape into the pan.
Solutions to Common Mistakes
To avoid overfilling, use a measured approach: a thin, even layer of cheese and filling across the entire tortilla surface works far better than mounding ingredients in the center. Less is genuinely more here.
Control your heat by keeping the skillet at a steady medium temperature throughout cooking. This allows the tortilla to crisp gradually while giving the cheese enough time to fully melt before the exterior overcooks.
Always season and slightly warm your chicken before assembling. A quick toss in a hot pan for two minutes brings both flavor and temperature consistency, ensuring the filling melts seamlessly with the cheese.
Warm your tortillas briefly before filling them. This small step keeps them flexible, prevents cracking, and makes flipping during cooking far smoother and more reliable.
Nutritional Information (approx. per serving)
- Calories: 420
- Protein: 28g
- Carbohydrates: 26g
- Fat: 22g
- Fiber: 2g
- Sodium: 610mg
This quesadilla delivers a solid protein punch thanks to the chicken, making it a satisfying option for muscle recovery or sustained energy throughout a busy day. The protein content also helps with satiety, keeping hunger at bay longer than many quick lunch alternatives.
Cheese contributes calcium and healthy fats, both of which support bone health and provide the kind of richness that makes a meal feel indulgent without requiring excessive portions to feel satisfying.
Adding vegetables like bell peppers or black beans boosts fiber and micronutrient content, turning a simple cheese-and-chicken dish into something more nutritionally rounded without sacrificing flavor or convenience.
Compared to deep-fried alternatives, this skillet method keeps added fat to a minimum, relying on a small amount of butter rather than oil-heavy frying, making it a reasonably balanced choice for regular meals.
Storage Instructions
Leftover quesadillas store well when handled properly. Allow them to cool completely to room temperature before storing, as trapping heat in a sealed container creates excess moisture that softens the tortilla and compromises texture.
Place cooled quesadillas in an airtight container, separating layers with parchment paper to prevent sticking. Refrigerate for up to three days for best quality and food safety.
For longer storage, wrap individual quesadillas tightly in foil or plastic wrap and freeze for up to two months. Label with the date so you can track freshness easily.
Reheat refrigerated quesadillas in a skillet over medium heat for two to three minutes per side to restore crispness. Avoid microwaving if possible, as it leaves the tortilla soft and slightly rubbery rather than crisp.
Suggestions
Pair your quesadilla with a simple side of Mexican rice or a fresh corn salad for a more complete, restaurant-style meal that feels purposeful rather than thrown together at the last minute.
Experiment with cheese blends beyond the standard combination. Pepper jack adds gentle heat, while a touch of queso fresco brings a tangy, crumbly contrast that plays nicely against melted cheddar or Monterey Jack.
For a smokier profile, consider adding a few drops of chipotle hot sauce directly into the filling before cooking. It infuses heat throughout rather than just on the surface as a condiment.
If serving for a crowd, set up a quesadilla bar with various fillings laid out separately. This allows guests to customize their own, making it an interactive and memorable meal option for casual gatherings.
Seasonal Relevance
Quesadillas work beautifully year-round, but they shine particularly in colder months when a warm, cheesy, hands-on meal feels especially comforting after a long day outdoors or at work.
In summer, lighten the dish by incorporating fresh corn, diced tomatoes, or grilled vegetables into the filling, taking advantage of peak-season produce while keeping the core recipe intact and familiar.
During holiday gatherings, quesadillas make an excellent appetizer when cut into smaller triangles, offering guests a warm, shareable bite that requires minimal last-minute effort from the host.
Football season and game-day spreads also benefit from this recipe, as quesadillas hold up well on a buffet table and reheat easily without losing their appeal or texture.
Final Words
This cheesy chicken quesadilla recipe proves that simple ingredients, handled with care and the right technique, can produce something genuinely memorable. It’s quick enough for a weeknight yet satisfying enough to serve guests without apology or hesitation.
The beauty of this dish lies in its flexibility. Swap proteins, adjust spice levels, or load it with vegetables, and it still delivers the same comforting, cheese-pulled satisfaction every single time you make it.
I encourage you to make this recipe your own once you’ve mastered the base technique. Cooking should feel personal, and this quesadilla is an excellent canvas for that kind of culinary expression.
Whether it’s a solo dinner or a meal for the whole family, this recipe earns its place in your regular rotation. Give it a try, and I suspect it will become a staple in your kitchen too.
Frequently Asked Questions
Can I use a different type of tortilla for this recipe?
Yes, corn tortillas work well, though they’re more delicate and may require careful handling. Flour tortillas are recommended for beginners since they’re sturdier, fold easily, and produce a crispier, more forgiving texture during cooking.
What’s the best way to shred chicken quickly for this filling?
Use two forks to pull apart warm, cooked chicken, or place it in a stand mixer with the paddle attachment on low speed for thirty seconds. Both methods shred chicken evenly without requiring much manual effort.
Can this recipe be made vegetarian without losing flavor?
Absolutely. Replace chicken with sautéed mushrooms, black beans, or roasted sweet potatoes seasoned with the same spice blend. The cheese and seasoning carry most of the flavor, so the swap remains satisfying and well-balanced.
Cheesy Chicken Quesadilla Recipe
4
servings15
minutes10
minutes420
kcal25
minutesGolden, crispy tortillas packed with juicy seasoned chicken and a melty blend of Monterey Jack and cheddar cheese. A quick, satisfying meal ready in under 30 minutes, perfect for busy weeknights or casual entertaining.
Ingredients
Base Ingredients
2 cups cooked chicken, shredded or diced
4 large flour tortillas
2 cups shredded Monterey Jack cheese
1 cup shredded cheddar cheese
2 tablespoons butter, softened
1 tablespoon olive oil
1 teaspoon ground cumin
1 teaspoon smoked paprika
1/2 teaspoon garlic powder
1/2 teaspoon onion powder
1/4 teaspoon salt
1/4 teaspoon black pepper
Optional Add-ins
1/4 cup diced red onion
1/4 cup diced bell pepper
2 tablespoons chopped fresh cilantro
1/4 cup canned black beans, drained
1 jalapeño, thinly sliced
2 tablespoons sour cream, for serving
1/4 cup salsa, for serving
1 avocado, sliced
Directions
- Season shredded chicken with cumin, smoked paprika, garlic powder, onion powder, salt, and pepper. Let sit for 5 minutes.
- Warm tortillas in a skillet for 15 seconds per side; keep covered with a towel.
- Layer one tortilla with cheese, seasoned chicken, optional add-ins, and more cheese; top with second tortilla.
- Melt half the butter in the skillet; cook quesadilla 3-4 minutes until golden on the bottom.
- Add remaining butter, flip, and cook another 3 minutes, pressing gently until cheese fully melts.
- Rest 2 minutes, slice into wedges, and serve hot with sour cream, salsa, or avocado.
Recipe Video
Notes
- Avoid overfilling the tortilla to prevent spillage and uneven melting.
- Keep heat at medium to ensure the cheese melts before the tortilla over-browns.
- Pre-season and slightly warm the chicken for better flavor and texture integration.
- Reheat leftovers in a skillet rather than a microwave to preserve crispness.
- Freeze tightly wrapped quesadillas for up to 2 months for longer storage.