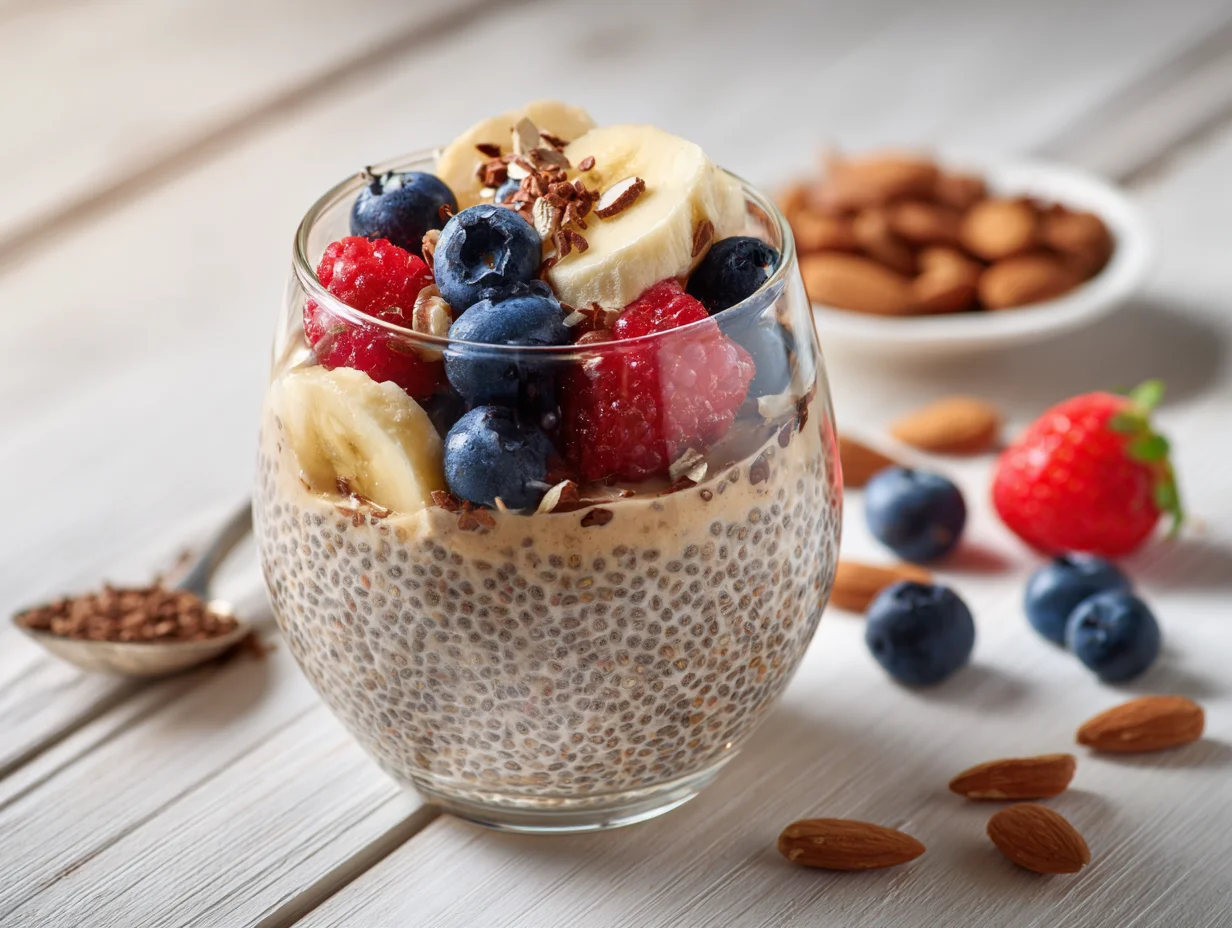
I’ve always believed that breakfast should do more than just fill your stomach,it should set your rhythm for the entire day. This coffee chia seed pudding is one of those recipes I keep coming back to because it delivers both nourishment and comfort in a single jar.
The richness of coffee paired with the natural texture of chia seeds creates something that feels indulgent, yet remains incredibly wholesome. When I first tested this recipe in my kitchen, I wanted something quick, balanced, and reliable for busy mornings,and this delivered beyond expectations.
It’s simple to prepare, easy to customize, and ideal for meal prep. If you’re someone who values both flavor and function in your food, this is a breakfast you’ll genuinely look forward to every day.
? If you enjoy make-ahead breakfasts, you’ll also love our Peanut Butter Overnight Oats for another quick and nutritious morning option.
Texture Breakdown: Where Most Go Wrong
In my experience, the biggest mistake people make with coffee chia seed pudding is getting the texture wrong. I’ve seen it turn out overly runny or uncomfortably thick, and both outcomes take away from what should be a smooth, creamy dish.
This usually happens when the liquid-to-chia ratio isn’t balanced properly. Another issue I’ve personally noticed is skipping the second stir,this step might seem small, but it’s critical. Without it, the seeds clump together, creating uneven pockets that ruin the consistency.
I also used to make the mistake of adding hot coffee directly, which affects how the seeds absorb liquid. These small oversights may seem minor, but they significantly impact the final result, especially if you’re aiming for a refined, professional texture.
My Method for Perfect Creaminess Every Time
Over time, I’ve refined a method that consistently delivers the perfect texture. I always stick to a ratio of about three tablespoons of chia seeds to one cup of liquid,it’s simple, reliable, and works every time. I make sure the coffee is completely cooled before mixing, which preserves the seeds’ natural ability to gel properly.
After combining everything, I give it a thorough stir, let it sit for five minutes, and then stir it again. That second stir is something I never skip anymore. Then I refrigerate it overnight, allowing the pudding to fully develop its texture.
If it turns out thicker than I want, I just add a splash of milk and mix it gently. This method has never failed me, and it’s the one I recommend to anyone serious about getting it right.
Ingredients List
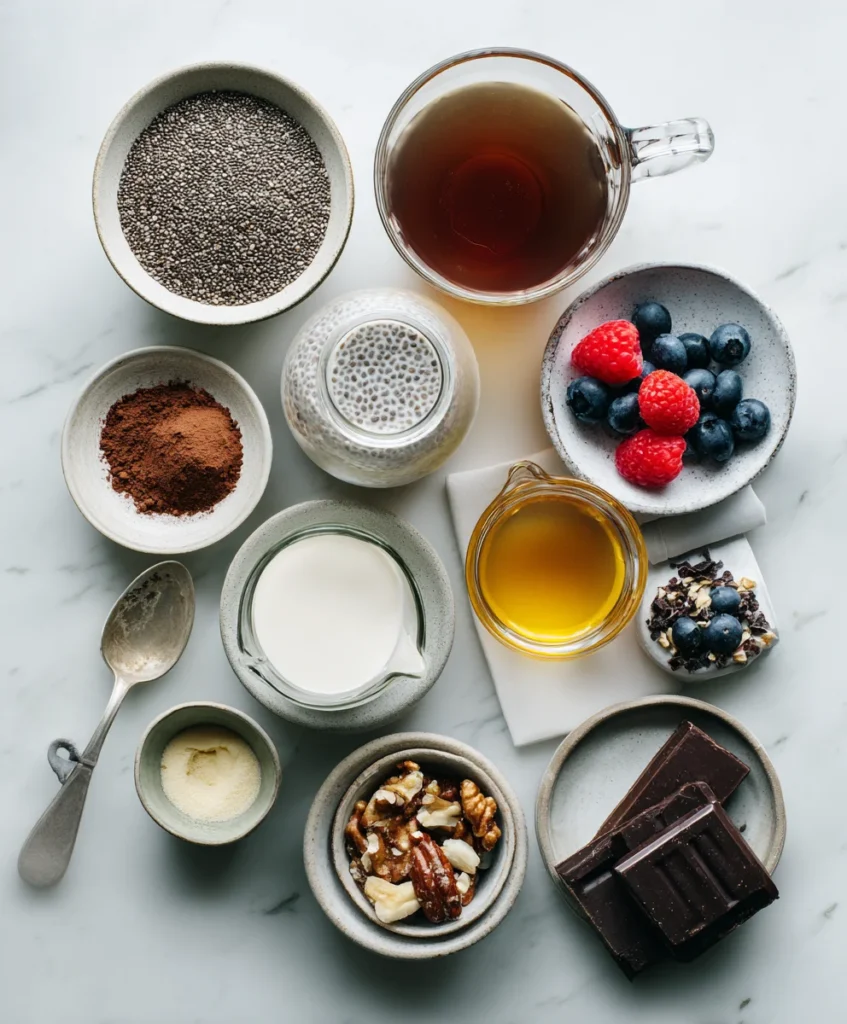
Base Ingredients:
- Chia seeds
- Brewed coffee (cooled)
- Milk (dairy or plant-based)
- Honey or maple syrup
- Vanilla extract
Optional Add-ins:
- Cocoa powder
- Cinnamon
- Protein powder
- Chopped nuts
- Fresh berries
- Dark chocolate shavings
Step-by-Step Instructions
Prepare the Coffee Base
Whenever I start this recipe, I focus first on the coffee because it defines the entire flavor. I brew a fresh cup using good-quality beans, then let it cool completely,this step is non-negotiable for me. Once cooled, I mix it with milk in a bowl, adjusting the ratio depending on how strong I want the coffee flavor.
I then add a natural sweetener like honey or maple syrup and a touch of vanilla extract. I whisk everything together until it feels smooth and balanced.
At this stage, I always taste the mixture because this is my chance to fine-tune the sweetness and strength. Getting this base right makes the rest of the process effortless and ensures the final pudding has a rich, well-rounded flavor.
? Looking for more healthy grab-and-go ideas? Try our Healthy Granola Bars You’ll Love, perfect for busy mornings and energy boosts.
Incorporate the Chia Seeds
When I add chia seeds, I do it slowly while stirring continuously. Early on, I learned that dumping them in all at once leads to clumping, which is something I try to avoid completely. I make sure every seed is coated in the liquid so it hydrates evenly.
After the initial mix, I let it sit for about five minutes, then come back and stir it again thoroughly. This second stir is part of my routine now because it prevents clusters from forming.
I pay attention to how the mixture starts to thicken slightly,it’s a good sign that everything is working as it should. This step might seem simple, but it’s where the foundation of the pudding’s texture is truly built.
Chill and Set the Pudding
Once everything is mixed, I transfer the pudding into jars and place them in the refrigerator. I usually leave them overnight because I’ve found that longer chilling produces the best results. During this time, the chia seeds absorb all the liquid and transform into that signature pudding texture. I avoid disturbing the jars while they set, as it helps maintain consistency.
When I check them later, I give the pudding a gentle stir. If it feels too thick, I add a little milk and mix until it reaches the texture I prefer. This step is where patience really pays off. The flavor deepens, the texture improves, and the pudding becomes something that feels carefully crafted rather than rushed.
Add Toppings and Serve
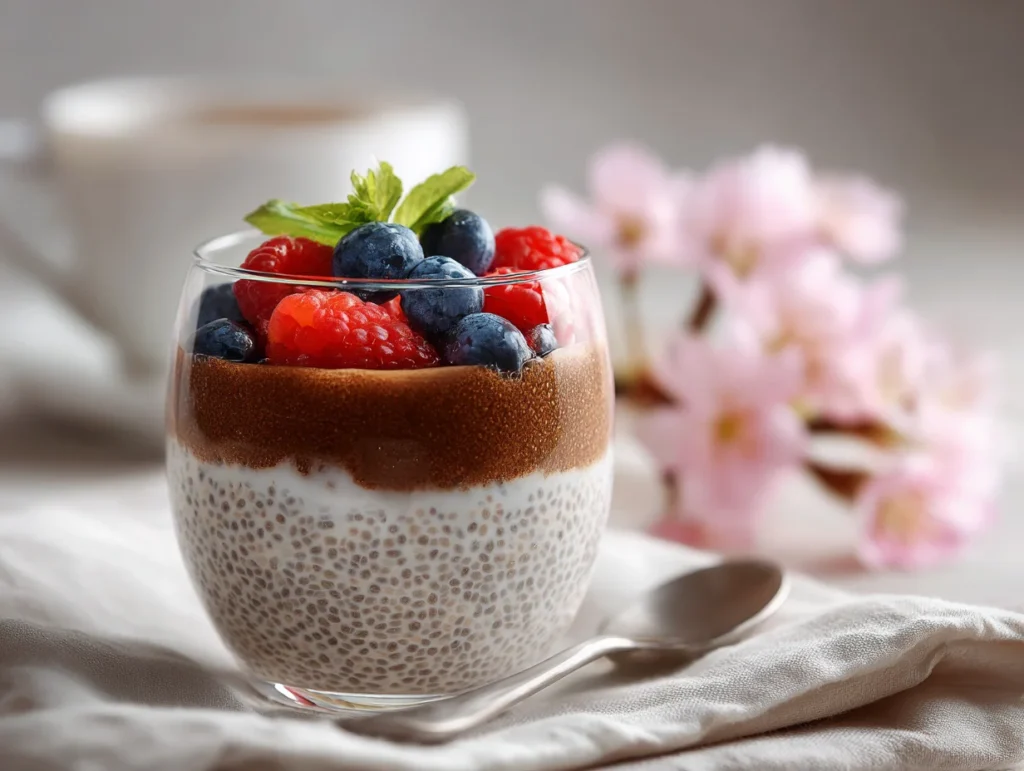
Serving is where I like to get a bit creative. I usually top my pudding with fresh berries, a handful of nuts, or sometimes a sprinkle of dark chocolate. It depends on my mood and what I have available. I enjoy layering toppings because it adds both texture and visual appeal.
When I’m preparing this for guests or content, I pay extra attention to presentation,using clear jars and neat layers makes a big difference. I always serve it chilled because that’s when it tastes the most refreshing. For me, this final step is about turning a simple recipe into something that feels complete, both in flavor and appearance.
Cook Time
Total: 4 hours 10 minutes
Prep: 10 minutes
Bake: No baking required
Servings
From my experience, this recipe comfortably makes two to three servings, depending on how you portion it. I often prepare it in separate jars so I can grab one quickly in the morning without any extra effort. It’s filling but not heavy, which makes it perfect for starting the day without feeling sluggish. If I’m planning for the week, I simply double or triple the ingredients and store multiple servings. I also like that it adapts easily,whether I want a lighter portion or something more substantial, I can adjust it without changing the core method. This flexibility is one of the reasons I rely on this recipe so often in my routine.
Makes approximately 2–3 servings
Nutritional Information (approx. per serving)
- Calories: 180–220 kcal
- Protein: 6–8 grams
- Fiber: 10–12 grams
- Healthy fats: 8–10 grams
- Carbohydrates: 15–18 grams
- Caffeine: Moderate (depends on coffee strength)
I appreciate this recipe not just for its taste, but for how balanced it is nutritionally. The fiber keeps me full for hours, which helps avoid unnecessary snacking. The healthy fats support sustained energy, while the protein adds a bit of structure to the meal. I also like the gentle caffeine boost,it feels more stable compared to drinking coffee alone. Over time, I’ve found this combination works really well for maintaining focus and energy throughout the morning. It’s a small change, but one that has made a noticeable difference in my daily routine.
? If you prefer something refreshing and fruity, check out our Fruit Yogurt Parfait for a layered breakfast that’s both delicious and wholesome.
Storage Instructions
When I store this pudding, I always use airtight jars to keep it fresh and prevent it from absorbing any unwanted odors from the fridge. In my experience, it stays in great condition for up to four days, which makes it ideal for meal prep. Before eating, I give it a quick stir because the texture can settle slightly over time. If it thickens more than I like, I just add a splash of milk and mix it until it smooths out again. I avoid freezing it because I’ve tested that before, and it changes the texture in a way that I don’t find appealing. Keeping it properly chilled and sealed ensures it tastes just as good as when it was first made.
Suggestions
Over time, I’ve experimented with different variations of this recipe, and that’s where it really becomes exciting. Sometimes I add cinnamon for warmth, or cocoa powder for a mocha-style twist. If I need more protein, I mix in a scoop of protein powder without affecting the taste too much. I’ve also layered it with yogurt and granola to create something more filling. Small adjustments like these keep the recipe interesting and prevent it from becoming repetitive. I also like to focus on presentation,using clean layers and fresh toppings makes it feel more refined. For me, it’s about finding that balance between simplicity and creativity while keeping the core recipe intact.
Seasonal Relevance
I’ve used this recipe throughout the year, and what I enjoy most is how easily it adapts to different seasons. In summer, I keep it light and refreshing by adding fresh fruits like berries or mango. During colder months, I lean towards warmer flavors like cinnamon or a hint of cocoa. The coffee element makes it suitable for any season, whether you prefer iced or comforting flavors. I also appreciate that it requires no cooking, which is especially helpful during hot weather. By adjusting toppings and flavors, I’ve been able to keep this recipe relevant and enjoyable regardless of the season, making it a consistent part of my routine.
For me, this coffee chia seed pudding is more than just a recipe,it’s a reliable part of my daily routine. It’s quick to prepare, nutritionally balanced, and consistently satisfying. I value recipes that are both practical and refined, and this one checks all the boxes. Whether I’m preparing it for a busy weekday or a relaxed morning, it always delivers. The ability to customize it keeps things interesting, while the core method remains simple and dependable. If you’re looking for a breakfast that supports your lifestyle without compromising on flavor, this is one I genuinely recommend. It’s a small change that can make your mornings feel more intentional and enjoyable.
? For smoothie lovers, don’t miss our High Protein Smoothies, ideal for a quick, energizing, and nutrient-packed start to your day.
Frequently Asked Questuions
1. Can I prepare this pudding in advance for the entire week?
Yes, I often prepare multiple servings at once and store them in the refrigerator. It stays fresh for up to four days, making it perfect for meal prep. Just ensure each portion is stored in an airtight container and stirred before serving for the best texture and consistency.
2. What type of milk works best in this recipe?
I’ve tried both dairy and plant-based options, and each works well. Almond milk keeps it light, while coconut milk makes it richer. It really depends on your preference. I recommend experimenting to find the flavor and texture that suits your taste best.
3. How can I make the pudding sweeter naturally?
If I want natural sweetness, I usually rely on toppings like fresh fruits or a drizzle of honey. Dates or mashed bananas can also be mixed in for added sweetness without refined sugar. These options enhance flavor while keeping the recipe wholesome and balanced.
4. Is this recipe suitable for a high-protein diet?
It can be easily adjusted for higher protein by adding protein powder or pairing it with yogurt. I’ve done this many times, and it blends well without affecting the texture too much. This makes it a great option for those focusing on fitness and nutrition goals.
5. Can I skip the vanilla extract?
Yes, you can skip it if you don’t have it available. I personally like adding it because it enhances the overall flavor and balances the coffee notes. However, the pudding will still taste good without it, especially if you’re using quality coffee and fresh ingredients.