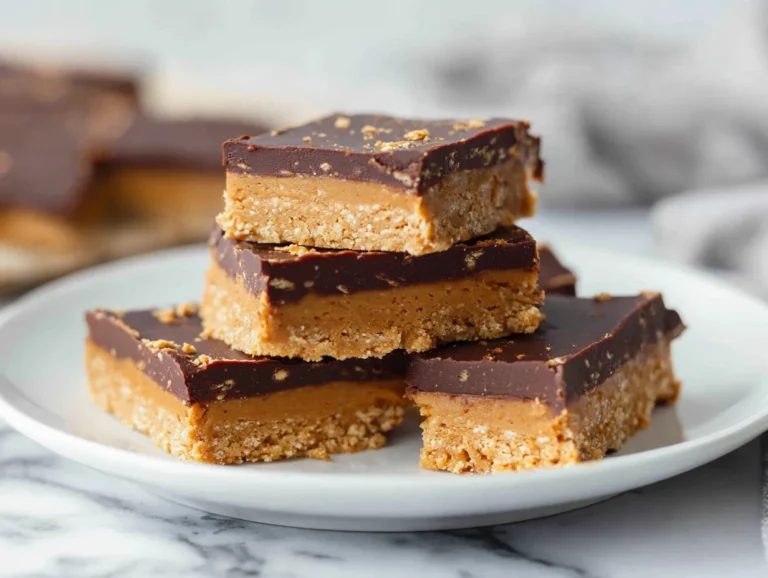
Fudgy Healthy Brownie Recipe
There’s a particular kind of disappointment that comes from biting into a “healthy” brownie that tastes like sweetened cardboard. I’ve tested more clean-eating dessert recipes than I’d like to admit, and most of them sacrifice texture for virtue. This one doesn’t.
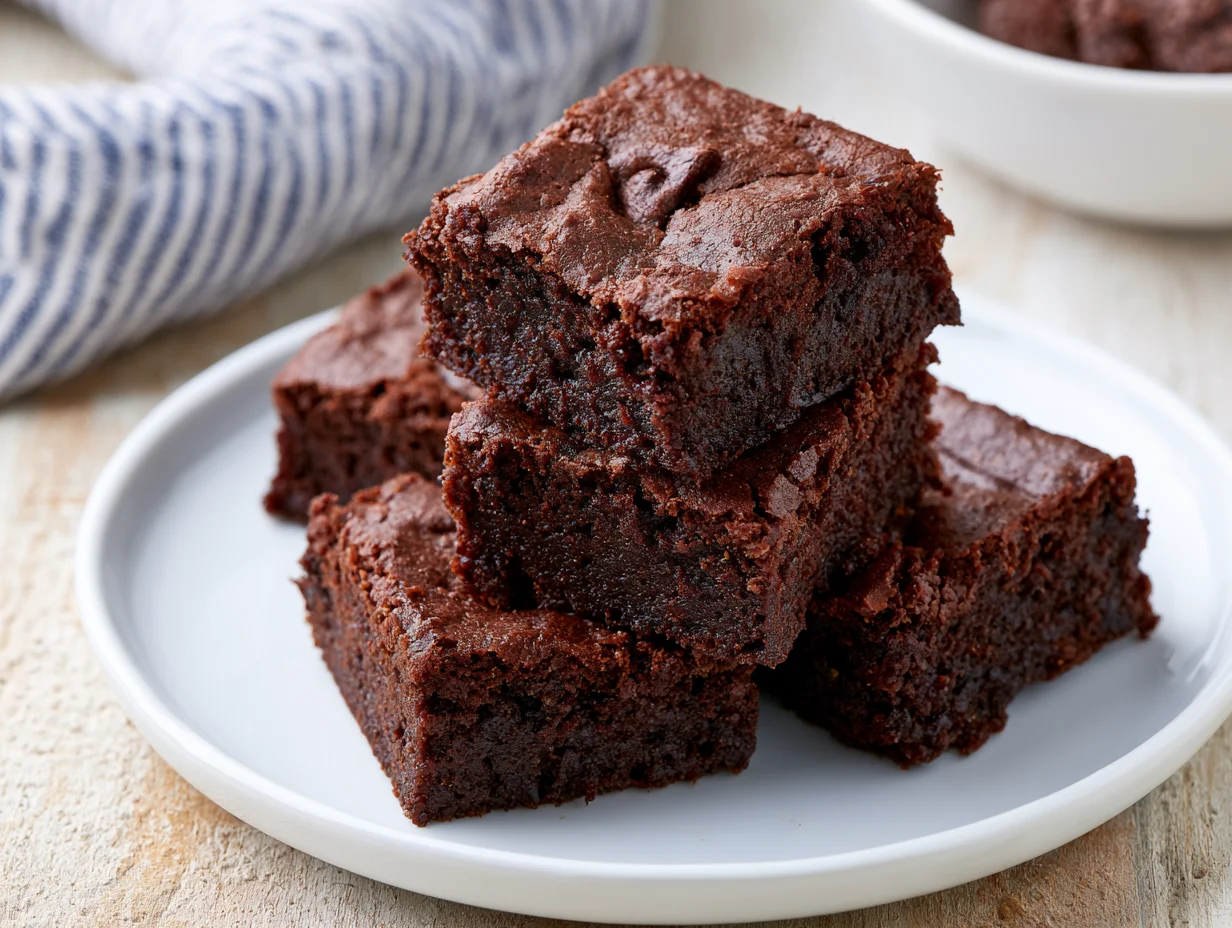
What makes this brownie different is the ratio. Instead of leaning on refined flour and butter for richness, it pulls moisture and density from ingredients that also happen to be better for you — without announcing themselves on your tongue. The result is a brownie that’s dense, glossy on top, and fudgy enough to need a fork.
I developed this recipe after one too many dry, crumbly “guilt-free” attempts from other kitchens. The fix wasn’t complicated. It came down to fat ratio, sugar type, and not overbaking — three things most healthy recipes get wrong simultaneously.
If you’ve been searching for a brownie that satisfies a real chocolate craving while keeping ingredients honest, this is the one to bookmark. It bakes in under 30 minutes and uses one bowl.
Ingredients You’ll Need
Good brownies don’t need a long ingredient list — they need the right ones, used in the right proportion, and that’s exactly what this lineup delivers.
One of the things I love about this recipe is that it uses simple pantry ingredients. You probably already have most of them in your kitchen.
Base Ingredients
- 1 cup almond flour
- 1/2 cup unsweetened cocoa powder
- 1/2 cup coconut sugar
- 1/3 cup pure maple syrup
- 1/2 cup unsweetened applesauce
- 1/4 cup melted coconut oil
- 2 large eggs
- 1 teaspoon vanilla extract
- 1/2 teaspoon baking powder
- 1/4 teaspoon sea salt
Optional Add-ins
- 1/2 cup dark chocolate chips (70% or higher)
- 1/4 cup chopped walnuts
- 1 tablespoon instant espresso powder
- 1/4 teaspoon cinnamon
- 2 tablespoons nut butter, swirled on top
Step-by-Step Instructions
Step 1: Preheat and Prep the Pan
Preheat your oven to 350°F (175°C). Line an 8×8-inch baking pan with parchment paper, leaving an overhang on two sides for easy removal later. Lightly grease the exposed corners with a touch of coconut oil. This step matters more than people think — a properly lined pan is the difference between clean-cut squares and a brownie that tears apart when you try to lift it out. Set the pan aside while you mix.
Step 2: Combine the Wet Ingredients
In a large mixing bowl, whisk together the melted coconut oil, maple syrup, applesauce, eggs, and vanilla extract until fully combined and slightly frothy. Whisking by hand for a full minute incorporates air, which helps create that signature shiny, crackly top layer once baked. Don’t rush this stage. A well-emulsified wet mixture is the foundation of a fudgy texture, so take the extra thirty seconds to get it smooth before moving forward.
Step 3: Fold in the Dry Ingredients
In a separate bowl, whisk the almond flour, cocoa powder, coconut sugar, baking powder, and sea salt to break up any clumps. Add this dry mixture to the wet ingredients in two batches, folding gently with a spatula rather than stirring vigorously. Overmixing develops air pockets that lead to a cakier crumb, which isn’t what we’re after here. Stop folding the moment you no longer see streaks of flour.
Step 4: Add Mix-ins and Bake
Fold in the dark chocolate chips and walnuts, if using. Pour the batter into your prepared pan and spread it evenly with a spatula, pushing it gently into the corners. If using nut butter, dollop it on top and swirl with a toothpick. Bake for 22 to 26 minutes, until the edges look set but the center still looks slightly underdone. That’s exactly what you want for fudginess.
Step 5: Cool Completely Before Slicing
Remove the pan from the oven and let it cool on a wire rack for at least 20 minutes, then transfer it to the refrigerator for another 30 minutes before slicing. This isn’t optional — warm brownies will fall apart no matter how good the recipe is. Once chilled, lift the brownie out using the parchment overhang, and slice into squares using a sharp knife wiped clean between cuts.
Cook Time
Total: 1 hour 5 minutes (includes cooling time)
Prep: 15 minutes
Bake: 22 to 26 minutes
Servings
This recipe makes approximately 16 small squares or 9 generous bars, depending on how you slice the pan. For a classic bake-sale presentation, cut into 16 even pieces using a 4×4 grid — this size also makes portion control easier if you’re tracking macros or sugar intake.
If you prefer a more indulgent, café-style brownie, cut the pan into 9 larger squares instead. These thicker pieces showcase the fudgy center better and are ideal for serving slightly warmed with a scoop of yogurt or a drizzle of nut butter on the side.
Either way, the recipe scales cleanly. Doubling the batch works well in a 9×13-inch pan, though you’ll want to add roughly 8 to 10 extra minutes to the bake time to account for the increased depth.
Common Mistakes in This Recipe
The most common mistake is overbaking, plain and simple. Almond flour-based batters firm up significantly as they cool, so a brownie that looks slightly underdone at the 22-minute mark is actually right on schedule. Pulling it out too late results in a dry, crumbly texture that defeats the entire purpose of this recipe.
The second mistake is skipping the chill time. Slicing into a warm pan, even one that looks fully baked, almost always leads to a mess. The structure simply hasn’t set yet.
A third issue is substituting almond flour with a 1:1 swap of regular flour without adjusting liquid content, which throws off the moisture balance entirely.
Lastly, using natural cocoa powder interchangeably with Dutch-processed cocoa can alter both flavor intensity and the way the baking powder reacts, affecting rise and texture.
Solutions to Common Mistakes
To avoid overbaking, start checking your brownies at the 20-minute mark using a toothpick — you want moist crumbs clinging to it, not wet batter, but definitely not a clean toothpick either. Trust the visual cue over the clock.
For slicing issues, resist the urge to cut early. Set a timer for the full cooling and chilling period, and use that window to prep toppings or clean up instead.
If substituting flours, research the correct ratio first; almond flour generally needs less liquid than wheat flour, so reduce your applesauce slightly if swapping.
For cocoa confusion, stick to natural cocoa powder as written, since it’s specifically balanced with the baking powder in this formula for proper texture.
Nutritional Information (approx. per serving)
- Calories: 145 kcal
- Protein: 4g
- Carbohydrates: 14g
- Fat: 9g
- Fiber: 3g
- Sugar: 9g (naturally derived)
Almond flour brings a meaningful protein and healthy fat boost compared to standard refined flour, which also helps moderate the blood sugar spike typically associated with dessert. This makes these brownies a more satiating option than their conventional counterparts.
Cocoa powder itself is rich in flavonoids, plant compounds linked to improved circulation and antioxidant activity, so you’re getting genuine nutritional value layered into an indulgent treat rather than empty calories alone.
Using maple syrup and coconut sugar instead of refined white sugar means a lower glycemic impact and a more nuanced, less cloying sweetness overall, which many people find easier on digestion.
Eggs and coconut oil round out the fat and protein profile, contributing to the fudgy mouthfeel while keeping the ingredient list free of processed stabilizers or artificial emulsifiers commonly found in store-bought alternatives.
Storage Instructions
Once fully cooled, store these brownies in an airtight container at room temperature for up to two days, separating layers with parchment paper to prevent sticking. Beyond that window, the texture starts to lose its fudgy quality.
For longer storage, keep them refrigerated for up to one week. Cold storage actually enhances the fudgy density here, so many people prefer eating them straight from the fridge rather than at room temperature.
These brownies also freeze exceptionally well. Wrap individual squares tightly in plastic wrap, then place them in a freezer-safe bag for up to three months. This makes portion-controlled snacking simple without sacrificing freshness.
To thaw, leave a frozen square at room temperature for about 20 minutes, or microwave for 10 to 15 seconds for a warm, gooey result reminiscent of a fresh bake.
Suggestions
Serve these brownies slightly chilled with a dusting of sea salt flakes on top to amplify the chocolate flavor — a small touch that makes a noticeable difference in perceived richness.
For an elevated dessert presentation, pair a warmed square with a small scoop of vanilla or coconut milk-based ice cream and a drizzle of melted dark chocolate over the top.
If you’re packing these for lunchboxes or post-workout snacks, the 16-square size is ideal for grab-and-go portioning without excess.
Consider doubling the batch when entertaining, since these tend to disappear quickly, and a single 8×8 pan rarely stretches far enough at a gathering of more than four or five people.
Seasonal Relevance
While brownies are a year-round favorite, this particular recipe shines during colder months when richer, denser desserts feel more satisfying than lighter fare. The warming notes of optional cinnamon or espresso powder make it especially fitting for autumn and winter baking.
That said, the relatively light nutritional profile also makes it a smart choice for spring and summer gatherings, where guests often want something indulgent but not overly heavy in warmer weather.
Around the holidays, these brownies adapt well to gifting — cut into smaller squares, stacked in a decorative tin, they make a thoughtful homemade present that doesn’t require last-minute store runs.
For Valentine’s Day or anniversary dinners, a single warm square topped with berries offers a simple, elegant dessert that feels intentional without demanding extra effort in the kitchen.
Final Words
This brownie recipe proves that “healthier” doesn’t have to mean a compromise in flavor or texture. It’s the kind of dessert you can serve to guests without disclosing the ingredient swaps, and most people won’t notice a difference until you tell them.
What I appreciate most about this formula is its consistency. Every time I’ve made it, the result has been the same fudgy, rich square, provided the bake time and cooling period are respected as written.
If you’re new to almond flour baking, this is a forgiving and rewarding place to start. The technique is simple, the ingredient list is short, and the payoff is genuinely satisfying.
Give it a try this week, and don’t be surprised if it becomes your go-to brownie recipe for both everyday cravings and special occasions alike.
Frequently Asked Questions
Can I make these brownies without eggs?
Yes, you can substitute each egg with one tablespoon of ground flaxseed mixed with three tablespoons of water, rested for five minutes. The texture will be slightly denser, but the recipe still holds together well and bakes successfully.
Why did my brownies turn out cakey instead of fudgy?
This usually happens from overmixing the batter or overbaking. Fold ingredients gently and remove the pan while the center still looks slightly underdone, since carryover cooking and chilling will finish setting the texture properly.
Can I use a different sweetener instead of coconut sugar?
Yes, light brown sugar works as a reliable 1:1 substitute if coconut sugar isn’t available. The flavor will be slightly less caramel-like, but the moisture content and overall texture of the brownies will remain largely unaffected.
Fudgy Healthy Brownie Recipe
16
servings15
minutes25
minutes145
kcal40
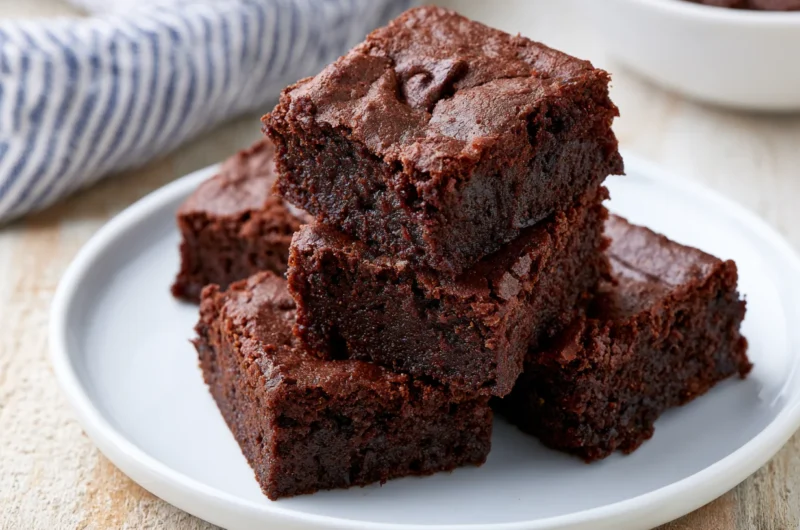
minutesRich, dense, and genuinely fudgy, these healthy brownies use almond flour, cocoa, and maple syrup instead of refined flour and sugar. One bowl, simple pantry staples, and a chocolate payoff that never tastes like compromise.
Ingredients
Base Ingredients
1 cup almond flour
1/2 cup unsweetened cocoa powder
1/2 cup coconut sugar
1/3 cup pure maple syrup
1/2 cup unsweetened applesauce
1/4 cup melted coconut oil
2 large eggs
1 teaspoon vanilla extract
1/2 teaspoon baking powder
1/4 teaspoon sea salt
Optional Add-ins
1/2 cup dark chocolate chips (70% or higher)
1/4 cup chopped walnuts
1 tablespoon instant espresso powder
1/4 teaspoon cinnamon
2 tablespoons nut butter, swirled on top
Directions
- Preheat oven to 350°F (175°C). Line an 8×8-inch pan with parchment paper, leaving overhang on two sides, and lightly grease exposed corners.
- Whisk together melted coconut oil, maple syrup, applesauce, eggs, and vanilla extract until smooth and slightly frothy.
- In a separate bowl, whisk almond flour, cocoa powder, coconut sugar, baking powder, and sea salt to remove clumps.
- Fold dry ingredients into wet ingredients in two batches, mixing gently until just combined.
- Fold in chocolate chips and walnuts, if using. Pour batter into the prepared pan and spread evenly.
- Add nut butter on top and swirl with a toothpick, if using.
- Bake for 22 to 26 minutes, until edges are set but the center still looks slightly underdone.
- Cool on a wire rack for 20 minutes, then refrigerate for 30 minutes before slicing.
- Lift out using the parchment overhang and slice into squares with a sharp, clean knife.
Recipe Video
Notes
- Do not overbake; the center should look slightly underdone when removed from the oven for a fudgy result.
- Chilling before slicing is essential for clean cuts and proper texture.
- Use natural cocoa powder, not Dutch-processed, for correct results with this formula.
- Store in an airtight container at room temperature for up to 2 days, refrigerated for up to 1 week, or frozen for up to 3 months.
- For a thicker, café-style bar, cut into 9 pieces instead of 16.