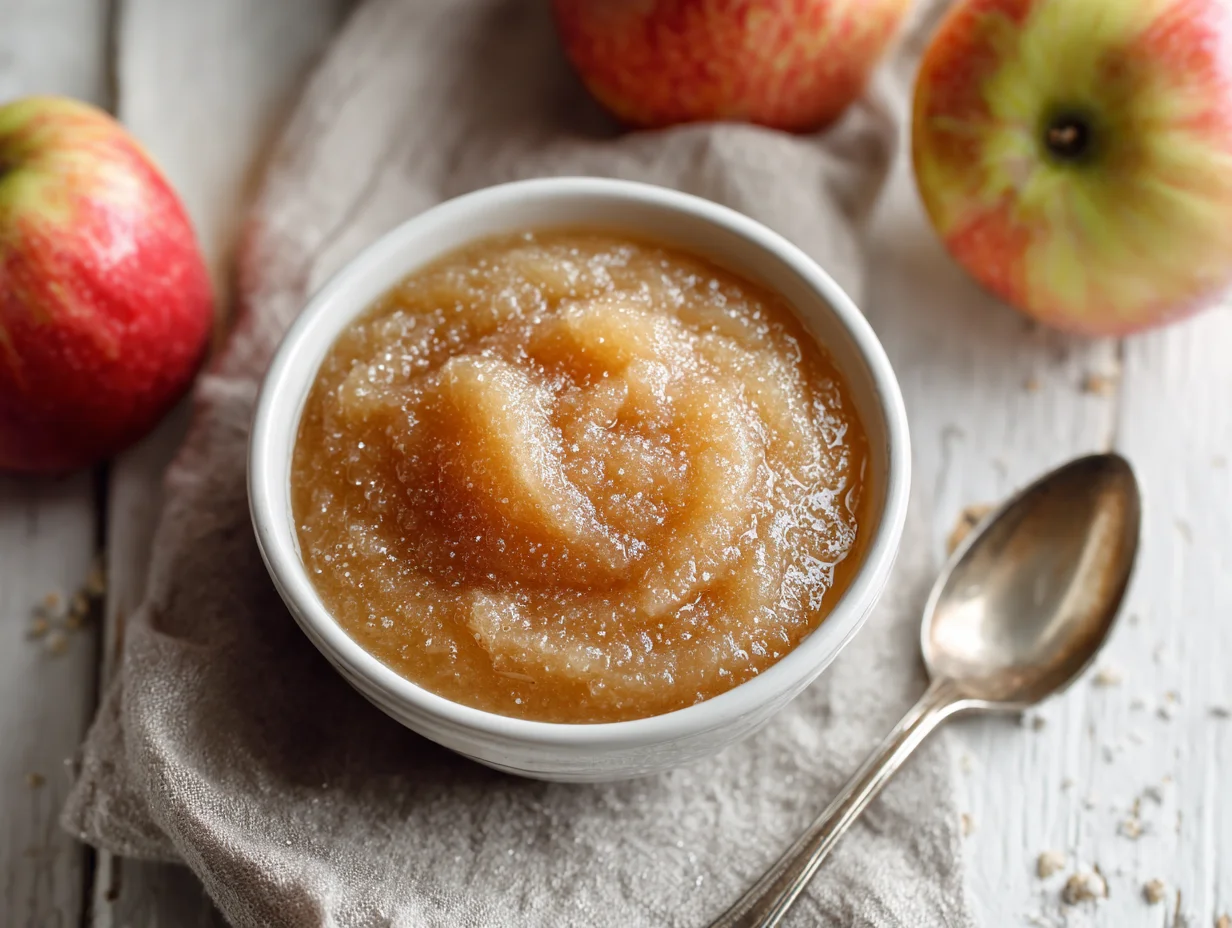
There’s something deeply satisfying about transforming a handful of fresh apples into a naturally sweet, velvety applesauce,without relying on added sugar. In my kitchen, I’ve always believed that when ingredients are treated with respect, they don’t need much embellishment.
This Instant Pot applesauce is a perfect example of that philosophy. It’s efficient, clean, and delivers a depth of flavor that surprises people the first time they try it. I’ve tested this method across different apple varieties and consistently found that pressure cooking preserves both aroma and natural sweetness beautifully.
Whether you’re making this for your family, meal prep, or a healthier alternative to store-bought options, this recipe reflects a balance of technique and simplicity that I personally stand by.
? If you enjoy naturally sweet breakfast ideas, you’ll love our Apple Cinnamon Baked Oatmeal .
Where Most People Go Wrong with Instant Pot Applesauce
In my experience, the most common mistake people make with Instant Pot applesauce is underestimating how different apple varieties behave under pressure. I’ve seen many home cooks throw in whatever apples they have on hand, expecting uniform results.
That rarely works. Some apples collapse too quickly, turning into a watery puree, while others hold their shape longer, creating an uneven texture. Another issue I often notice is adding too much water. Apples naturally release moisture as they cook, and excess liquid dilutes both flavor and consistency.
Overcooking is another frequent misstep,just a few extra minutes can strip the apples of their brightness and leave you with something dull. These small oversights can significantly affect the final result, even in such a simple recipe.
My Approach to Perfecting This Applesauce Every Time
Over time, I’ve refined a method that consistently delivers balanced, flavorful applesauce without added sugar. I always start by selecting a mix of apples,something naturally sweet paired with a slightly tart variety. This creates depth without needing any sweeteners.
I keep the added water minimal, just enough to prevent sticking, because I rely on the apples’ own juices. My cooking time is precise,five minutes on high pressure, followed by a natural release. That window is crucial. When it comes to texture, I adjust based on the occasion: sometimes I mash it by hand for a rustic feel, other times I blend it smooth.
I always taste at the end and, if needed, enhance it subtly with cinnamon or lemon juice. It’s a simple process, but attention to detail makes all the difference.
Ingredients List
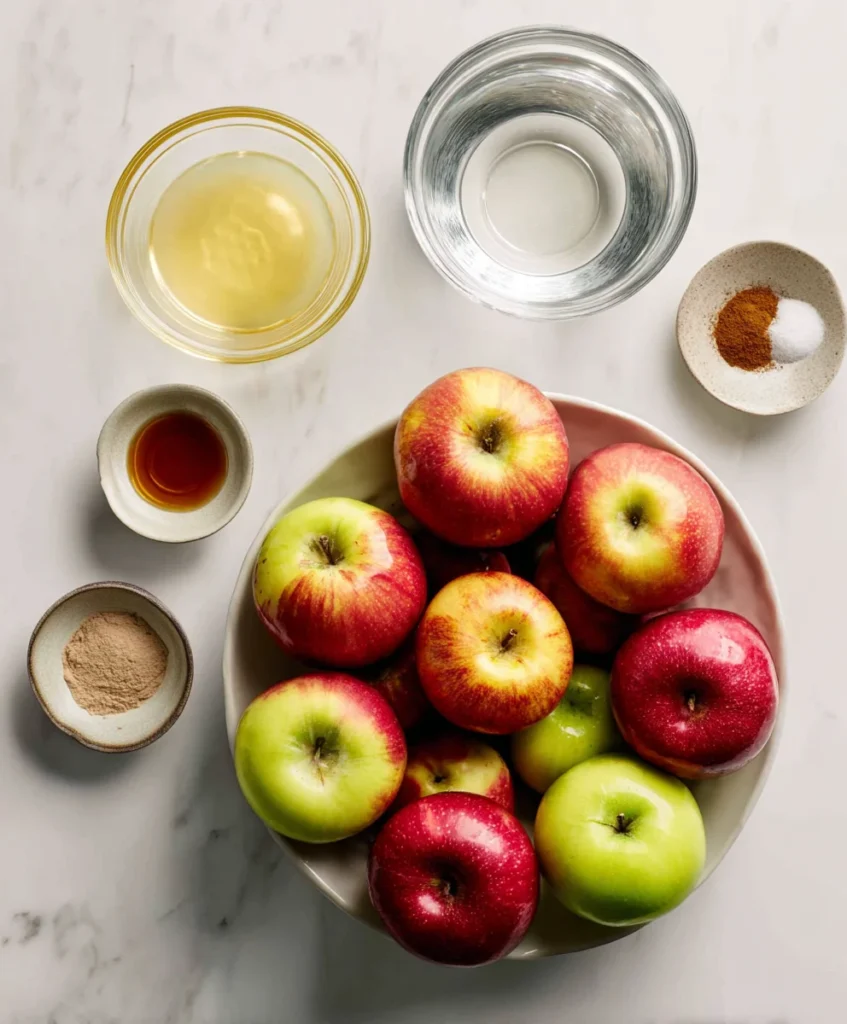
Base Ingredients:
- Fresh apples (Fuji, Gala, Honeycrisp, or Granny Smith mix)
- Water
- Fresh lemon juice
Optional Add-ins:
- Ground cinnamon
- Nutmeg
- Vanilla extract
- Clove powder
Step-by-Step Instructions
Prepare the Apples
When I begin, I make sure the apples are thoroughly washed to remove any surface residue. Personally, I prefer peeling them for a smoother finish, though I’ve made this with skins on when I want a more rustic texture. I core each apple carefully and cut them into evenly sized chunks—this step is more important than it seems, because uniform pieces cook evenly under pressure. I then toss the apples with a bit of fresh lemon juice, which not only prevents browning but also sharpens the overall flavor. From experience, I can say that this small addition makes a noticeable difference. Taking a few extra minutes here ensures the final applesauce looks appealing and tastes balanced.
? Looking for another refreshing fruit-based treat? Try our How To Make Homemade Watermelon Sorbet.
Load the Instant Pot
I transfer the prepared apples into the Instant Pot and add just enough water to get things started—usually about half a cup. One thing I’ve learned over time is that adding too much water weakens the flavor, so I keep it minimal. If I’m planning to include spices like cinnamon, I sprinkle them in at this stage so they infuse during cooking. I avoid over-stirring, as layering the apples helps maintain structure. After securing the lid, I double-check that the valve is set to sealing. These small habits have saved me from inconsistent results and ensure the apples cook evenly while retaining their natural sweetness.
Pressure Cook to Perfection
I set the Instant Pot to high pressure for five minutes—no more, no less. In my experience, this is the sweet spot where apples soften perfectly without losing their character. Once the cooking cycle ends, I let the pressure release naturally for about ten minutes. I’ve tested quick release before, and it tends to affect the texture negatively, so I avoid rushing this step. The gradual release allows the apples to settle and finish cooking gently. When I open the lid, I’m always looking for soft, fragrant apples that still carry a fresh aroma. Timing here is everything, and sticking to it has consistently given me the best results.
Blend or Mash
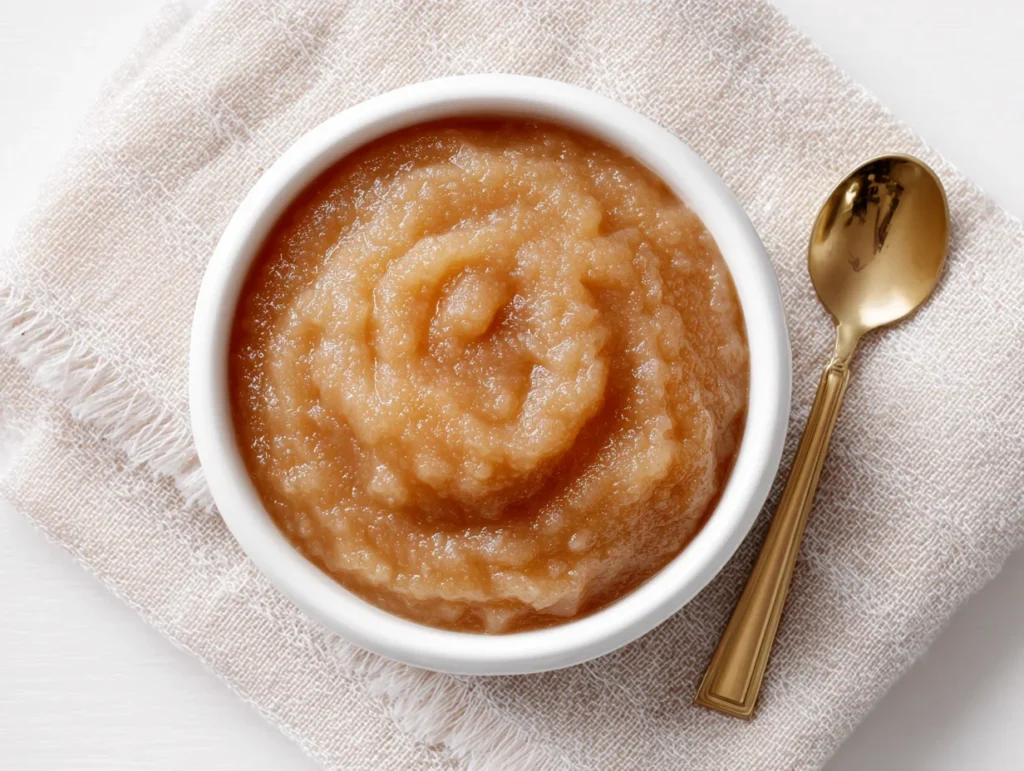
Once the apples are fully cooked, I decide on the texture based on how I plan to serve it. If I want something smooth, I go in with an immersion blender right in the pot. For a more traditional feel, I use a masher and keep it slightly chunky. I blend gradually, checking the consistency as I go—over-blending can make it too thin. If needed, I adjust the thickness with a small splash of warm water. I always taste at this stage, sometimes adding a pinch of cinnamon or a drop of vanilla. This final step is where I fine-tune everything, making sure the applesauce matches exactly what I had in mind.
Cook Time
Total: 20 minutes
Prep: 10 minutes
Bake: 5 minutes pressure cooking + 5 minutes release
Servings
When I prepare this recipe, it typically yields about 4 to 6 servings, depending on how it’s being used. I’ve served it as a quick snack, a breakfast side, and even as an ingredient in baking. What I appreciate most is its flexibility,you can portion it however you like. For families, it’s a healthy, naturally sweet option that works for both kids and adults. If I’m meal prepping, I often divide it into smaller containers for convenience throughout the week. The quantity is easy to scale as well, which makes it practical whether I’m cooking for myself or a larger group. It’s one of those recipes that adapts effortlessly to different needs.
Makes approximately 3 to 4 cups
Nutritional Information (approx. per serving)
- Calories: 90
- Carbohydrates: 24g
- Fiber: 4g
- Natural Sugars: 18g
- Vitamin C: 10% daily value
- Potassium: 195mg
From a nutritional standpoint, this applesauce is something I feel confident serving regularly. It’s naturally rich in fiber, which supports digestion, and provides a good amount of vitamin C. Since there’s no added sugar, the sweetness comes entirely from the fruit, making it a cleaner option compared to packaged alternatives. I also value its low calorie and fat-free profile, especially for those looking to maintain a balanced diet. The potassium content contributes to overall heart health as well. For me, it’s not just about taste—it’s about creating something that’s genuinely nourishing without compromising on flavor.
? For a healthy snack option, don’t miss our Frozen Banana Pops .
Storage Instructions
Whenever I make a batch, I always let the applesauce cool completely before storing it. From there, I transfer it into airtight containers and keep it refrigerated, where it stays fresh for up to a week. If I’ve made a larger batch, I portion some of it into freezer-safe containers. Freezing works exceptionally well for this recipe, and I’ve stored it for up to three months without any noticeable loss in quality. When I’m ready to use it, I thaw it overnight in the fridge and give it a good stir. I’m careful not to leave it out at room temperature for too long, as freshness is key. Proper storage has helped me maintain both flavor and texture consistently.
Suggestions
Over time, I’ve found several ways to use this applesauce beyond just serving it on its own. I often pair it with roasted meats like chicken or pork—the natural sweetness complements savory dishes beautifully. It also works well stirred into yogurt or spread over toast for a quick breakfast. In baking, I sometimes use it as a substitute for oil, which adds moisture while keeping things lighter. If I want to experiment, I’ll add spices like ginger or cardamom for a different flavor profile. Presentation matters to me as well—I like serving it in simple glass bowls with a light dusting of cinnamon. Small touches like these make the dish feel more complete.
Seasonal Relevance
I find myself making this applesauce most often during the fall, when apples are at their peak in both flavor and freshness. There’s something about the season that makes warm, spiced applesauce especially comforting. That said, I’ve made it year-round without any issues, since apples are always available. In colder months, I tend to serve it warm, while in warmer weather, I chill it for a refreshing snack. I also adjust the spices depending on the season—heavier spices in winter, lighter flavors in summer. Its versatility across seasons is one of the reasons I keep coming back to this recipe. It fits naturally into any time of year.
For me, this Instant Pot applesauce represents everything I value in cooking—simplicity, efficiency, and respect for ingredients. It’s a recipe I’ve returned to countless times because it delivers consistent results without unnecessary complexity. By focusing on technique and balance, it’s possible to create something that feels both comforting and refined. I’ve found that once people try this method, they rarely go back to store-bought versions. It’s quick, reliable, and genuinely flavorful. Whether you’re new to cooking or experienced in the kitchen, this is a recipe that proves great results don’t require complicated steps—just a thoughtful approach and a bit of attention to detail.
? Pair your applesauce with a cozy baked good like our Healthy Banana Chocolate Chip Muffins.
FAQs
1. Can I make this applesauce without lemon juice?
Yes, you can skip lemon juice, but I’ve found it helps preserve color and enhances the overall flavor slightly. Without it, the applesauce may brown faster and taste a bit flatter, though it will still be perfectly edible and enjoyable.
2. How can I make my applesauce thicker naturally?
If I want a thicker applesauce, I simply reduce the amount of added water or cook it briefly on sauté mode after pressure cooking. This allows excess moisture to evaporate without affecting the natural flavor too much.
3. Is it possible to use frozen apples for this recipe?
Yes, I’ve used frozen apples when fresh ones weren’t available. You may need to slightly adjust the cooking time, but the Instant Pot handles them well. The texture might be softer, but the flavor remains good.
4. Can I strain applesauce for an ultra-smooth texture?
Absolutely. If I’m aiming for a very refined texture, I sometimes pass the blended applesauce through a fine mesh strainer. This removes any remaining fibers and creates a silky, smooth finish.
5. What spices pair best with applesauce besides cinnamon?
In addition to cinnamon, I often experiment with nutmeg, cloves, ginger, or even cardamom. Each adds a different layer of warmth and complexity, allowing you to tailor the applesauce to your personal taste preference.