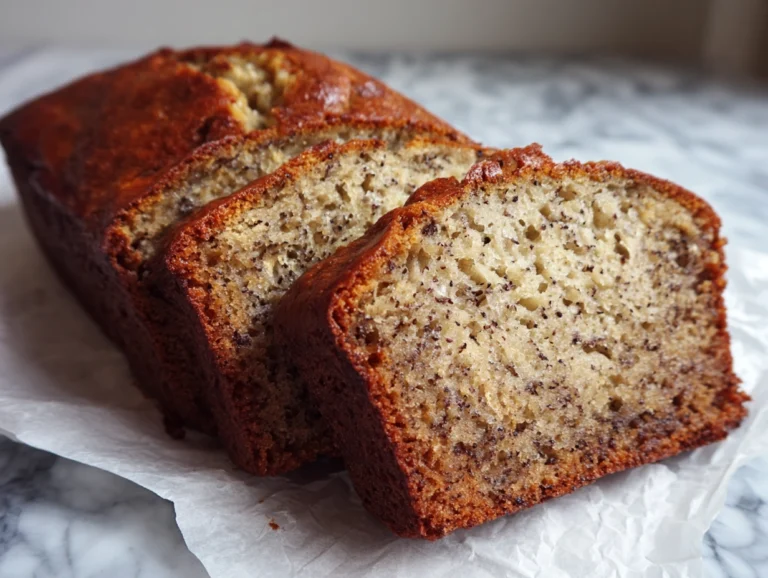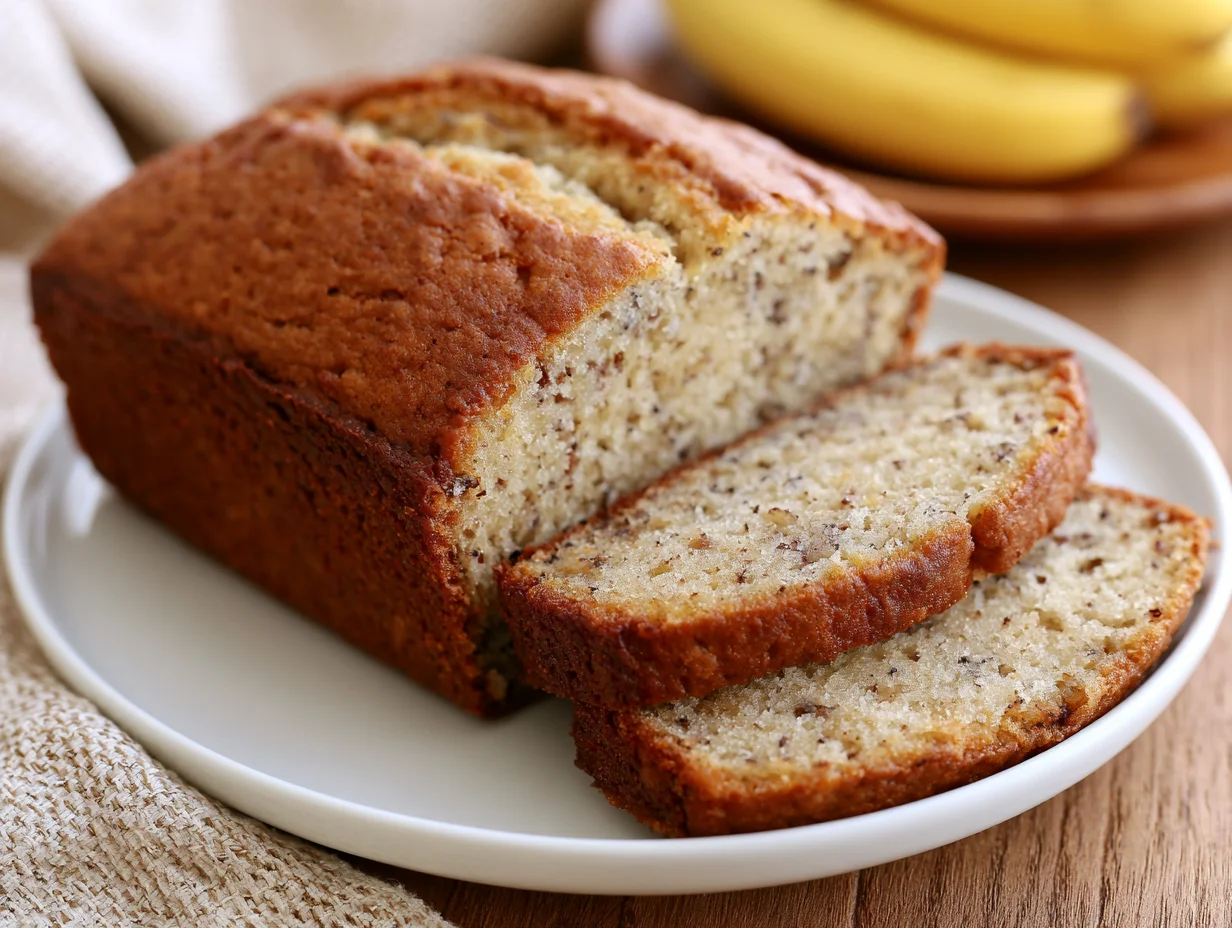
Simple Banana Bread Recipe
There’s a reason banana bread has outlasted every baking trend of the last decade: it simply works. No fancy equipment, no temperamental yeast, no decorating skills required — just a bowl, a spoon, and a handful of overripe bananas you were about to throw away.
This recipe is built for real kitchens and real schedules. It comes together in one bowl, bakes into a loaf with a deeply caramelized crust and a soft, custardy center, and forgives almost every beginner mistake you can make with it.
What sets this version apart is balance. The bananas are sweet enough to carry the loaf without turning it cloying, the butter keeps the crumb rich without weighing it down, and a touch of cinnamon adds warmth without overpowering that unmistakable banana flavor everyone is really after.
Whether you’re baking for a quiet Sunday morning, a lunchbox treat, or simply to rescue spotty bananas from the compost bin, this is the recipe you’ll return to again and again. Let’s get into it.
Ingredients You’ll Need
Great banana bread isn’t about rare ingredients — it’s about ripe bananas, good timing, and a few kitchen staples doing exactly what they’re meant to do.
One of the things I love about this recipe is that it uses simple pantry ingredients. You probably already have most of them in your kitchen.
Base Ingredients
- 3 medium ripe bananas, mashed
- 1/3 cup melted unsalted butter
- 3/4 cup granulated sugar
- 1 large egg, lightly beaten
- 1 teaspoon vanilla extract
- 1 teaspoon baking soda
- 1/4 teaspoon fine salt
- 1 1/2 cups all-purpose flour
Optional Add-ins
- 1/2 cup chopped walnuts or pecans
- 1/2 cup semi-sweet chocolate chips
- 1/2 teaspoon ground cinnamon
- 2 tablespoons brown sugar, for topping
- 1/4 cup shredded coconut
- 1 tablespoon honey, for drizzling
Step-by-Step Instructions
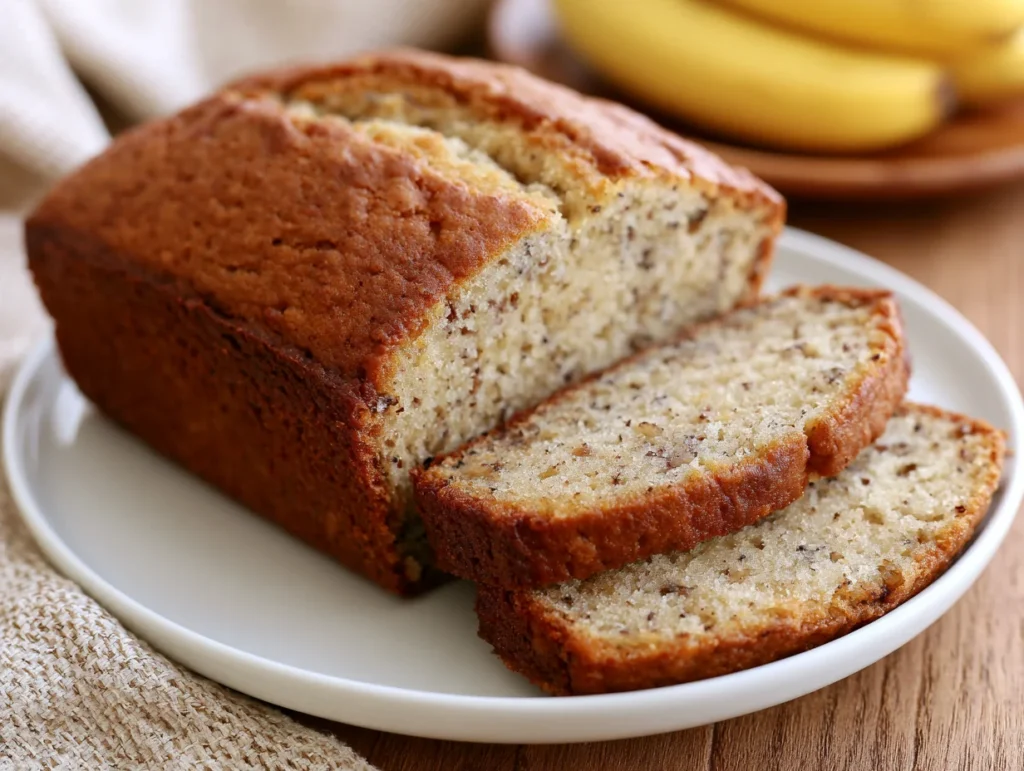
Step 1: Prepare Your Pan and Oven
Preheat your oven to 350°F (175°C) and position the rack in the center. Grease a 9×5-inch loaf pan generously with butter or non-stick spray, then line the bottom with a strip of parchment paper for easy release later. This small step prevents sticking and ensures your loaf comes out with clean edges instead of tearing apart when you try to remove it. Have your pan ready before you start mixing, since banana bread batter doesn’t like to wait around once the baking soda is activated.
Step 2: Mash the Bananas
Choose bananas with plenty of brown spots on the peel — these are sweeter, softer, and far easier to mash smoothly. Place them in a large mixing bowl and mash with a fork or potato masher until mostly smooth, with just a few small lumps remaining for texture. Avoid blending them into a completely liquid puree, as some texture helps the bread hold its structure. You’ll need roughly one and a half cups of mashed banana for this recipe to work properly.
Step 3: Mix the Wet Ingredients
Stir the melted butter directly into the mashed bananas while it’s still warm, whisking until fully combined. Add the sugar, egg, and vanilla extract, mixing until the batter looks glossy and slightly thickened. Work quickly but gently here — overmixing at this stage introduces excess air that can cause the loaf to rise unevenly. The mixture should look pale golden brown and smell distinctly of banana and vanilla before you move forward to the dry ingredients.
Step 4: Combine Dry Ingredients
In a separate bowl, whisk together the baking soda, salt, and flour until evenly distributed. Sprinkle this dry mixture over the wet banana batter in two additions, folding gently with a spatula after each one. Stop mixing the moment no dry streaks of flour remain visible. This is the single most important step for texture — overworking the batter develops gluten and results in a dense, rubbery loaf instead of a tender, melt-in-your-mouth crumb.
Step 5: Fold in Add-ins and Pour
If using nuts, chocolate chips, or coconut, fold them in now with just two or three gentle strokes. Pour the batter into your prepared loaf pan, smoothing the top with a spatula so it bakes evenly. For a bakery-style finish, sprinkle the brown sugar topping evenly across the surface. This caramelizes beautifully in the oven, creating a slightly crackled, sweet crust that contrasts perfectly with the soft interior underneath.
Step 6: Bake to Golden Perfection
Bake for 55 to 65 minutes, rotating the pan halfway through for even browning. The bread is done when a toothpick inserted into the center comes out with only a few moist crumbs attached, not wet batter. If the top browns too quickly, loosely tent it with foil for the final 15 minutes. Resist opening the oven door repeatedly, as temperature fluctuations can cause the center to sink.
Step 7: Cool Before Slicing
Let the loaf rest in the pan for 10 minutes, then transfer it to a wire rack to cool completely before slicing. This patience pays off — cutting into warm banana bread causes it to crumble and squish under the knife. A fully cooled loaf slices cleanly and holds its shape, giving you those picture-perfect slices worth sharing.
Cook Time
Total:
1 hour 20 minutes
Prep:
15 minutes
Bake:
60 minutes
Servings
This recipe makes approximately one standard 9×5-inch loaf, yielding around 10 generous slices, perfect for a small household with enough left over for snacking throughout the week.
Each slice strikes a satisfying balance between dense and fluffy, making it filling enough to serve as a light breakfast alongside coffee, or a mid-afternoon pick-me-up with tea. The loaf also slices neatly for lunchboxes, making portion control effortless without sacrificing flavor.
If you’re feeding a larger group or hosting a brunch, doubling the recipe and baking it in two pans works beautifully without needing to adjust the bake time significantly, since each loaf bakes independently and evenly.
Common Mistakes in This Recipe
The most frequent mistake bakers make is using bananas that aren’t ripe enough. Yellow, firm bananas lack the natural sugars and moisture that give banana bread its signature flavor and tender texture, resulting in a bland, dry loaf.
Overmixing the batter is another common pitfall. Once flour is added, vigorous stirring develops gluten strands that make the bread tough and chewy rather than soft and crumbly, even though the ingredients themselves were correct.
Many home bakers also misjudge oven temperature, either baking too hot and burning the crust before the center sets, or too low, leaving a gummy, undercooked middle that sinks once removed from the oven.
Finally, slicing the loaf while it’s still warm is a mistake almost everyone makes at least once, leading to crumbling slices and a messy presentation that doesn’t reflect the actual quality of the bake.
Solutions to Common Mistakes
Always choose bananas with heavily speckled or fully brown peels, even slightly black ones. If your bananas aren’t ripe yet, roast them whole at 300°F for 15 minutes to quickly soften and sweeten them before mashing.
To avoid overmixing, fold the dry ingredients in by hand using a spatula rather than an electric mixer. Stop as soon as the streaks of flour disappear, even if a few small lumps remain visible in the batter.
Use an oven thermometer to verify your actual baking temperature, since many home ovens run hotter or cooler than their displayed setting. Tent the loaf with foil if browning happens too quickly.
Let the loaf cool for at least 10 minutes in the pan, then a full 30 minutes on a wire rack before slicing. This patience locks in moisture and produces clean, bakery-style slices every time.
Nutritional Information (approx. per serving)
- Calories: 220 kcal
- Protein: 3g
- Carbohydrates: 33g
- Fat: 9g
- Fiber: 1.5g
- Sugar: 17g
- Sodium: 140mg
Bananas contribute potassium and natural fiber, supporting healthy digestion and helping regulate blood pressure when enjoyed as part of a balanced diet rather than as an occasional treat alone.
The egg in this recipe adds a meaningful dose of protein and essential amino acids, helping each slice feel more satisfying and less likely to spike hunger shortly after eating it.
Using moderate sugar and butter keeps this loaf lighter than many bakery versions, while still delivering the rich, comforting flavor that makes banana bread such a beloved classic across generations.
Adding walnuts introduces heart-healthy fats and a satisfying crunch, making each slice slightly more nutrient-dense without compromising the soft, tender texture this bread is known for.
Storage Instructions
Once fully cooled, store banana bread wrapped tightly in plastic wrap or placed in an airtight container at room temperature. It stays fresh and moist for up to three days on the counter without losing texture.
For longer storage, refrigerate the wrapped loaf for up to one week. Refrigeration slightly firms the crumb, but a quick 10-second warm-up in the microwave restores that fresh-baked softness almost instantly before serving.
Banana bread also freezes exceptionally well. Wrap individual slices in plastic wrap, place them in a freezer-safe bag, and freeze for up to three months without any noticeable loss in flavor or moisture.
To thaw, leave slices at room temperature for an hour, or microwave directly from frozen in short 20-second bursts. Avoid leaving the loaf uncovered at any storage stage, as exposed bread dries out quickly.
Suggestions
Serve warm slices with a generous spread of salted butter or cream cheese for a richer, more indulgent breakfast experience that pairs beautifully with a strong cup of coffee.
For dessert, toast a slice lightly and top it with a scoop of vanilla ice cream and a drizzle of caramel sauce, turning this humble loaf into an elegant, restaurant-style treat.
If you enjoy texture contrast, try adding a streusel topping made from butter, flour, and brown sugar before baking. It creates a crunchy, sweet crust that contrasts beautifully with the soft interior.
This bread also makes a thoughtful homemade gift. Wrap a cooled loaf in parchment and twine, and it travels well to neighbors, coworkers, or anyone who appreciates a genuinely homemade treat.
Seasonal Relevance
Banana bread is a year-round favorite, but it shines especially in cooler months when warm, spiced baked goods feel most comforting against chilly mornings and shorter days.
During autumn, adding warm spices like cinnamon, nutmeg, or a touch of clove makes this loaf feel distinctly seasonal, pairing naturally with the flavors already associated with fall baking.
In summer, a lighter version with fresh berries folded into the batter offers a brighter, fruitier take, perfect for breakfast on warm mornings without feeling heavy or overly rich.
Around the holidays, this loaf doubles easily and makes a welcome addition to gift baskets or brunch spreads, fitting effortlessly alongside other festive baked goods on any table.
Final Words
Banana bread earns its place as a kitchen classic because it rewards simplicity. There’s no need for complicated techniques or specialty ingredients — just ripe bananas and a little patience.
This recipe is meant to be adaptable. Swap in your favorite mix-ins, adjust the sweetness slightly, or bake it into muffins instead of a loaf depending on what fits your day.
What makes this bread special isn’t perfection — it’s consistency. Once you understand how ripe bananas, gentle mixing, and proper baking time work together, you’ll never need to second-guess this recipe again.
I hope this loaf becomes a regular in your kitchen, whether for quiet mornings, lunchbox treats, or simply giving spotty bananas a second life worth savoring.
Frequently Asked Questions
Can I use frozen bananas for this recipe?
Yes. Thaw frozen bananas completely, then drain excess liquid before mashing. They become very soft and sweet during freezing, making them ideal for banana bread, though you may slightly reduce added sugar.
Why did my banana bread sink in the middle?
This usually happens from underbaking, opening the oven door too often, or using too much baking soda. Always test with a toothpick near the center and avoid disturbing the oven during the first 40 minutes.
Can I make this recipe gluten-free?
Yes, substitute the all-purpose flour with a 1:1 gluten-free baking blend. Results stay moist and flavorful, though the crumb may feel slightly denser. Avoid almond or coconut flour alone, as they behave very differently.
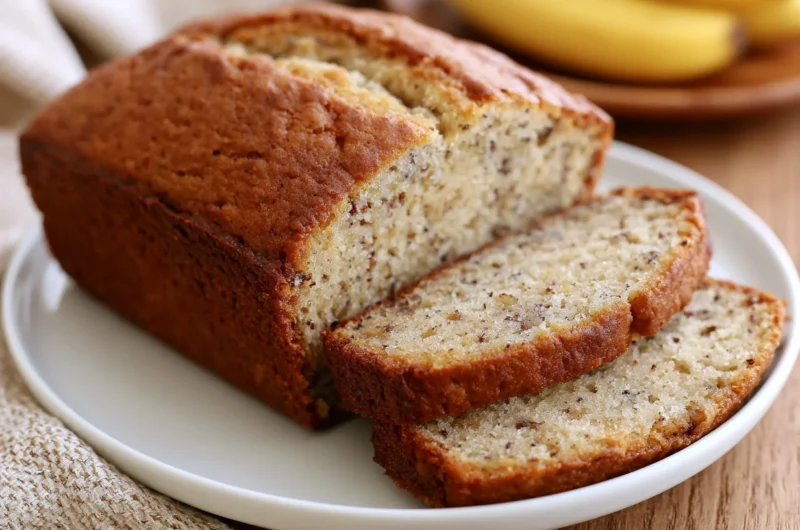
Simple Banana Bread Recipe
10
servings15
minutes1
hour220
kcal1
hour15
minutesA moist, tender banana bread made with ripe bananas, warm vanilla, and a caramelized crust. Simple pantry ingredients, one bowl, and a forgiving bake make this a reliable classic for any skill level.
Ingredients
Base Ingredients
3 medium ripe bananas, mashed
1/3 cup melted unsalted butter
3/4 cup granulated sugar
1 large egg, lightly beaten
1 teaspoon vanilla extract
1 teaspoon baking soda
1/4 teaspoon fine salt
1 1/2 cups all-purpose flour
Optional Add-ins
1/2 cup chopped walnuts or pecans
1/2 cup semi-sweet chocolate chips
1/2 teaspoon ground cinnamon
2 tablespoons brown sugar, for topping
1/4 cup shredded coconut
1 tablespoon honey, for drizzling
Directions
- Preheat oven to 350°F (175°C); grease and line a 9×5-inch loaf pan.
- Mash ripe bananas in a large bowl until mostly smooth.
- Stir in melted butter, sugar, egg, and vanilla until glossy.
- Whisk baking soda, salt, and flour separately; fold into wet mixture in two additions.
- Fold in optional add-ins with a few gentle strokes.
- Pour batter into pan; sprinkle brown sugar topping if using.
- Bake 55–65 minutes, rotating halfway, until a toothpick comes out with moist crumbs.
- Cool in pan for 10 minutes, then on a wire rack before slicing.
Recipe Video
Notes
- Use bananas with heavily speckled or brown peels for best sweetness and moisture.
- Avoid overmixing once flour is added to prevent a dense, rubbery texture.
- Tent loaf with foil if the top browns too quickly during baking.
- Store at room temperature up to 3 days, refrigerate up to 1 week, or freeze up to 3 months.