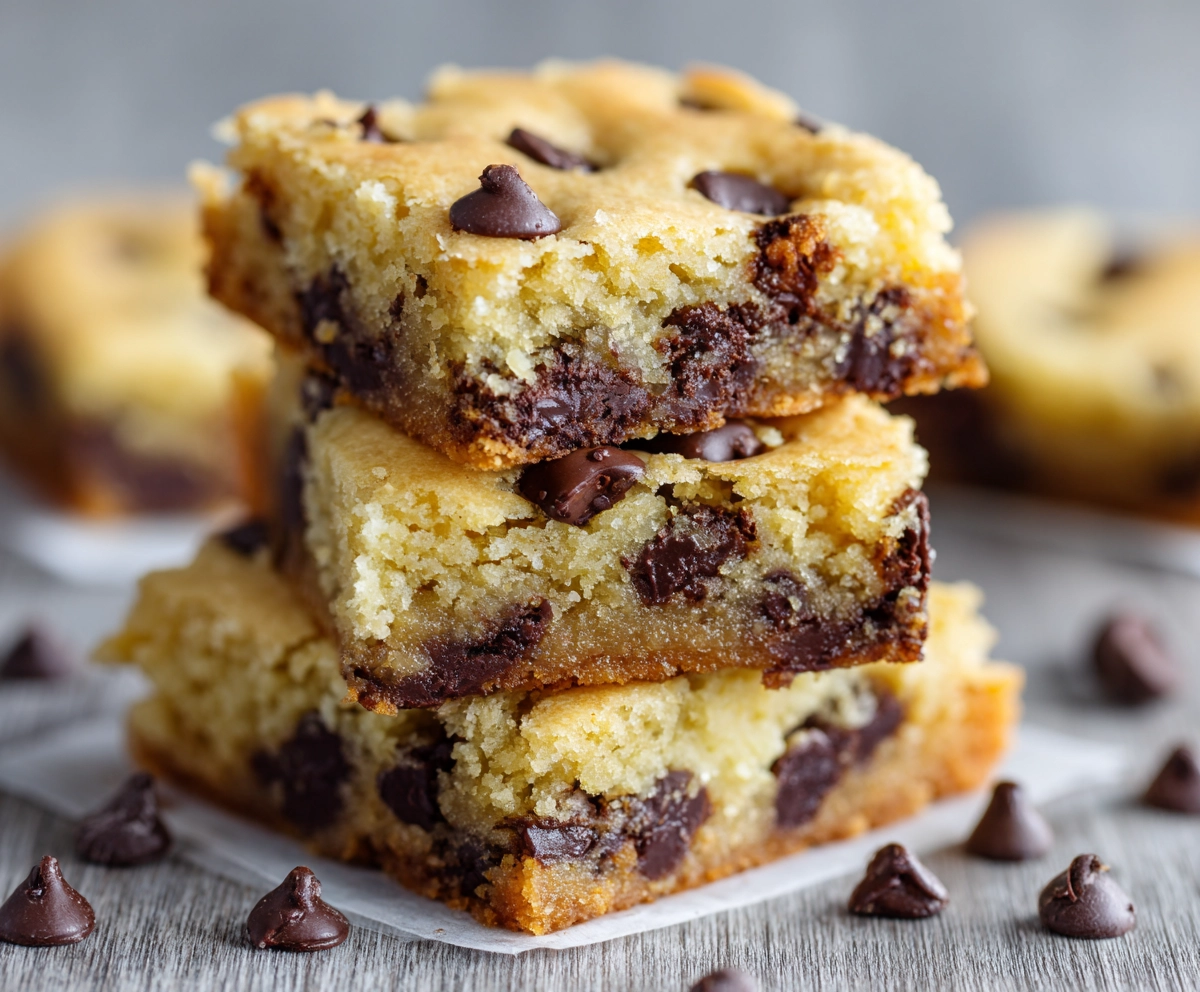
Cake Mix Chocolate Chip Cookie Bars Soft and Chewy
In my kitchen, quick desserts still deserve precision, and these cookie bars prove that point every time I make them. A simple cake mix can turn into something soft, balanced, and deeply satisfying when handled with care. The difference comes from how the batter is mixed, how the pan is prepared, and how the bake is controlled. I do not rely on guesswork here. Each step is deliberate, ensuring the bars stay tender in the center while holding a clean shape when sliced. Many versions of this recipe miss that balance, either turning dry or too dense. My method focuses on maintaining moisture without losing structure. The result is a batch of cookie bars that feel consistent, look refined, and deliver the kind of texture you expect from a well executed dessert.
Where Texture Control Breaks Down Most Often
I have seen many batches fail simply because the batter was overworked. Once the cake mix, eggs, and butter are combined, continuing to mix only builds unnecessary structure. That is what turns a soft bar into something dense. Another issue comes from ignoring ratios. Too much butter makes the bars greasy, while too little leads to a dry finish. Pan size also matters more than people think. A smaller pan creates thick layers that bake unevenly, leaving the edges firm and the center undercooked. I often notice people baking until the entire surface looks set, which is a mistake. These bars continue to cook after they come out of the oven. Waiting too long removes the softness that defines them. Each of these habits may seem minor, but together they reduce quality and consistency in a noticeable way.
My Method for Consistently Soft Results
When I prepare these bars, I keep the process controlled from start to finish. Mixing stops as soon as the batter comes together, preserving a tender structure. I measure carefully because balance is everything in a simple recipe like this. The batter should be thick yet spreadable, not stiff or runny. I choose a pan that allows even thickness across the surface, which ensures uniform baking. Heat stays steady, and I rely on visual cues rather than strict timing. The edges should set while the center remains slightly soft. Once out of the oven, I let the bars rest without interference. That resting period is where the texture settles properly. I never rush it. With this approach, the bars remain soft, slightly chewy, and consistent from one batch to the next.
Ingredients List
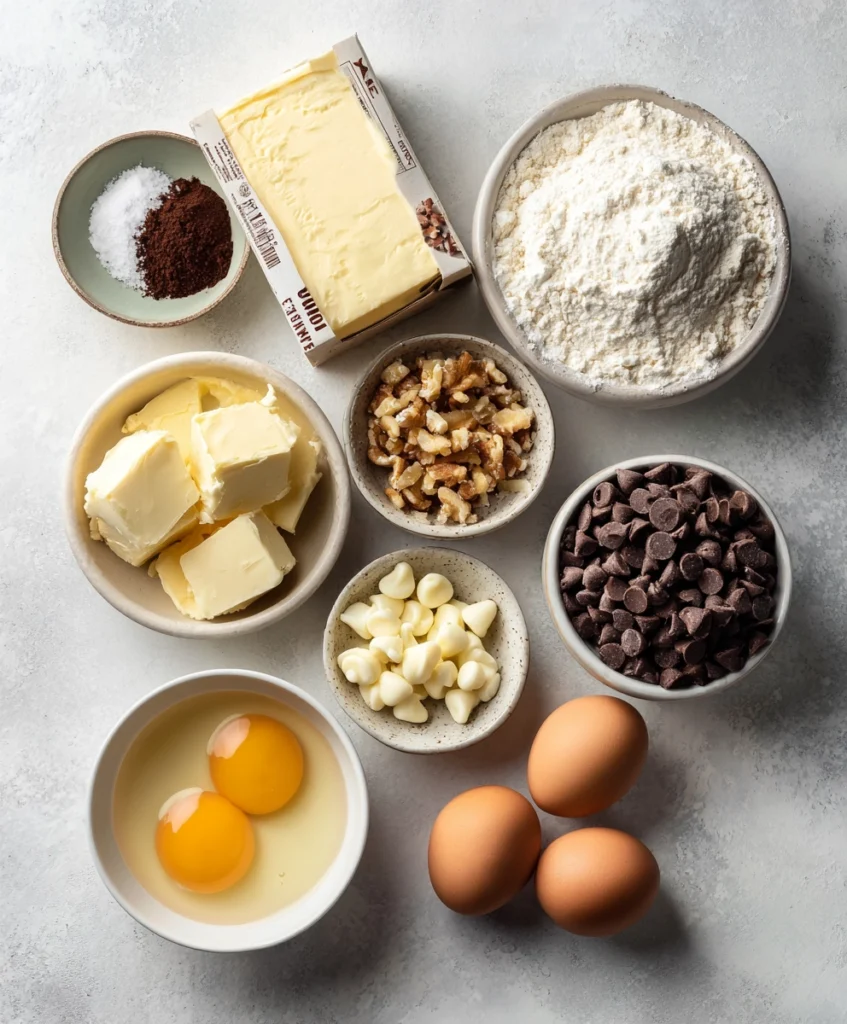
Base Ingredients:
- Cake mix
- Eggs
- Butter, melted
- Chocolate chips
Optional Add-ins:
- Vanilla extract
- Chopped nuts
- White chocolate chips
- Caramel bits
- Sea salt for topping
Step-by-Step Instructions
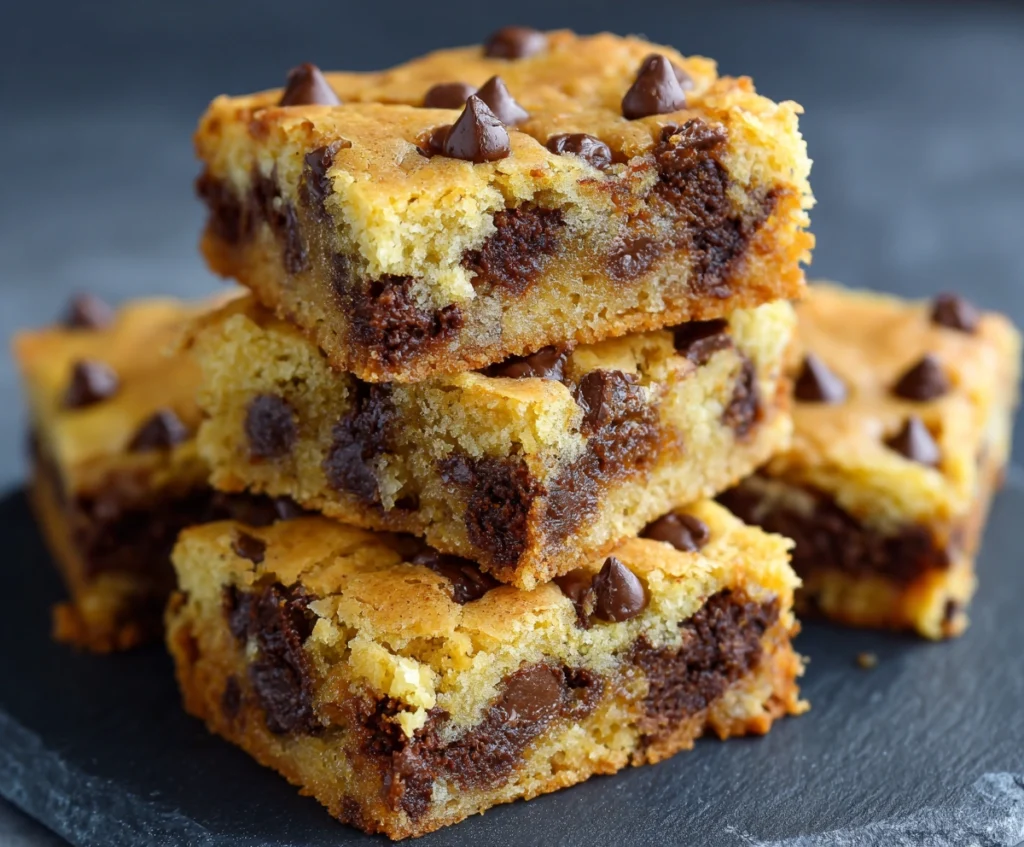
Prepare the Batter
I start by combining the cake mix with eggs and melted butter in a mixing bowl, keeping the process simple and controlled. The goal is to bring everything together into a thick batter without overworking it. Once the mixture looks uniform, I stop mixing immediately. That restraint is what keeps the final texture soft instead of dense. I fold in the chocolate chips gently so they spread evenly without breaking the structure of the batter. If I decide to include extras like nuts or caramel bits, I add them at this stage while keeping the mixing minimal. The batter should feel slightly sticky and heavy, which is exactly what helps create that soft center during baking. Care at this stage defines the final result more than most expect.
Prepare the Baking Pan
I choose a pan that allows the batter to spread evenly without becoming too thick. Lining it with parchment makes removal easier and keeps the base from overbrowning. I lightly grease the surface to support a smooth release after baking. When spreading the batter, I use a spatula and move gently, making sure it reaches every corner without pressing it down too firmly. Keeping the thickness even across the pan is essential for consistent baking. Uneven layers lead to mixed textures, which I always avoid. I take a moment to smooth the top so the surface bakes evenly and looks clean once finished. It is a simple step, but it directly affects both the structure and the final presentation of the bars.
Bake with Control
I place the pan into a preheated oven and let it bake at a steady temperature without constant checking. Opening the oven too often disrupts heat, which affects how evenly the bars cook. I look for edges that are set and lightly golden while the center remains soft. That slight softness is intentional. Waiting until everything looks firm will result in a dry texture. I rely on experience and visual cues rather than strict timing. Once the bars reach that point, I remove them from the oven and place the pan on a flat surface. They continue to settle as they cool. Controlled baking ensures the bars hold their shape while staying soft inside, which is exactly what I aim for every time.
Cool and Slice
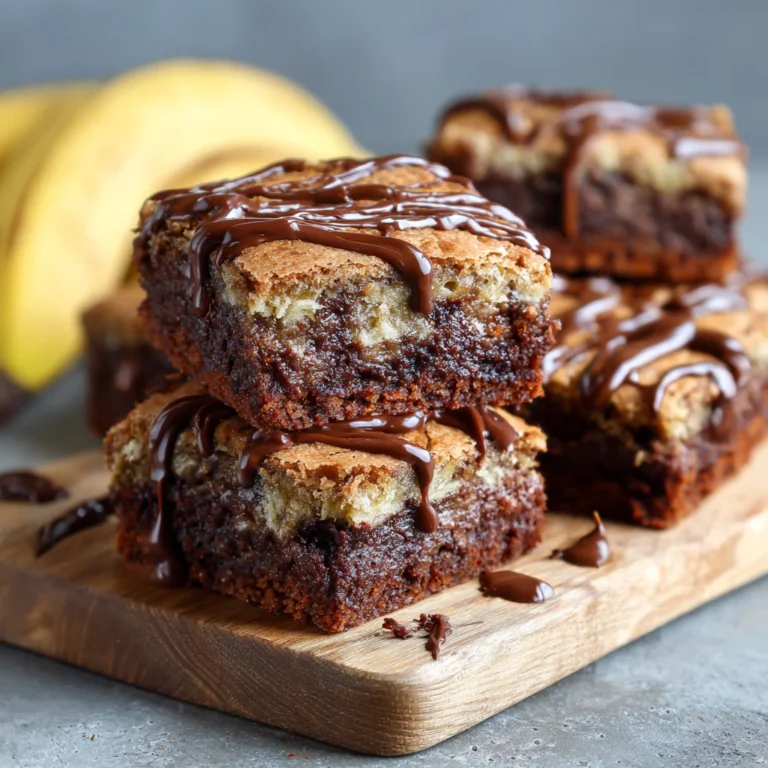
Cooling is not something I rush. I leave the bars in the pan until they are stable enough to handle without breaking apart. Cutting too early leads to uneven edges and a crumbly texture. Once they have cooled slightly, I lift them out using the parchment and place them on a flat surface. I use a sharp knife to slice clean portions, wiping the blade between cuts to keep edges neat. Each piece should show a soft interior with evenly distributed chocolate chips. Proper slicing improves presentation and portion control. Taking a few extra minutes at this stage ensures the final result looks refined and maintains the texture I worked to achieve during preparation and baking.
Cook Time
Total: 30 minutes
Prep: 10 minutes
Bake: 20 minutes
Servings
When I prepare this recipe, I aim for balanced portions that highlight both texture and structure. Typically, the batch yields around nine to twelve bars depending on how they are cut. I prefer medium sized squares because they hold their shape well and present neatly on the plate. Consistency in size ensures each bar bakes evenly and delivers the same texture throughout. These portions work well for sharing, whether for a small gathering or a simple dessert at home. Presentation matters, so I keep the cuts clean and uniform. Serving them slightly warm enhances the softness and brings out the richness of the chocolate. With careful portioning, every serving feels complete and satisfying without being overwhelming.
Makes approximately 9 to 12 bars
Nutritional Information (approx. per serving)
- Calories: 220 to 260 kcal
- Carbohydrates: 30 grams
- Fat: 10 grams
- Protein: 3 grams
- Sugar: 18 grams
From my perspective, these bars offer a balanced dessert option when enjoyed in moderation. The carbohydrate content provides a quick source of energy, while the fat helps maintain that soft and rich texture. Chocolate chips add depth and satisfaction without making the bars overly heavy. Portion control plays an important role here, allowing the dessert to remain enjoyable without excess. The structure of the bars also helps with satiety, making them more satisfying than lighter baked options. When prepared with care, they fit well into a balanced approach to desserts while still delivering the comfort and texture people expect from a well made cookie bar.
Storage Instructions
I always store these bars in an airtight container once they have cooled completely. Keeping them at room temperature works best for maintaining their soft texture. If they are left exposed to air, they dry out quickly, so sealing them properly is essential. When stacking, I place parchment between layers to prevent sticking. Refrigeration can be used if needed, though it slightly firms the texture, so I prefer to warm them briefly before serving. For longer storage, freezing is effective when the bars are wrapped tightly to protect against moisture loss. Thawing should be done gradually to preserve their softness. Proper storage keeps the bars enjoyable for several days without losing the texture that makes them stand out.
Suggestions
When I serve these bars, I keep the presentation simple but intentional. Arranging them neatly on a clean surface makes a noticeable difference. I often add a light sprinkle of sea salt on top to create balance and enhance the chocolate. Serving them slightly warm brings out their softness and improves the overall experience. They pair well with simple drinks, allowing the bars to remain the focus. Small variations like adding nuts or caramel bits can change the character of the recipe without complicating the method. I always recommend using fresh ingredients for the best result. With a few thoughtful touches, these bars move beyond a basic dessert and become something that feels carefully prepared and complete.
Seasonal Relevance
I adapt these bars throughout the year by adjusting small details rather than changing the entire recipe. In cooler months, I lean toward richer additions like extra chocolate or caramel to create a more comforting feel. During warmer seasons, I keep the bars lighter by reducing add ins and focusing on a softer texture. Baking conditions may vary with temperature, so I pay attention to consistency rather than relying only on time. Serving style also changes with the season. Warm bars suit colder days, while room temperature servings feel more appropriate in warmer weather. This flexibility keeps the recipe useful all year without losing its core appeal. It remains reliable regardless of the season.
Conclusion
In my experience, the success of these cookie bars comes down to discipline in simple steps. Mixing, baking, and cooling each require attention, even in a quick recipe like this. When handled properly, the result is a soft and chewy bar that holds its shape and delivers a balanced texture in every bite. I rely on consistency rather than shortcuts, which ensures dependable results every time. Over time, the method becomes second nature, making it easy to repeat without hesitation. Whether made for a casual treat or a planned dessert, these bars offer both reliability and satisfaction. With the right approach, a simple cake mix becomes something refined and well executed.
Frequently Asked Questions
Can I use oil instead of butter in this recipe?
I prefer butter because it adds structure and richness, but oil can be used in small amounts. The texture may turn slightly softer and less structured. If using oil, reduce the quantity slightly to avoid excess moisture and maintain a balanced consistency in the bars.
How do I make the bars extra chewy?
To increase chewiness, I slightly underbake the bars and allow them to rest properly after removing from the oven. Maintaining correct ratios of butter and eggs also helps. Overmixing should be avoided, as it reduces the soft texture that contributes to chewiness.
Can I add different types of chocolate?
Yes, I often mix different chocolate varieties to create variation. Dark, milk, or white chocolate can all be used. Keeping the total quantity balanced ensures the batter structure remains intact and the bars bake evenly without becoming too heavy.
Why are my bars too crumbly?
Crumbly texture usually comes from too little moisture or overbaking. I check ingredient measurements carefully and remove the bars while the center is still slightly soft. Proper resting time also helps the structure settle and prevents crumbling during slicing.
Can I bake these bars in a glass pan?
Yes, but I adjust baking slightly because glass retains heat differently. I monitor closely toward the end of baking to avoid overcooking. Reducing temperature slightly or shortening bake time helps maintain the soft texture I aim for in these bars.
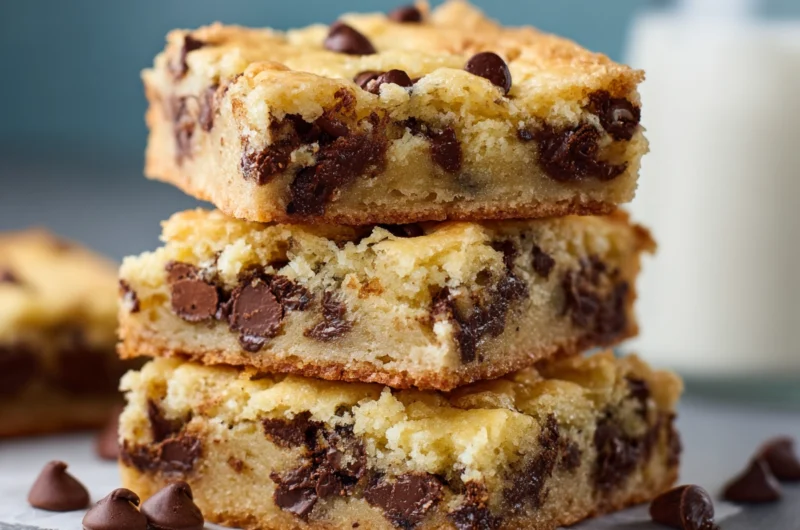
Cake Mix Chocolate Chip Cookie Bars Soft and Chewy
9-12 bars
servings10
minutes20
minutes2100
kcal30
minutesSoft and chewy chocolate chip cookie bars made with cake mix for a quick yet refined dessert. Each bar delivers a tender center with evenly melted chocolate, balanced texture, and a clean finish. A reliable recipe designed for consistent results with minimal effort and maximum satisfaction.
Ingredients
1 box cake mix
2 large eggs
1/2 cup butter, melted
1 cup chocolate chips
Optional: 1 teaspoon vanilla extract, 1/2 cup chopped nuts, 1/2 cup white chocolate chips, 1/4 cup caramel bits, sea salt for topping
Directions
- Preheat oven and prepare a medium baking pan with parchment and light greasing.
- In a bowl, combine cake mix, eggs, and melted butter until a thick batter forms without overmixing.
- Fold in chocolate chips and any optional add ins gently to maintain texture.
- Spread batter evenly into the prepared pan, smoothing the surface lightly.
- Bake at a steady temperature until edges are set and center remains slightly soft.
- Remove from oven and allow to cool before slicing into even bars.
Recipe Video
Notes
- Do not overmix the batter as it leads to dense bars.
- Remove from oven when center is slightly soft to maintain chewiness.
- Use the correct pan size for even baking results.
- Allow proper cooling time before slicing for clean edges and better structure.